Share this article

November 1, 2026

Before and After Popcorn Ceiling Removal: Steps and Results

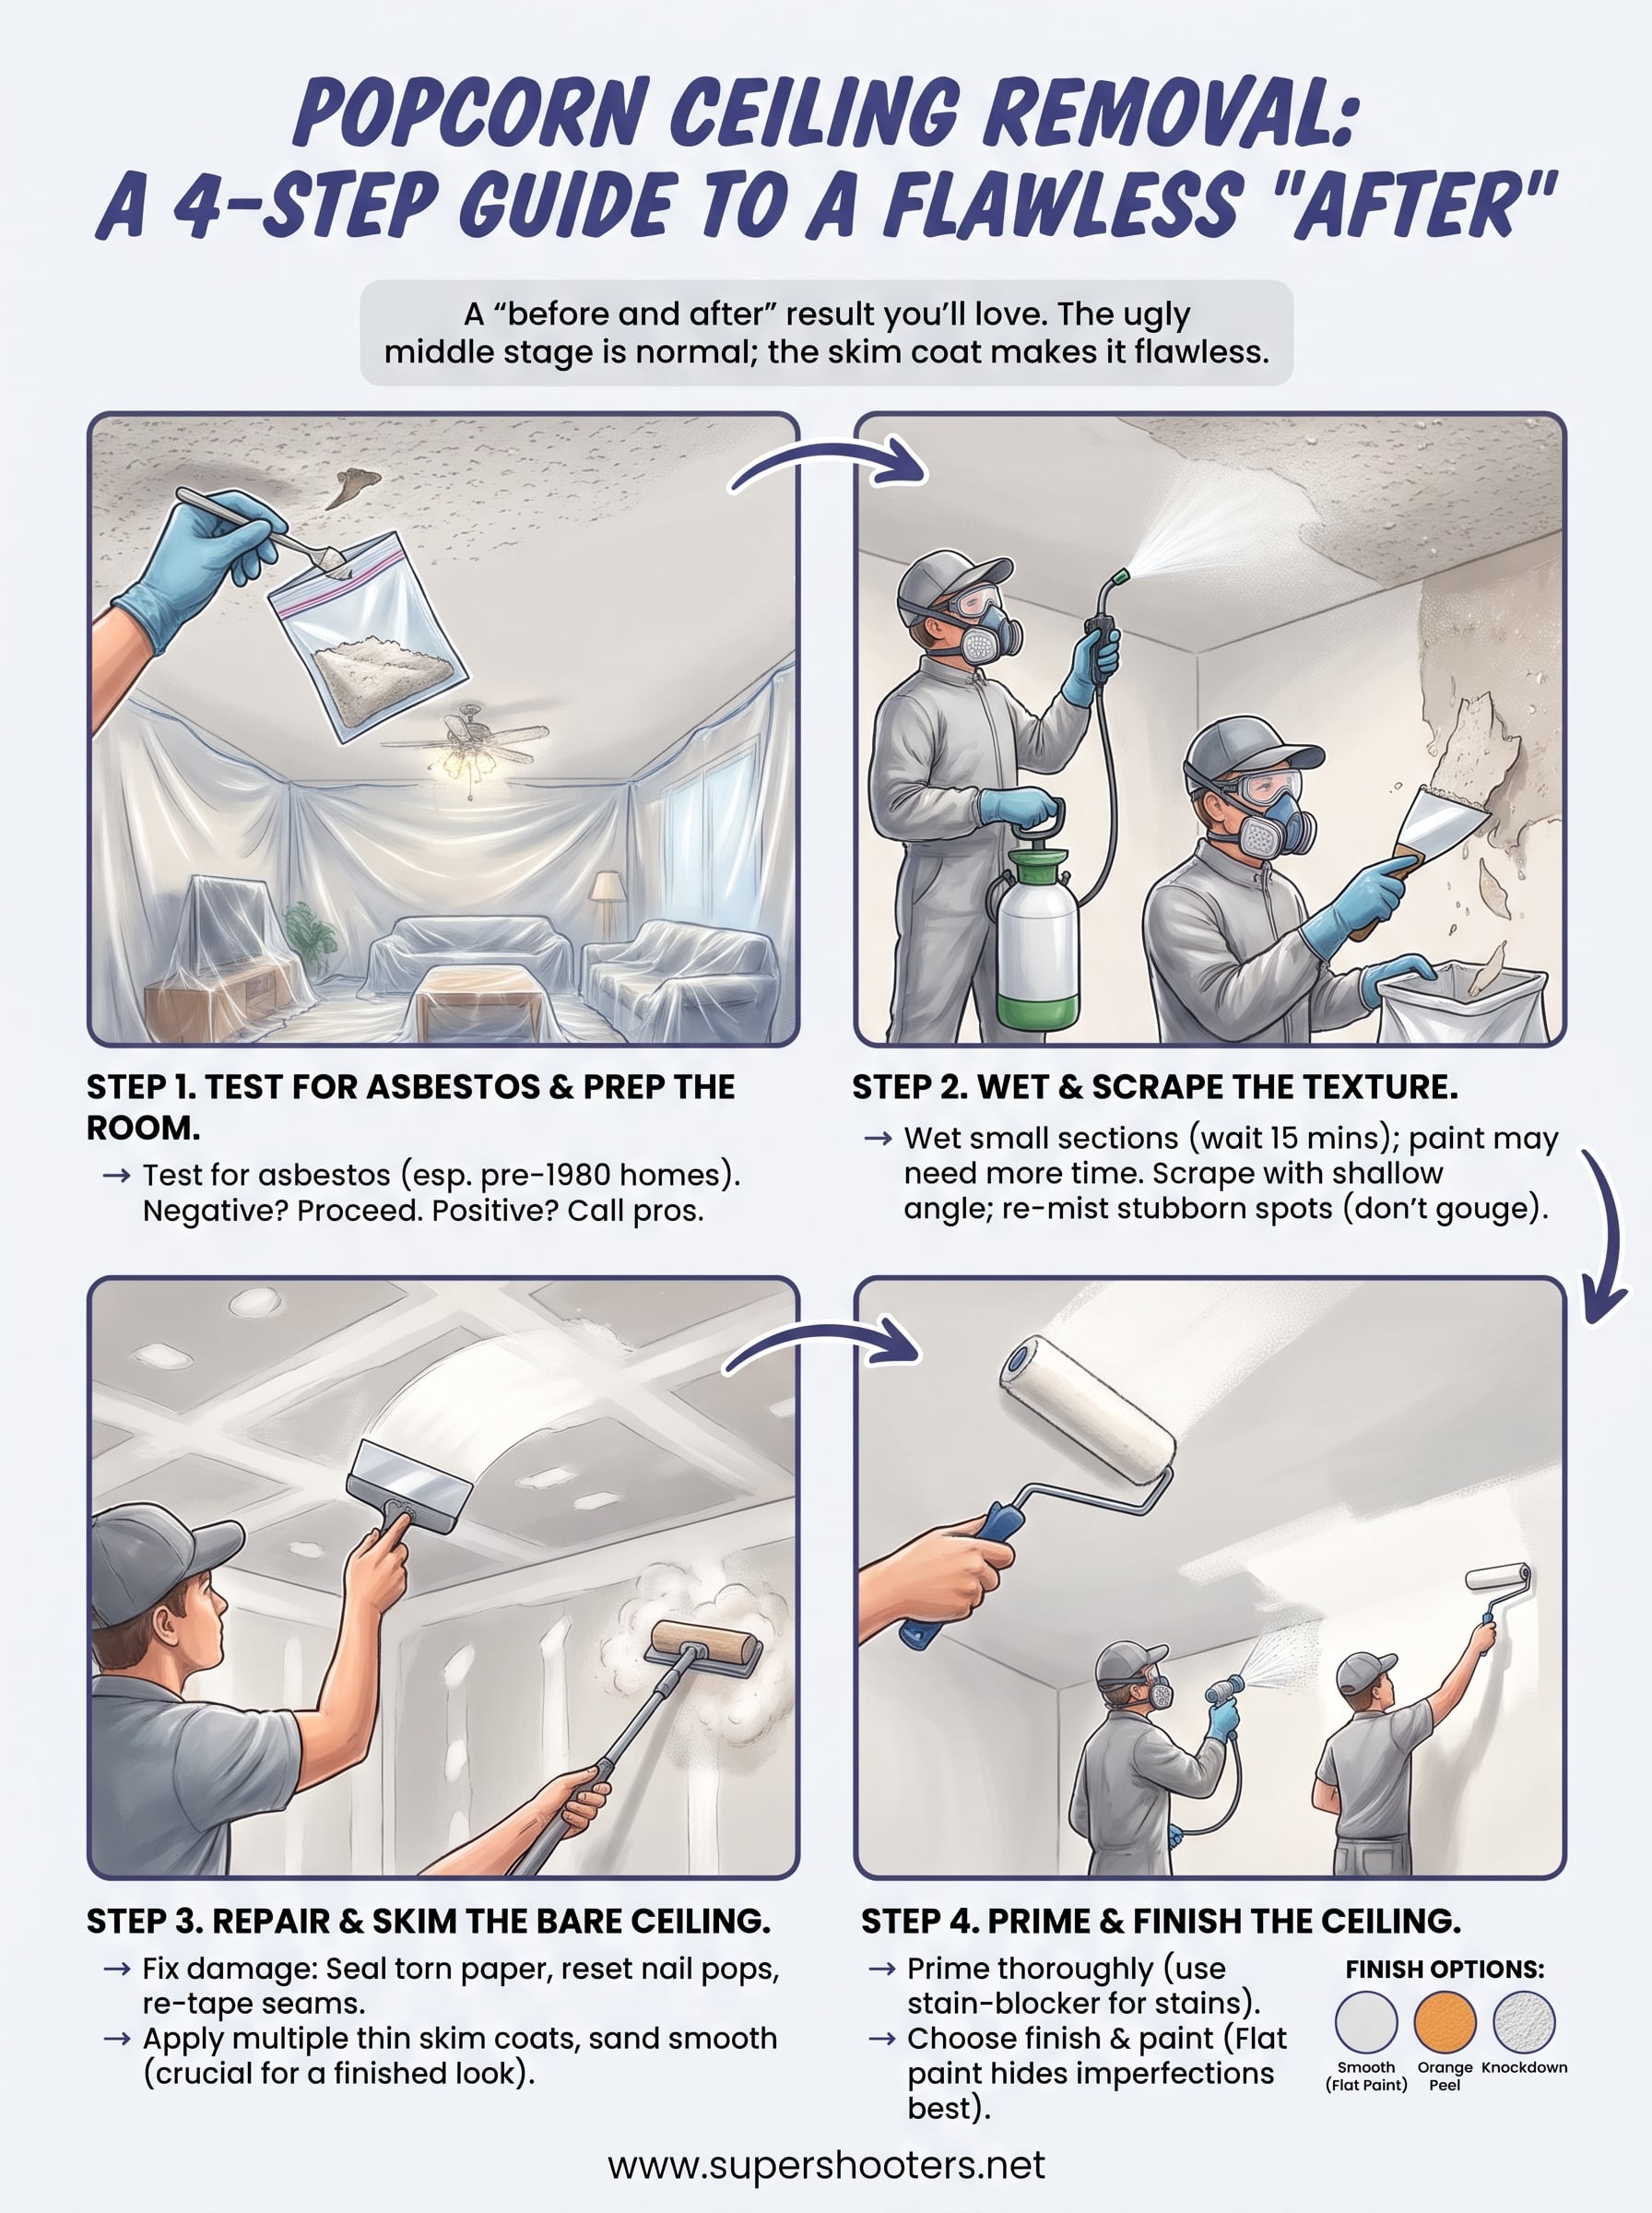
The way to get a before and after popcorn ceiling removal result you will be happy with is four steps: test the texture for asbestos, wet and scrape it off, skim and sand the bare drywall, then prime and paint or retexture. Done carefully, a room goes from a shadowy, dust-collecting ceiling to a flat, bright one in about a weekend. Done carelessly, you end up with gouges, stains, and a ceiling that looks worse than when you started.

Most before and after photos skip the middle of the story. They show the dated ceiling and the polished finish. They rarely show the day when the texture is gone and every tape seam, nail pop, and old patch is exposed. That stage is where DIY projects stall, and it is why so many homeowners wonder whether the work is worth it.

This guide shows you what each stage looks like, so you know what is normal and what is a problem. Then it walks through four steps with the tools, timing, and checks that matter. Super Shooters has removed popcorn and acoustic ceilings from Sacramento Valley homes for more than 30 years, so the advice below comes from real ceilings, including the ones that go wrong.

What the before and after really looks like

A finished ceiling looks flat, even, and brighter, and the room often feels taller because the shadows are gone. The change is bigger than most people expect from a surface that was never the focus of the room.

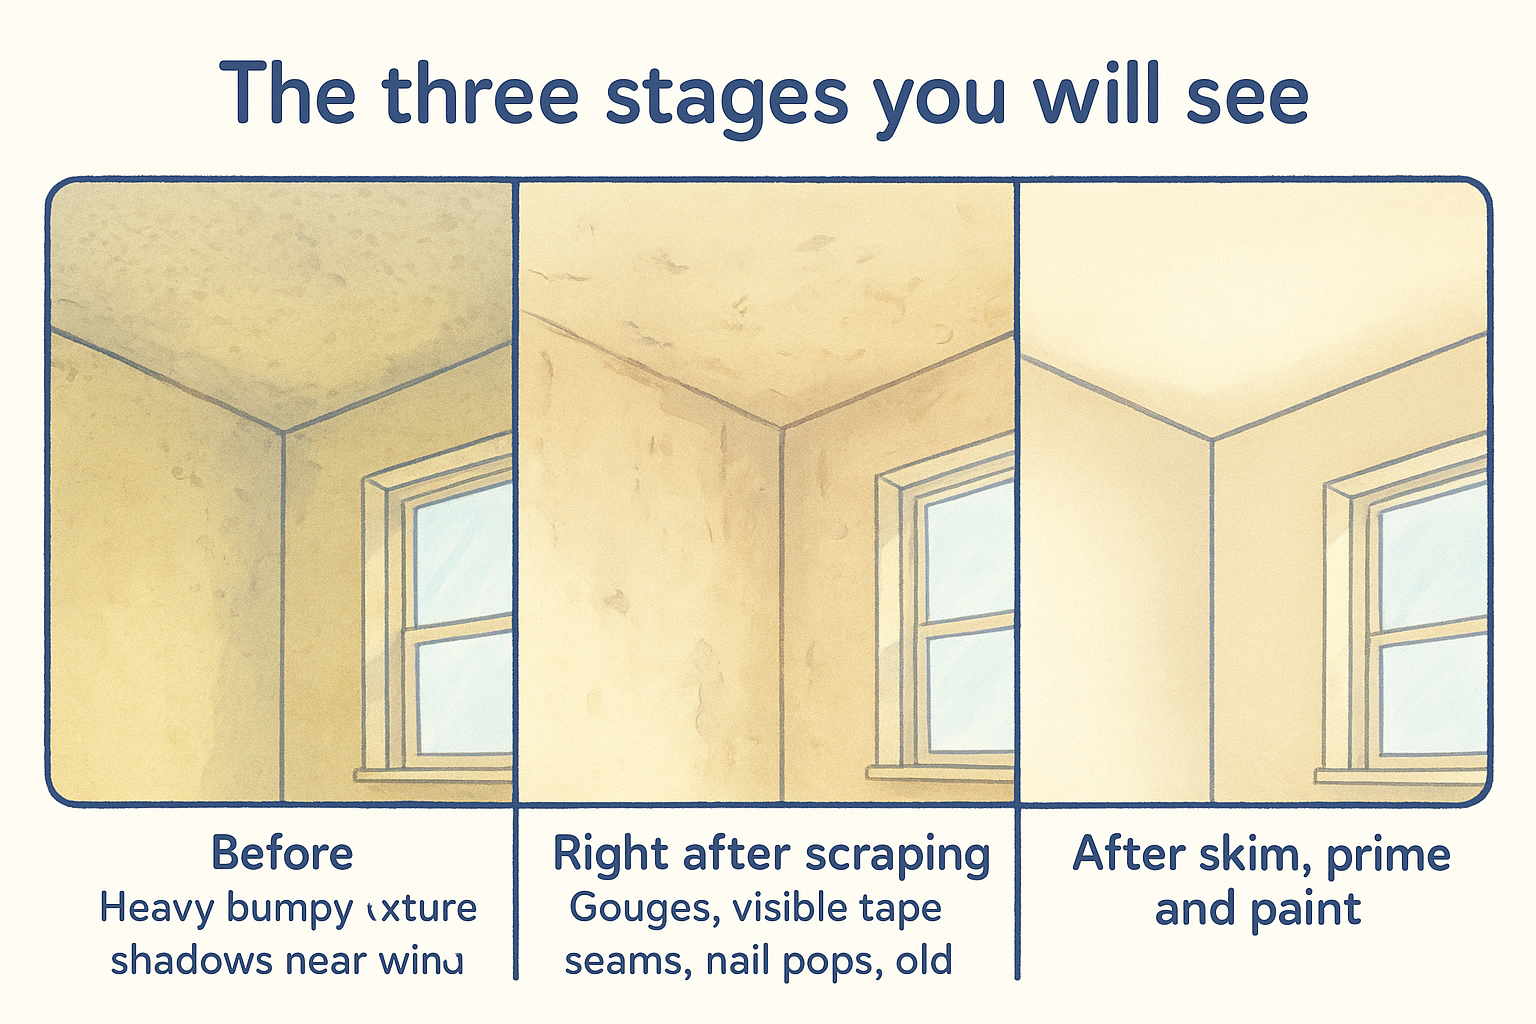
The three stages you will see

The transformation happens in three stages, and the middle stage is the one photos skip . Spray texture was applied to hide rough drywall finishing, so scraping it off exposes everything it covered.

Stage What you see What it means
Before Heavy bumpy texture, shadows near windows, dust and cobwebs, a yellow or gray cast The texture hides the drywall and traps dust
Right after scraping Patchy surface, gouges, visible tape seams, nail pops, old stains Normal. The ceiling needs a skim coat
After skim, prime, and paint Uniform flat surface, even light, clean edges at the walls Finished

Before you start, take a photo of your ceiling with a work light held low and along the surface. That raking light shows every flaw, and it is the same light that will expose a weak skim coat later. Use it again before you paint.

Is doing it yourself worth it

Doing it yourself is worth it for one or two rooms with sound drywall and a negative asbestos test . Beyond that, the time, mess, and finishing skill add up fast.

DIY makes sense when:

  • You are working on one or two rooms.
  • The texture tests negative for asbestos.
  • The drywall is sound, with no sagging or large water stains.
  • You can give one room a full weekend: prep and scraping on day one, skimming, sanding, priming, and painting on day two, with drying time between coats.

Hire a pro when:

  • The test is positive, or you cannot get a result.
  • You are doing the whole house. We remove acoustic ceilings in one to two days, sometimes three for a large house.
  • The ceiling has water damage, wide cracks, or loose tape.
  • You want a matched texture rather than a smooth finish.

Cost depends on ceiling size and condition, so get a quote before you decide. We give free in-home estimates and ask for no payment until the job is complete.

The ugly middle stage is normal, and the skim coat is what turns it into the finished result.

Step 1. Test for asbestos and prep the room

Before you wet or scrape anything, have the texture tested, because popcorn ceilings in older homes can contain asbestos. Homes built before about 1980 carry the most risk, and many Sacramento Valley homes fall in that range.

Test the texture first

Many homeowners have a licensed professional take the sample, since disturbing the texture is exactly the risk you are testing for. If you take it yourself, mist the spot, wear a respirator, and collect a small piece in a sealed bag before sending it to an accredited lab. Patch the spot afterward. The EPA's asbestos guidance explains the risks of disturbing it.

If the result is positive, stop. Scraping releases fibers, and this is a job for asbestos acoustic ceiling removal specialists. A negative result means you can continue.

Protect the room

Dust and wet texture travel farther than you expect. Work through this checklist:

  1. Turn off power at the breaker. You will be spraying water overhead.
  2. Remove light fixtures, or cover them and any ceiling fan.
  3. Take out furniture, and remove breakables and glass-top pieces. Cover whatever stays.
  4. Lay two layers of plastic on the floor, and tape plastic up the walls just below the ceiling line. We use two layers on floors and furnishings plus an extra layer on walls.
  5. Shut off the HVAC and cover the vents.
  6. Wear a respirator, goggles, and a hat.

Test before you touch the ceiling, because a positive result changes the whole job.

Step 2. Wet and scrape the texture

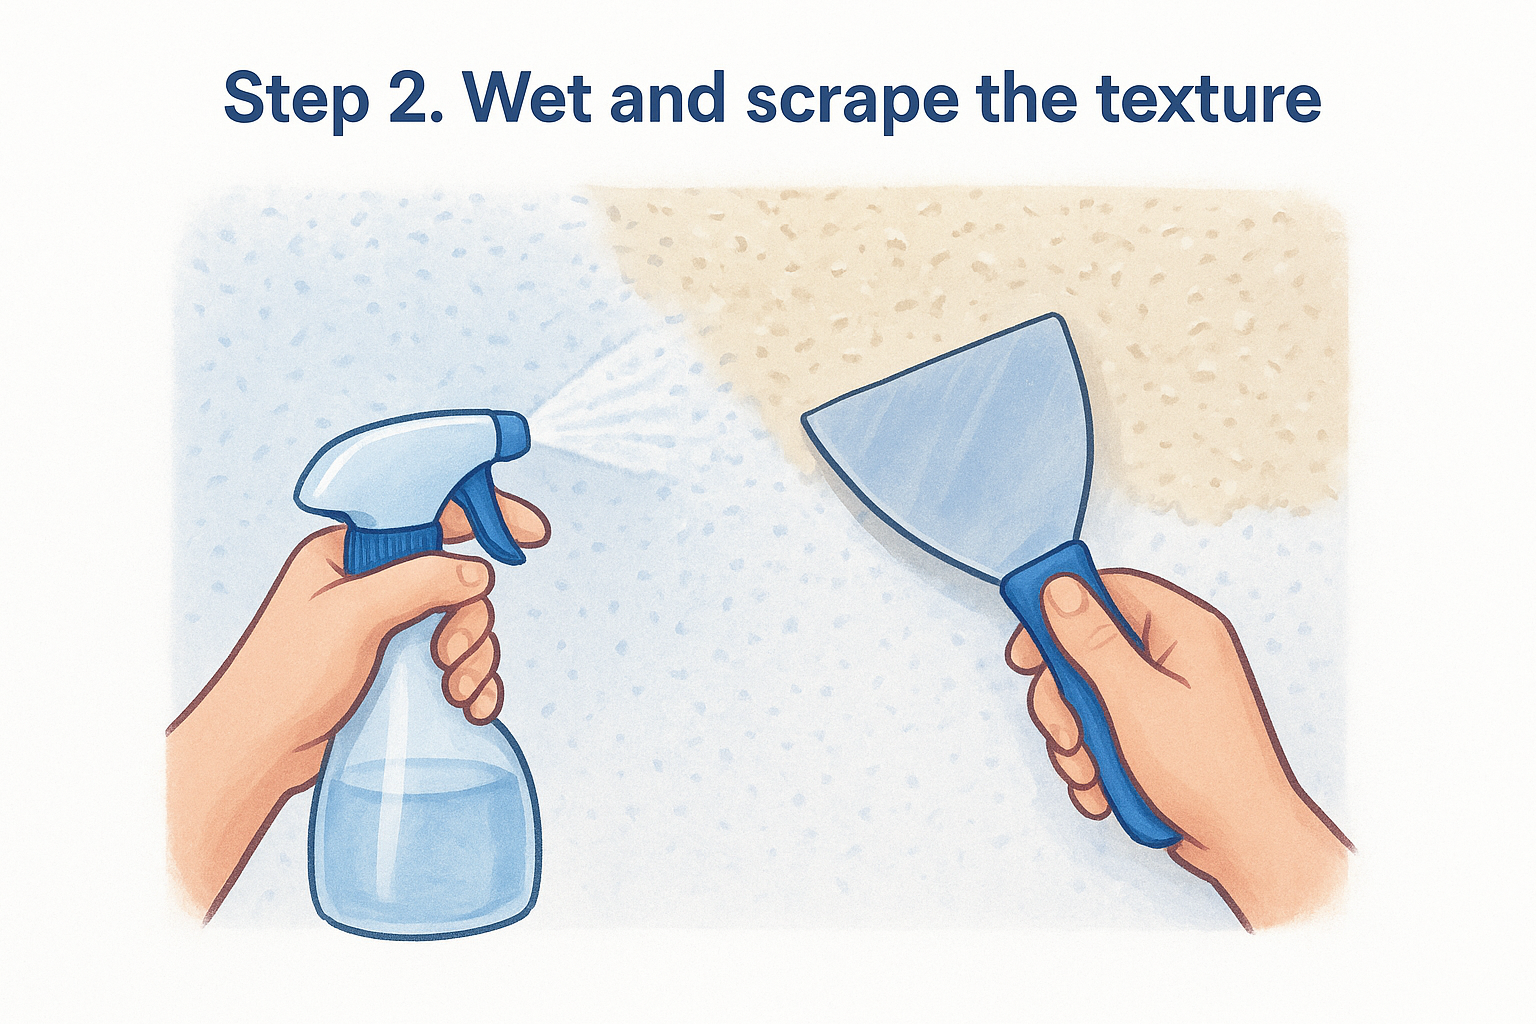
Mist a small section with a pump sprayer, wait about 15 minutes, then scrape it off with a wide knife. Wetting keeps dust down and softens the texture so it comes off in sheets.

Wet in small sections

Spray a one-foot test patch first. If the texture softens within 15 minutes, it is unpainted and will scrape easily . If water beads up, the ceiling was painted at some point. It needs several light passes, and it will take much longer. If it still resists, get a quote instead of grinding through it.

Work in sections of about four by four feet. Mist evenly, and do not soak it. Too much water loosens the paper face of the drywall and can cause sagging or stains that you will pay for later.

Scrape without gouging

Use a 6 to 12 inch scraper, or a ceiling scraper with a catch bag. Hold the blade at a shallow angle and use light pressure. Let the water do the work, and re-mist stubborn spots rather than pressing harder.

Round the corners of your blade with a file so they do not dig in. Scoop wet debris into heavy bags as you go. It is heavy, and it dries into dust if you leave it.

Patience with the sprayer beats pressure on the scraper, because every gouge becomes extra skim coat later.

Step 3. Repair and skim the bare ceiling

Once the texture is off, fix the damage, then skim the whole ceiling with thin coats of joint compound and sand it smooth. This step decides how good the after looks.

Fix damage and seams

Check the ceiling with raking light and mark problems in pencil. Reset any nail pops with drywall screws. Re-tape seams where the tape has lifted. Where the scraper tore the paper face, seal the torn area with a drywall primer before applying compound, or the compound will bubble.

Larger holes, cracks, or water-damaged areas may be beyond a weekend repair. That is where drywall repair and patching saves the project.

Skim and sand

Apply a thin coat of premixed joint compound with a 12 to 14 inch knife, then a second coat in the opposite direction after the first dries. Let each coat dry fully, usually overnight. Sand with 120 to 150 grit on a pole sander, then wipe the dust off with a damp sponge or a brush-head vacuum.

Do you need a full skim coat? For a smooth ceiling, yes. If you plan to retexture with knockdown or orange peel, you can skip the full skim and just fix flaws, since the new texture hides minor marks.

A full skim coat is what separates a smooth ceiling from a scraped one.

Step 4. Prime and finish the ceiling

Prime the whole ceiling, then paint it or apply new texture. Primer evens out how the compound, paper, and old patches absorb paint, so you do not get dull spots.

Prime and paint

Use a drywall primer on the full ceiling. If there are water stains, use a stain-blocking primer , or they will bleed through. Cut in the edges first, then roll two coats of flat ceiling paint, finishing each pass in one direction. Check with raking light before the final coat. Flat paint hides more than glossy paint, but a smooth ceiling still shows flaws, so fix them now.

Choose your finish

If you want to avoid a flawless-or-nothing result, a light texture is more forgiving than smooth.

Finish Look Hides flaws Effort
Smooth with flat paint Cleanest, most modern Poorly Highest, full skim coat
Orange peel Fine, light spatter Moderately Medium, needs a sprayer
Knockdown Flattened splatter pattern Well Medium
Skip trowel Hand-troweled, layered Very well Skill-dependent

If you would rather leave texture to a pro, our ceiling and wall texturing service covers it, and we provide the paint for new texture.

Prime first, because paint over uneven compound shows every patch.

Your ceiling, before and after

A good before and after comes down to four steps: test for asbestos, wet and scrape gently, skim and sand, then prime and finish. The scraped stage will look rough, and that is normal. The skim coat and primer make the difference between a ceiling that looks done and one that looks patched.

If you have one room, a negative test, and a free weekend, this is a manageable project. If you have a whole house, a positive test, or damaged drywall, hiring out saves time and avoids costly mistakes. To see what it would take for your ceilings, request a free estimate on our popcorn ceiling removal page.

Recent Posts

By cinchweb • October 31, 2026
Hire a popcorn ceiling removal professional the right way: test for asbestos, vet licenses, compare bids line by line, and prep your home.
By cinchweb • October 30, 2026
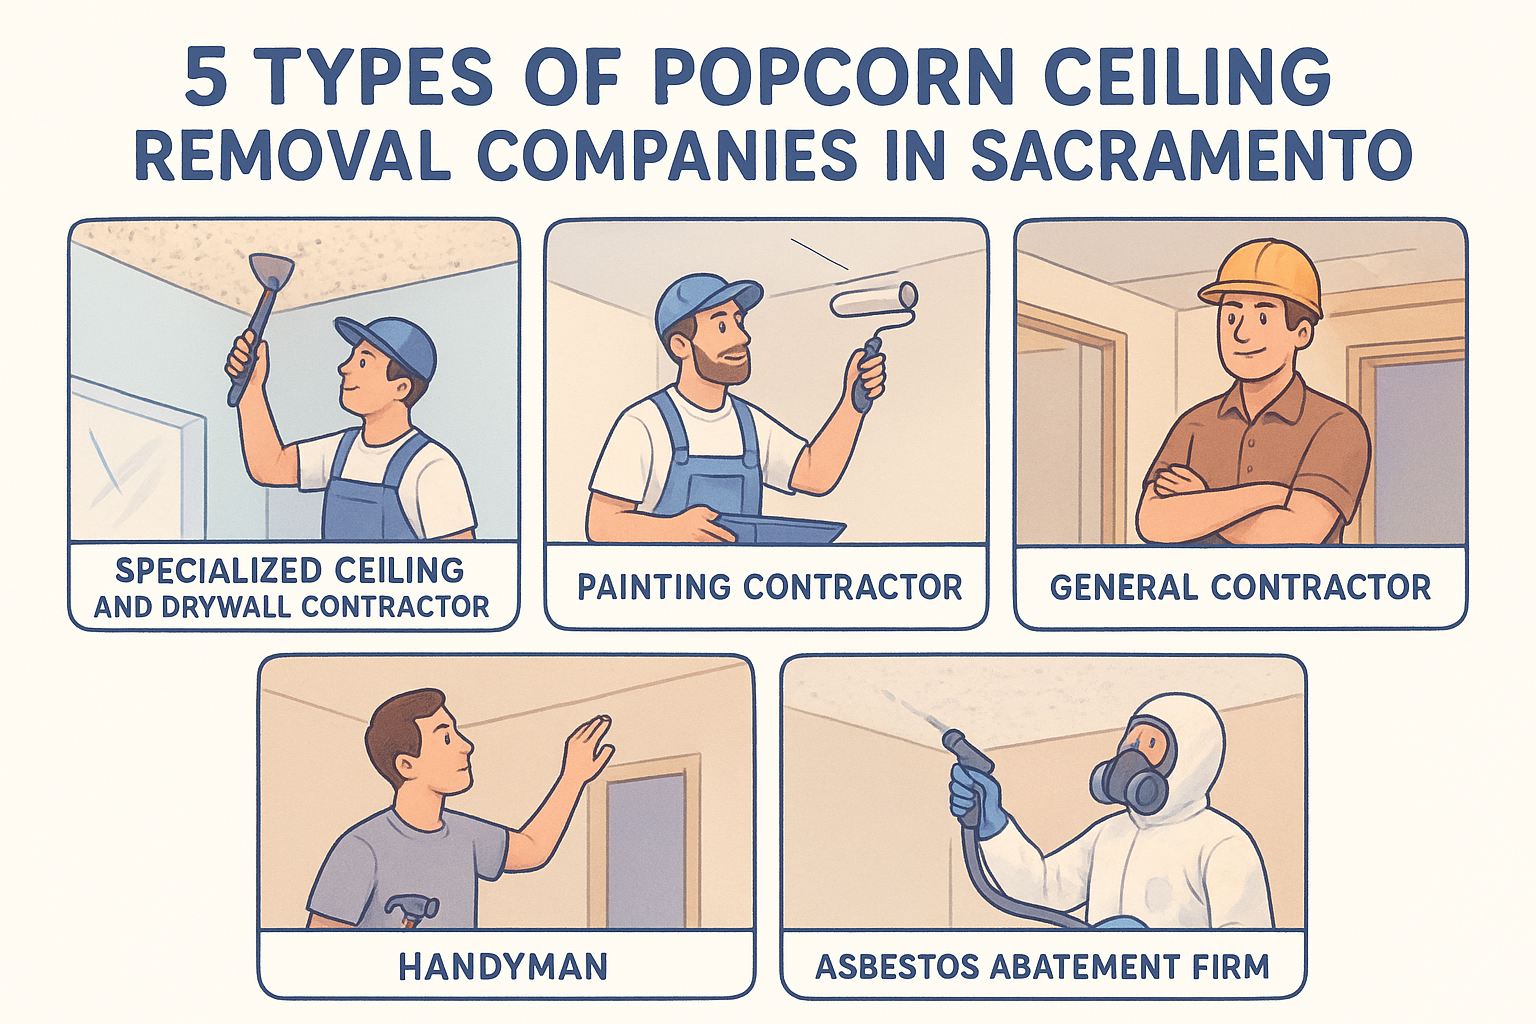
Choosing a popcorn ceiling removal company in Sacramento? Compare five contractor types, plus how to check licenses, reviews, and free estimates.
By cinchweb • October 29, 2026
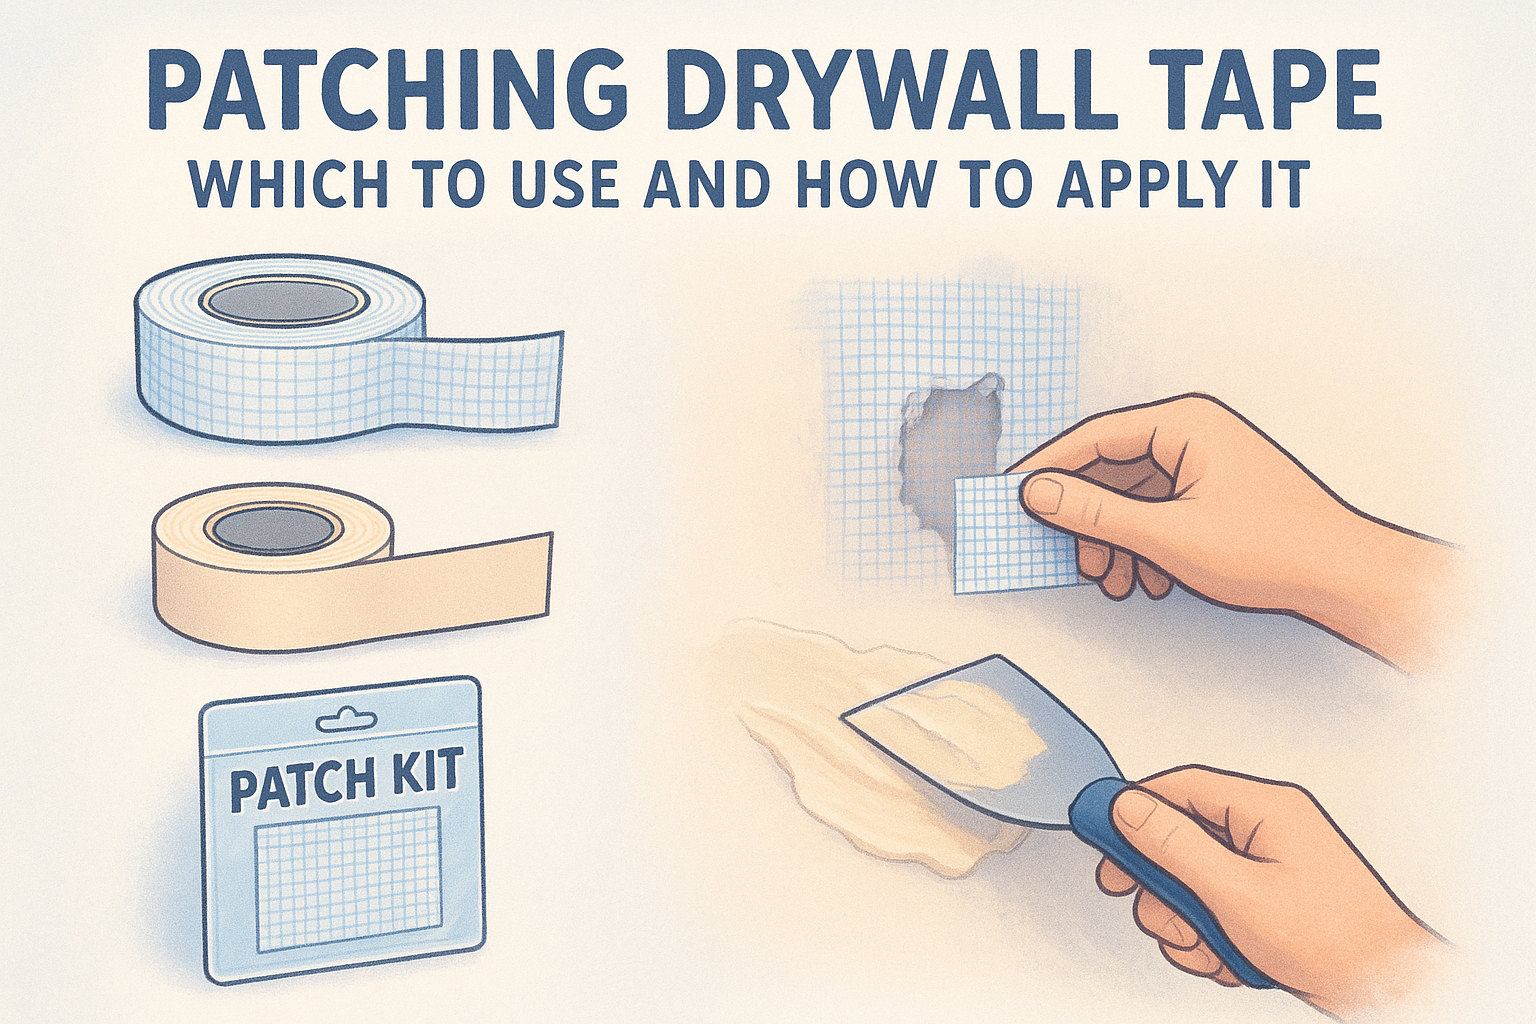
Learn when patching drywall tape is needed, which kind to buy, and how to bed it and cover it with joint compound in four steps.
By cinchweb • October 28, 2026
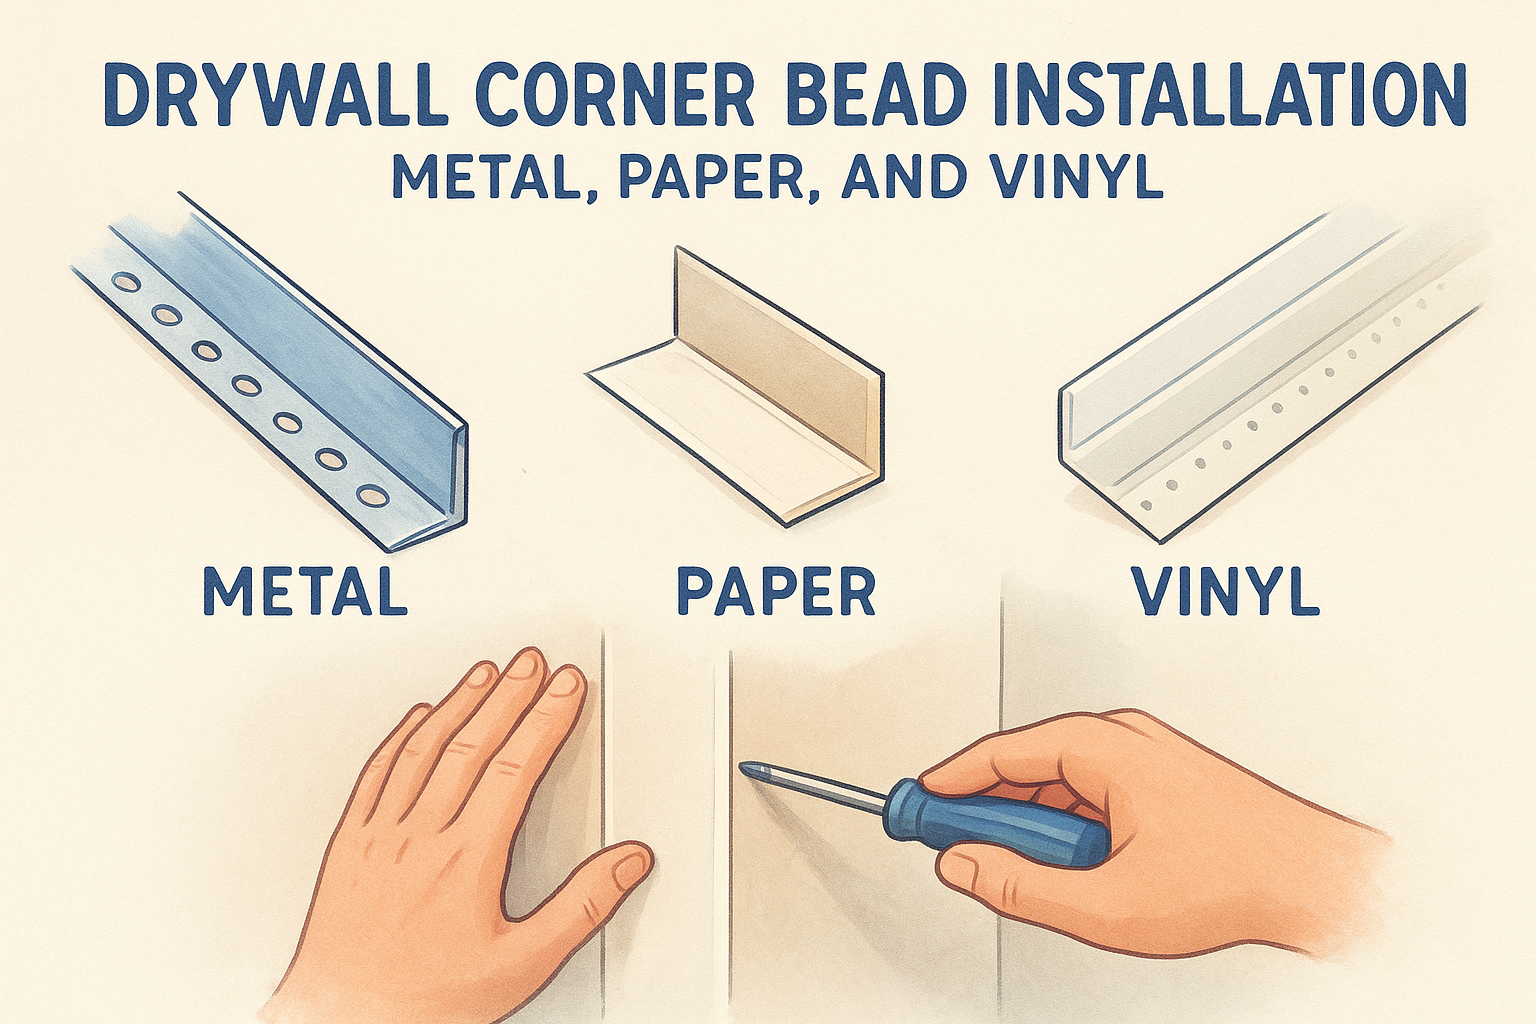
Learn drywall corner bead installation for metal, paper-faced, and vinyl bead: how to cut, fasten, and cover it with joint compound.
By cinchweb • October 27, 2026
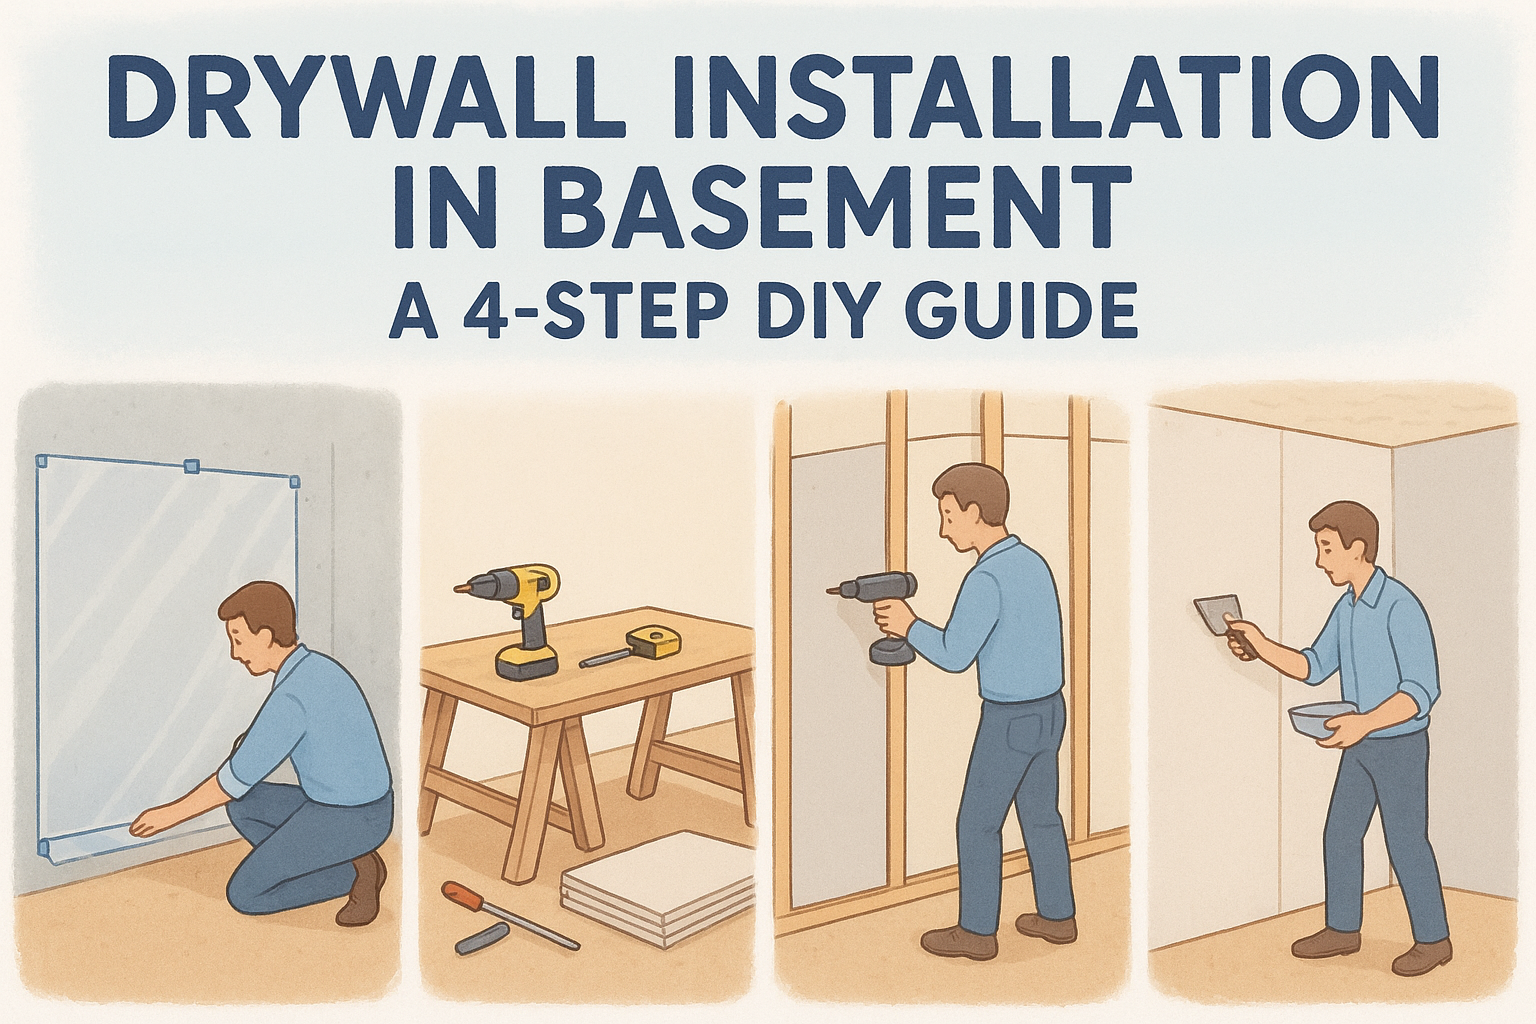
Learn drywall installation in basement step by step: moisture test, framing over concrete, ceiling and wall panels, and taping. Tools and sheet count.

By cinchweb • October 26, 2026
How much does asbestos abatement cost? See price ranges per square foot, what drives quotes up, and how to check a Sacramento Valley estimate.
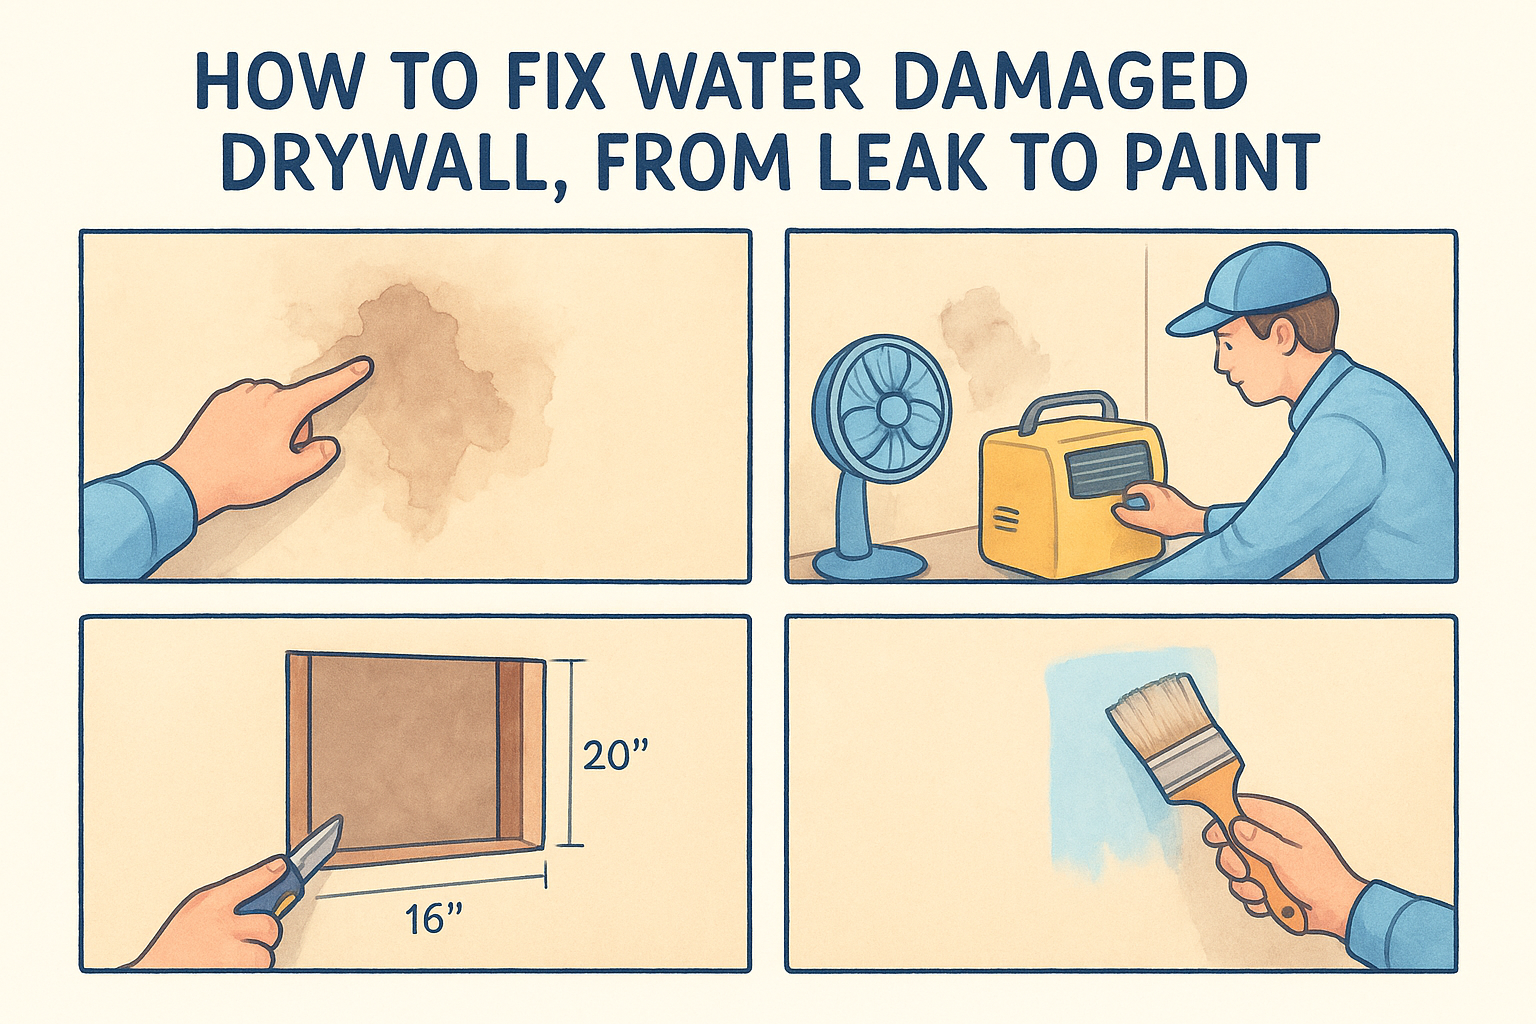
By cinchweb • October 25, 2026
How to fix water damaged drywall: stop the leak, dry the wall, cut and patch, prime and paint. Includes a day-by-day schedule and pro warning signs.
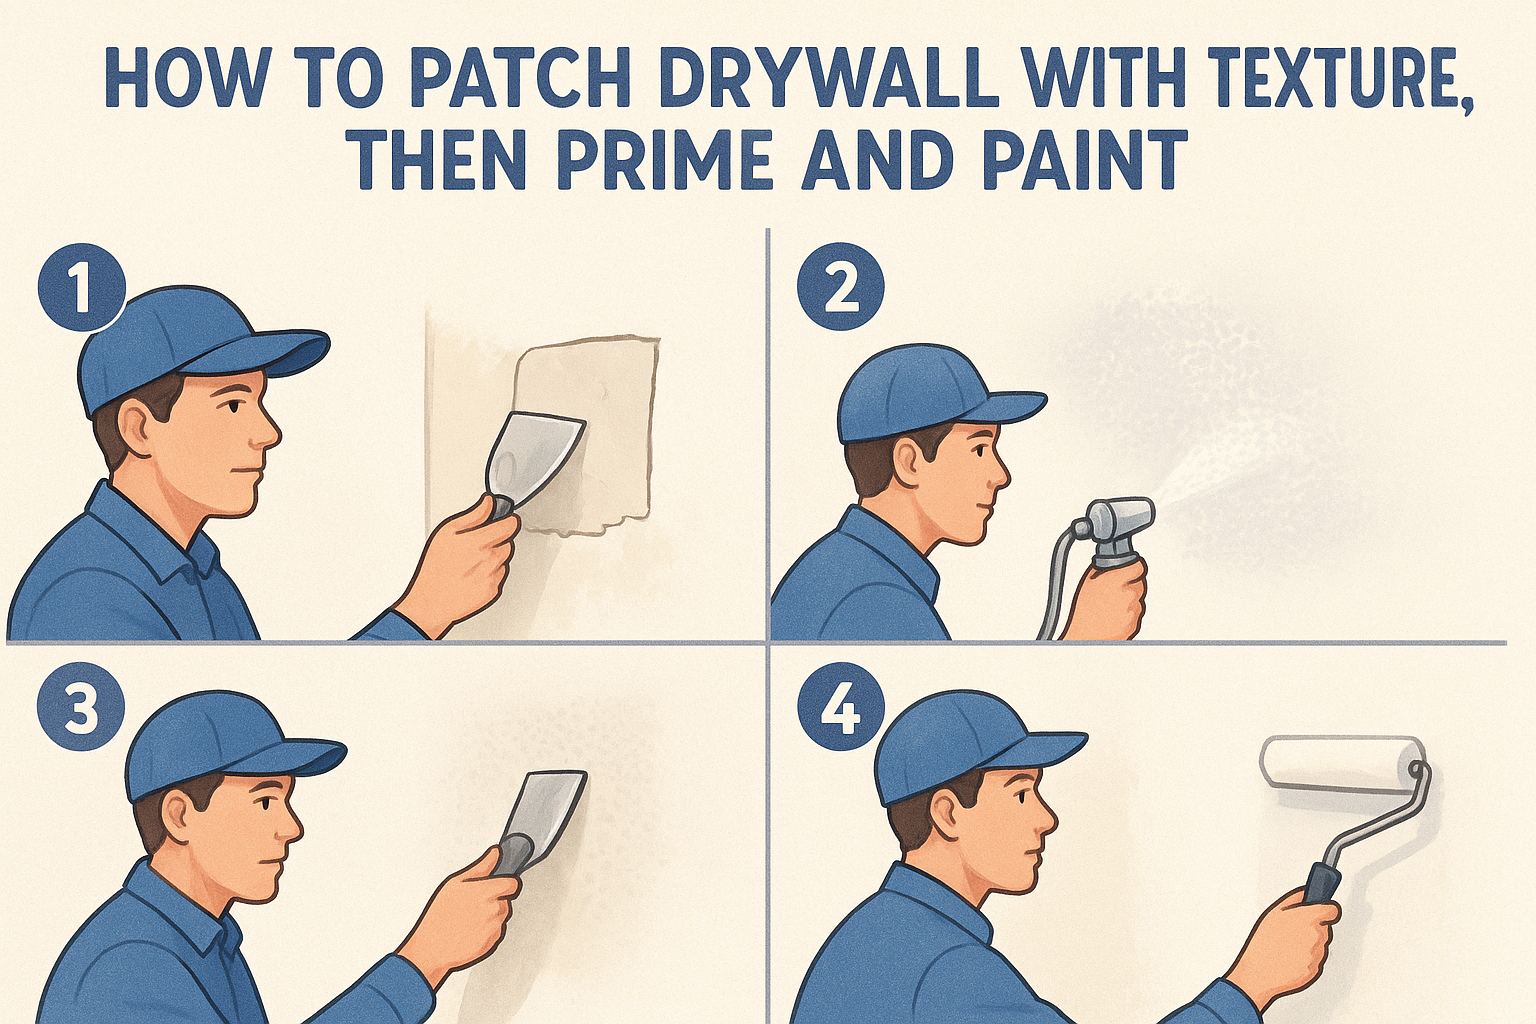
By cinchweb • October 24, 2026
Learn how to patch drywall with texture: fill the hole, match knockdown or orange peel, then prime and paint so the repair disappears. Includes mix ratios.

By cinchweb • October 23, 2026
Find an asbestos removal company near me in the Sacramento Valley: 5 types compared, license checks, cost ranges and how to get a quote.

Show More