October 29, 2026
Patching Drywall Tape: Which to Use and How to Apply It
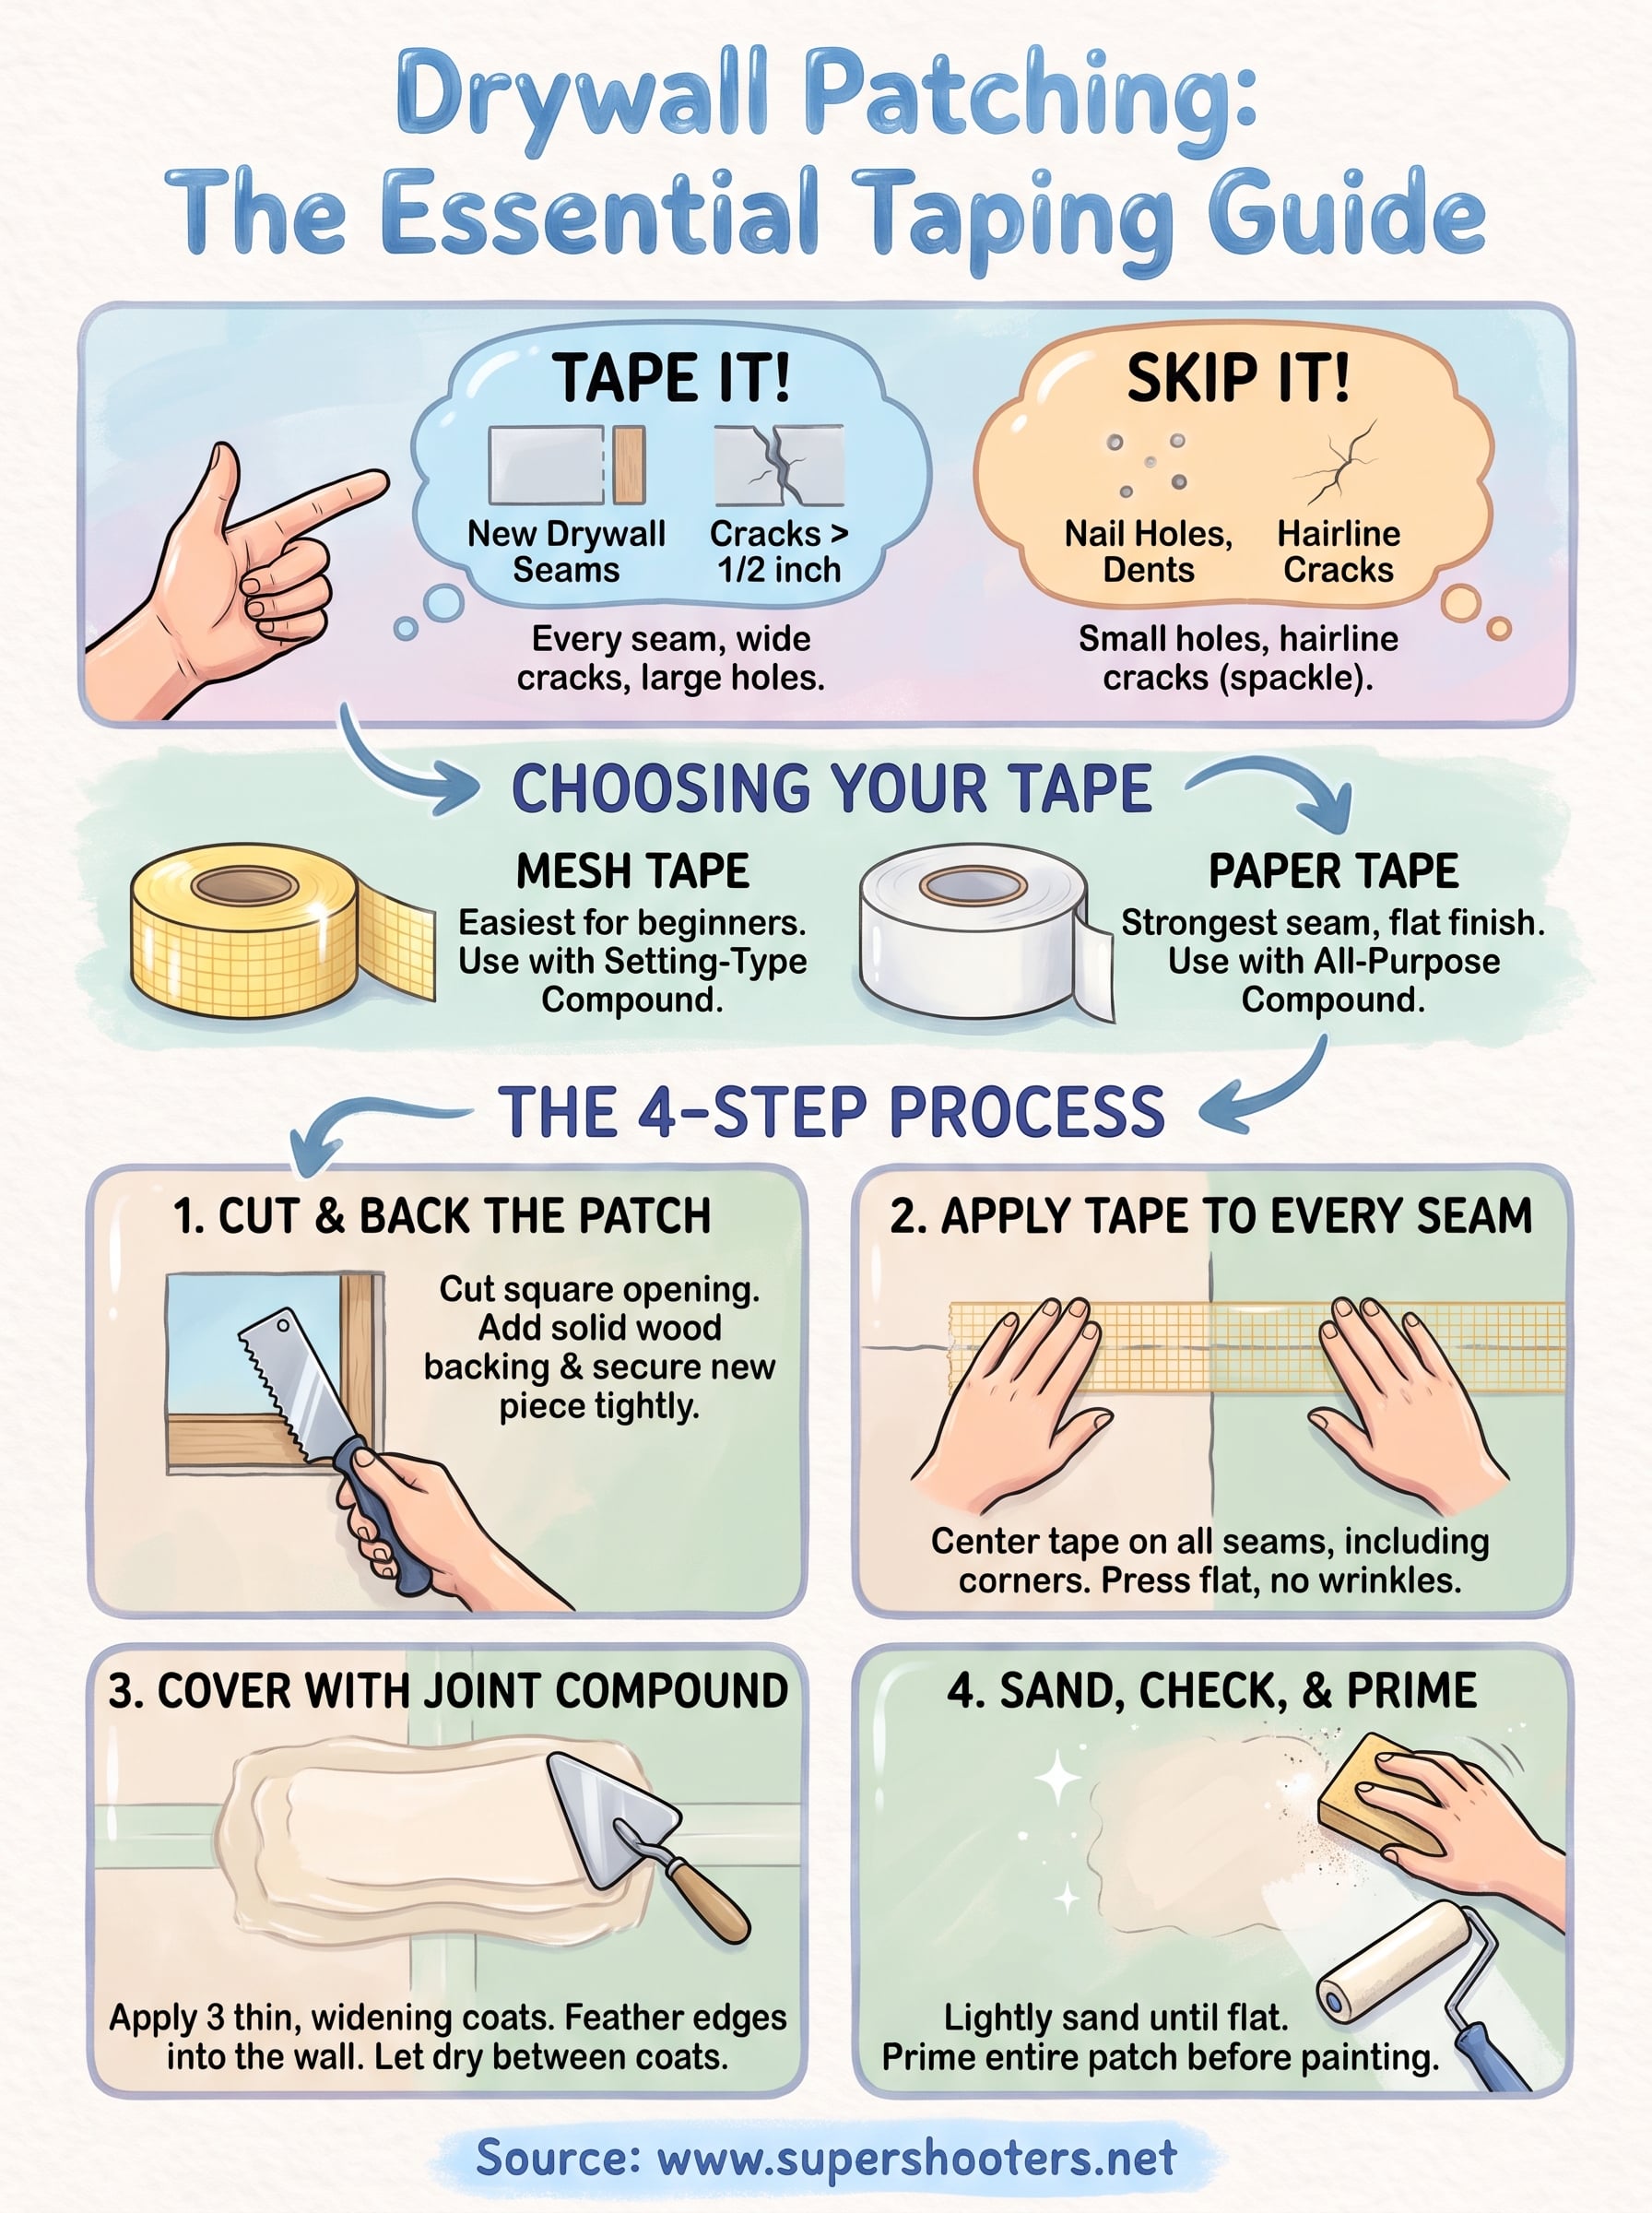
Yes, you need tape for most patches. Any seam where new drywall meets old, and any crack wider than about half an inch, needs tape bedded in joint compound, or the repair will crack again. For patching drywall tape , self-adhesive fiberglass mesh is the easiest choice for beginners, and paper tape makes the strongest seam. Press the tape over the seam, cover it with a thin coat of compound, add two wider coats, then sand and prime. Only nail holes, dents, and hairline cracks can skip tape.
Most patches fail at the edges, not in the middle. The repair looks fine for a week, then a dark outline or a hairline crack traces the square you cut. The cause is nearly always a seam with no tape, the wrong tape for the compound, or tape that was never fully buried. Videos show the motion but rarely tell you how wide each coat should be or when to stop.
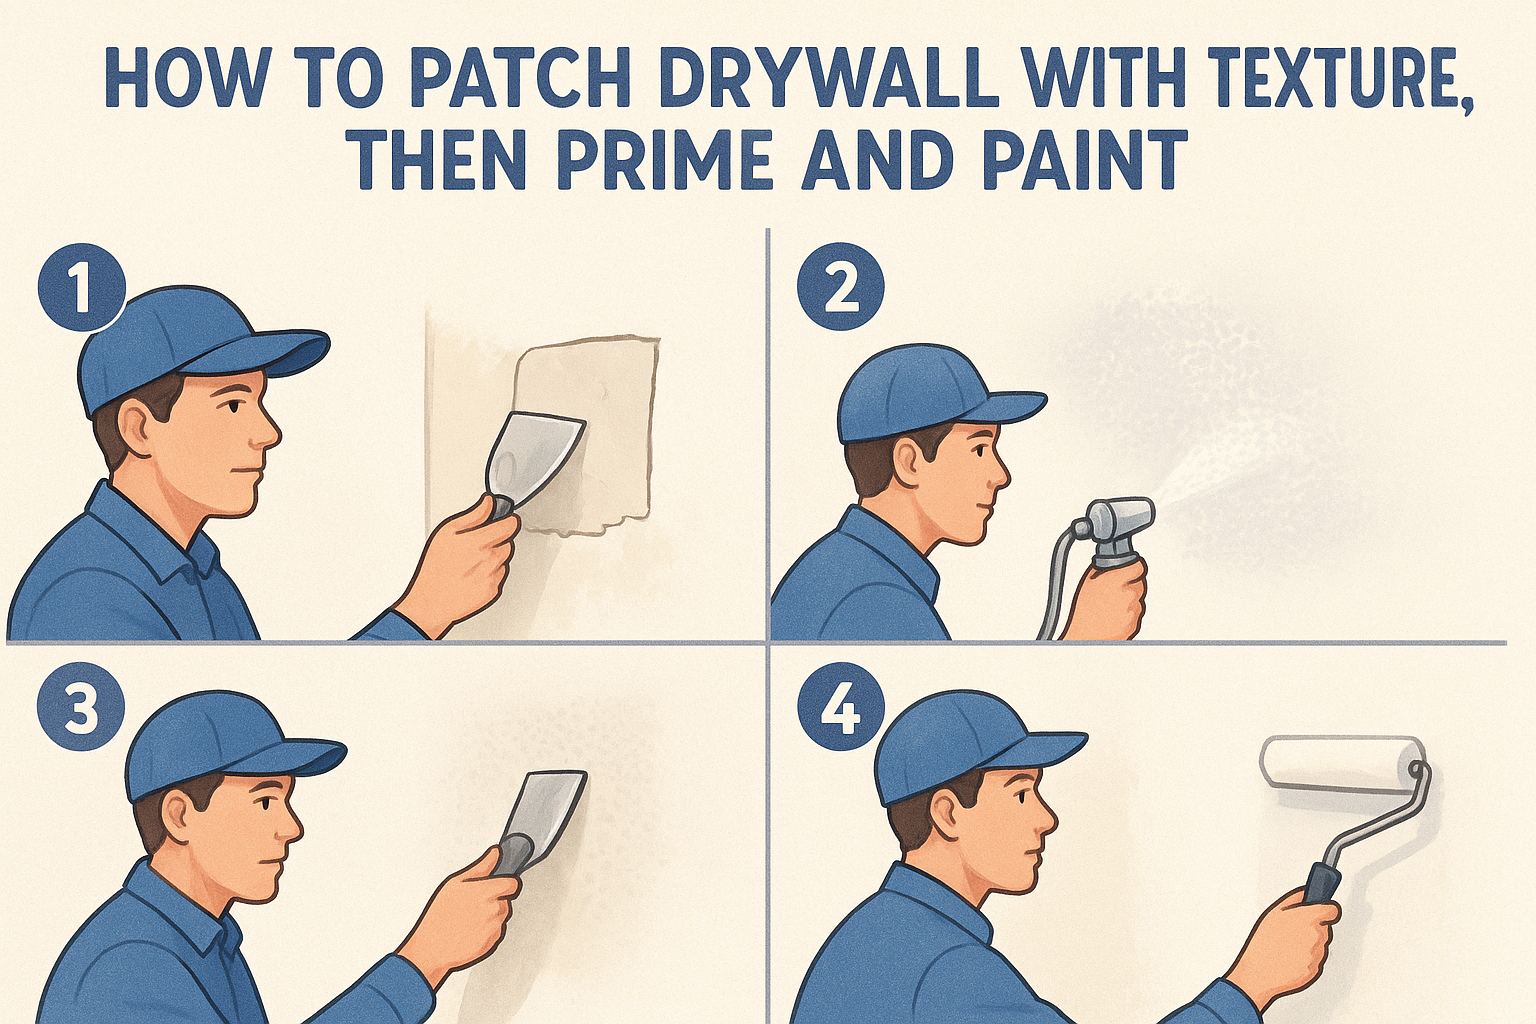
This guide walks through the whole job in four steps: cutting and backing the patch, taping every seam, covering the tape with compound, and sanding. It starts with how to tell whether your patch needs tape and which kind to buy. Super Shooters has repaired drywall in Sacramento Valley homes for more than 30 years, and the advice here is what we would tell a homeowner standing next to us.
Why patches need tape and which tape to buy
A patch needs tape wherever two pieces of drywall meet, because joint compound alone is brittle and tape gives the seam the tensile strength it lacks. Walls expand, contract, and flex with temperature and humidity. A bare compound seam can't follow that movement, so it splits along the edge of the patch.
When a patch needs tape and when it doesn't
Use this as your rule of thumb:
- Tape it: every seam around a cut-out patch, cracks wider than 1/2 inch, and any hole large enough that you had to cut and install a new piece of drywall.
- Skip it: nail and screw holes, dents, hairline cracks (spackle handles these), and holes covered by a self-adhesive patch, which already has mesh built in.
Holes up to about 4 inches across are usually a patch-kit job. Anything larger calls for a cut-out and a new piece of drywall, and that piece gets taped on all four sides.
If new drywall touches old drywall, tape the seam.
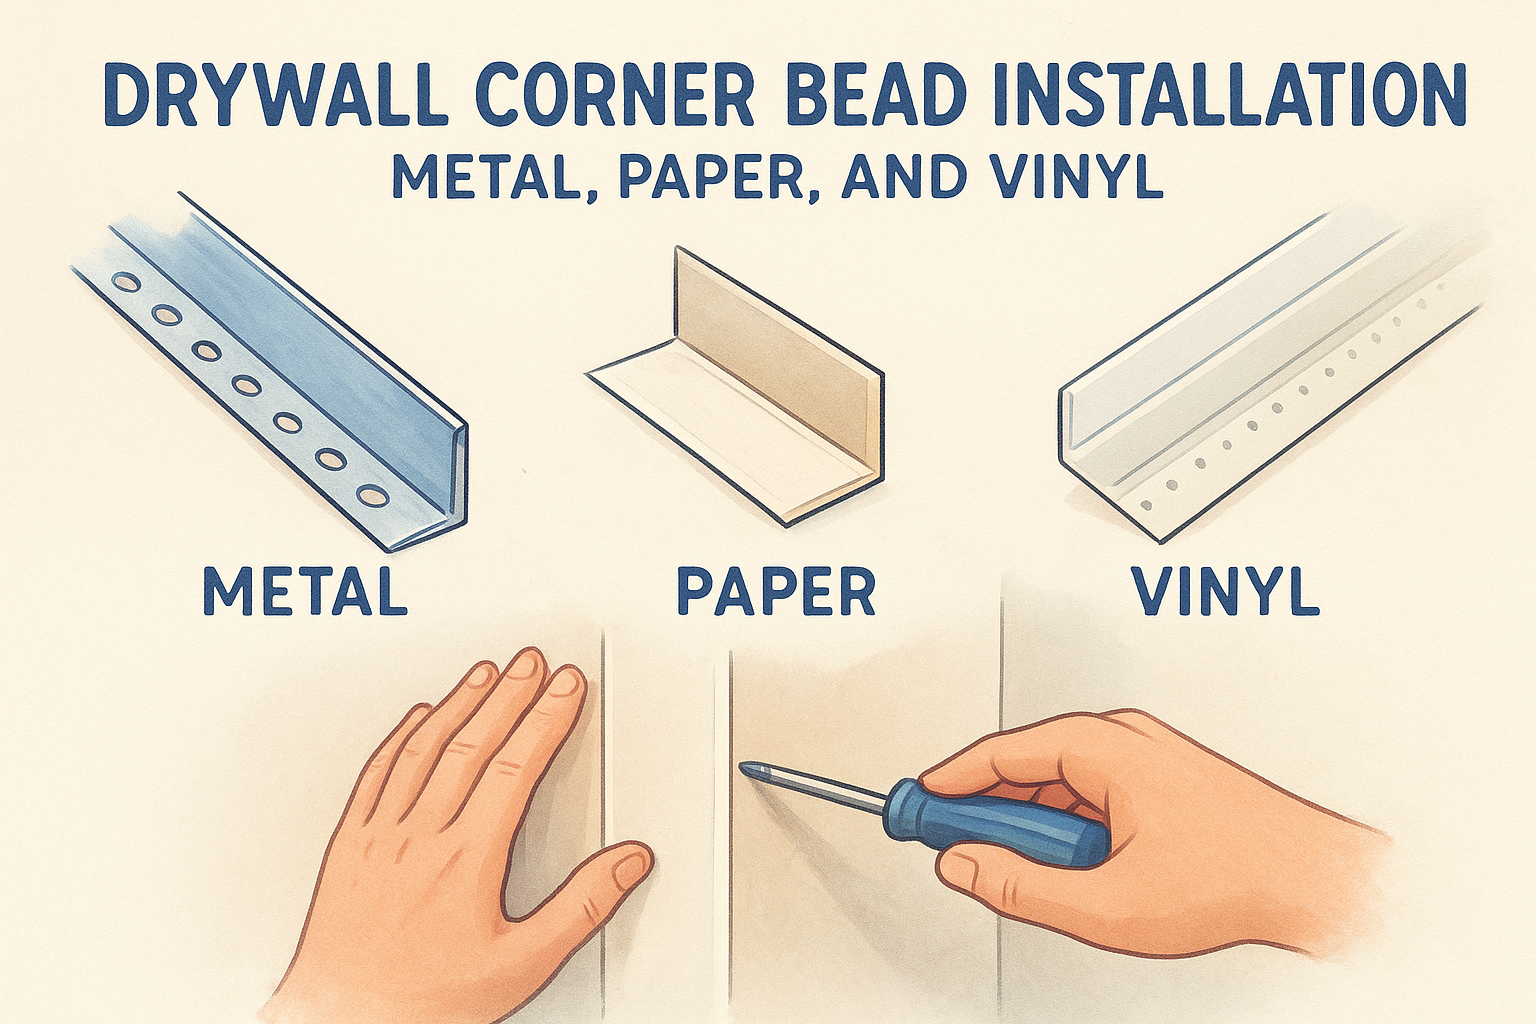
Mesh tape, paper tape, or a patch kit
All three work. They differ in how forgiving they are and how strong the seam ends up.
| Option | Best for | Pair it with | Watch for |
|---|---|---|---|
| Self-adhesive fiberglass mesh tape | Small and mid-size patches, cracks, first-timers | Setting-type compound for the first coat | Mesh pattern shows through thin coats |
| Paper tape | The strongest seam, flat finish, inside corners | All-purpose compound or setting-type compound as the bed coat | Bubbles if you wipe too hard or use too little mud |
| Self-adhesive mesh patch (kit) | Holes up to about 4 inches | Lightweight compound or the spackle in the kit | Larger holes need a cut-out and backing |
For most homeowners, mesh tape with setting-type compound is the best combination. The tape sticks to the wall, so you don't have to bed it in wet mud, and the compound dries hard around the mesh. Reach for paper tape when you want the flattest result or when you are taping an inside corner.
Tools and materials to gather
Collect everything before you mix any mud:
- Drywall saw and utility knife
- Scrap lumber (1x3 or 2x4) and 1-1/4 inch drywall screws
- A piece of drywall that matches your wall thickness, usually 1/2 inch
- Tape of your choice, about 2 inches wide
- Joint compound, plus a mixing pan
- 6-inch, 10-inch, and 12-inch drywall knives
- Sanding sponges in medium and fine grit
- Drop cloth and a stud finder
Step 1. Cut and back the patch
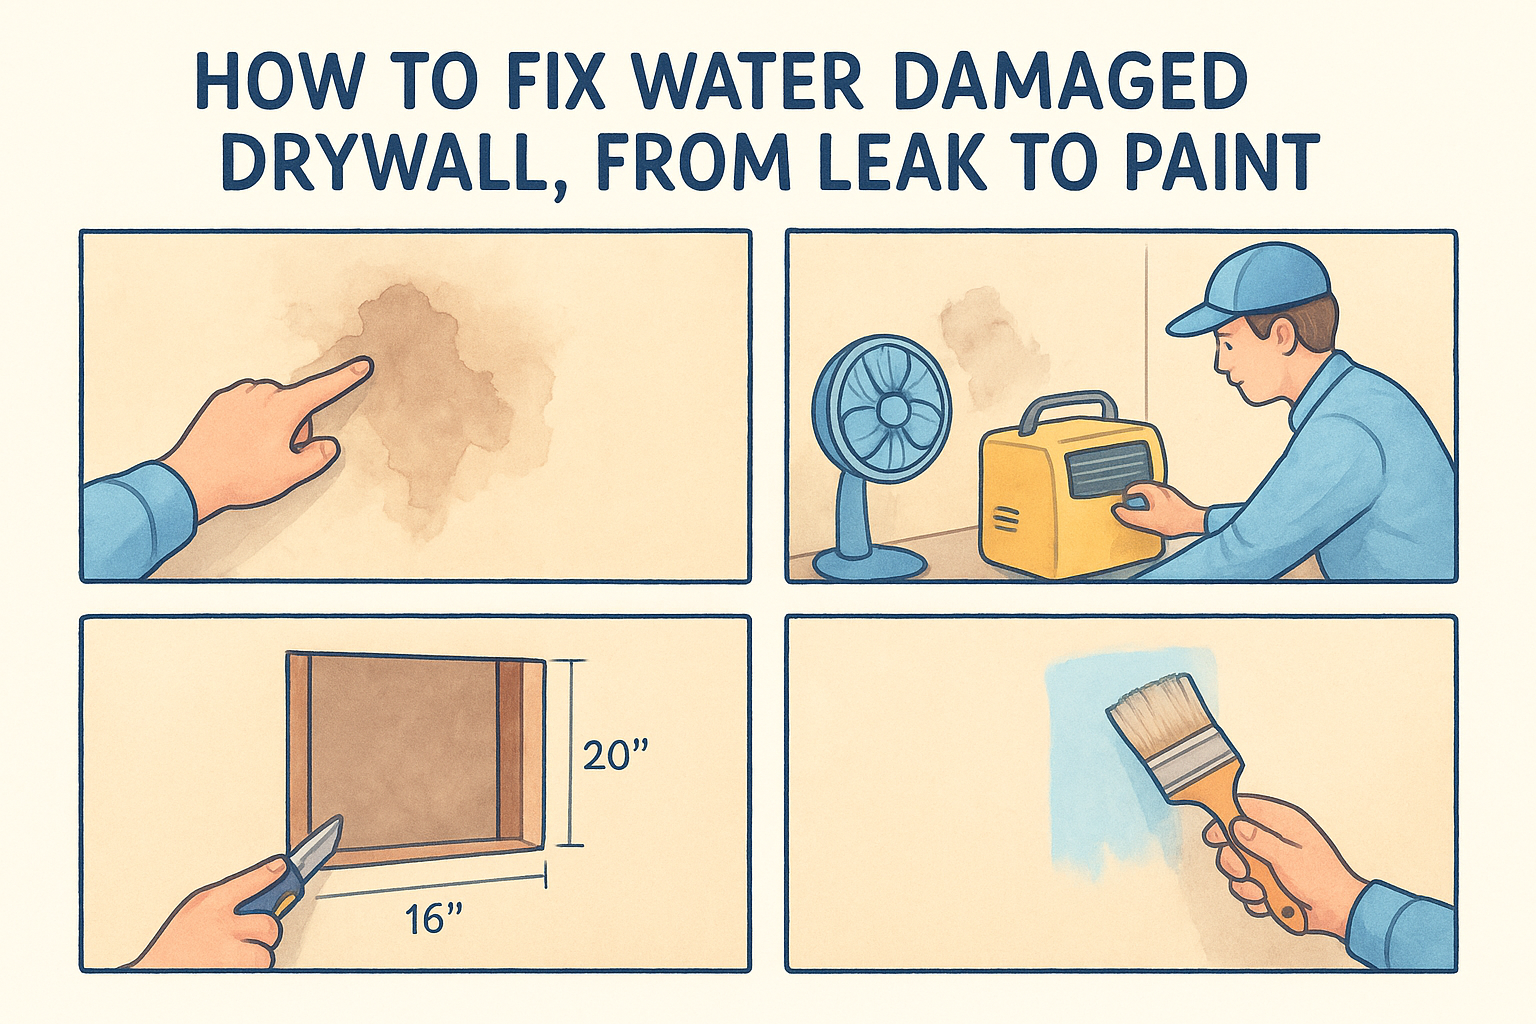
Cut a clean square or rectangle around the damage, add wood backing behind it, and fit a new piece of drywall snugly. A tight fit and solid backing keep the seams small and stop them from moving later, which is what lets the tape hold.
Cut a clean opening
Shut off power to the room's circuits before you cut into a wall, then locate the studs with a stud finder. Draw a square or rectangle that extends at least an inch past the damage. Score the paper along every line with a utility knife before you saw through, so the paper doesn't tear into the good wall. Cut slowly with a drywall saw, cutting away from your body.
Back it and fit the new piece
Cut backing strips from scrap lumber about 2 to 4 inches longer than the opening is tall. Slide them behind the wall and screw them through the existing drywall, so the patch has something solid on every side. Aim for a fastener roughly every 6 inches.
Here is a worked example for an 8 x 8 inch opening:
- Cut two backing strips about 12 inches long and screw one behind each side edge.
- Measure the opening at top, bottom, left, and right, since it is rarely perfectly square.
- Cut the new piece to those measurements and test-fit it. It should slide in snugly without forcing.
- Drive screws at least an inch from the edges, sunk just below the paper surface without breaking through it.
Backing behind the patch matters as much as the tape on top of it.
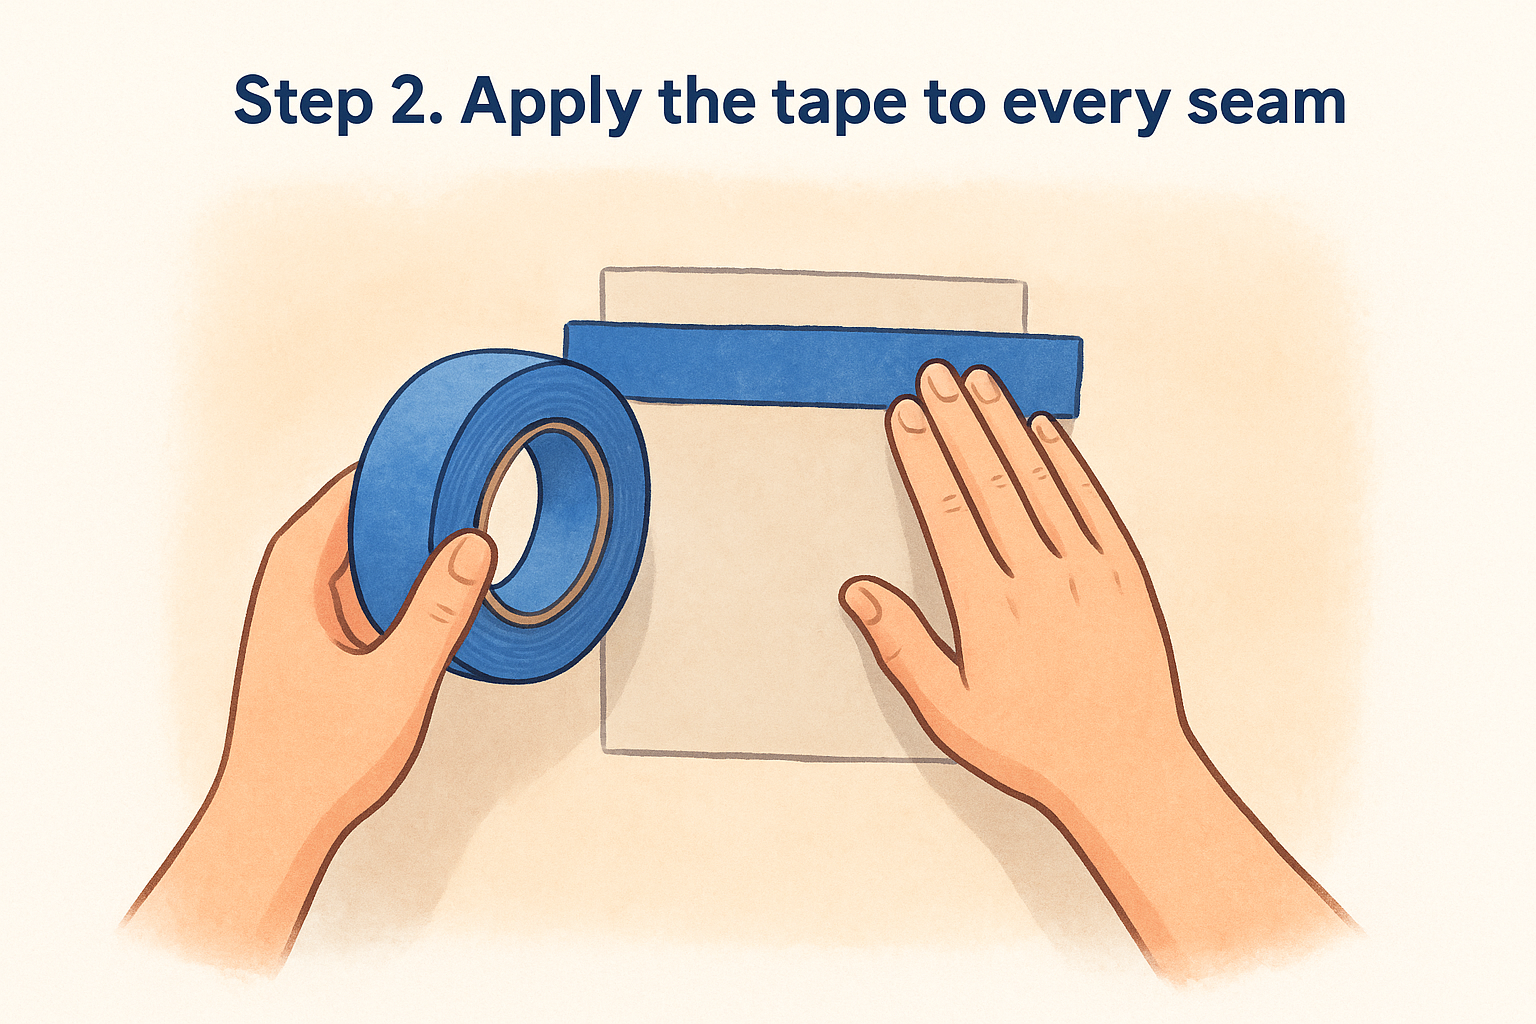
Step 2. Apply the tape to every seam
Center the tape on each seam so half of it covers the new piece and half covers the old wall. Every seam gets tape , including the corners of the patch, and the tape should lie flat with no wrinkles or gaps.
Prepare the seams
Wipe dust off the surface so the adhesive grips. If any gap is wider than a hairline, fill it with setting-type compound, let it harden, and scrape off the ridges first. Taping over a hollow gap leaves the tape bridging air, and that is where cracks start.
Mesh tape method
Cut four strips for an 8 x 8 inch patch, each about 10 inches long: the 8 inch side plus an inch of overhang at each end. That is roughly 40 inches of tape in total. Press each strip down firmly, centered on its seam, and let the ends cross at the corners. Smooth the tape with your knife so no edge lifts.
Paper tape method
Paper tape needs wet compound under it. Spread a bed coat about 6 inches wide over the seam with your 6-inch knife. Lay the tape into the mud and wipe from the center outward with firm, even pressure. Press too hard and you squeeze out all the mud and get bubbles. Press too lightly and you leave a mound that is hard to flatten. If you see a bubble, lift it, add a little mud, and wipe again.
Avoid these common taping mistakes:
- Tape sitting off-center on the seam
- Wrinkles or lifted edges from dusty surfaces
- Thick double layers where strips cross, which leave a ridge in the finished wall
- Skipping the gap fill and bridging an open gap
Press the tape flat and centered, and the compound can do the rest.
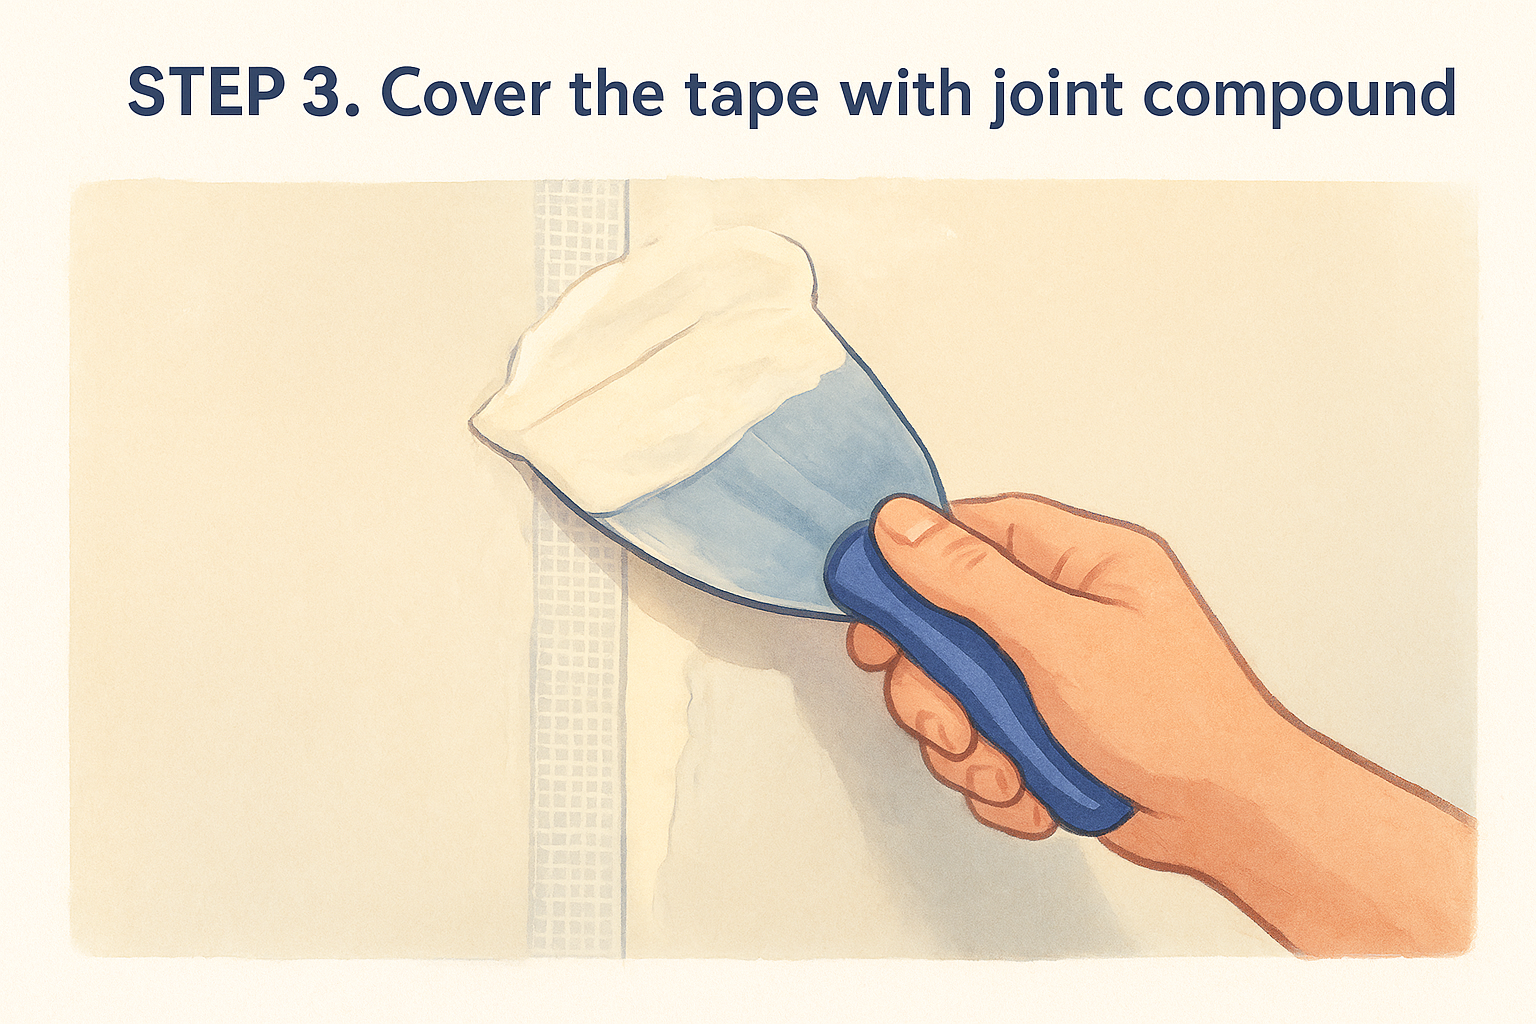
Step 3. Cover the tape with joint compound
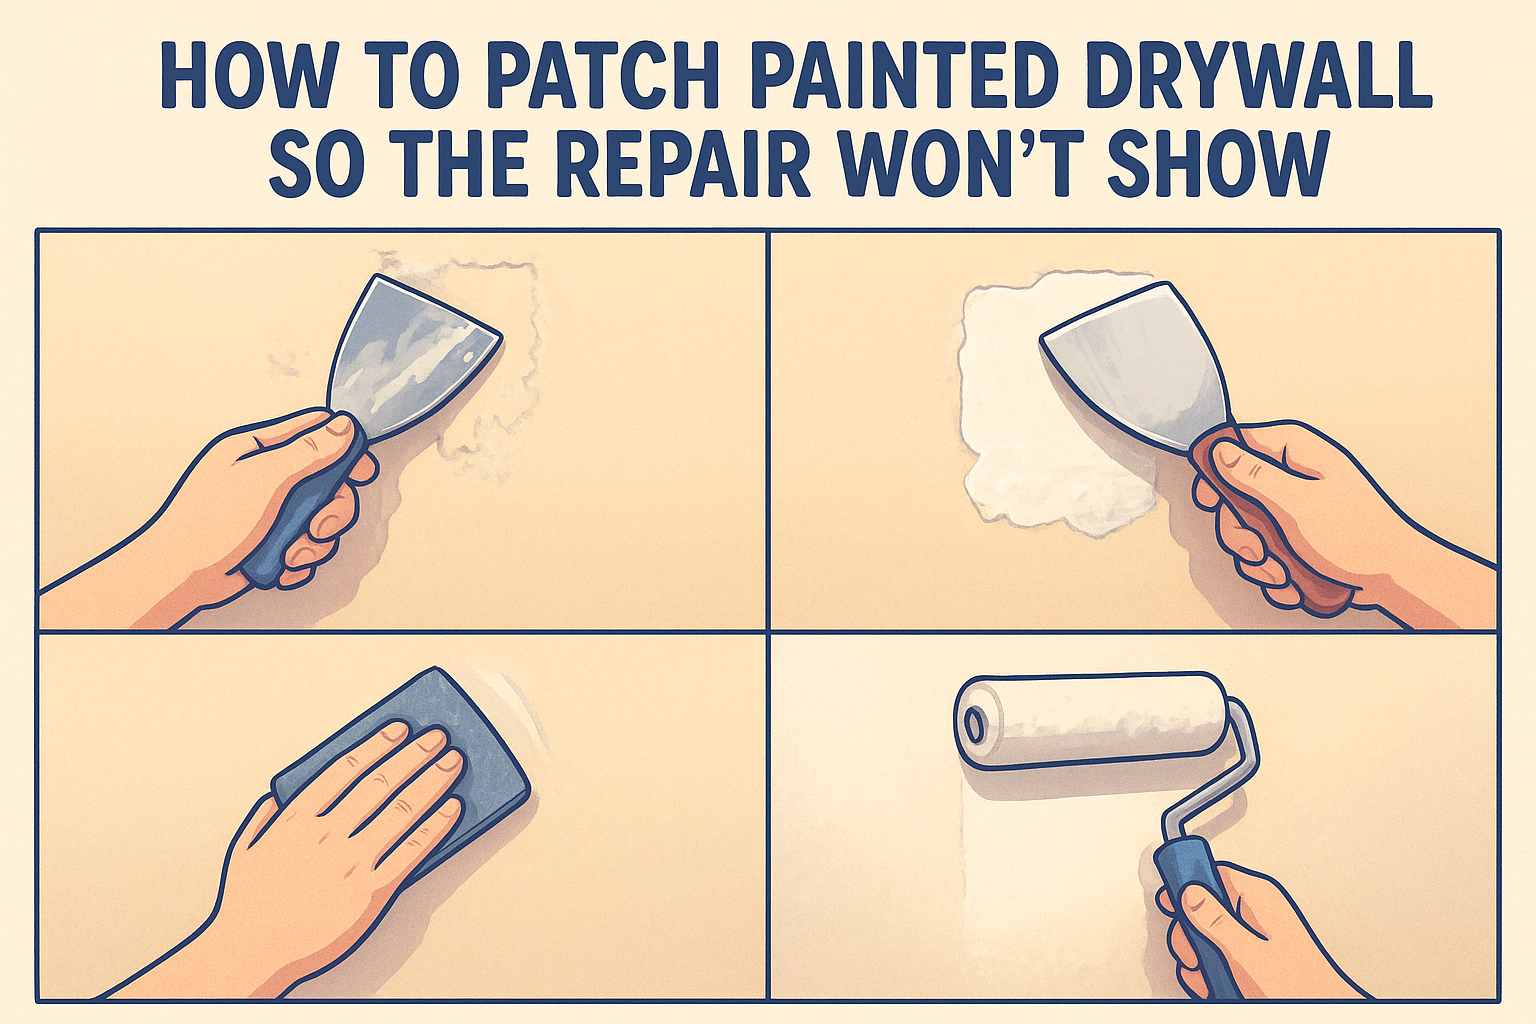
Yes, the tape has to be completely covered. Three thin coats, each wider than the last, bury the tape and feather the edges flat into the wall. Thin coats dry faster and sand easier than one thick one.
Coat 1, the tape coat
For mesh, run compound over the tape with a 6-inch knife and press it through the holes in one firm pass, then scrape off the excess so the mesh is barely covered. Use setting-type compound here if you can, because it dries harder than premixed mud and grips mesh better. For paper tape, the bed coat is already under the tape, so wipe a thin skim over the top once the tape is in place.
Coats 2 and 3
Widen each coat so the edges taper to nothing. The table shows what this looks like on a small patch.
| Coat | Knife | Approx. width centered on the seam |
|---|---|---|
| 1. Tape coat | 6 in | About 6 in |
| 2. Fill coat | 10 in | About 20 in |
| 3. Finish coat | 12 in | About 30 in |
Apply the compound on one side of the seam, then the other, then wipe down the middle. If a coat leaves ridges, knock them down with your knife before the next coat. Not every repair needs the full 30 inches, so run your hand over the surface and stop once it feels flat.
Drying times
Premixed compound should dry overnight between coats, and a 3-coat patch usually takes three days. Setting-type compound sets in a fixed time, commonly 20, 45, or 90 minutes, so you can recoat the same day. Choose a longer set time, such as 45 or 90 minutes, if you are new to mixing, because a 20-minute batch hardens in the pan before you finish a pass.
The patch disappears at the feathered edges, not at the tape.
Step 4. Sand, check, and prime
Sand lightly once the final coat is fully dry, then check the surface with a flashlight and your hand before priming. Sand only until the surface is flat , because pushing through the compound exposes the tape and forces you to recoat.
Sand without cutting into the tape
Use a medium-grit sanding sponge to knock down ridges, then a fine-grit sponge for the last pass. Sand with light, even strokes, feathering past the edges of the patch. If mesh shows through or paper tape starts to fuzz, stop, wipe off the dust, and apply a thin extra coat. Wipe the area with a tack cloth or a barely damp rag afterward.
Check, prime, and paint
Hold a flashlight flat against the wall and look along the surface. Shadows reveal low spots and ridges that you can't see head-on. Fix those with one more skim coat, let it dry, and sand again.
Then prime the entire patch with a drywall primer. Compound soaks up paint differently than the surrounding wall, and unprimed patches show up as dull spots. If the wall has texture, match it before you paint. When several repairs share one wall, repaint the whole wall so the patch does not stand out.
If a taped seam cracks again after a few months, the cause is probably movement in the house, not a taping mistake. That is a settlement problem, and it is worth having a professional look at it rather than re-taping the same crack.
Prime before you paint, or the patch will flash through the finish.
Ready for a repair that holds
Tape every seam where new drywall meets old, choose mesh tape for ease or paper tape for strength, and bury it under three thin, widening coats of joint compound. Back the patch well, sand lightly, and prime before you paint. Those steps are the difference between a patch that disappears and one that outlines itself.
If the patch is large, the wall is cracking from movement, or you would rather not spend a weekend mudding, let us handle it. Super Shooters offers free in-home estimates across the Sacramento Valley, and you pay only after the job is done. Learn more about our drywall repair and patching service and book yours.