Share this article

October 27, 2026

Drywall Installation in Basement: A 4-Step DIY Guide

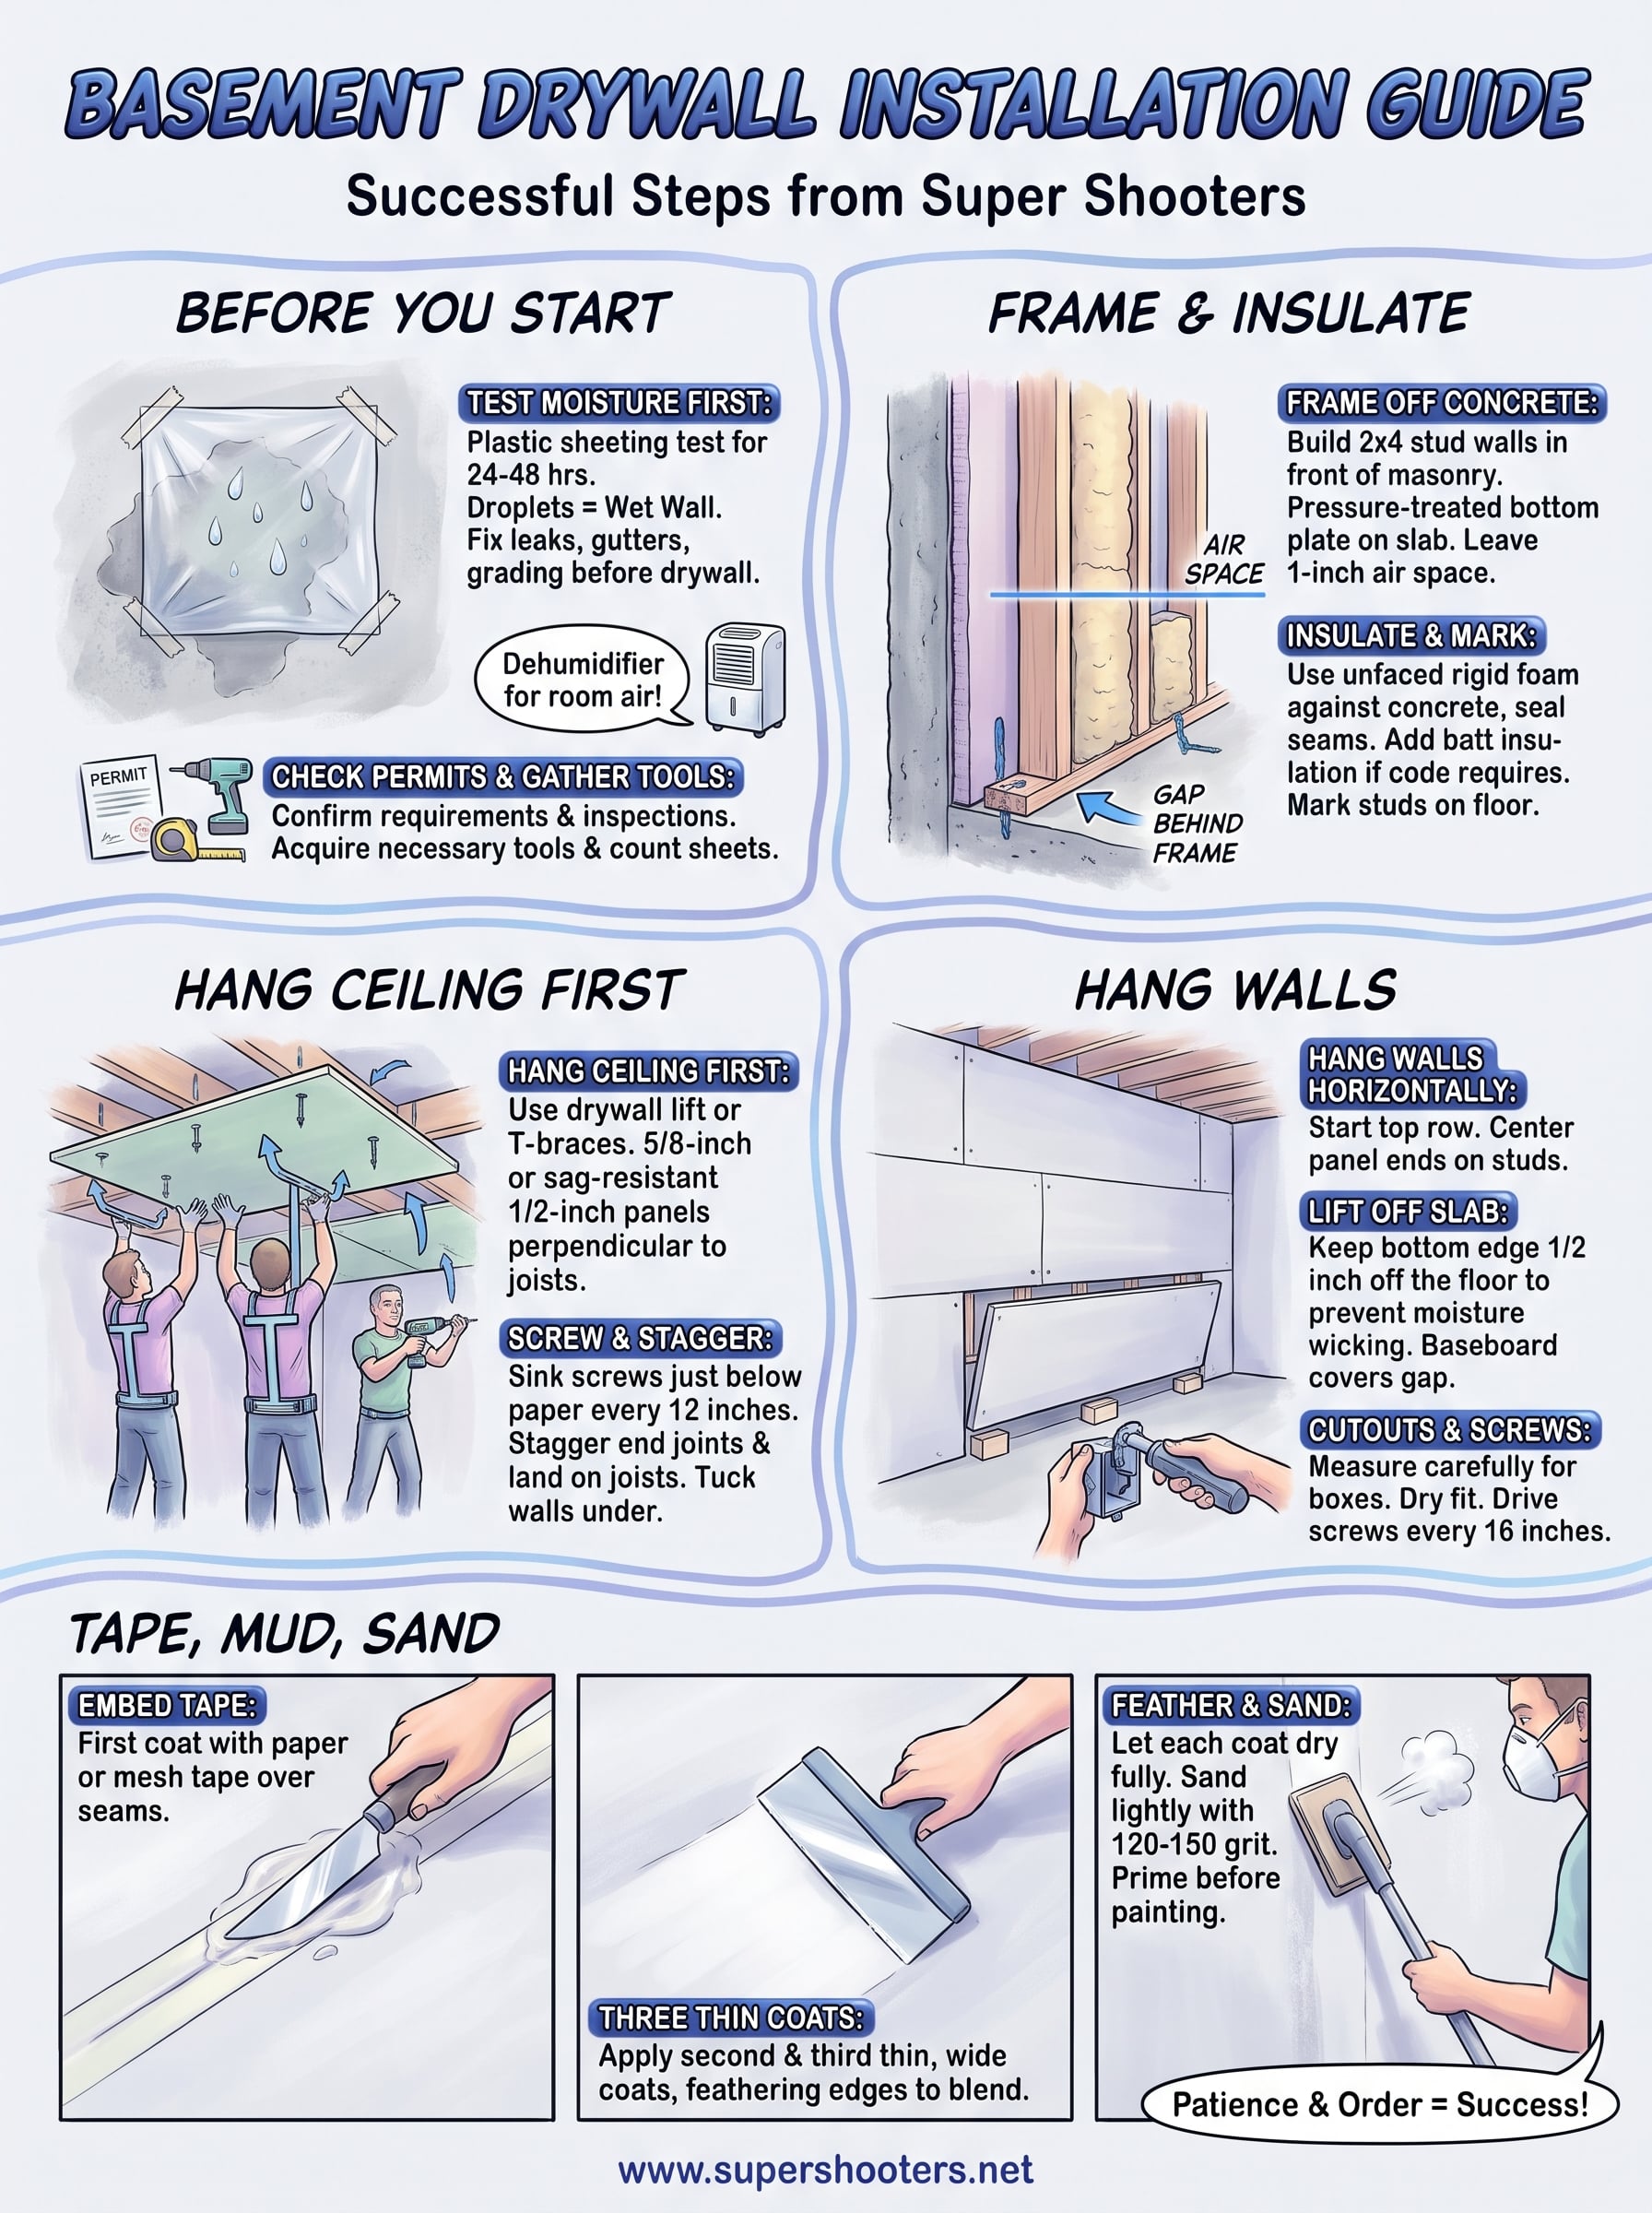
For a successful drywall installation in basement spaces, test the walls for moisture, frame stud walls in front of the concrete, hang the ceiling first, then hang the walls, and finish every seam with tape and three thin coats of joint compound. Use moisture-resistant panels, 1 1/4-inch screws for 1/2-inch board, and keep each wall panel about 1/2 inch off the slab. Hanging goes fast with two people. Finishing takes longer because each coat has to dry.

A basement is not like an upstairs room. Concrete walls sweat, slabs wick moisture, ducts and pipes crowd the ceiling, and a mistake buried behind drywall is expensive to dig out. Full sheets are heavy, ceiling work fights gravity, and a skipped inspection can force you to tear out finished walls.

Super Shooters has hung drywall as a licensed contractor for over 30 years, so the advice below comes from real jobs. This guide covers what to check before you buy a sheet, then four steps: framing, the ceiling, the walls, and finishing the seams. You get a sheet-count example, a fastener table, and the pitfalls that cause most basement failures.

Before you start: moisture, permits, and tools

Before you buy a sheet, confirm the walls are dry, ask your building department what it requires, and gather the tools below. Drywall acts like a sponge, so skipping these checks is the most common reason basement drywall fails.

Test for moisture first

Tape a 2-foot square of plastic sheeting tightly to the concrete on all four edges and leave it for 24 to 48 hours. Droplets under the plastic mean moisture is moving through the wall. Droplets on the outside of the plastic mean humid room air, which a dehumidifier handles. If you find moisture, fix gutters, grading, and cracks before anything else.

Moisture-resistant or paperless, fiberglass-faced panels give you a safety margin. They do not cure a wet wall.

Drywall can't fix a wet basement, so fix the water first and hang panels second.

Check permits and inspections

Rules vary by city and county. Finishing a basement often requires a permit for framing, insulation, and electrical work, and inspectors want to see those before the walls are covered . Call your building department and ask whether drywall alone needs a permit and which inspections come first. Never close up walls over new wiring until it has passed inspection .

Gather tools and count your sheets

Tool Job
Drywall lift or T-braces Hold ceiling panels while you screw
Drill or screw gun with depth setting Drive screws without tearing paper
Utility knife and 4-foot T-square Score and snap straight cuts
Drywall saw or rotary cutout tool Openings for boxes and pipes
Tape measure, level, chalk line Layout
6-inch and 12-inch taping knives Finishing

Here is a worked example. A 20 by 15 foot basement with 8-foot walls has 70 feet of perimeter, so walls total 560 square feet. The ceiling adds 300 square feet. That is 860 square feet, so how many drywall sheets you need works out to about 27 at 32 square feet each. Add 10 percent for waste and buy 30 sheets . Multiply by your local sheet price to get a materials budget.

Step 1. Frame and insulate the walls

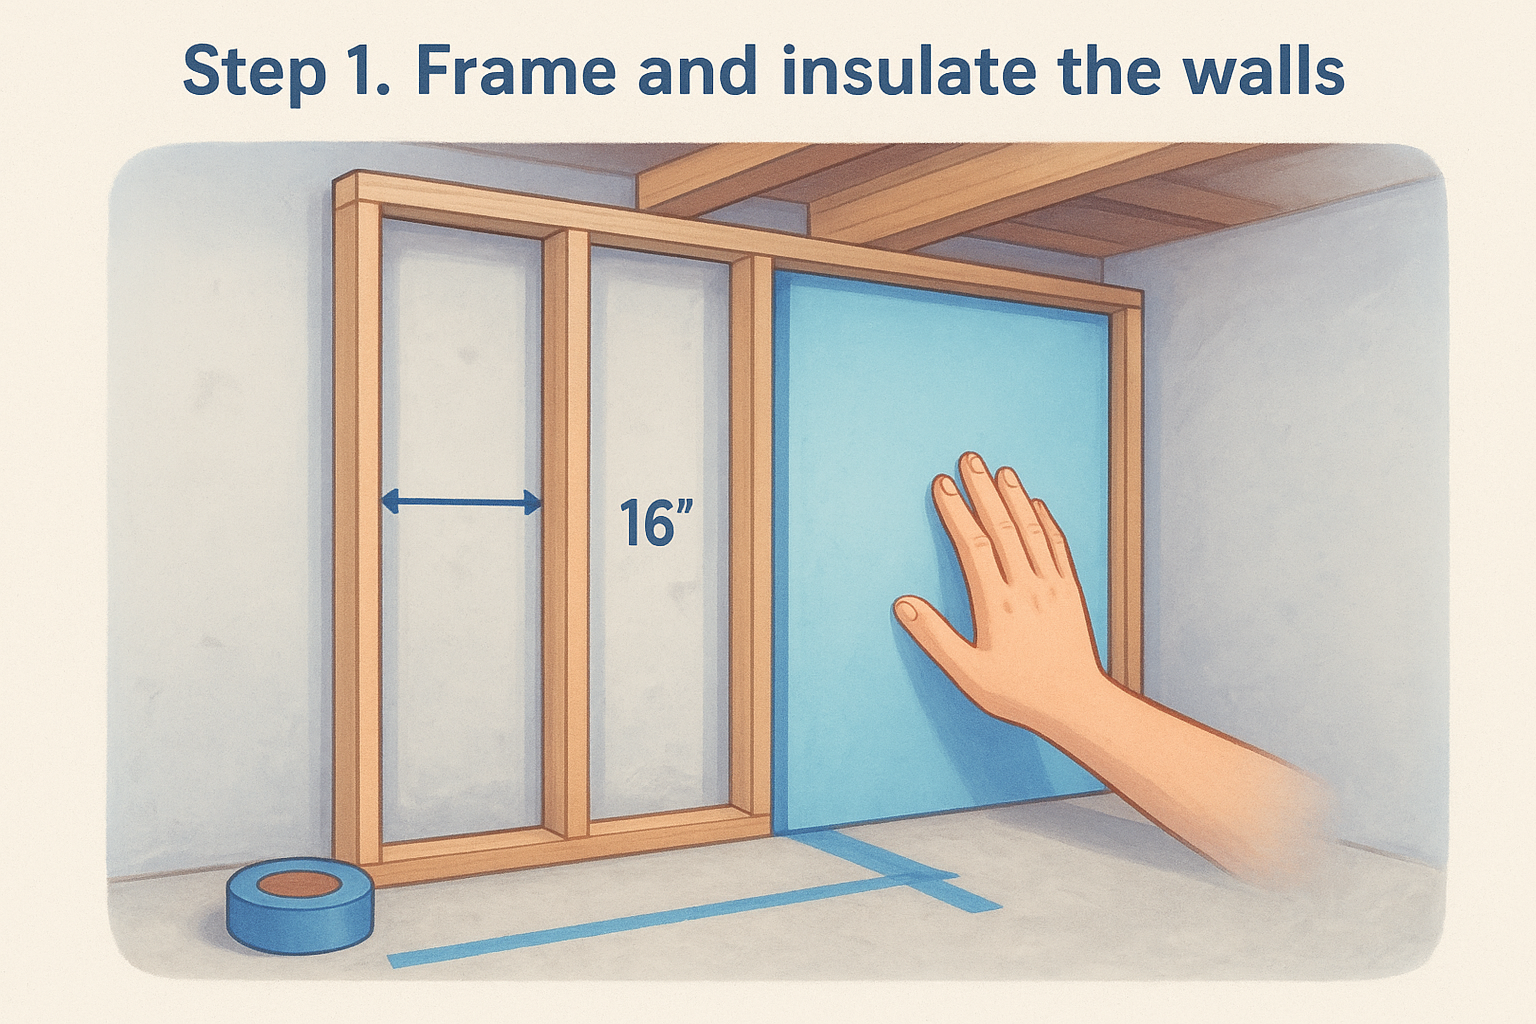
Build 2x4 stud walls just in front of the concrete instead of fastening drywall to it, then insulate. Framing gives you a flat surface, room for wiring and electrical boxes, and a gap between your finished wall and damp masonry.

Build the frame off the concrete

Fasten a pressure-treated bottom plate to the slab with concrete anchors or powder-actuated fasteners. Tie the top plate into the joists above and set studs 16 inches on center . Leave about an inch of air space behind the studs so the frame never touches the wall.

If your wall has a concrete ledge, frame out over it so the whole wall sits in one plane. A 2x4 wall is about 3 1/2 inches deep, which also fits standard electrical boxes.

Never screw drywall straight to concrete. Frame it, so the wall stays flat, wired, and away from damp masonry.

Insulate and mark the studs

Press unfaced rigid foam board against the concrete and seal the seams with tape or foam. Add batt insulation between the studs if your local code calls for it. Skip a polyethylene sheet on the room side unless code requires one, because it can trap moisture inside the wall.

Before you close anything, run painter's tape on the floor at each stud center. Marking stud locations now saves guesswork once panels hide the framing.

Step 2. Hang the ceiling first

Hang the ceiling before the walls, so wall panels push up tight against the ceiling edge and hide gaps. Use 5/8-inch or sag-resistant 1/2-inch panels, and run them perpendicular to the joists.

Choose the right panels and screws

Location Panel Screw Spacing
Walls 1/2-inch moisture-resistant 1 1/4-inch coarse thread 16 inches along studs
Ceiling 5/8-inch or sag-resistant 1/2-inch 1 5/8-inch for 5/8-inch board 12 inches
Fire-rated areas 5/8-inch Type X 1 5/8-inch Per local code

A 4x8 sheet of 1/2-inch board weighs roughly 50 to 60 pounds, and 5/8-inch board closer to 70. Use the same thickness across a whole surface or the seams will show. Mold-resistant panels are often sold in green or purple, and some brands are hard to find, so check stock before you commit.

Lift, fasten, and stagger

Rent a drywall lift or build T-braces. A lift makes ceiling work possible for two people. Then work in this order:

  1. Start in a corner and push the first panel tight to the framing.
  2. Screw from the center of the panel outward, every 12 inches.
  3. Sink each screw head just below the paper surface without breaking it.
  4. Stagger end joints at least 2 feet and land every joint on a joist.

Hang the ceiling first, and every wall panel will tuck up against it.

Also check what your ceiling is. In a home built before the 1980s, existing acoustic or popcorn texture can contain asbestos. Do not scrape, sand, or drill it. Have it tested first .

Step 3. Hang the wall panels

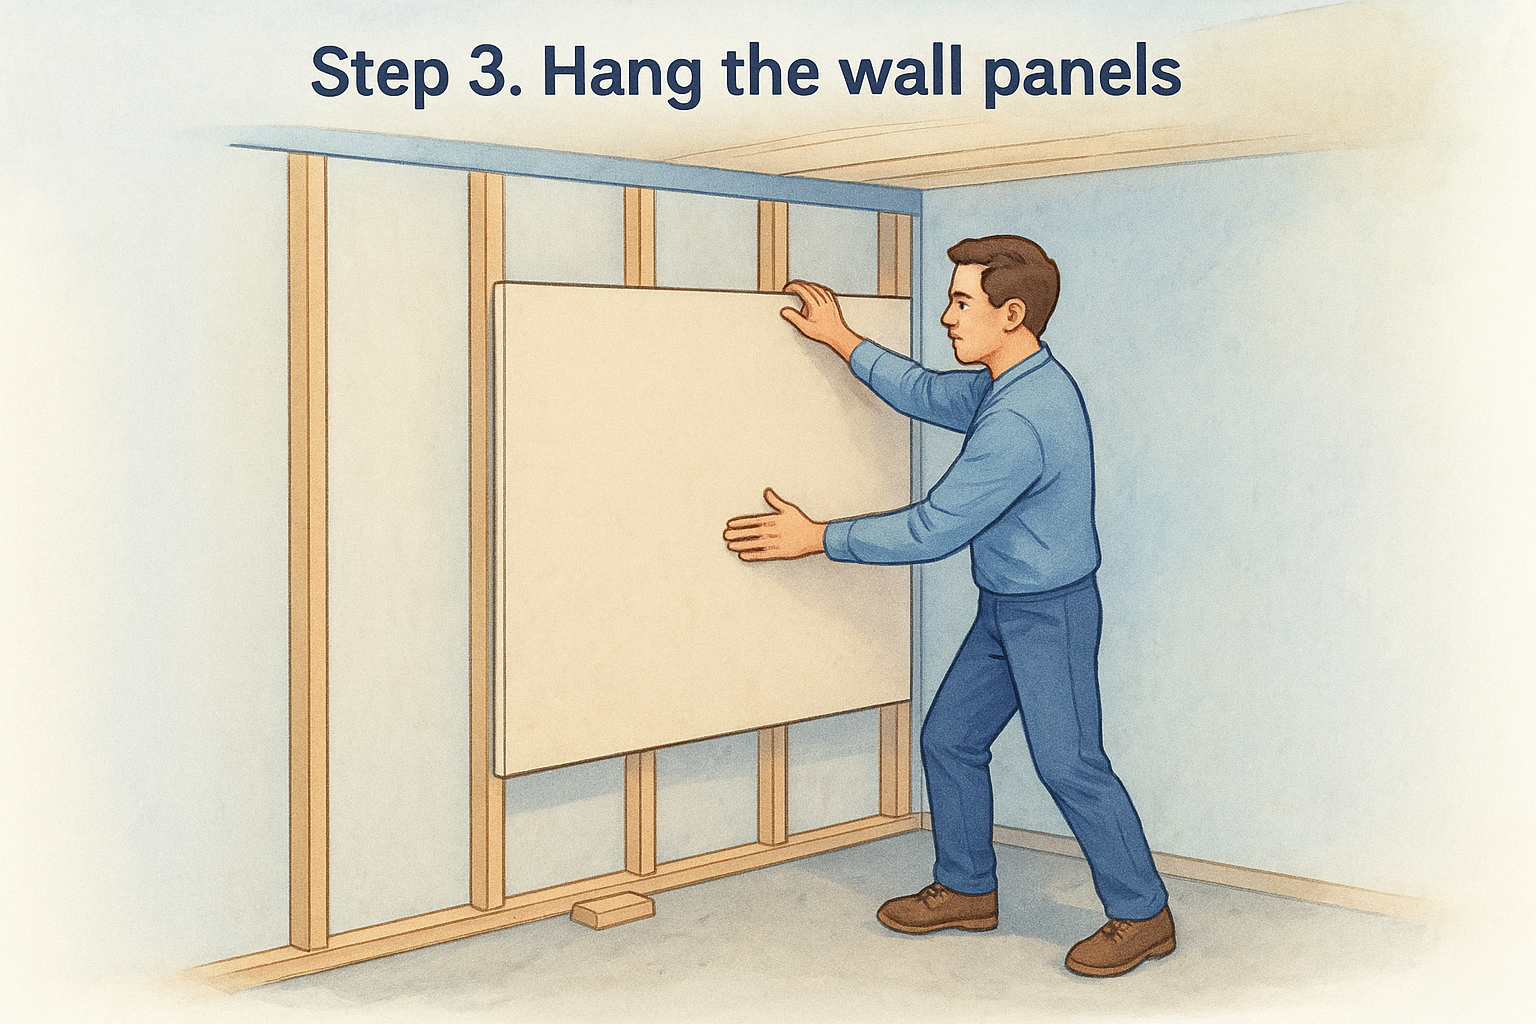
Hang walls horizontally, top row first, with panel ends centered on studs and the bottom edge lifted about 1/2 inch off the slab. Horizontal panels leave one seam on an 8-foot wall instead of a seam every four feet.

Measure, cut, and set the panels

To cut a panel, score the face paper with a sharp knife against the T-square, snap the board backward, then cut the back paper. Measure the length of each run, not just the first one. Basement walls are rarely square.

Push the top row tight to the ceiling. Lift the bottom row with scrap blocks or a foot lever so it sits 1/2 inch above the floor . Baseboard will hide the gap, and it keeps paper out of any future puddle. Drive screws every 16 inches and keep them about 3/8 inch from edges.

A 1/2-inch gap above the slab keeps the panel's paper out of puddles, and baseboard hides it.

Cut around boxes, pipes, and windows

Turn off the circuit breaker first. Then:

  1. Measure from the panel edge and from the ceiling to the edges of the box.
  2. Transfer those marks and draw the opening with the T-square.
  3. Check the numbers again, then cut with a rotary tool or drywall saw.
  4. Dry fit the panel before you drive a single screw.

Do not assume boxes are all the same size. A double-gang switch box is far bigger than a single, and shallow boxes differ from standard ones. Write down every measurement as you go.

Step 4. Tape, mud, and sand the seams

Finish each joint with paper or mesh tape and three thin coats of joint compound, letting every coat dry fully. Hanging gets the walls up. Finishing makes them look right, and it is the step beginners rush.

Embed the tape and fill the screws

Spread a first coat over the seam with a 6-inch knife and press paper tape into it, or use self-adhesive mesh for speed. Skim over each screw dimple. In a humid basement, setting-type compound hardens by chemical reaction instead of air drying, which helps when the air is damp. Run a dehumidifier and keep air moving between coats.

Feather, sand, and prime

Apply the second coat with a 10-inch knife and the third with a 12-inch knife, feathering the edges wider each time. Sand lightly with 120 to 150 grit on a pole sander while wearing a dust mask. Wipe off the dust and apply drywall primer before paint.

Three thin, wide coats beat two thick ones, because wide feathering is what makes a seam disappear.

Ready to hang your basement drywall?

Basement drywall comes down to order and patience. Fix moisture first, frame off the concrete, hang the ceiling before the walls, and finish with three thin coats. Get your inspections done before you cover anything.

If the ceiling work, the heavy panels, or the taping feels like more than you want to take on, you can hand off part or all of the job. Super Shooters offers free in-home estimates across the Sacramento Valley, and payment is due only after the work is complete. See our professional drywall installation service to request a quote.

Recent Posts

By cinchweb • October 26, 2026
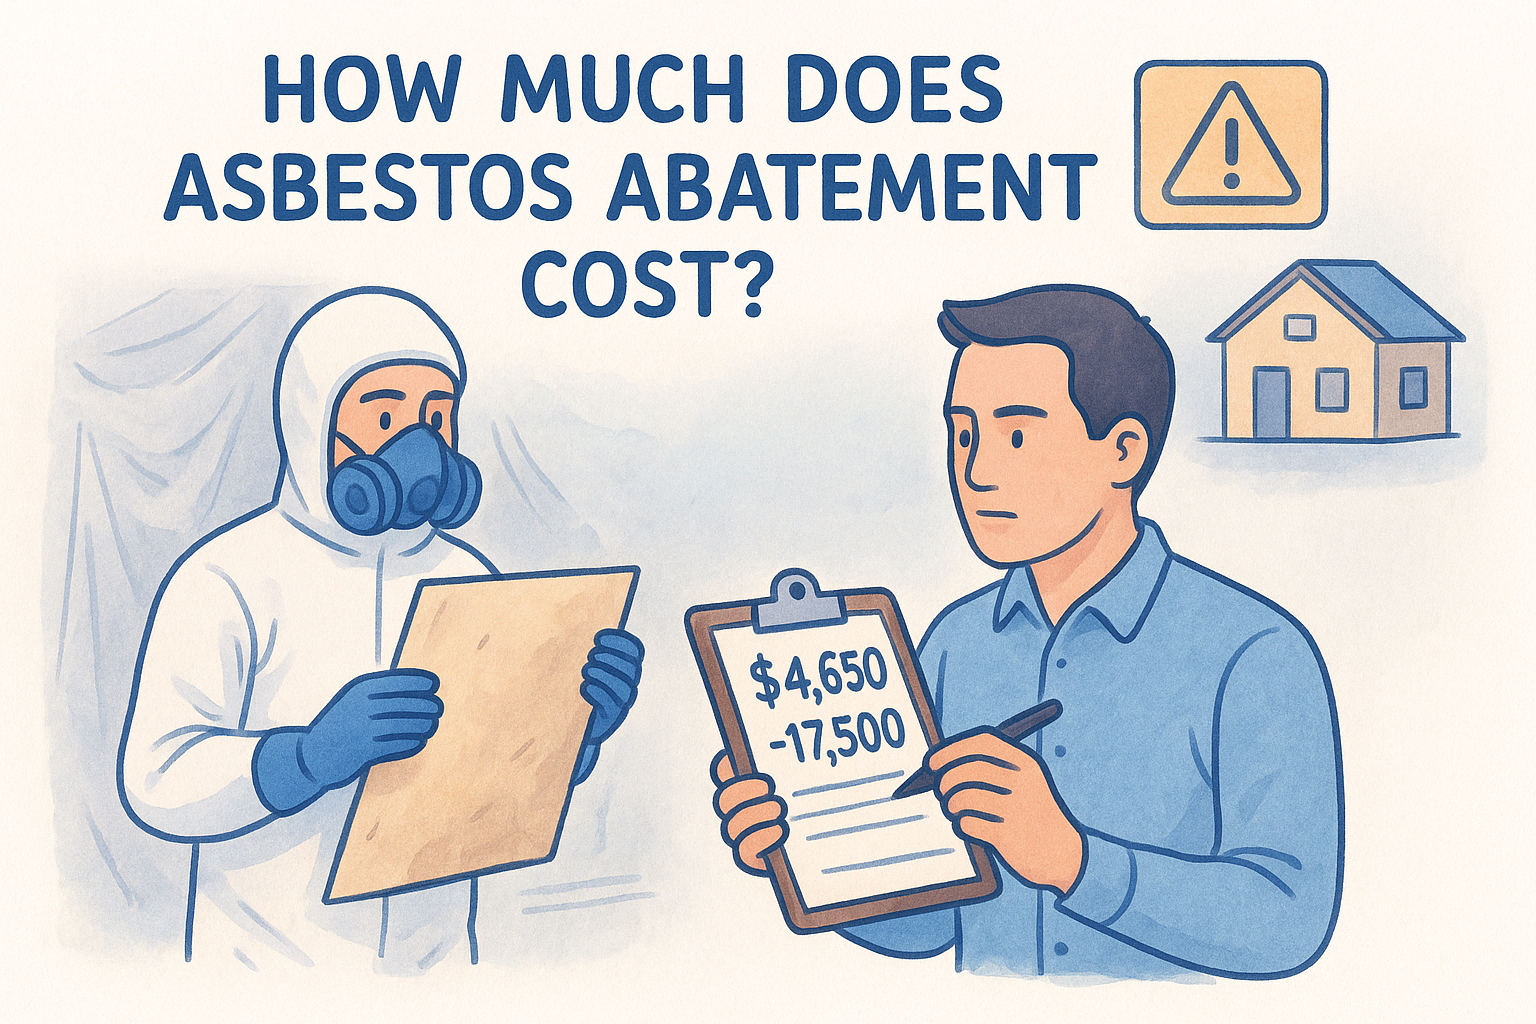
How much does asbestos abatement cost? See price ranges per square foot, what drives quotes up, and how to check a Sacramento Valley estimate.
By cinchweb • October 25, 2026
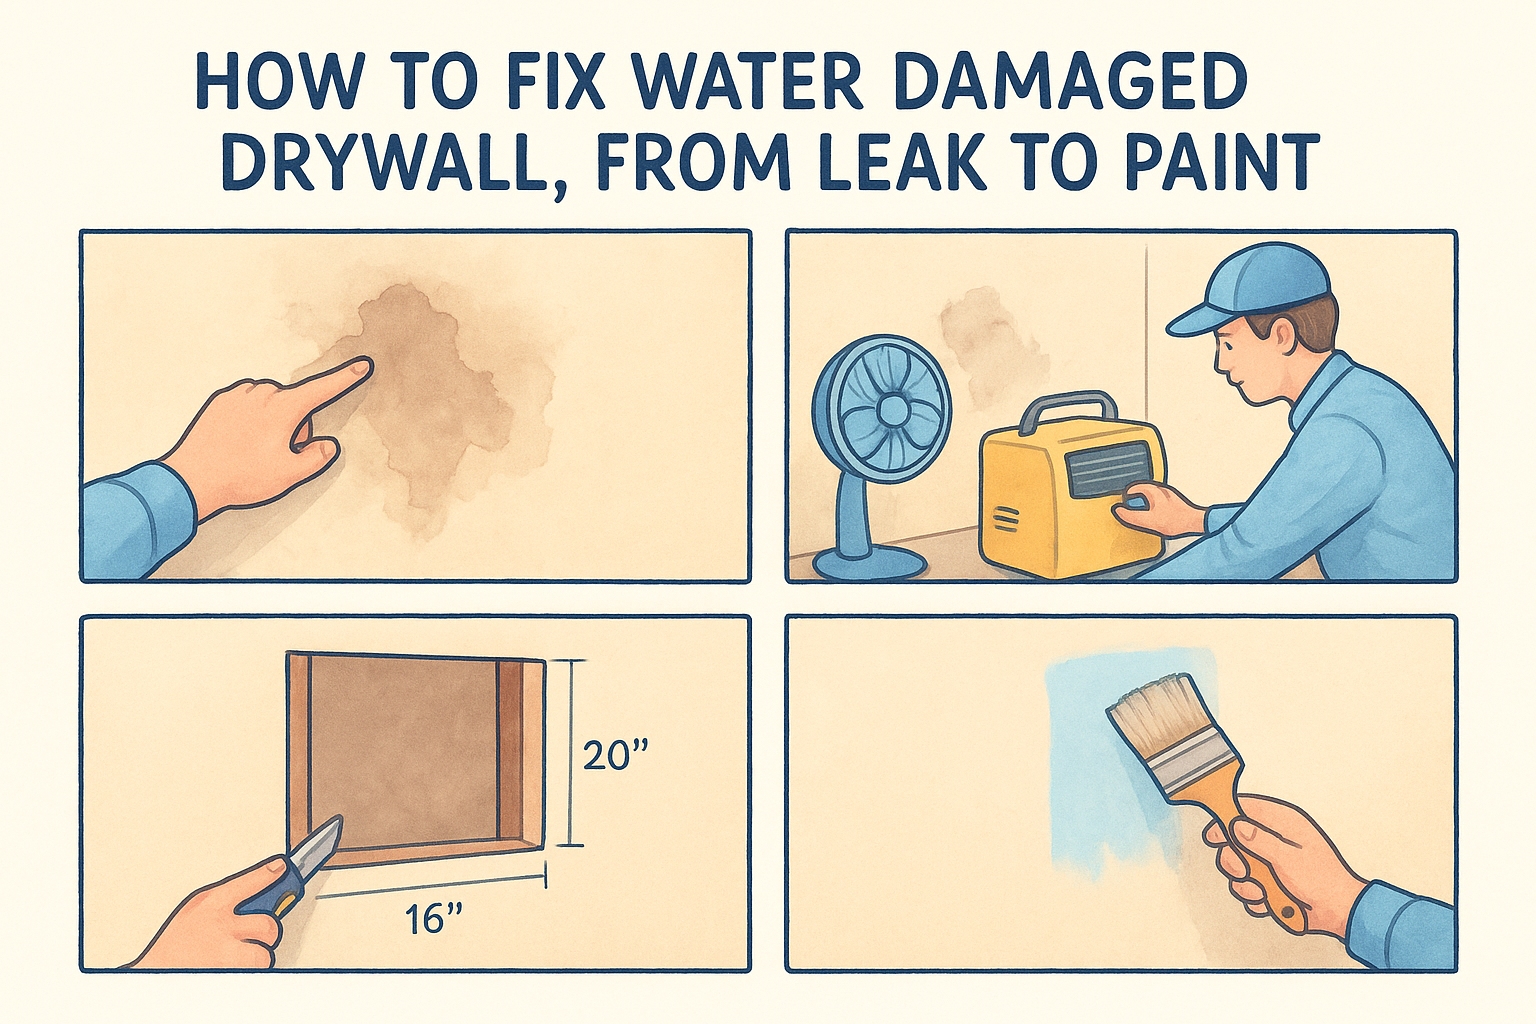
How to fix water damaged drywall: stop the leak, dry the wall, cut and patch, prime and paint. Includes a day-by-day schedule and pro warning signs.
By cinchweb • October 24, 2026
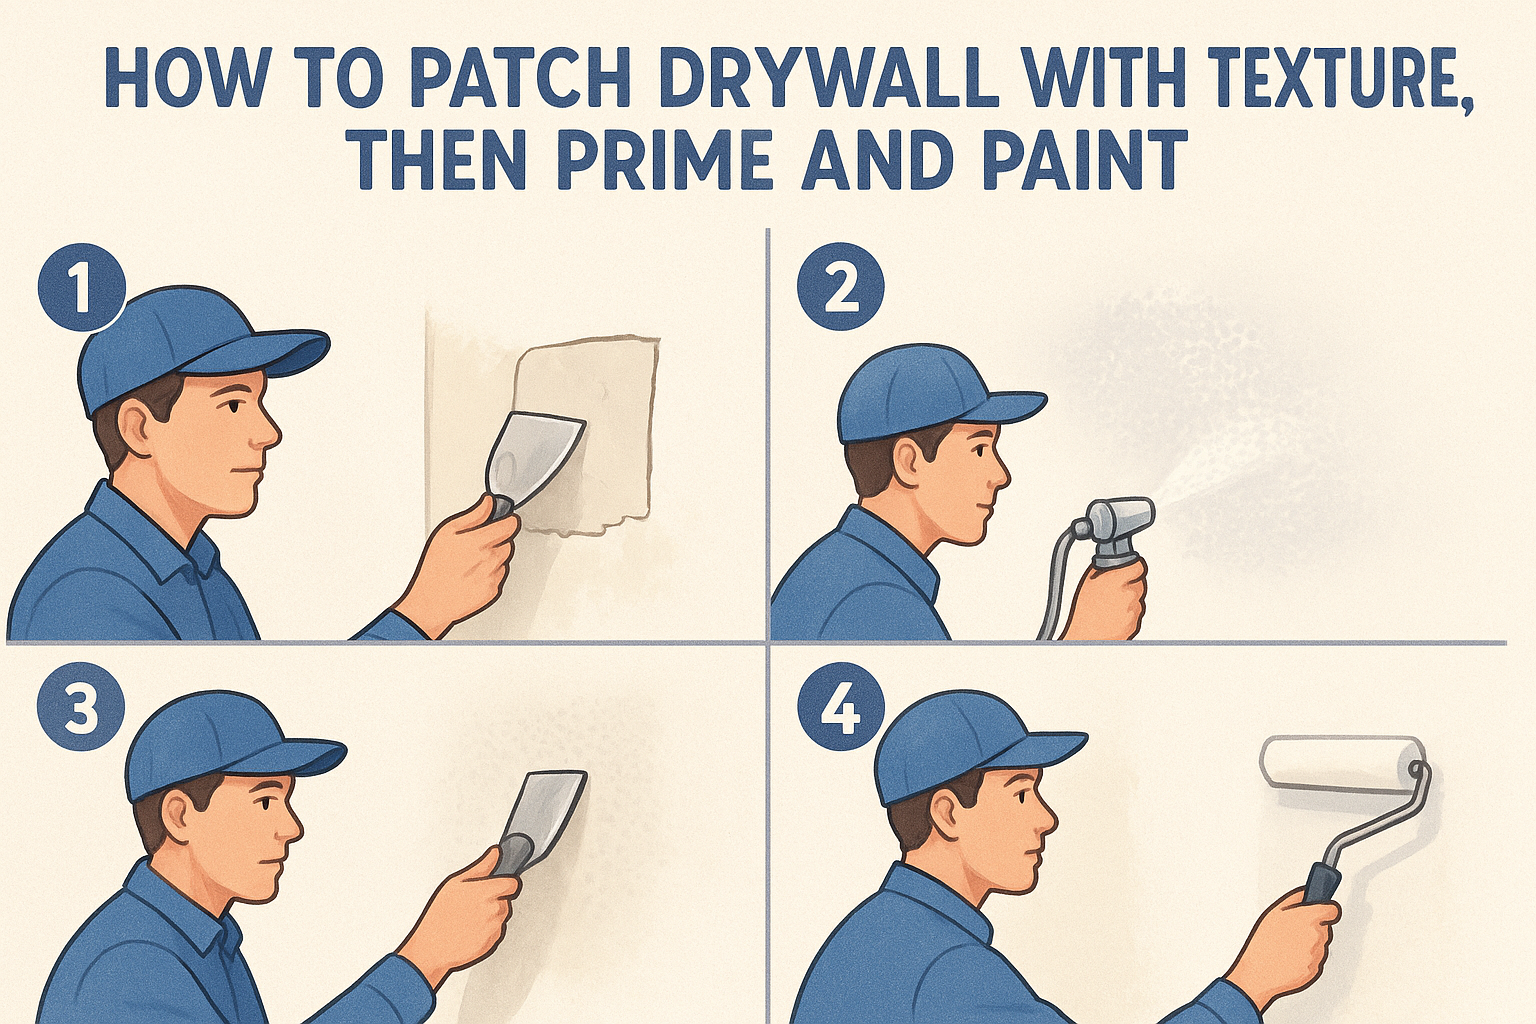
Learn how to patch drywall with texture: fill the hole, match knockdown or orange peel, then prime and paint so the repair disappears. Includes mix ratios.
By cinchweb • October 23, 2026
Find an asbestos removal company near me in the Sacramento Valley: 5 types compared, license checks, cost ranges and how to get a quote.
By cinchweb • October 23, 2026
Labor cost for drywall installation runs $1.60 to $3.75 per sq ft. See rates by phase, finish level, room and house size, plus how to check a quote.
By cinchweb • October 22, 2026
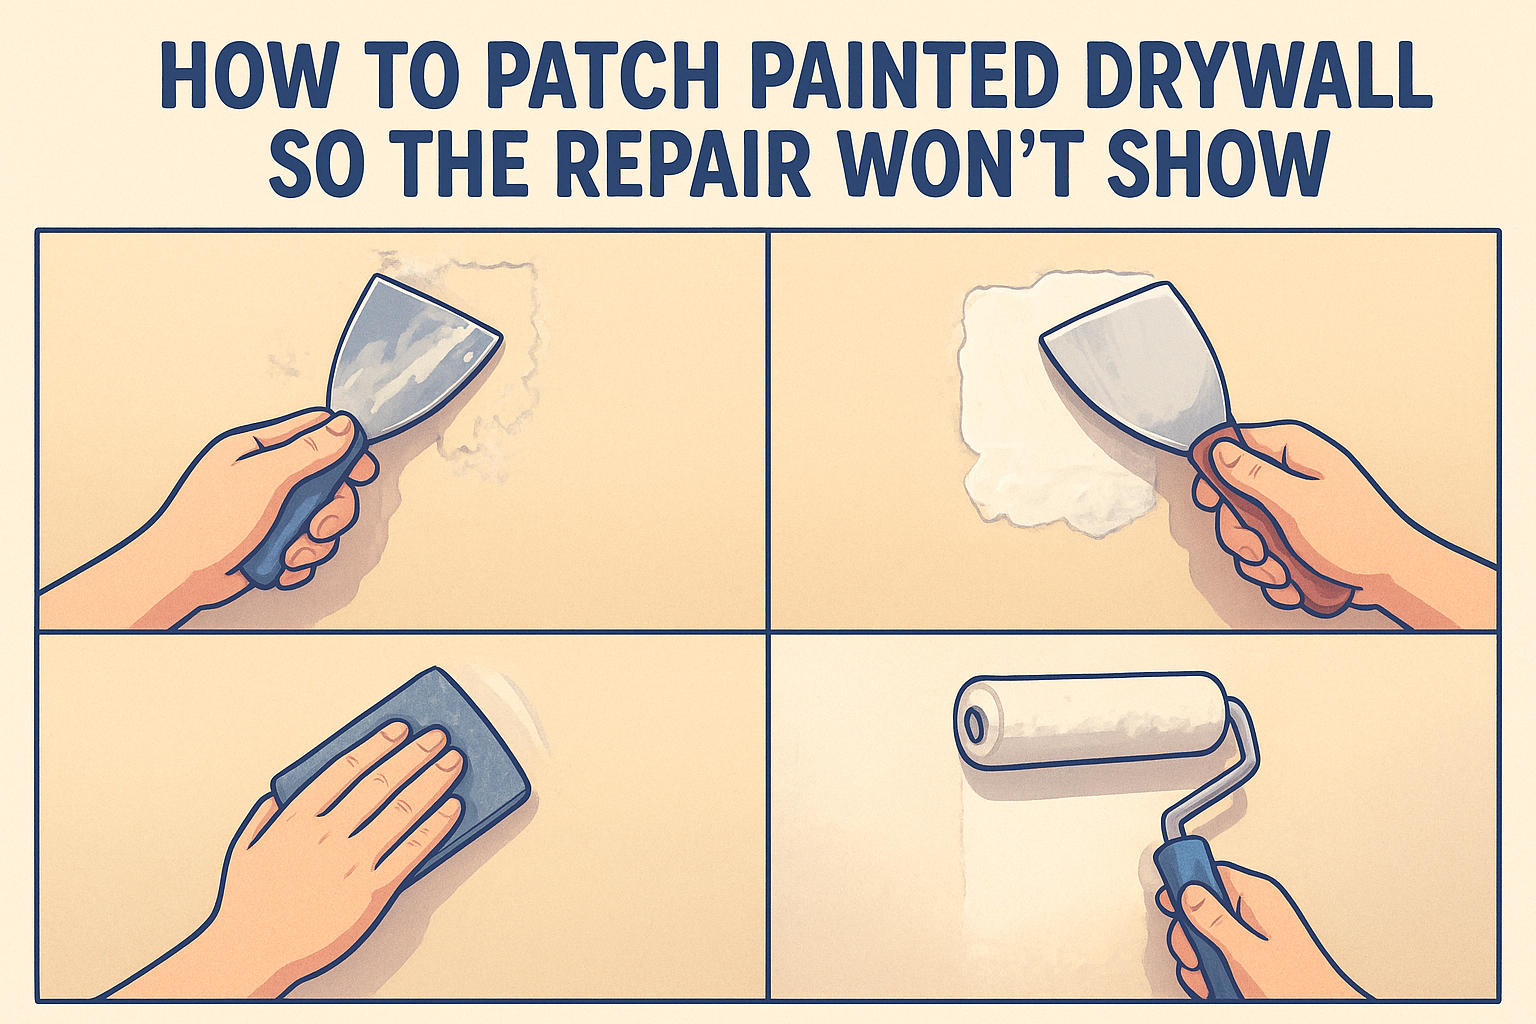
Learn patching painted drywall in 4 steps: prep, fill, sand and prime, then match texture and repaint so the repair blends in and won't flash.
By cinchweb • October 22, 2026
Compare 6 types of residential drywall contractors near me in the Sacramento Valley, with typical costs and how to vet each one before you hire.
By cinchweb • October 20, 2026
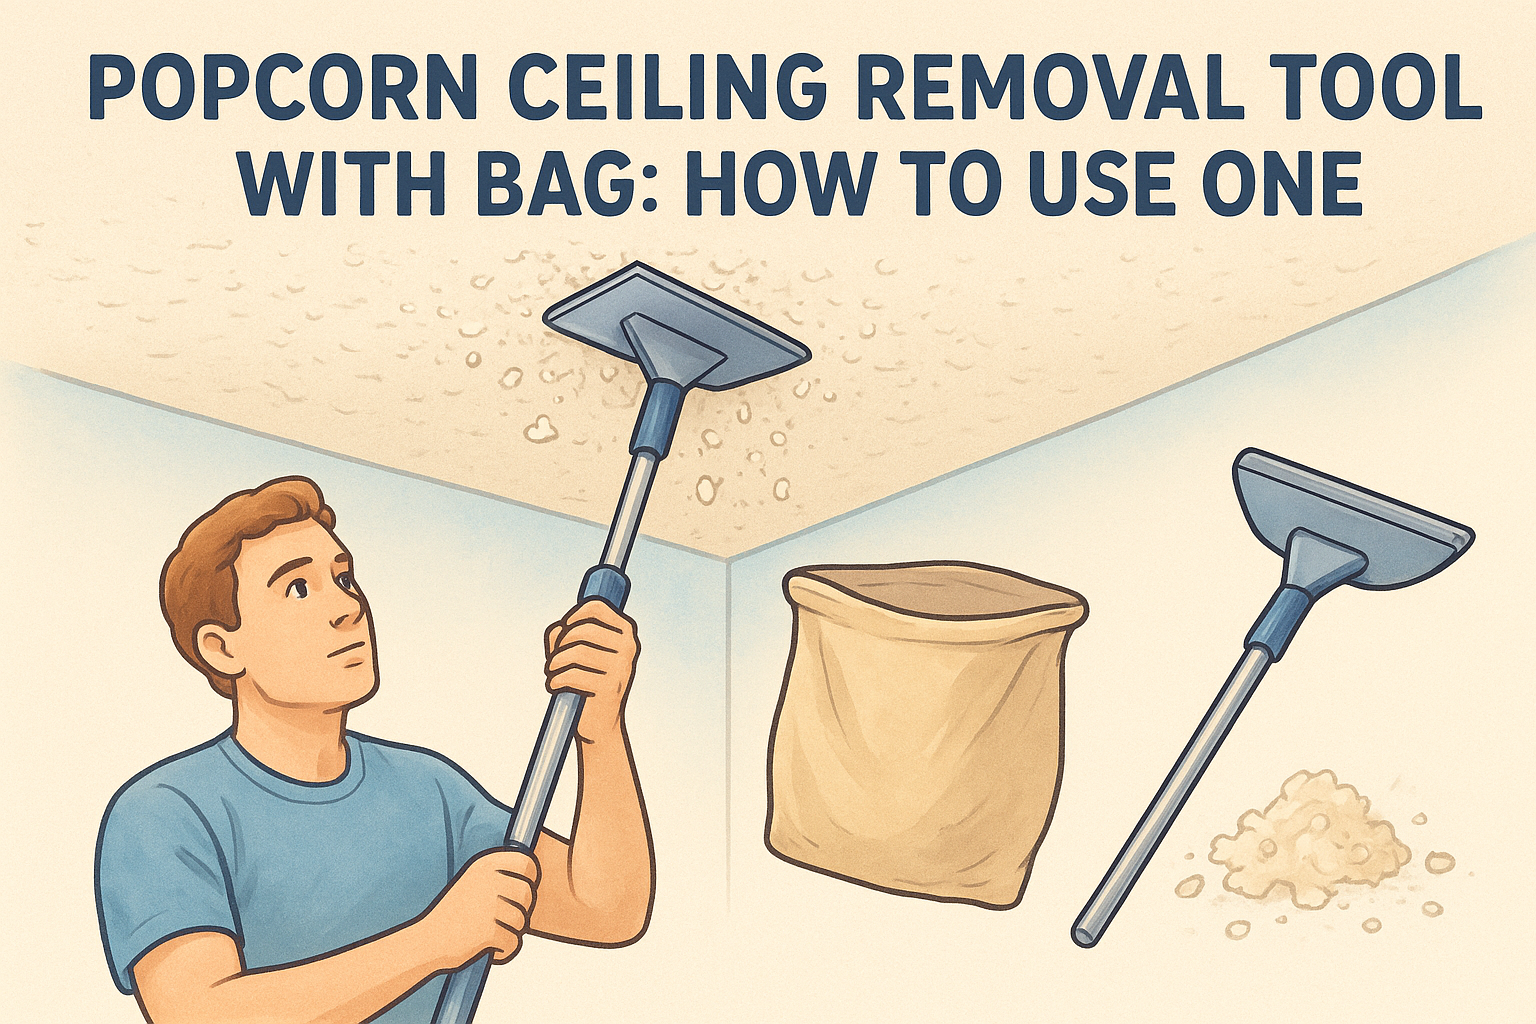
A popcorn ceiling removal tool with bag catches much of the mess. Learn what to test first, how to scrape, and how to finish the ceiling smooth.
By cinchweb • October 20, 2026
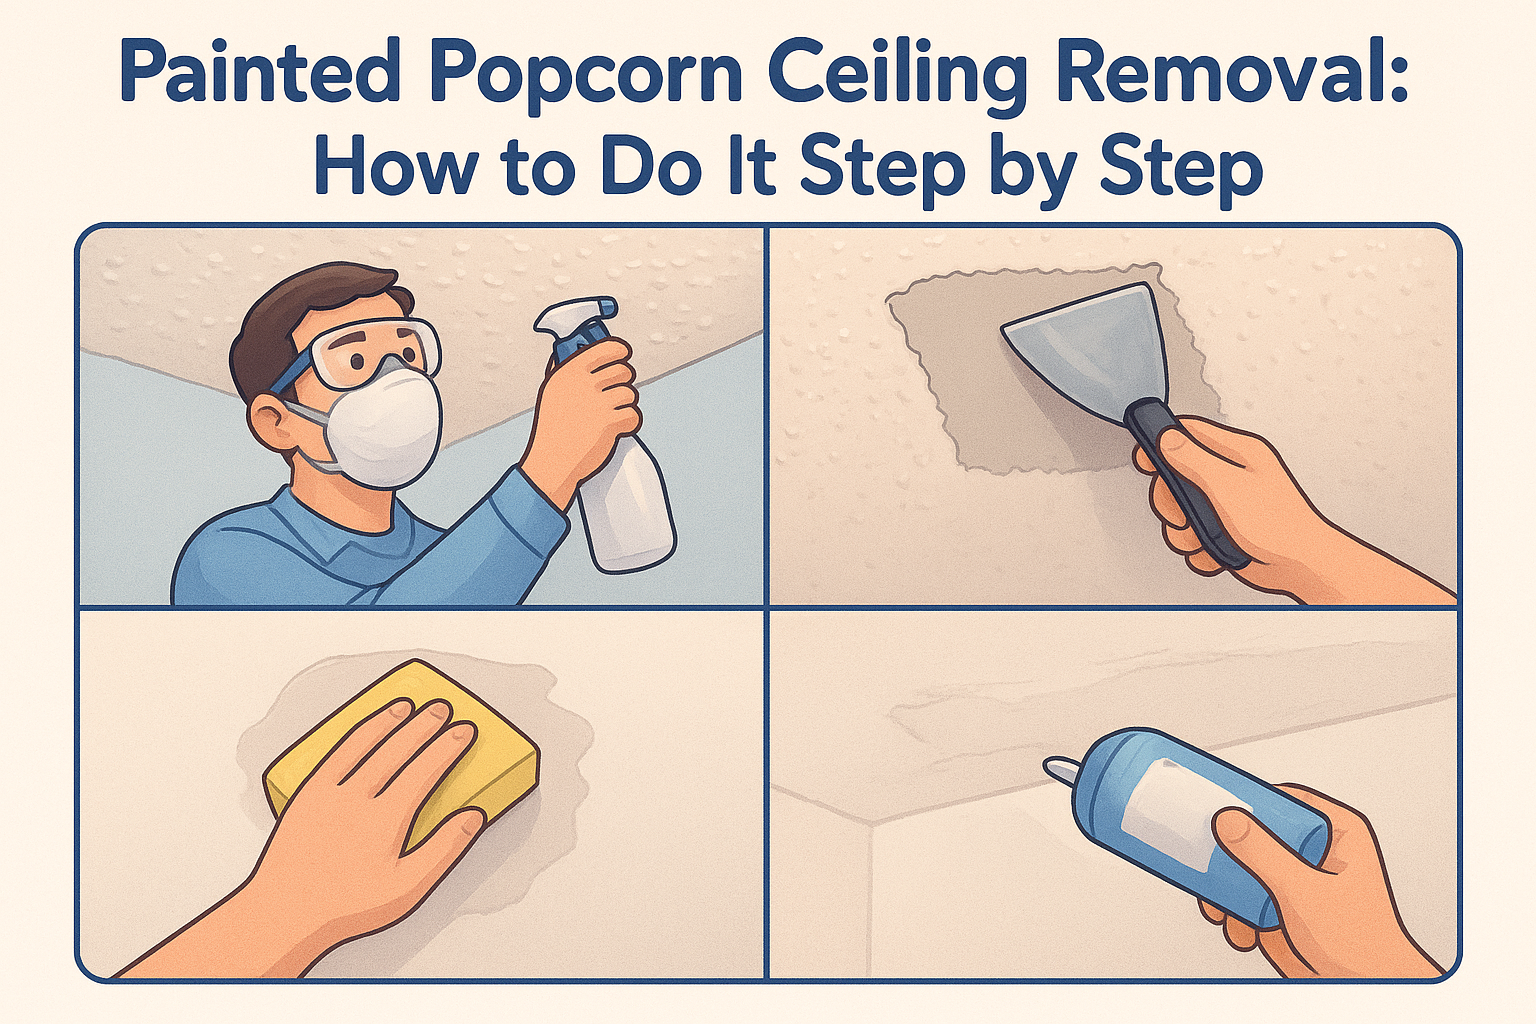
Painted popcorn ceiling removal in 4 steps: test for asbestos, break the paint seal, scrape without gouging, then skim coat and repaint.

Show More