September 18, 2026
How to Remove Ceiling Texture: A Step-by-Step Guide
Staring up at a bumpy, dated ceiling and wondering if you can fix it yourself this weekend? Learning how to remove ceiling texture is one of the most requested DIY projects among Sacramento Valley homeowners, and yes, it's doable with the right prep, patience, and a few specific tools. The catch is that most guides skip the details that actually determine whether you end up with a smooth, paint-ready ceiling or a gouged mess covered in drywall damage .
This guide walks you through the exact process: testing for asbestos before you touch anything, wetting and scoring the texture, scraping without tearing into the drywall paper, and patching any low spots afterward. We focus on the popcorn ceiling removal method specifically, since it's the texture style most common in homes built before the 1980s across Roseville, Folsom, Elk Grove, and nearby communities.
We'll also cover the safety gear you need, how long the job realistically takes for an average room, and the warning signs that mean it's time to stop and call a licensed contractor instead. If your ceiling turns out to contain asbestos, or the scraping reveals cracked or water-damaged drywall underneath, that's exactly the kind of situation Super Shooters handles every day across the Sacramento Valley.
Before you start: safety, asbestos, and tools
Before you grab a scraper, stop and think about what's actually in that ceiling. Homes built before 1980 in the Sacramento Valley commonly have acoustic or popcorn ceilings mixed with asbestos fibers, a material banned for new use but still legal to leave in place in older construction, and how likely asbestos is in a popcorn ceiling depends heavily on the year your home went up. Removing ceiling texture without confirming what's in it first is the single biggest mistake DIYers make, and it's not one you can undo once fibers are airborne.
Why testing comes before tools
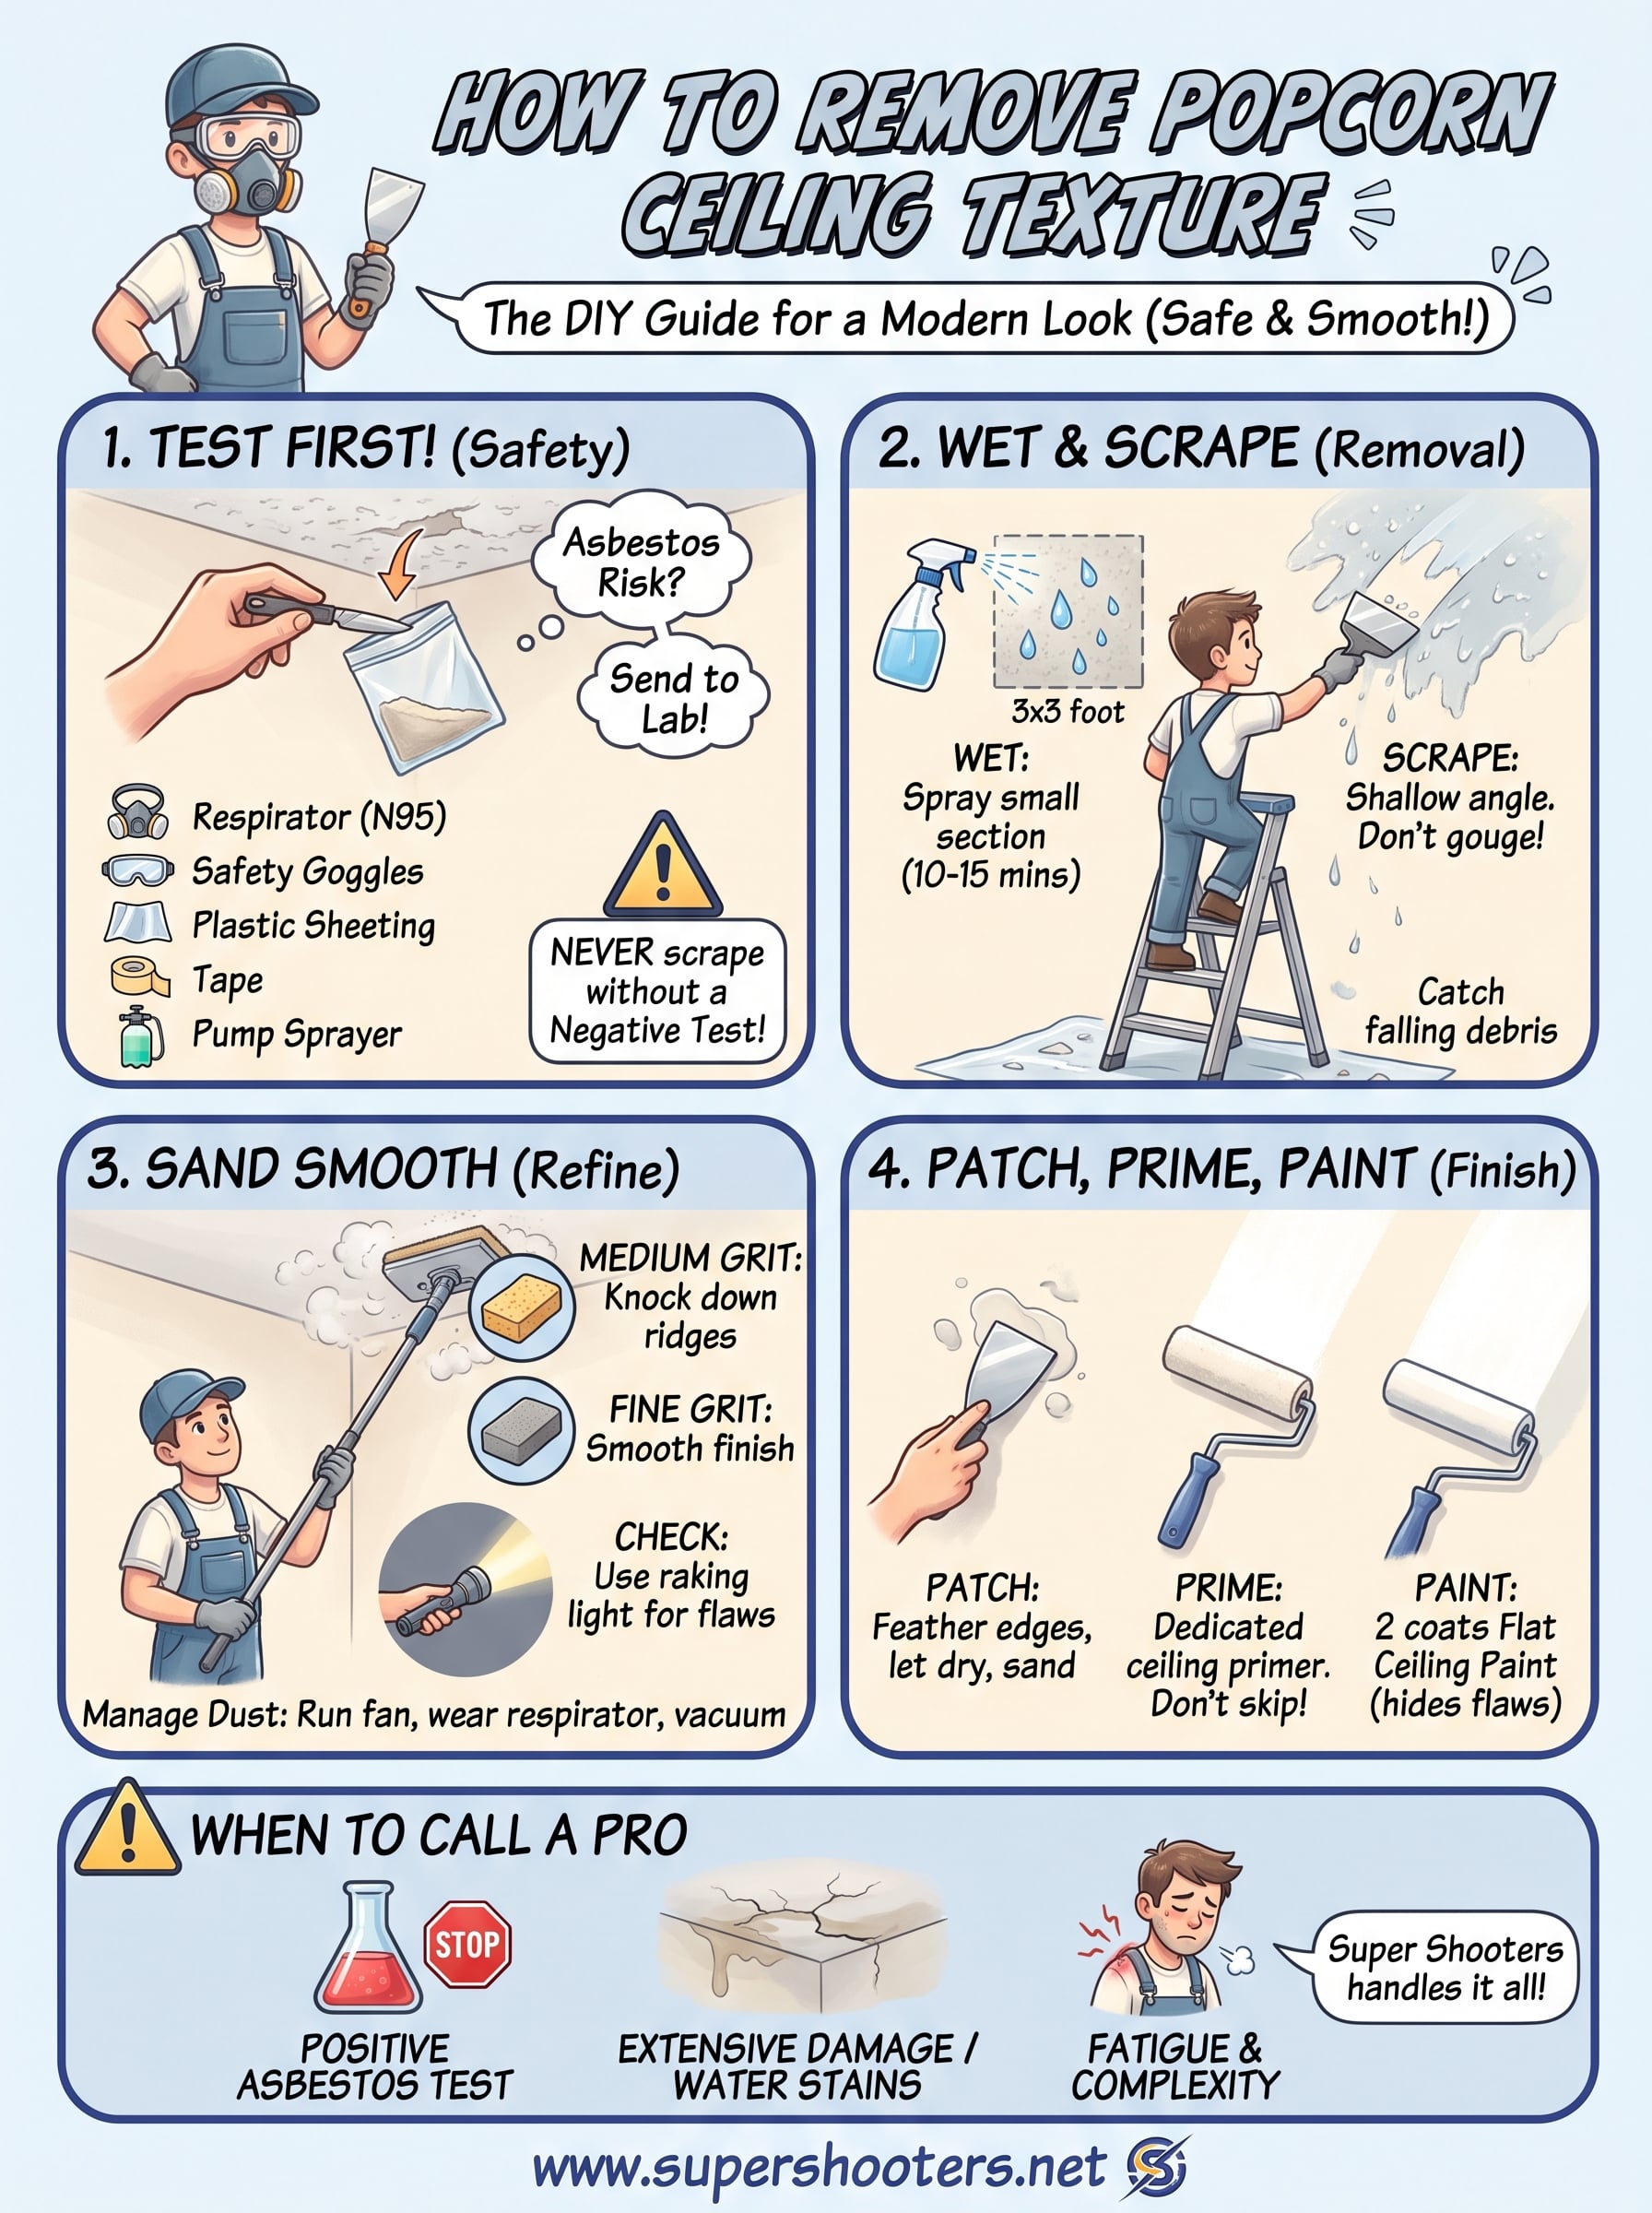
Asbestos isn't dangerous sitting still on your ceiling. It becomes a health risk when you scrape, sand, or disturb it, releasing microscopic fibers that can lodge in your lungs. You can't tell by looking whether a textured ceiling contains asbestos, so testing a ceiling for asbestos in a lab is the only reliable answer. The EPA recommends hiring an accredited inspector to collect a small sample rather than doing it yourself, since improper sampling can release the exact fibers you're trying to avoid (see the EPA's asbestos guidance). If the test comes back positive, stop the DIY project entirely and call a licensed abatement contractor.
Never scrape a textured ceiling until you know for certain it's asbestos-free.
Protecting yourself and your home
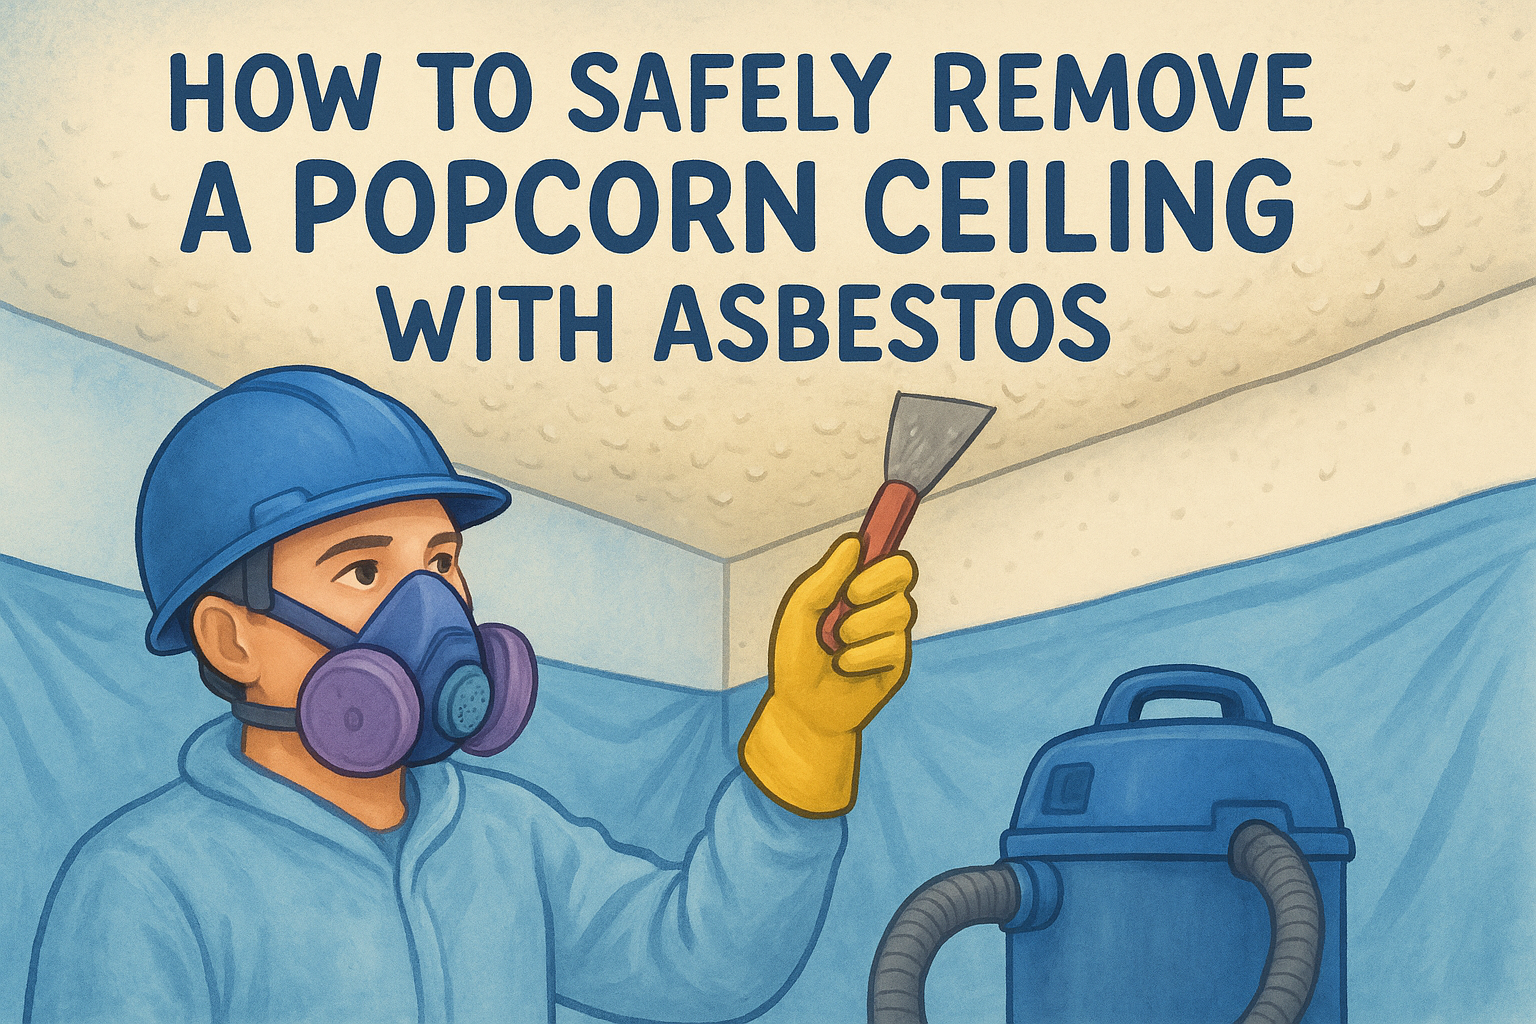
Even when a ceiling tests negative for asbestos, you're still dealing with a lot of dust and debris. Cover the floor with plastic sheeting, tape off doorways, and shut off central air so dust doesn't spread through the house. Wear a respirator rated for particulates (not a paper dust mask), safety goggles, and old clothes you don't mind tossing. Set up plastic sheeting on the walls too if you're working close to trim or cabinetry you want to protect.
Tools you'll need
Having the right equipment on hand before you start saves you multiple trips to the hardware store mid-project, and it helps to compare low-dust scrapers and sanders for ceiling work before you buy. Here's what a typical popcorn ceiling job requires:
| Tool or Material | Purpose |
|---|---|
| Pump garden sprayer | Wets the texture so it scrapes off cleanly |
| Wide putty knife (4-6 inch) | Scrapes softened texture from the ceiling |
| Plastic sheeting and painter's tape | Protects floors, walls, and furniture |
| Respirator (N95 or better) | Blocks dust and particulate inhalation |
| Safety goggles | Protects eyes from falling debris |
| Drop cloths | Catches wet debris for easier cleanup |
| Joint compound and sanding sponge | Patches gouges and smooths the surface |
| Stepladder or scaffold plank | Gives you safe, stable reach to the ceiling |
Budget a full weekend for an average bedroom or living room, longer if you're tackling multiple rooms or a ceiling with stubborn, thick texture layered from past repairs.
Step 1. Test for asbestos and prep the room
Grab a sample kit or call a local inspector before you do anything else, since this step decides whether the rest of the project is a weekend DIY job or a call to an abatement crew. Testing costs far less than a hospital bill or a lung condition down the road, and it takes the guesswork out of ceiling texture removal for good. Mail-in kits from certified labs run $30 to $60 and typically return results within a few business days, which is worth the wait, though it pays to compare what local asbestos ceiling testing costs before you choose a route.
Collecting a sample the safe way
Hold the sample area lightly with a spray bottle of water to keep dust down, then use a small utility knife to cut a coin-sized piece of texture into a sealed bag. Label it, fill out the lab's paperwork, and ship it off. If you'd rather not touch the ceiling at all, an accredited inspector can do the sampling for a modest fee, which is the route the EPA recommends for anyone unsure about proper technique.
Test first, scrape second: that order never changes.
Setting up the work zone
Once you get a clean result, turn your attention to the room itself and seal the space off properly before scraping. Proper prep now saves hours of cleanup later and protects everything you're not planning to replace.
- Remove furniture, rugs, and wall art from the room entirely
- Cover the floor with heavy plastic sheeting, taped down at the seams
- Tape plastic over outlets, light fixtures, and vents
- Shut off the HVAC system so dust doesn't circulate through the ductwork
- Open a window and run a box fan facing outward for ventilation
- Lay down a second layer of drop cloths near the ladder for wet debris
More recent construction, roughly post-1990, is far less likely to contain asbestos, but don't skip testing just because your house is newer. Contractors sometimes patched old ceilings with texture that predates the home's build date.
Step 2. Wet and scrape the texture
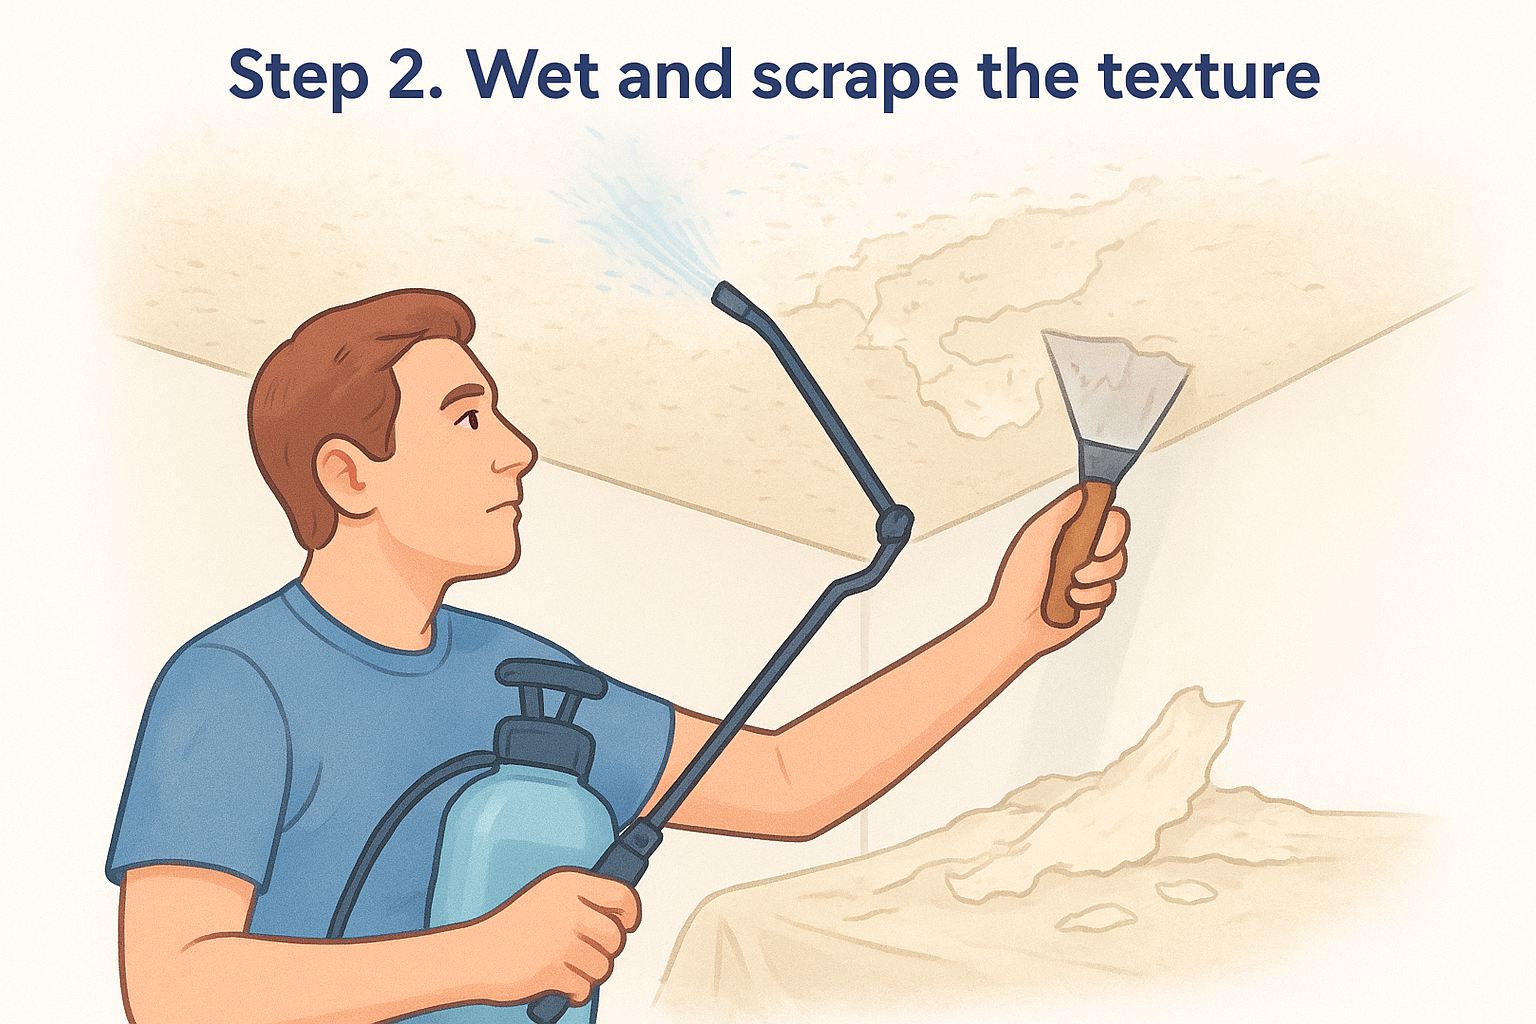
Spray one small section of ceiling at a time, roughly a 3x3 foot patch, using the pump garden sprayer filled with warm water. Let the water sit for 10 to 15 minutes so it soaks into the texture and loosens the bond with the drywall underneath. Don't spray the whole ceiling at once; the water dries out before you reach it, and you'll be scraping dry, stubborn texture that chips instead of peeling away cleanly. Working section by section is the difference between a smooth afternoon and hours of fighting the ceiling.
Wet texture peels off in sheets. Dry texture just makes a mess and tears the paper underneath.
Scraping without gouging the drywall
Hold the putty knife at a shallow angle , close to flat against the ceiling, and push it under the softened texture rather than digging straight in. A steep angle is what catches the drywall paper and rips it, leaving you with gouges that need far more patching than a simple texture removal job. Work in the same direction as the section you sprayed, letting the wet texture fall onto the drop cloth below instead of scattering.
- Re-wet any spot that's resisting the scraper before forcing it
- Keep the blade edge clean; caked-on texture dulls your scraping angle
- Scoop wet debris into a bucket as you go instead of letting it pile up
- Check under bright light for missed patches once a section looks clear
Rinse and repeat across the whole ceiling, moving the ladder in a grid pattern so you don't leave gaps. This wet-scrape method is standard for popcorn ceiling removal because it minimizes airborne dust compared to dry sanding, which matters even after an asbestos-negative test result. Expect an average 12x12 room to take four to six hours of steady scraping once you're in a rhythm.
Step 3. Sand the ceiling smooth
Once the texture is fully scraped off, you're left with a ceiling that looks patchy up close, with faint ridges, scraper marks, and a few spots where the drywall paper got a little rough. Sanding evens all of that out so paint goes on smooth instead of highlighting every flaw under a light fixture, and the same grit progression used to sand drywall to a paint-ready surface applies overhead. Let the ceiling dry completely first, usually overnight, since sanding wet drywall just gums up your sandpaper and smears compound into the pores instead of smoothing it.
Choosing the right grit
Start with a medium-grit sanding sponge (around 100-120 grit) to knock down ridges and dried texture residue, then switch to a finer 150-220 grit for the final smoothing pass. A pole sander with a swivel head saves your neck and shoulders on this step, since you'll be working overhead for hours. Sand in small, overlapping circles rather than long strokes, checking your progress every few passes by running a bare hand across the surface.
A smooth ceiling under raking light is the real test, not how it looks straight on.
Managing dust during sanding
Sanding kicks up far more fine dust than scraping did, so keep your respirator on and run that box fan the entire time. A shop vac with a fine-dust filter attached near your sanding area catches a surprising amount before it settles on furniture and floors.
- Sand in overlapping circular passes, not straight lines
- Wipe the ceiling with a slightly damp cloth between grits to check for missed spots
- Shine a work light at a low angle across the ceiling to spot shadows and dips
- Vacuum the entire room, including window sills and baseboards, once sanding is done
Take your time here. Ceiling texture removal projects usually fail at this exact step, when someone rushes the sanding and paint reveals every flaw the next day.
Step 4. Patch, prime, and repaint
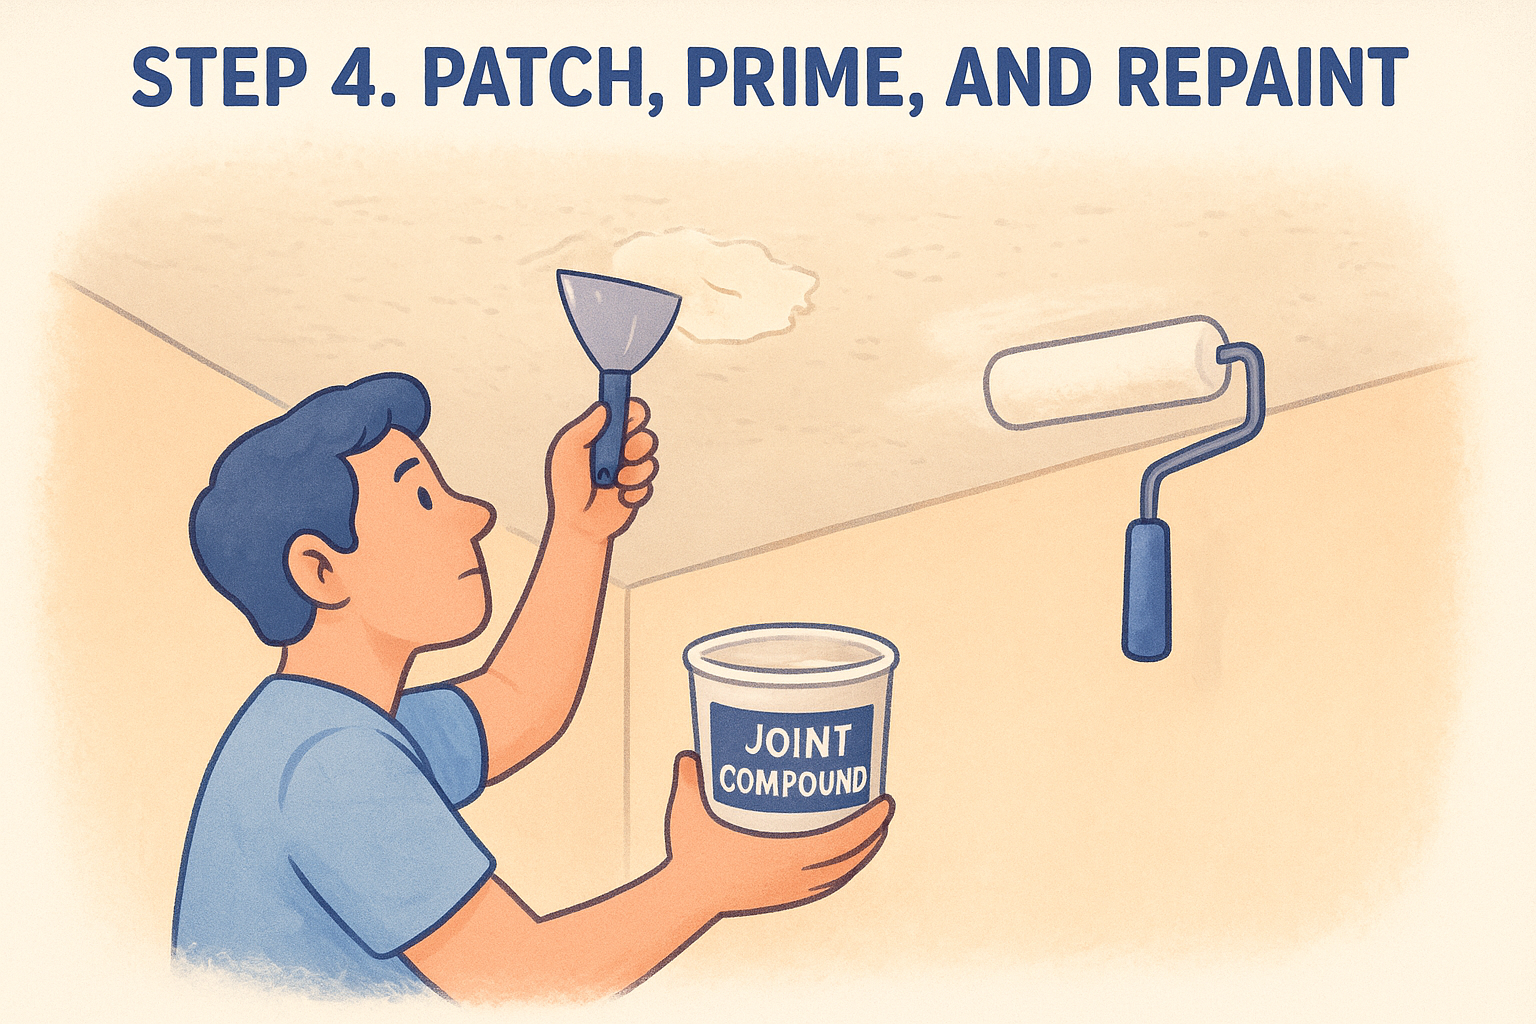
Inspect the entire ceiling under raking light before you touch a paint roller, since the steps that follow popcorn ceiling removal all start with an honest look at the surface. Even careful scraping leaves a few gouges, scraper marks, or thin spots where the drywall paper got scuffed, and every one of them will show through paint if you skip this step.
Patching gouges and low spots
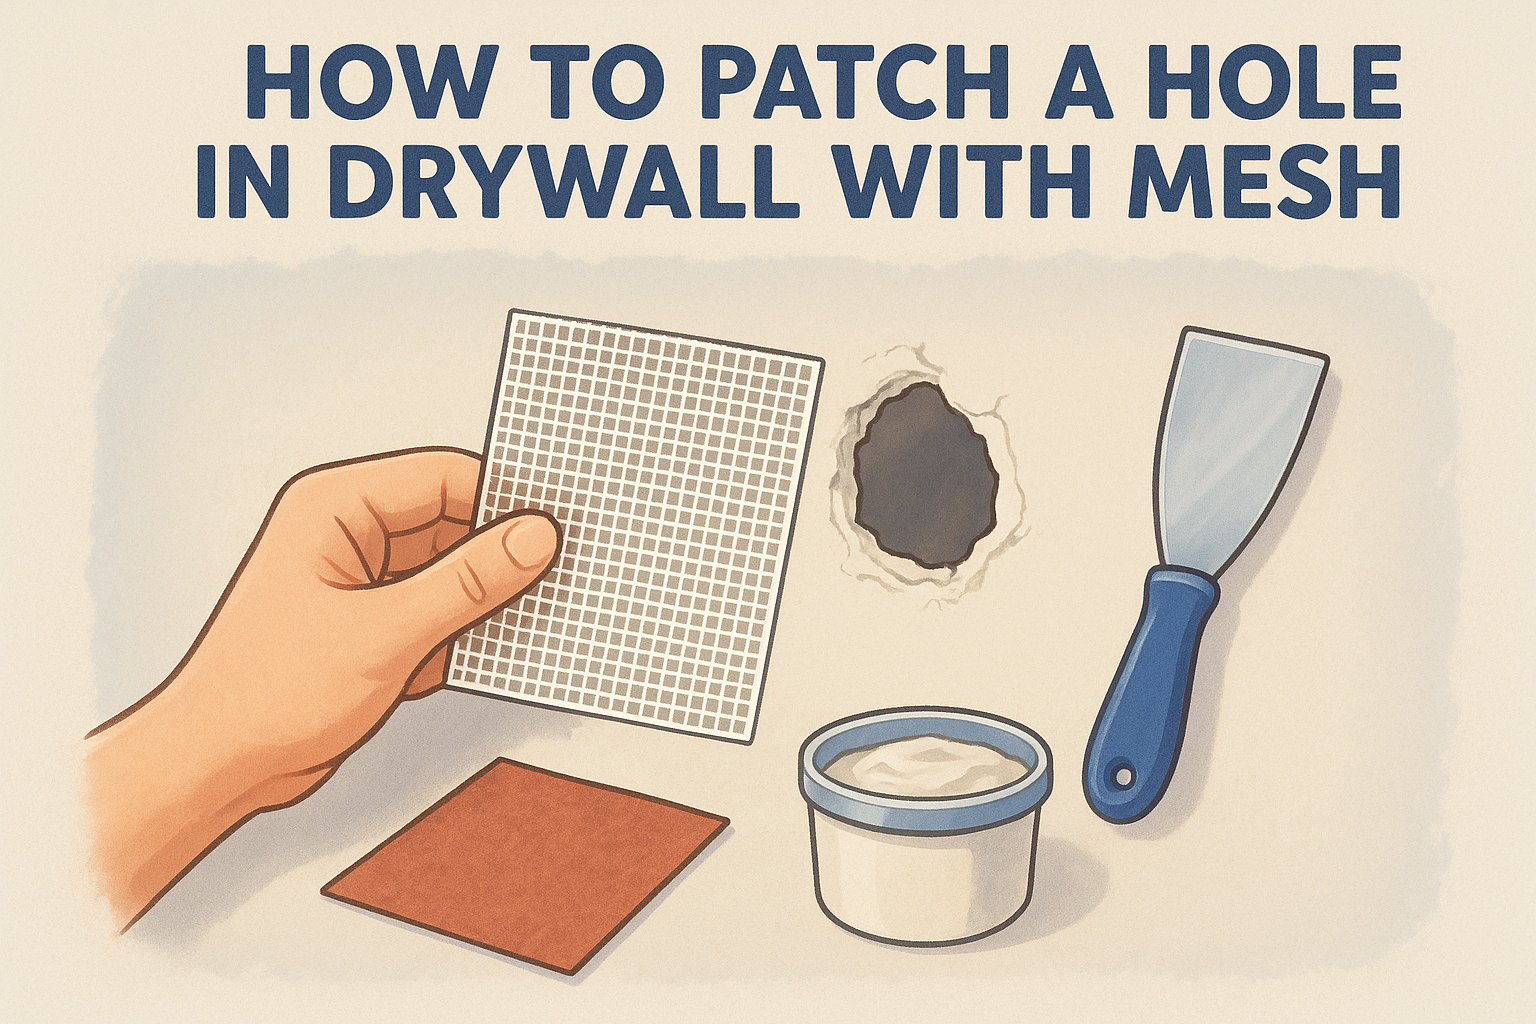
Spread a thin layer of lightweight joint compound over any dents or torn paper with a 6-inch putty knife, feathering the edges so there's no visible ridge once it dries. Let it cure fully, usually 24 hours, then sand it flush with a fine-grit sponge. Repeat for stubborn spots; two thin coats always beat one thick one that cracks as it dries.
- Feather compound edges out at least 4 inches beyond the damage
- Sand between coats with 150-220 grit
- Wipe dust off before applying the next layer
Priming before you paint
Don't skip a dedicated ceiling primer , even if the drywall looks ready for paint. Bare patched areas absorb paint differently than the surrounding surface, and skipping primer is exactly how you end up with blotchy "flashing" once the topcoat dries. A PVA or drywall primer seals the compound and gives the whole ceiling one consistent surface to paint over.
Skip the primer and you'll see every patch you made for years afterward.
Choosing paint and finish
Stick with a flat ceiling paint in white or off-white; flat finishes hide minor imperfections far better than eggshell or satin, which reflect light and highlight every ripple. Apply two coats with a 3/8-inch nap roller, letting the first coat dry fully before the second. If your scraping and sanding revealed cracked or bubbling drywall underneath, hold off on painting until you've addressed that damage properly, since paint won't hide structural issues, it only masks them temporarily.
When to call in a professional
Some jobs cross the line from weekend project to professional territory fast. A positive asbestos test means stop immediately, no exceptions, no shortcuts, and hand the ceiling over to a crew that does certified asbestos ceiling abatement in the Sacramento Valley. Extensive water staining, sagging drywall, or texture that keeps chipping away in chunks instead of sheets are all signs the ceiling underneath needs professional ceiling drywall repair rather than a quick patch job. Fatigue matters too. Overhead work strains your neck and shoulders in ways that lead to rushed scraping and gouged drywall, which costs more to fix than hiring it out from the start.
Done right, removing ceiling texture gives you a clean, modern ceiling that makes the whole room feel bigger and brighter. But when testing turns up asbestos or scraping reveals damage beyond a simple patch, don't gamble with your health or your walls. Super Shooters has handled these exact situations across the Sacramento Valley for over 30 years. If your project just got complicated, request a free popcorn ceiling removal quote from our licensed Sacramento crew and let them finish it right.