August 21, 2026
8 Best Drywall Patching Kits for Every Hole Size
A doorknob dent, a missing chunk from moving furniture, a fist-sized hole nobody wants to talk about. Every wall damage problem needs a different fix, and grabbing the wrong drywall patching kit wastes money and leaves a lumpy patch you'll notice every time you walk by. The size of the hole determines everything: a nail hole needs nothing more than spackle and a putty knife, while anything bigger than your palm needs mesh, a rigid backing, or a self-adhesive patch to hold up over time.
This guide breaks down eight kits by hole size, from pinholes to the kind of gaping damage that makes homeowners search for a drywall repair patch near me instead of tackling it themselves. You'll know exactly which product to buy before you even open your wallet, whether you're patching one hole or stocking up for a whole renovation.
We've spent over 30 years fixing walls across the Sacramento Valley, so we know which kits actually hold up and which ones crack within a month. Below, we cover what's in each kit, how it performs, and when a hole is big enough that calling a professional beats a DIY patch entirely.
1. How to choose the right drywall patching kit
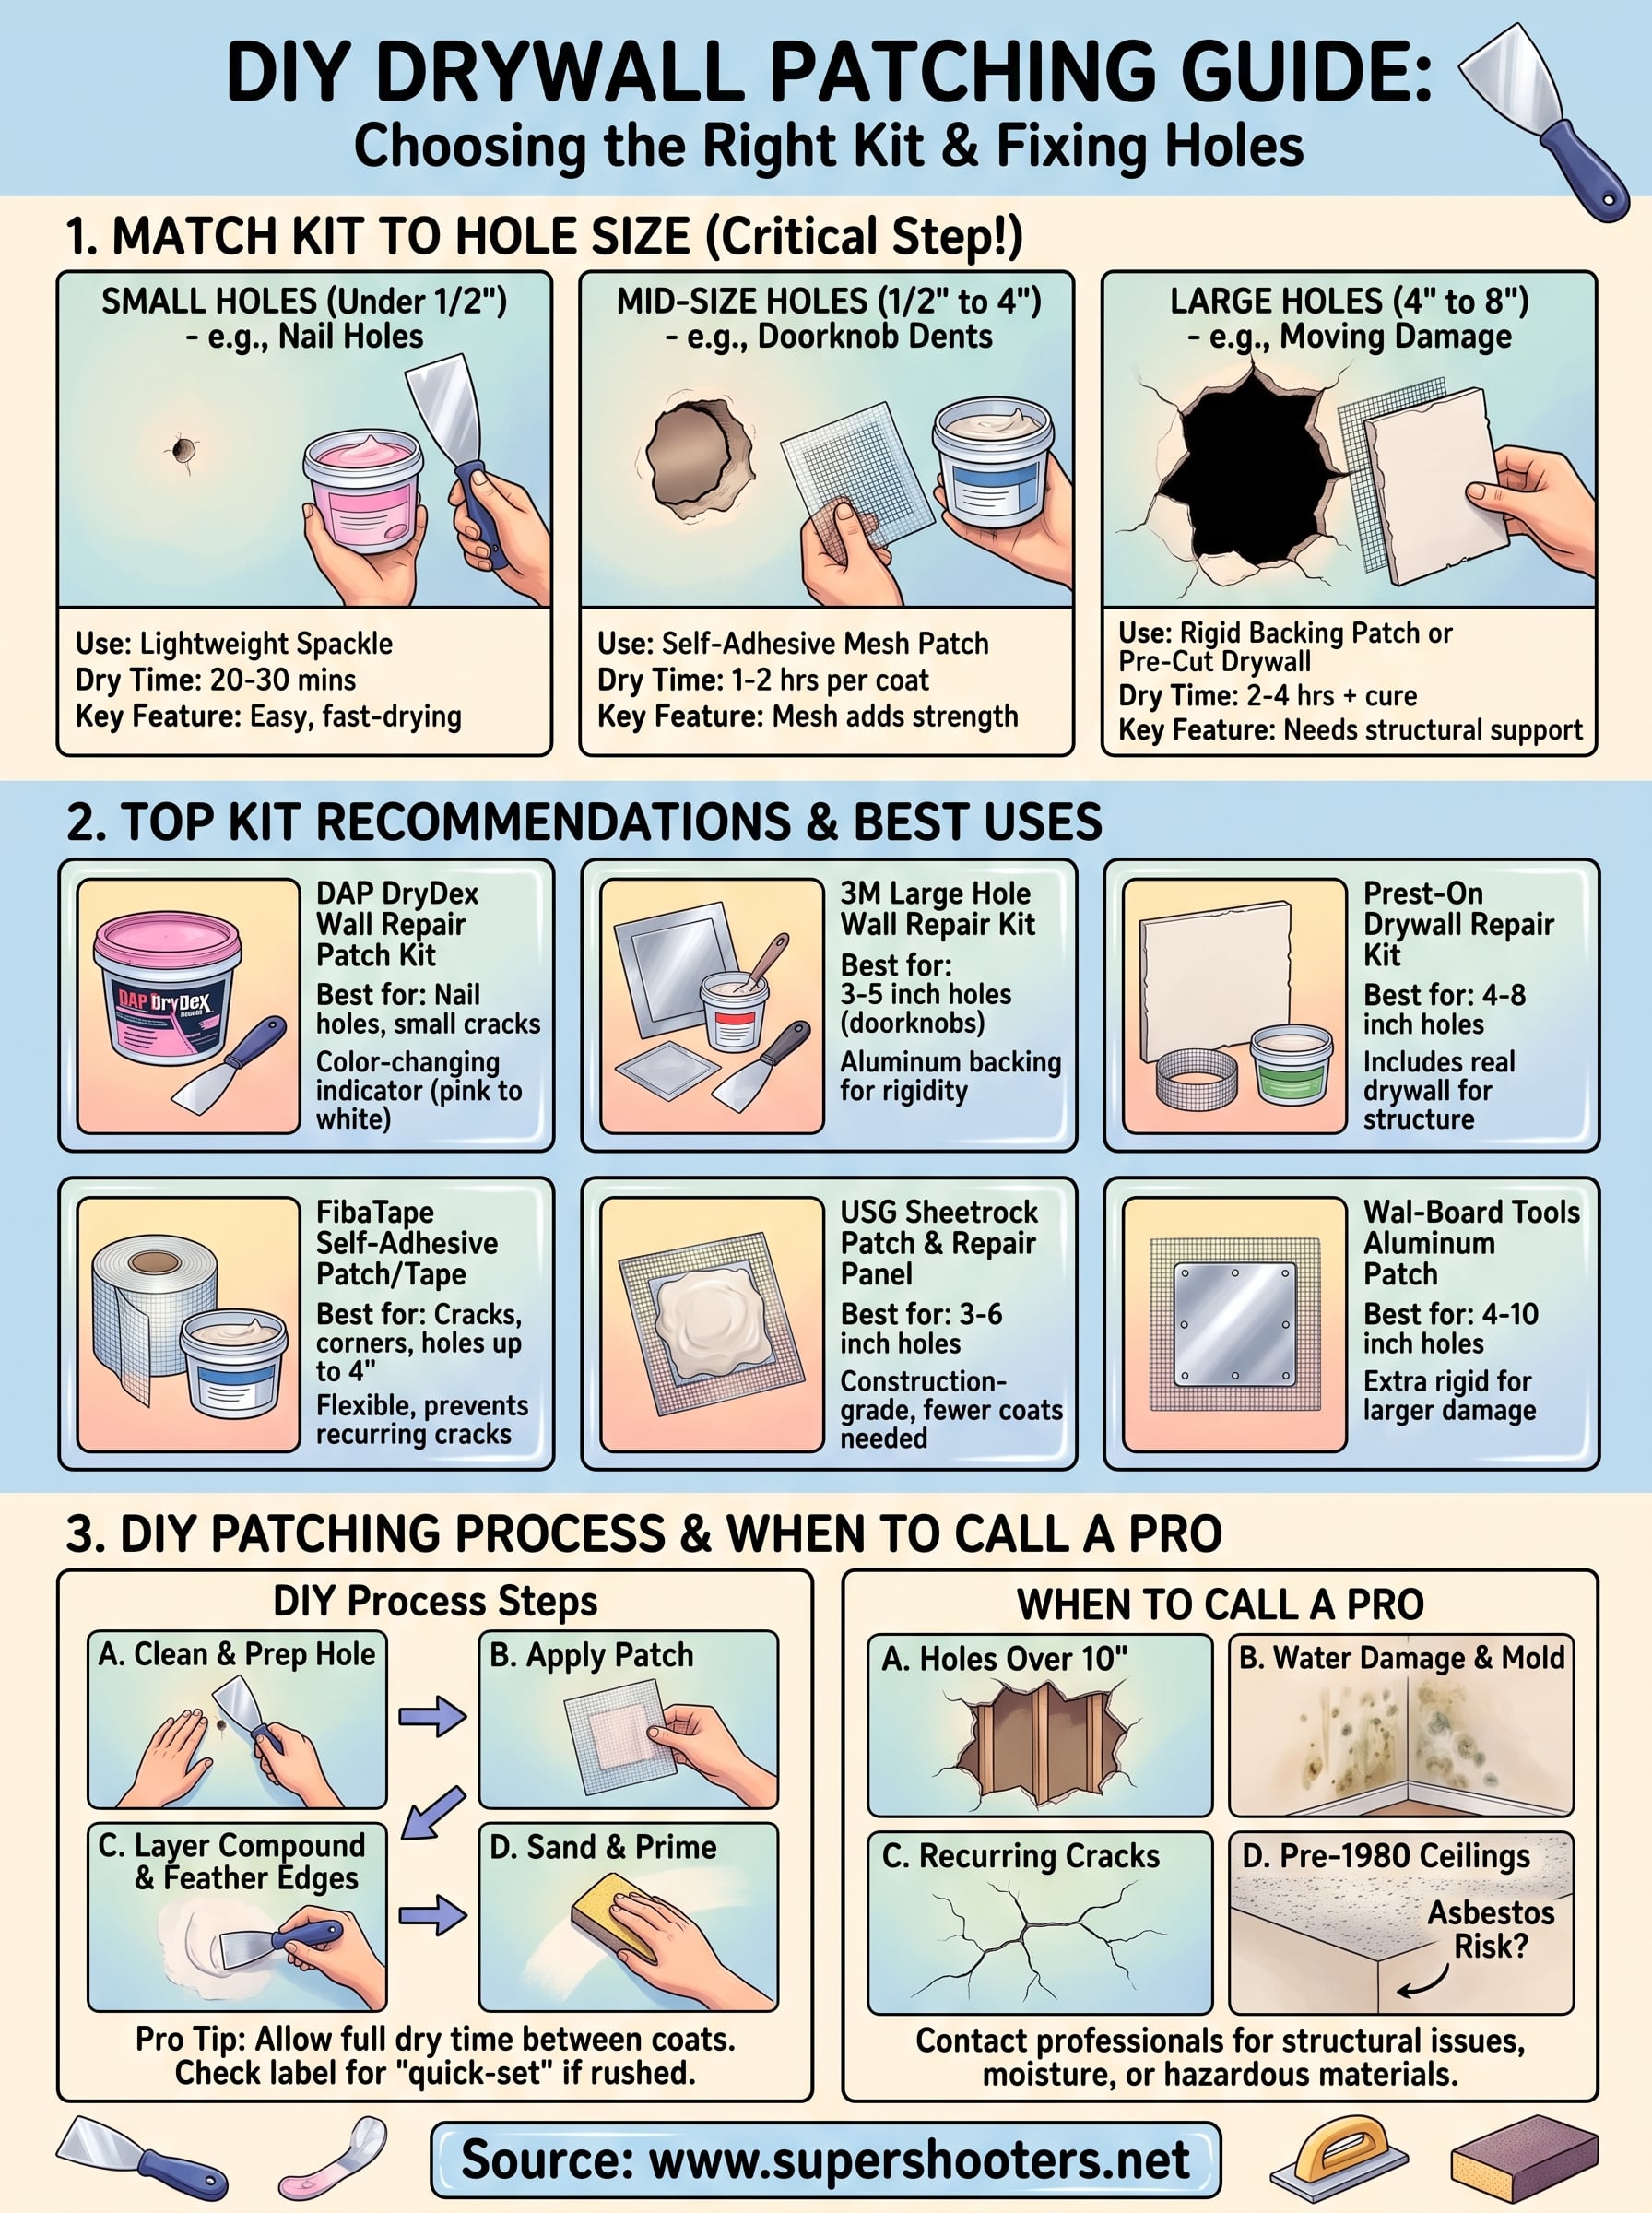
Hole size matters more than any other factor when picking a drywall patching kit . A kit built for nail holes won't hold up in a fist-sized gap, and a heavy-duty patch kit is overkill for a doorknob dent. Before you buy anything, measure the damage and match it to the right category. Most manufacturers label their kits by hole size range, so this step alone eliminates half the options on a store shelf.
Beyond size, think about the wall's location and how much stress it takes. Hallway corners and doorways get bumped constantly, so a patch there needs a rigid backing, not just spackle. Bathrooms and laundry rooms deal with moisture, so look for a kit that mentions mold resistance or a moisture-resistant formula. Garages and workshops often have rougher surfaces, so a self-adhesive mesh patch adheres better than a lightweight paper one.
The right kit matches the hole size first, then the wall's exposure to moisture and impact.
Drying and cure time also separates a good kit from a frustrating one, so it helps to know how long a drywall patch takes to dry before painting. Lightweight spackling compounds dry in 20 to 30 minutes and let you sand and paint the same day. Traditional joint compound takes longer, sometimes 24 hours, but bonds better on larger repairs. If you're patching before a home showing or a guest arrives, check the label for "fast-drying" or "quick-set" language before you commit.
Finally, consider whether you need tools included or already own them. Some kits bundle a putty knife, sanding sponge, and mesh patch in one box, which is convenient for a first-time DIYer. Others assume you already own the basic tools every DIY patcher needs and just sell the compound or patch material, which usually costs less.
| Hole Size | Recommended Kit Type | Typical Dry Time |
|---|---|---|
| Under 1/2 inch (nail holes) | Lightweight spackle | 20-30 minutes |
| 1/2 inch to 4 inches | Self-adhesive mesh patch | 1-2 hours |
| 4 to 8 inches | Rigid backing patch kit | 2-4 hours plus overnight cure |
| Over 8 inches | Drywall patch panel with studs | 24 hours or professional repair |
Once you know your hole size, wall location, and how long a repair takes by patch size, the next eight kits below will make a lot more sense. Each one below fills a specific gap in that table, so you can shop with confidence instead of guessing in the home improvement aisle.
2. DAP DryDex wall repair patch kit
Best for
DAP DryDex is the go-to drywall patching kit for nail holes, small dents, and cracks under half an inch. It's the pink-to-white spackle you've probably seen at Home Depot, and it earns its shelf space because it forgives beginners. If you're patching a handful of picture-hanger holes before repainting a room, this is the kit to grab.
What's included
The standard kit comes with a tub of lightweight spackling compound and, in most versions, a small plastic putty knife. The compound goes on pink and dries white, which tells you exactly when it's ready to sand. It skips the mesh or paper patches you'll see in bigger kits because holes this small don't need extra reinforcement.
A color-changing spackle takes the guesswork out of knowing when a small patch is ready to sand.
How to use it
Scoop a small amount onto the putty knife, press it into the hole, and scrape flush with the wall. Let it turn from pink to solid white, usually 20 to 30 minutes, then sand lightly with a fine sponge. No priming step is required before painting over most surfaces.
Price range
A tub runs $5 to $9 at most hardware stores, making it one of the cheapest options on this list. Larger tubs for whole-house touch-ups cost closer to $12 .
3. 3M large hole wall repair kit
Best for
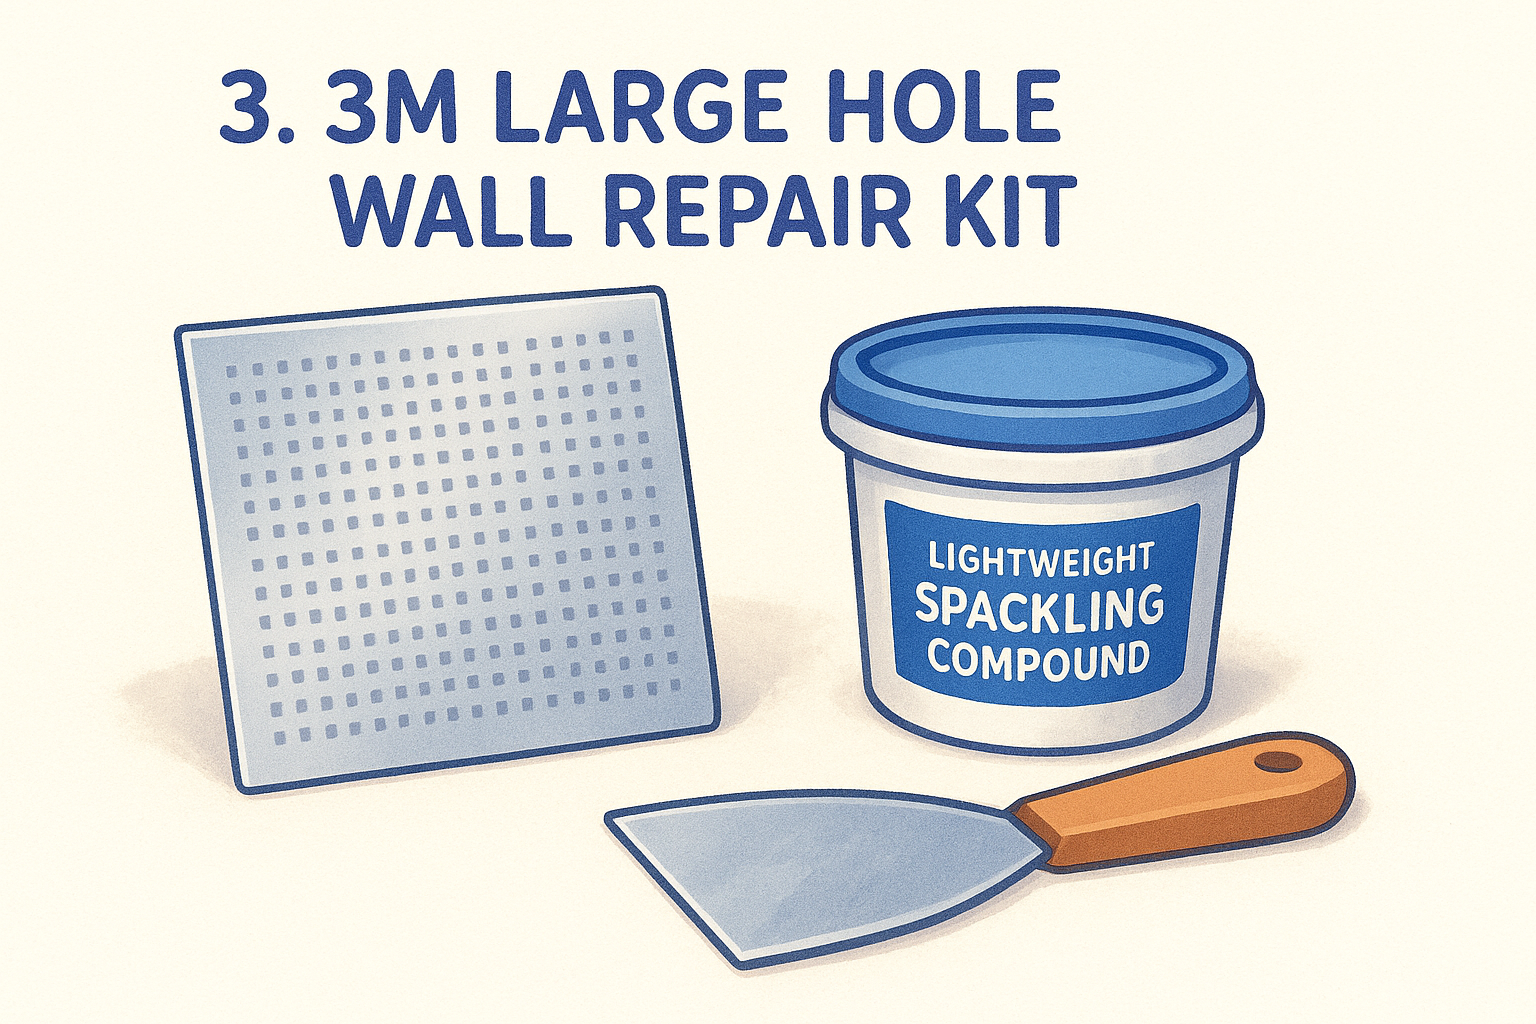
The 3M large hole wall repair kit steps in once damage grows past what spackle alone can fix, think doorknob punctures, coat hook blowouts, or holes in the 3-to-5-inch range, the middle ground in fixing small, medium, and large holes. It uses an aluminum patch instead of mesh tape, which gives it enough rigidity to bridge a gap without a stud or backing board behind it. If you've got a handful of mid-size holes scattered around a rental before move-out, this drywall patching kit handles them fast.
What's included
Each kit includes a self-adhesive aluminum patch (usually 5x5 or 8x8 inches), a small tub of lightweight spackling compound, and a putty knife. Some versions add a sanding sponge. The aluminum backing is the standout feature here, since it holds the compound in place better than paper-faced patches on holes with any real depth.
An aluminum-backed patch bridges a mid-size hole without needing a stud or backer board behind it.
How to use it
Peel the backing off the aluminum patch and press it directly over the hole, centered and smoothed flat with your hand. Layer the spackling compound over the patch in thin coats, feathering the edges outward so the repair blends into the surrounding wall. Let each coat dry fully, usually an hour or two, before adding the next. Sand smooth once the final coat cures, then prime before painting.
Price range
Expect to pay $8 to $14 for a standard kit at most hardware retailers, with larger patch sizes running closer to $18 .
4. Prest-On drywall repair kit with drywall
Best for
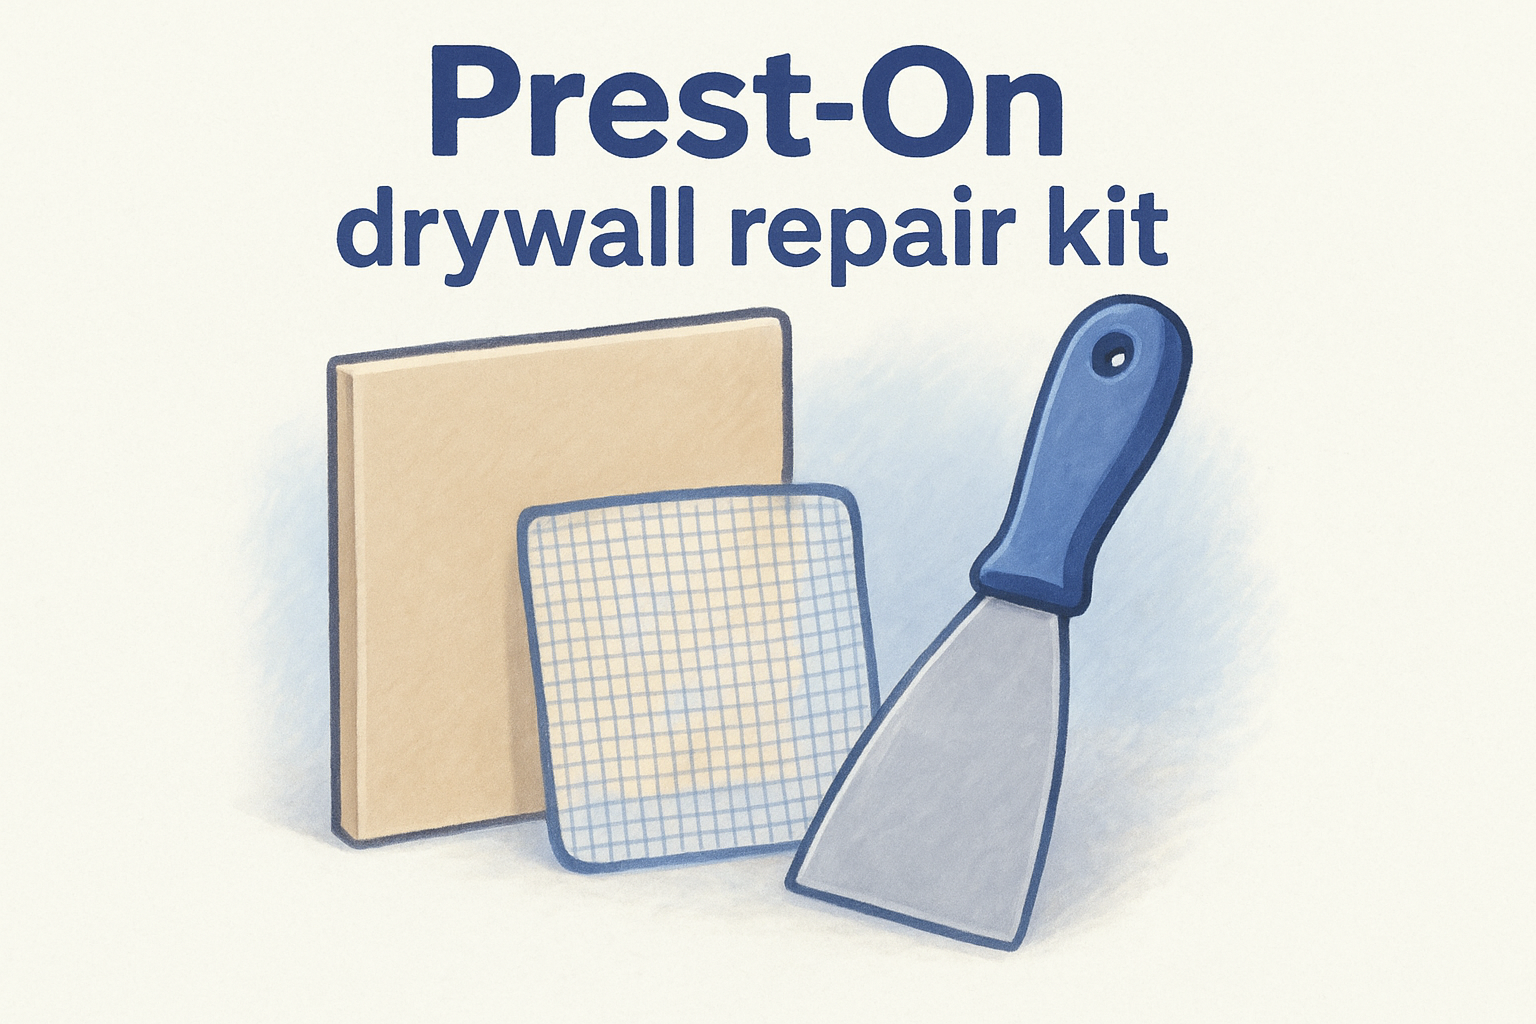
Prest-On fills the gap between a patch kit and a full drywall replacement. It's built for holes in the 4-to-8-inch range, the kind left by a doorknob that finally punched all the way through or a piece of furniture that gouged the wall on moving day. If your drywall patching kit search keeps turning up spackle-only options that feel too flimsy for the damage in front of you, this is the step up.
What's included
The kit bundles an actual precut piece of drywall sized to match common hole ranges, a self-adhesive mesh collar that holds the patch in place, and a putty knife. Because it includes real drywall instead of just a patch material, it handles depth and structure that spackle or aluminum backing can't manage on their own.
Real drywall inside the kit means the patch matches the wall's thickness instead of just covering the surface.
How to use it
Cut the damaged area into a clean square, press the included drywall piece into the opening, and secure it with the adhesive mesh collar around the perimeter, much like a California patch or cleat repair done by hand. Apply joint compound over the mesh in thin layers, feathering each coat past the last. Expect two to three coats with drying time between each, then sand and prime before painting.
Price range
Most kits run $10 to $20 depending on the patch size included, with multi-pack versions for several holes costing closer to $25 .
5. Saint-Gobain ADFORS FibaTape self-adhesive patch
Best for
FibaTape solves a specific problem: cracks and small-to-medium holes on walls or ceilings where you don't want to mess with precut drywall or aluminum backing. It works especially well on corner cracks, settling lines, and holes up to about 4 inches where flexibility matters more than rigidity. Homeowners chasing recurring hairline cracks from foundation settling often reach for this patch because it flexes slightly instead of cracking again along the same line, though fixing drywall cracks for good takes more than tape alone.
What's included
Each roll or precut patch is made from fiberglass mesh coated with a self-adhesive backing, so there's no separate collar or backing board to fuss with. Some versions come in patch form for holes, while others ship as tape rolls meant for seams and cracks. Neither version includes joint compound or a putty knife, so budget for those separately if you don't already own them.
Fiberglass mesh flexes with the wall instead of cracking again along the same settling line.
How to use it
Clean the area, press the mesh directly over the crack or hole, and smooth out any air bubbles by hand. Apply joint compound over the mesh in two to three thin coats, letting each one dry before feathering the next. Sand lightly between coats for a seamless finish once fully cured.
Price range
A roll costs $3 to $6 , and precut patch packs run $5 to $10 depending on size and quantity, making this one of the more budget-friendly options for smaller repairs.
6. USG Sheetrock brand patch and repair panel
Best for
USG is a name you'll recognize from drywall sheets themselves, and their patch and repair panel brings that same construction-grade reliability to mid-size holes. It's built for damage in the 3-to-6-inch range, like a doorknob strike or a wall anchor that pulled loose along with a chunk of drywall. If you want a drywall patching kit from a manufacturer that also makes the wallboard in your house, this is a solid pick.
What's included
The panel itself is a rigid, self-adhesive patch made from a metal mesh embedded in a thin layer of joint compound, so it arrives partially pre-loaded with material. Most kits include just the panel, meaning you'll need your own putty knife and a small tub of the right joint compound for the finish coats. Some retailers sell it bundled with a basic tool set for first-time buyers.
A pre-loaded patch panel means less compound work for you and fewer coats overall.
How to use it
Peel the backing and press the panel directly over the hole, smoothing it flat against the wall. Because the panel already carries a layer of compound, you'll typically only need one or two thin finish coats feathered outward to blend the edges. Sand once dry, then prime before painting.
Price range
A single panel costs $4 to $8 , and multi-packs for whole-house repairs run $12 to $20 .
7. Laybus all-in-one drywall repair kit
Best for
Laybus targets the DIYer who wants one box that handles almost any hole size without buying separate spackle, mesh, and tools. It's built for homeowners tackling their first drywall repairs across a house, from small dents to holes up to 6 inches, and it's become popular with renters trying to fix everything before a move-out inspection. If you want a single drywall patching kit that covers nail holes and doorknob holes in the same afternoon, this is the one to grab.
What's included
Most kits pack a self-adhesive mesh patch, a tub of spackling compound, a putty knife, a sanding sponge, and sometimes a small paintbrush for touch-ups. A few versions add multiple patch sizes so you're not stuck cutting one large patch down for a small hole. The all-in-one design means you rarely need to run to the store mid-project.
One box covering nail holes through six-inch damage saves a trip back to the store mid-project.
How to use it
Peel and press the mesh patch over the hole, then layer compound over it in thin coats, feathering each one past the last. Sand between coats once dry, usually within an hour, and repeat until the surface sits flush with the wall. Prime before painting for the best finish.
Price range
Expect to pay $12 to $20 for the standard kit, with larger multi-hole bundles running closer to $25 .
8. Anvil drywall nail hole repair kit
Best for
Anvil makes one of the simplest drywall patching kit options on this list, aimed squarely at nail holes, screw holes, and tiny dings under half an inch. It's a budget pick for landlords and property managers who patch dozens of small holes between tenants and don't need anything fancier than a reliable spackle. If your repair list is mostly picture hooks and shelf brackets, this kit gets the job done without extra frills once you know how to patch a screw hole in drywall.
What's included
Each kit contains a small tub of pre-mixed spackling compound and, in most packaging, a mini putty knife sized for quick, one-hand application. There's no mesh, no aluminum backing, and no primer included, since holes this small don't need reinforcement. The compound formula stays lightweight and easy to smooth, which matters when you're working through a stack of repairs in one sitting.
A tub of lightweight spackle and a mini putty knife handle a whole afternoon of nail holes without slowing you down.
How to use it
Dab a small amount onto the knife, press it into the hole, and wipe flush with the wall surface in one motion. It dries in about 20 minutes and doesn't require sanding if you apply it cleanly the first time. A quick coat of matching paint finishes the job.
Price range
A tub typically costs $3 to $6 , making it one of the cheapest options here, with bulk multi-packs for property managers running closer to $15 .
9. Wal-Board Tools aluminum drywall patch
Best for
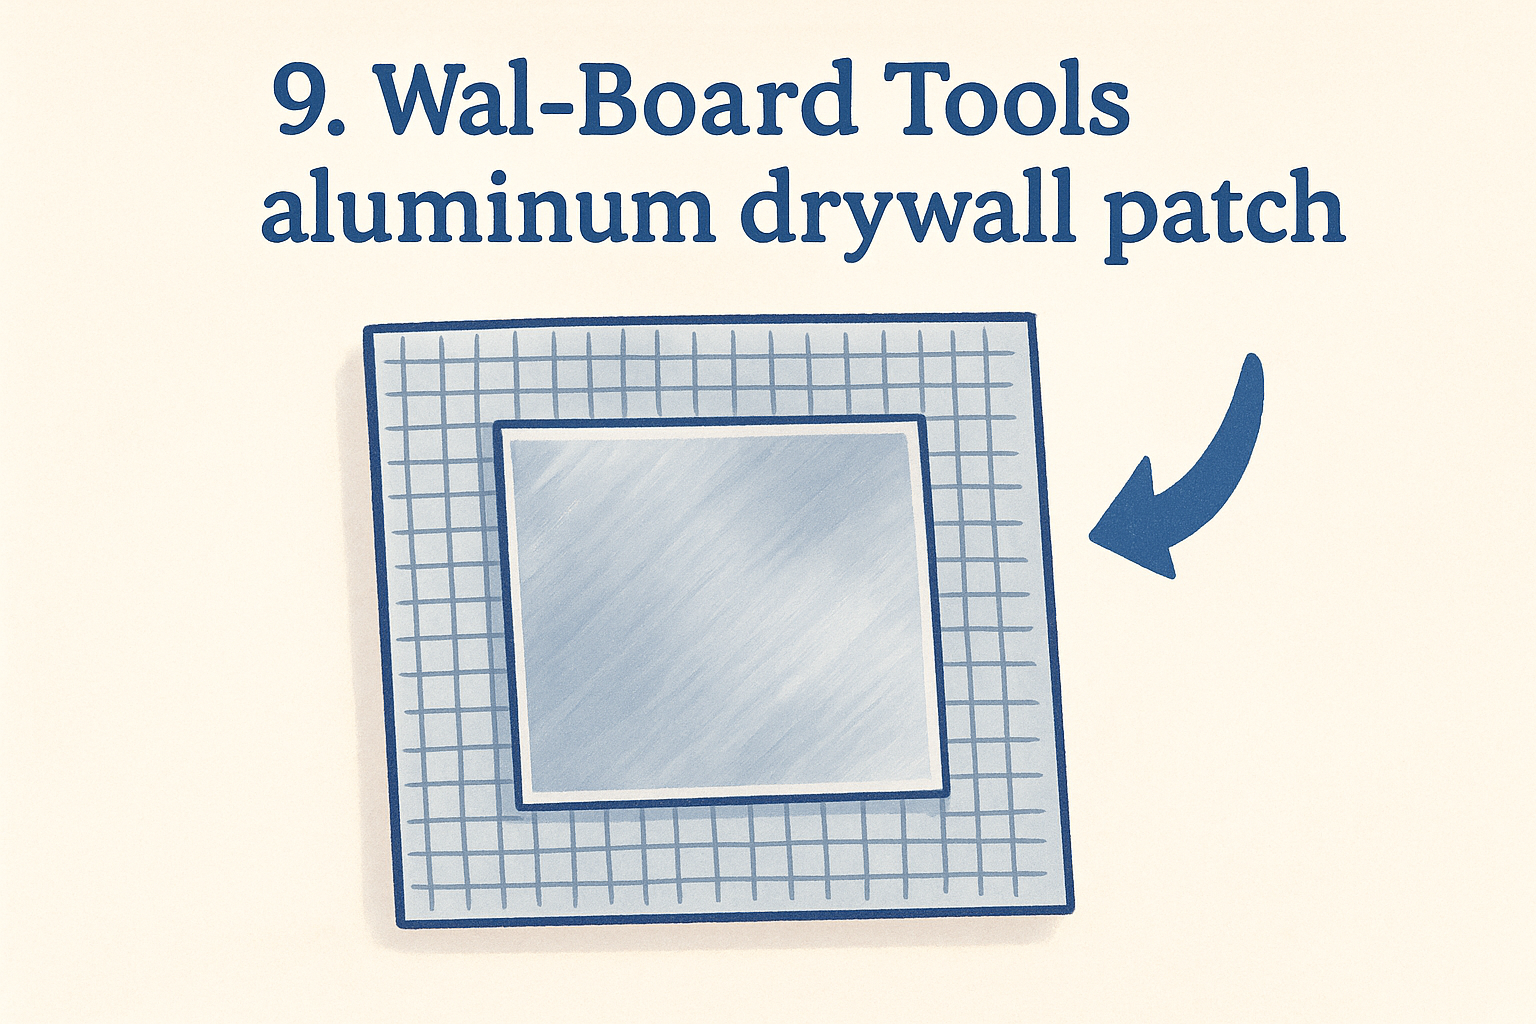
Wal-Board Tools makes a straightforward aluminum patch built for holes between 4 and 10 inches, the range where a lightweight adhesive patch starts to sag under its own weight. It's a favorite among contractors who need a fast, reliable drywall patching kit for doorknob holes, kicked-in panels, or damage left behind after removing a wall-mounted fixture. If you've already tried a smaller patch and watched it bow or crack, this heavier-gauge option holds its shape where lighter kits fail, and drywall repair clips for large holes handle anything wider still.
What's included
The kit ships with a rigid aluminum patch featuring a self-adhesive mesh border, sized larger than most competitors to cover bigger gaps without doubling up patches. It doesn't include joint compound, a putty knife, or sandpaper, so treat this as a patch-only purchase and stock those separately. The aluminum core is thicker than what you'll find in the 3M or USG options above, which is exactly why it handles larger openings without flexing.
A thicker aluminum core holds its shape on bigger holes where lighter patches start to sag.
How to use it
Center the patch over the hole and press the mesh border flat against the wall, working from the middle outward to avoid trapped air. Apply joint compound over the entire patch in two to three coats, feathering each one wider than the last so the edges disappear into the surrounding wall. Let each coat cure fully, sand smooth, then prime before painting.
Price range
A single patch costs $6 to $12 depending on size, and contractor multi-packs for repeat jobs run $20 to $30 .
10. Where to buy drywall repair kits near you
Home Depot, Lowe's, and Ace Hardware carry every kit on this list, and most Sacramento Valley locations stock at least the DAP DryDex, 3M, and USG options on the same aisle. Walking in with your hole measured and photographed on your phone saves time, since staff can point you straight to the right shelf instead of guessing. If you searched drywall repair patch near me because a hole caught you off guard, a big-box store within a few miles almost always has something that fits, though it's worth comparing that against affordable drywall repair near you.
Online retailers widen the selection considerably. Amazon and the manufacturer sites for DAP, 3M, and Wal-Board Tools sell multi-packs that local stores don't always carry, which matters if you're patching several holes across a rental or a whole floor of a house. Shipping takes a day or two, so this route works better for planned repairs than an emergency dent you need fixed before guests arrive tonight.
Buy locally for same-day fixes, buy online when you're stocking up for multiple repairs.
Smaller local hardware and paint stores across the region, the kind found in Roseville, Folsom, and Davis, often stock the FibaTape and Anvil kits at similar prices and sometimes throw in free advice on which product suits your specific wall. Independent stores also tend to carry contractor-grade patches like Wal-Board's aluminum option, which isn't always on shelves at bigger chains. Ask before you drive across town, since inventory varies more at smaller shops than at national chains.
11. When to call a professional instead of DIY
Some damage goes beyond what any drywall patching kit can fix, no matter how good the product is. A hole bigger than 10 inches usually means broken studs, damaged insulation, or wiring behind the wall that you shouldn't poke around blind. Multiple holes across one wall, especially near corners or windows, sometimes point to a structural issue that a patch will only mask for a few months before it cracks again, which is where wall crack repair for settling homes comes in.
Water stains around the damage change the calculation entirely. A patch over a wall that's still wet traps moisture behind it, which invites mold within weeks. If you see discoloration, a soft or spongy spot, or a musty smell, stop and get a professional to handle water-damaged wall restoration before anything gets patched over.
A patch over a wet wall doesn't fix the problem, it just hides mold until it spreads.
Homes built before the 1980s raise another red flag: textured or acoustic ceilings in that era sometimes contain asbestos, and cutting into one without safely testing a popcorn ceiling for asbestos puts fibers into the air you breathe. Sacramento Valley has plenty of houses from that period, and we handle asbestos ceiling abatement and acoustic ceiling removal specifically because DIY sanding or cutting on these surfaces isn't worth the risk.
Call a contractor when you notice:
- Holes wider than 10 inches or damage spanning multiple studs
- Soft, discolored, or musty-smelling drywall
- Cracks that keep reappearing after repeated patches
- Any acoustic or textured ceiling installed before 1980
A quick free estimate settles the question faster than guessing, and knowing how to pick a drywall repair contractor makes that call easier.
Smooth walls start with the right kit
Matching the kit to the hole gets you 90% of the way to a wall that looks untouched. A nail hole needs nothing more than DryDex and a putty knife, while an 8-inch doorknob puncture calls for real drywall and mesh, not a dab of spackle. The drywall patching kit you grab should match the damage in front of you, not just whatever's closest on the shelf. Skip that step and you'll be back at the hardware store in a month, sanding down a crack that never should have reappeared.
But some walls tell you they're past DIY the moment you look closely. Soft spots, water stains, or a pre-1980 ceiling aren't jobs for a weekend and a tube of compound. If your damage checks any of those boxes, ask our crew about professional drywall repair and patching in the Sacramento Valley before you patch over a problem that's only going to get worse.
Recent Posts