Share this article

October 24, 2026

How to Patch Drywall with Texture, Then Prime and Paint

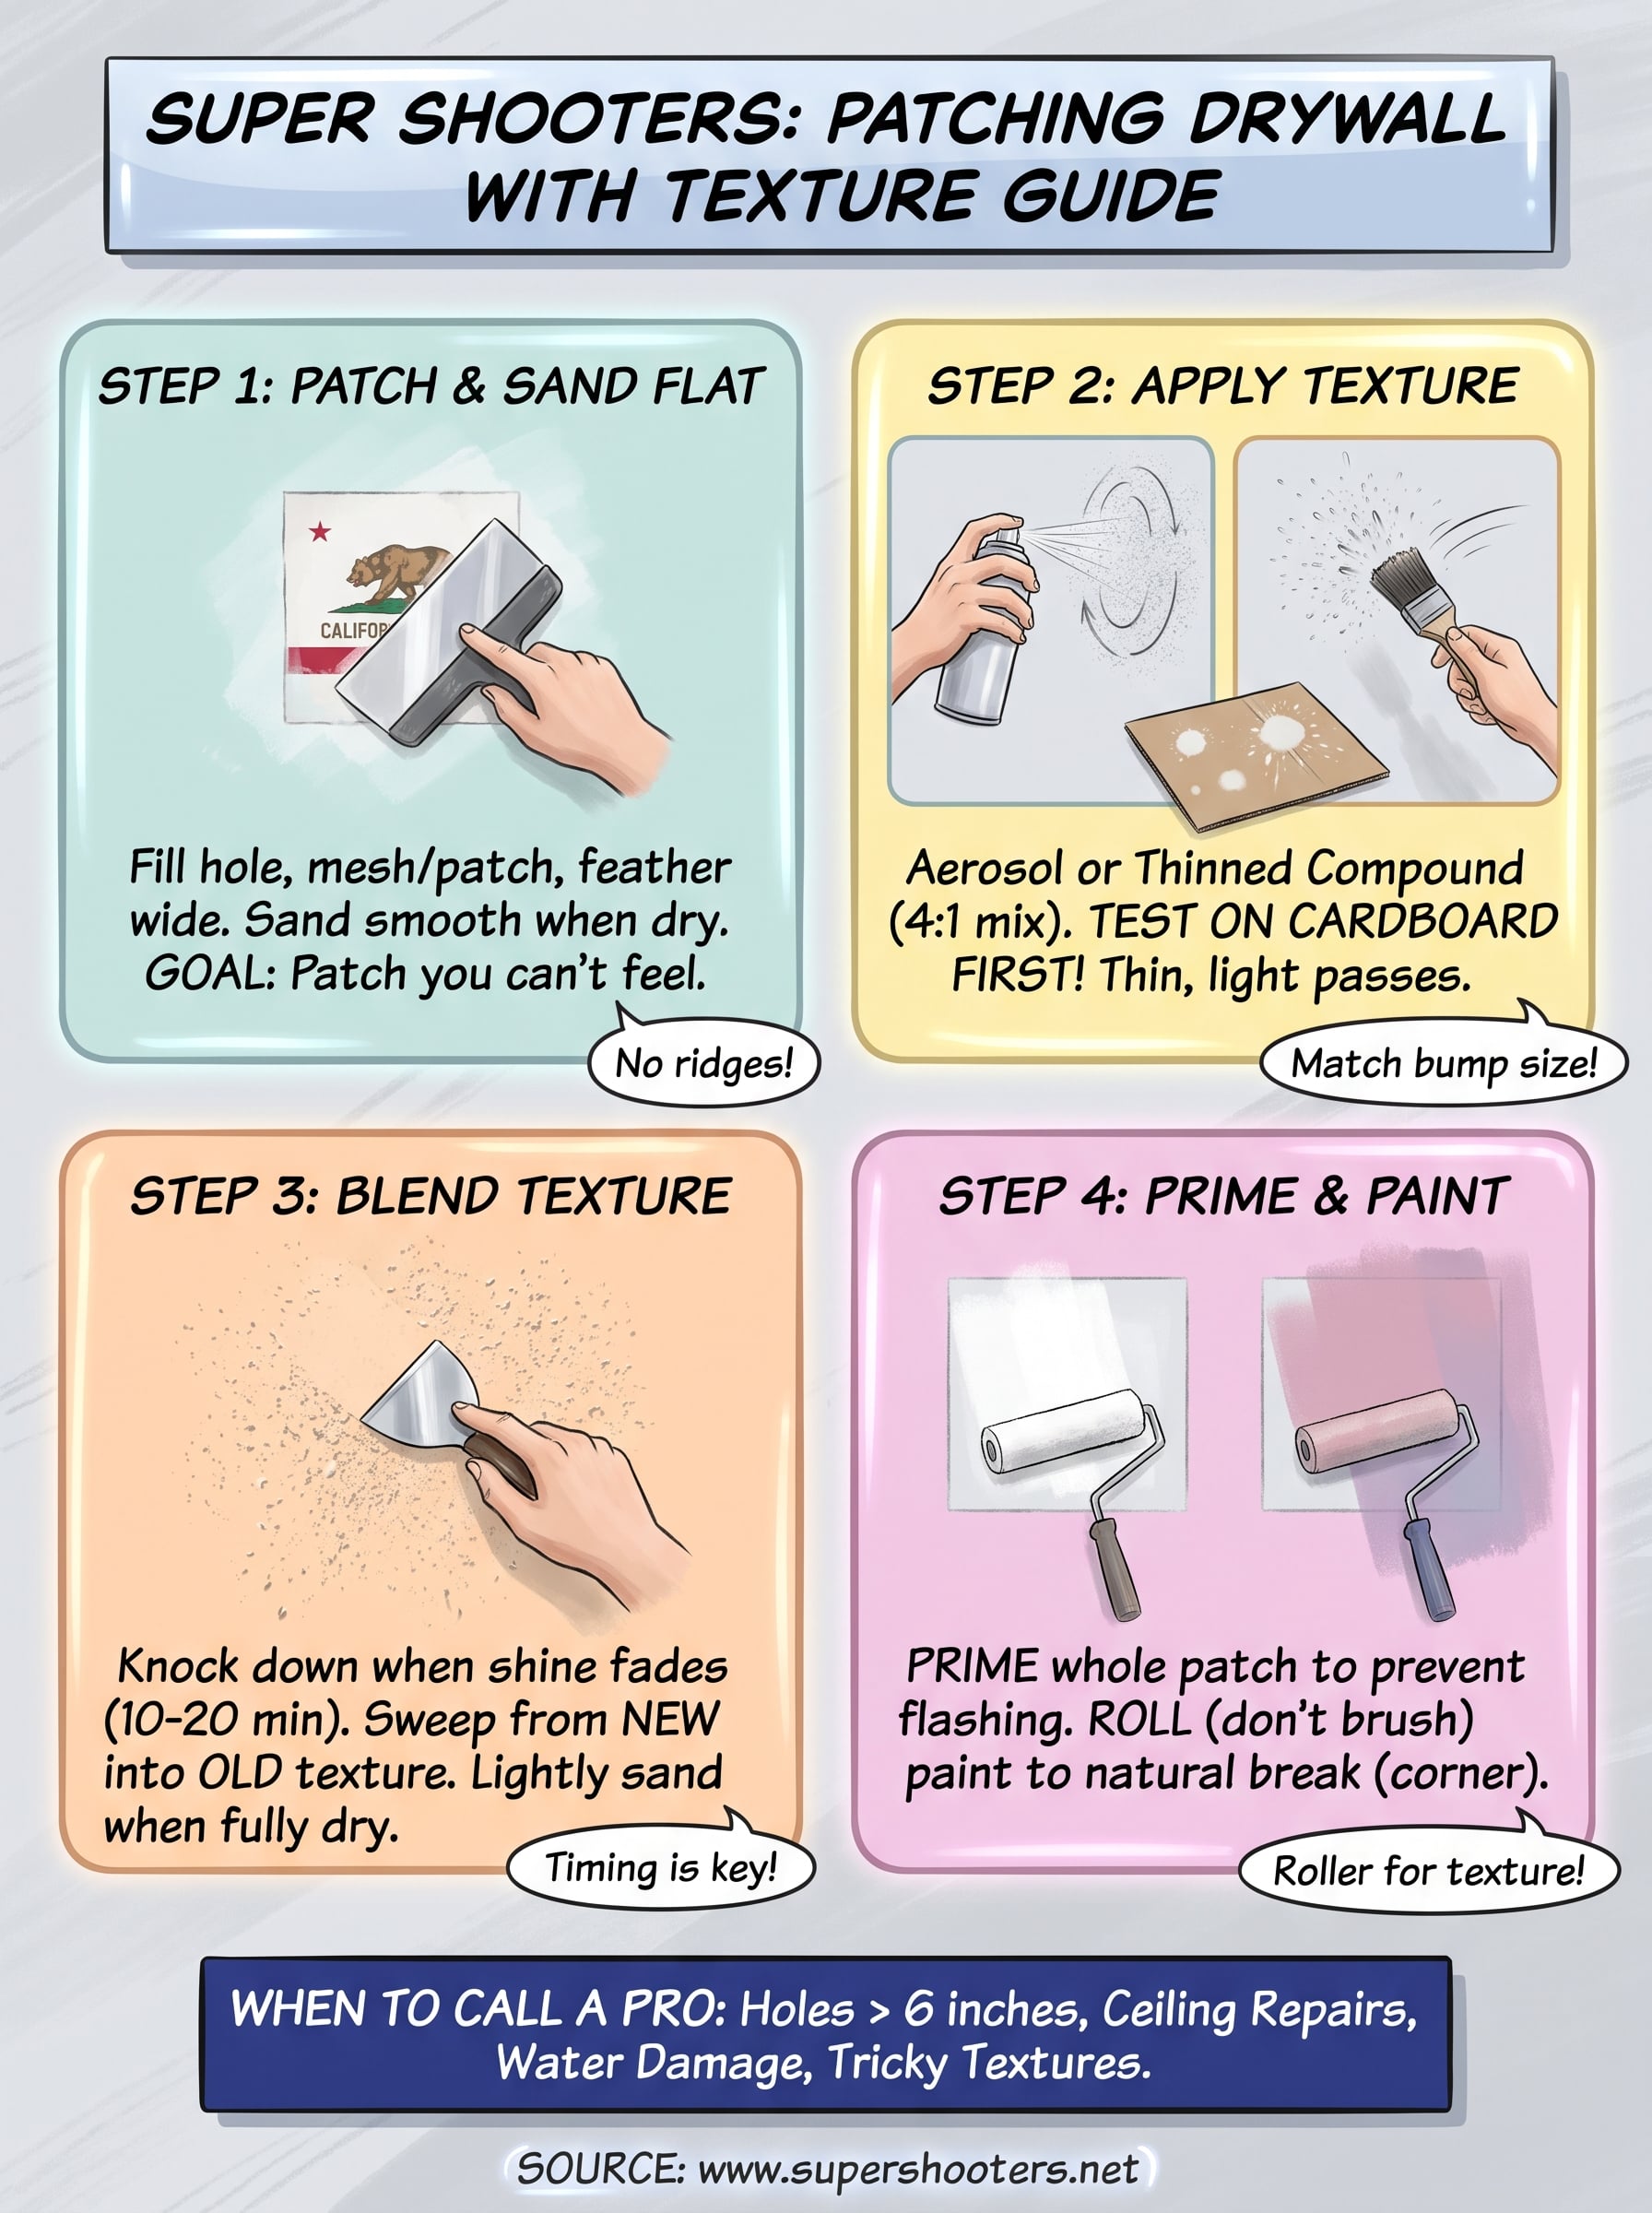
To patch drywall with texture , fill the hole with a patch sized to the damage, finish it with thin coats of joint compound, and sand it flat. Then recreate your wall's texture on top with spray texture or thinned compound, let it dry, and prime and paint the whole patch. Texture goes on before primer, and primer goes on before paint. Skip any of those and the repair shows.

The hole is the easy part. A smooth patch on a bumpy wall catches the light from across the room. Bare compound also soaks up paint differently than the wall around it, which leaves a dull square that a second coat won't fix. Most failed repairs fail at the texture and primer steps, not at the patch itself.

This guide walks through the four steps in order, with mix ratios, timing, and a worked example for a 4-inch hole. It draws on the kind of work Super Shooters has done on Sacramento Valley walls and ceilings for over 30 years, so you will also learn when a repair is worth handing to a pro.

What to know before you patch drywall with texture

Patching textured drywall takes four stages: repair the hole, rebuild the texture, prime, and paint. Each stage needs the one before it to dry completely, so plan on a full weekend even though the hands-on work only takes a few hours. Two things decide how well it goes: naming your texture correctly and checking what is inside the wall.

Identify the texture you are matching

Hold a flashlight flat against the wall so the beam skims the surface. This raking light exaggerates every peak and valley and shows the pattern clearly. Most homes use one of three finishes, and each has a DIY method that fits it.

Texture What it looks like Best DIY method
Orange peel Fine, even bumps like citrus skin Aerosol spray texture, or thin compound flicked finely
Knockdown Flat, mottled peaks with low valleys between them Splatter compound with a brush, sponge or stencil, then flatten with a knockdown knife
Skip trowel Overlapping flat, shallow arcs Thin compound troweled in random arcs with a wide knife

Photograph the wall in raking light and keep the picture next to you while you work. Your eyes drift after a few minutes, and the photo is your reference for bump size and spacing.

Check for hazards and gather supplies

Before cutting, locate wires and pipes . Use a stud finder, shut off the breaker for that wall, and cut shallow. If your home was built before the 1980s, the texture or old joint compound may contain asbestos. Have a sample tested by a lab before you sand, scrape or cut. Wear an N95 mask and goggles for all sanding either way.

Here is what to have on hand:

  • A patch: self-adhesive mesh patch or a scrap of drywall
  • Premixed all-purpose or lightweight joint compound
  • 6-inch and 10-inch to 12-inch taping knives
  • Fine sanding sponge (120 to 150 grit)
  • Texture material: aerosol spray texture, or extra compound with a stiff brush, a sponge or a knockdown knife
  • Drywall primer, matching paint, and a roller with a 3/8-inch to 1/2-inch nap
  • Drop cloth and painter's tape

Identify the texture first, because it decides every product you buy.

Step 1. Patch the hole and sand it flat

A texture repair is only as good as the surface under it, so build a patch that is flat, firm and dust-free before you add any texture. Size the method to the hole, then feather the compound wide so no ridge shows through the new texture.

Pick the patch method for the hole size

Match the patch to the damage:

  • Dents and nail holes: one or two coats of spackle or joint compound, no patch needed.
  • Small holes (doorknob size): a self-adhesive mesh patch pressed over the hole, then covered with compound.
  • Holes up to about 6 inches: a California patch. Cut a drywall square 2 inches larger than the hole. Score the back about an inch in from each edge and snap off the gypsum, leaving the paper flange. Cut the wall opening to the size of the gypsum. Spread compound on the flange and press it into place.
  • Holes larger than 6 inches: these need backing from a stud or furring strips, a fitted drywall piece and tape. If the damage is this big, a professional drywall repair is often faster and cleaner.

Fill, feather and sand

Apply compound with the 6-inch knife, then widen each coat with the 10-inch to 12-inch knife. Press hard at the center and lighter at the edges so the compound thins to nothing. Setting-type compound (the 20-minute kind) works for the first deep fill. It sets fast and sands hard, so use it for the base and not for texture or finish coats. Let each coat dry fully, because compound shrinks as it dries and a damp coat sands into gouges.

Take a 4-inch hole as an example. The California patch covers it with a 6-inch paper-backed square. Two or three thin coats then widen the repair until the final coat is about 12 inches across. Sand lightly with the fine sponge, wipe off the dust, and run your palm across it. If your hand feels no edge , the surface is ready for texture.

A patch you can't feel with your palm is ready for texture.

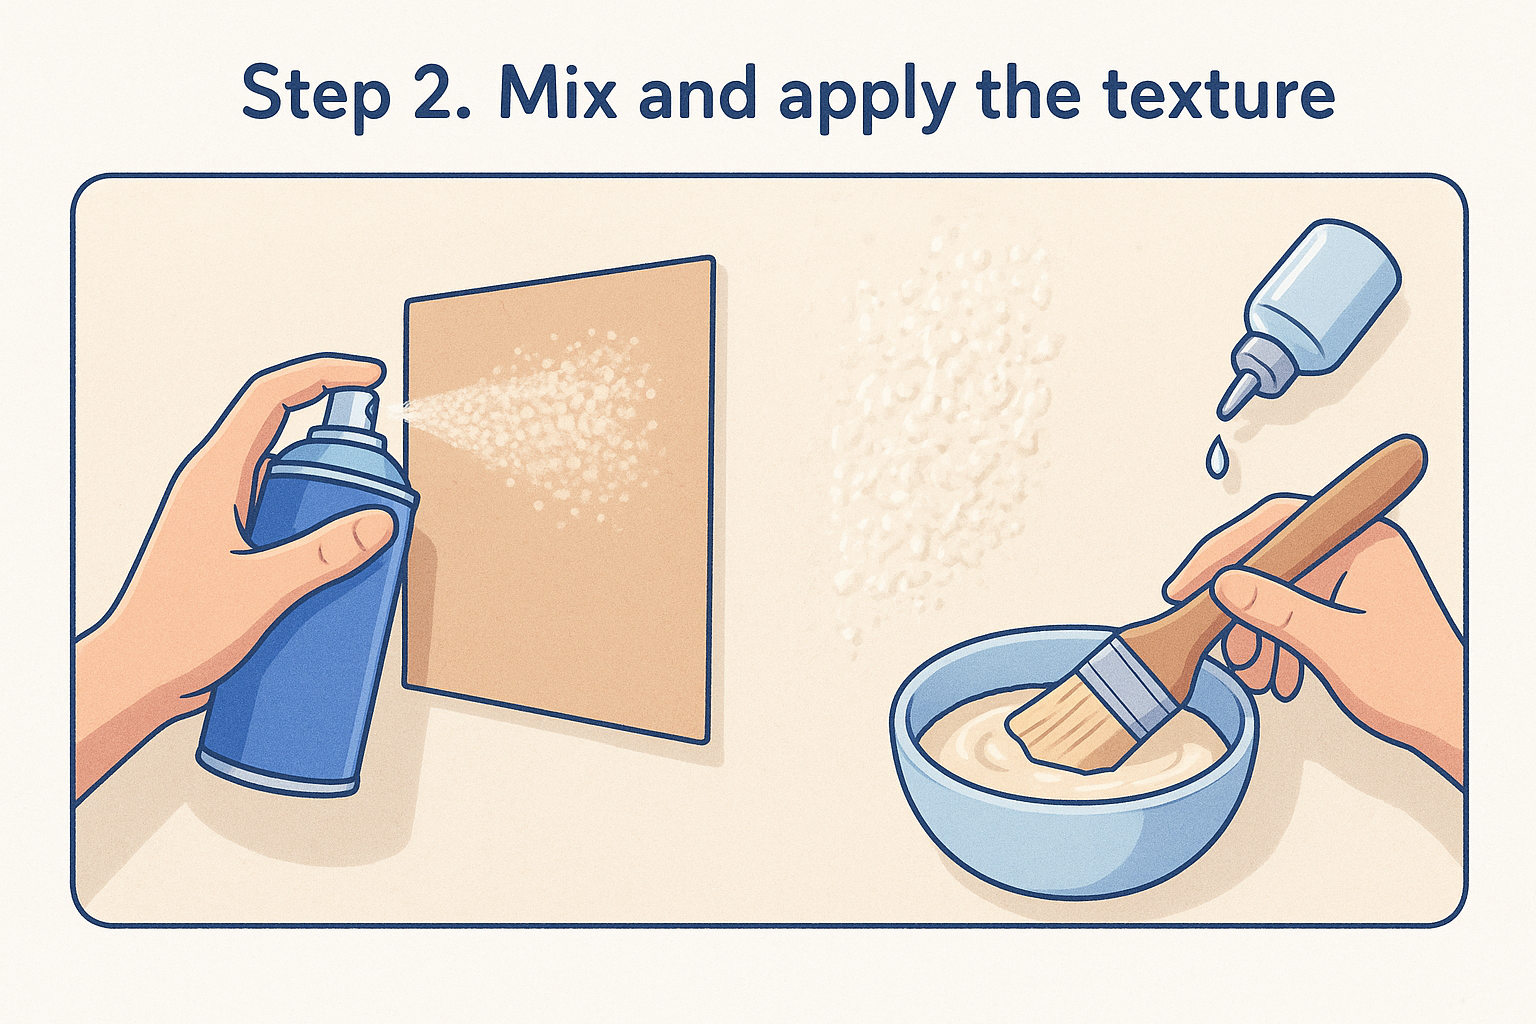
Step 2. Mix and apply the texture

Apply texture in thin, test-first passes so you can match the bump size of the surrounding wall. Spray texture is the simplest route, and thinned joint compound gives you more control and costs less. If you want to patch drywall with texture and have no practice, start on cardboard, not the wall.

Use aerosol spray texture

Shake the can well and spray a piece of cardboard first. Adjust the nozzle until the bump size matches your photo. Then hold the can 6 to 18 inches from the wall and spray in a circular motion, working from the center of the patch outward. Use light passes rather than one heavy one, because spray texture that pools runs and dries into blobs. Let the spray overlap the old texture by an inch or two so the edge dissolves into it. A 4-inch patch usually needs a texture zone of 16 to 18 inches across.

Use thinned joint compound

Mix about 4 parts joint compound to 1 part water in a bowl and stir until smooth. For orange peel and knockdown, you want the mix thin enough to splatter off a brush but thick enough not to run down the wall. Add water a spoonful at a time.

Then pick your tool. For a flick, dip a stiff brush, hold it bristles-up close to the wall, and run a gloved finger across the bristles. The faster you flick, the smaller the drops. For a stippled knockdown base, you can instead dab with a damp sponge dipped in compound, or press a texture stencil over the patch and scrape compound across it. Always test the mix on cardboard first. Too thick leaves heavy clumps, and too thin leaves streaks and drips.

Test your texture mix on cardboard first, since it costs nothing and saves a re-sanding.

Step 3. Blend the texture into the wall

Blending drywall patch texture is where the repair either disappears or announces itself. Knockdown needs a timed flattening pass, and every texture needs a gentle sanding once it is dry.

Knock down at the right moment

For knockdown, wait until the splatter loses its wet shine and starts to look dull, usually 10 to 20 minutes depending on humidity and heat. Then hold a knockdown knife nearly flat and drag it lightly across the drops. Sweep from the new texture into the old , so the flattened peaks match the surrounding wall. Wipe the blade clean between passes. If the compound is still glossy, it will smear. If it has dried hard, the knife will chip it instead of flattening it.

Orange peel needs no flattening. Leave it alone, because any contact smooths the bumps and ruins the match.

Dry, sand and correct

Let the texture dry completely, ideally overnight. Then use the fine sponge with very light pressure to knock off sharp points and bring the peaks level with the neighboring texture. Don't sand the texture flat, since that removes the pattern you just built.

If the match is off, fix it quickly. While the compound is wet, wipe it off with a damp sponge and redo it. Once it has dried, scrape it down and reapply. The goal is a repair that is less noticeable from normal viewing distance, not one that holds up to a microscope.

Knock down when the shine fades, and sweep from new texture into old.

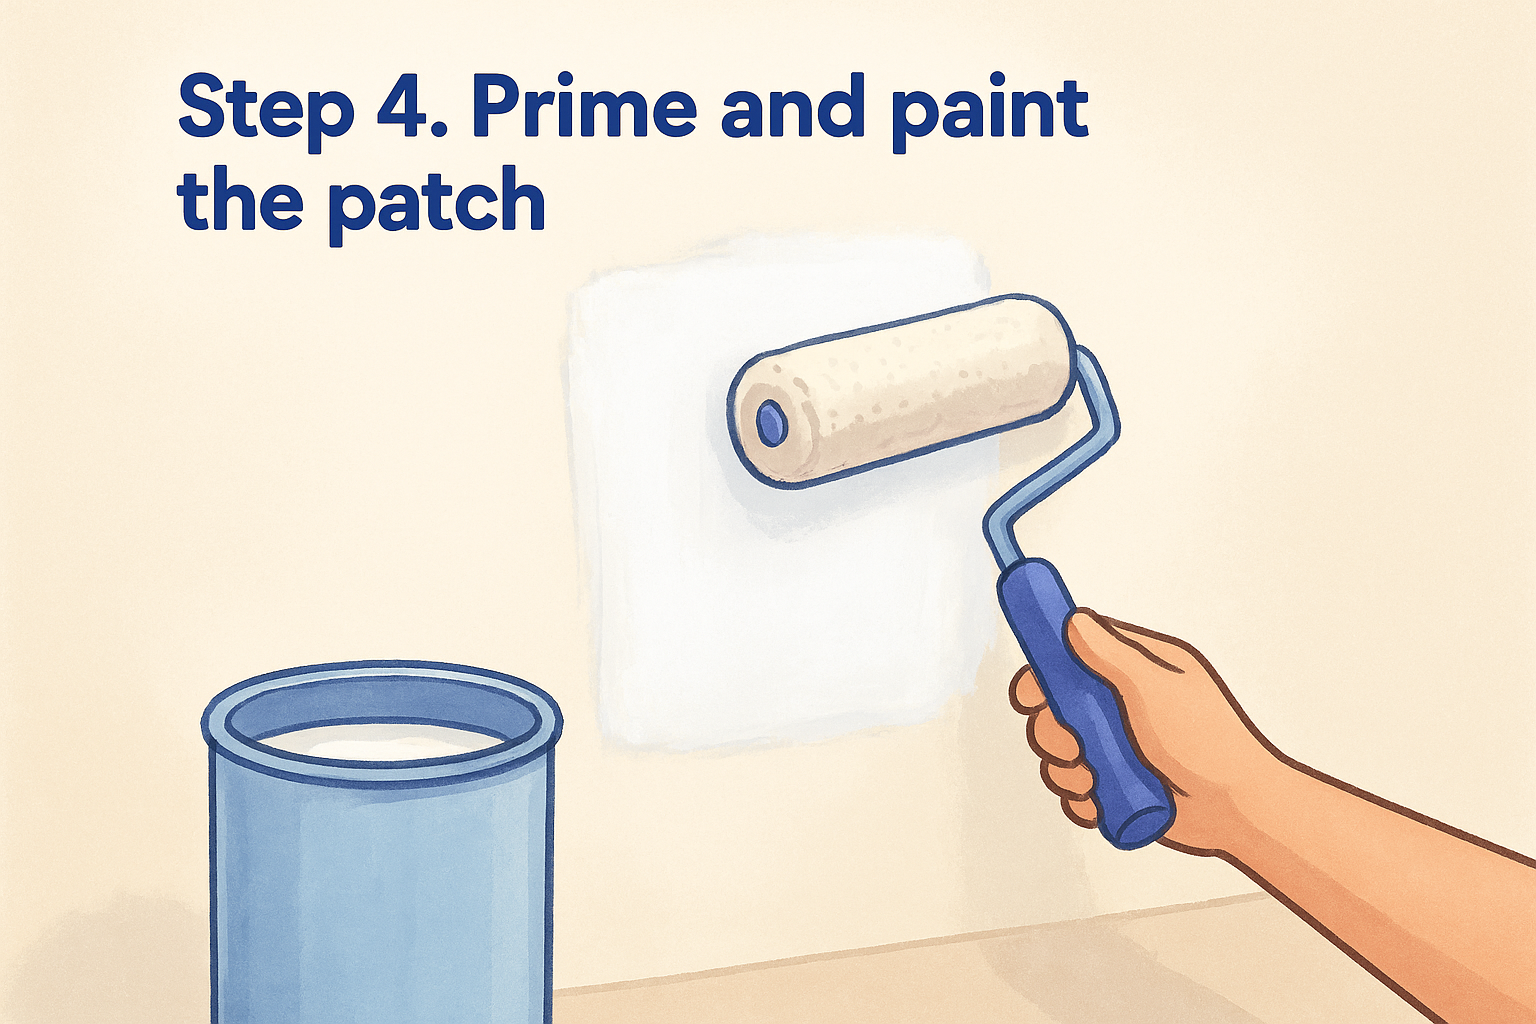
Step 4. Prime and paint the patch

Prime the whole patch and then paint the wall in at least two coats. This is how to paint a drywall patch so it blends: compound and fresh texture are far more absorbent than old paint, and primer evens that out.

Prime before you paint

Use a drywall primer or a latex primer-sealer. Apply it with a roller or a spray primer, covering the patch and a few inches past its edges. Skipping primer causes "flashing," a dull or patchy spot where the paint soaks into the compound instead of sitting on top. The effect is worse with semi-gloss or gloss paint, because higher sheens exaggerate every surface difference. Let the primer dry per the can's directions before you paint.

Paint to match

Use a roller with a 3/8-inch to 1/2-inch nap, not a brush. A brush leaves marks and flattens the texture you just built, while the roller lets paint settle into the bumps. Match the sheen of the existing paint, and use the original paint if you have it. Old paint fades , so even the same color can look a shade different on one patch. If it does, roll the paint out to a natural break, such as the corner of the wall, so no visible edge remains.

Apply two thin coats, letting the first dry fully. Spot-painting a tiny area works only with flat paint on a lightly faded wall. For anything bigger, paint the whole wall from corner to corner.

Roll, don't brush, and paint the wall to a natural break.

Finishing up and knowing when to call a pro

The sequence is simple: patch the hole flat, rebuild the texture in thin passes, blend it while it is workable, then prime and paint with a roller. The skill is in the texture, so practice on cardboard and take your time with each drying stage.

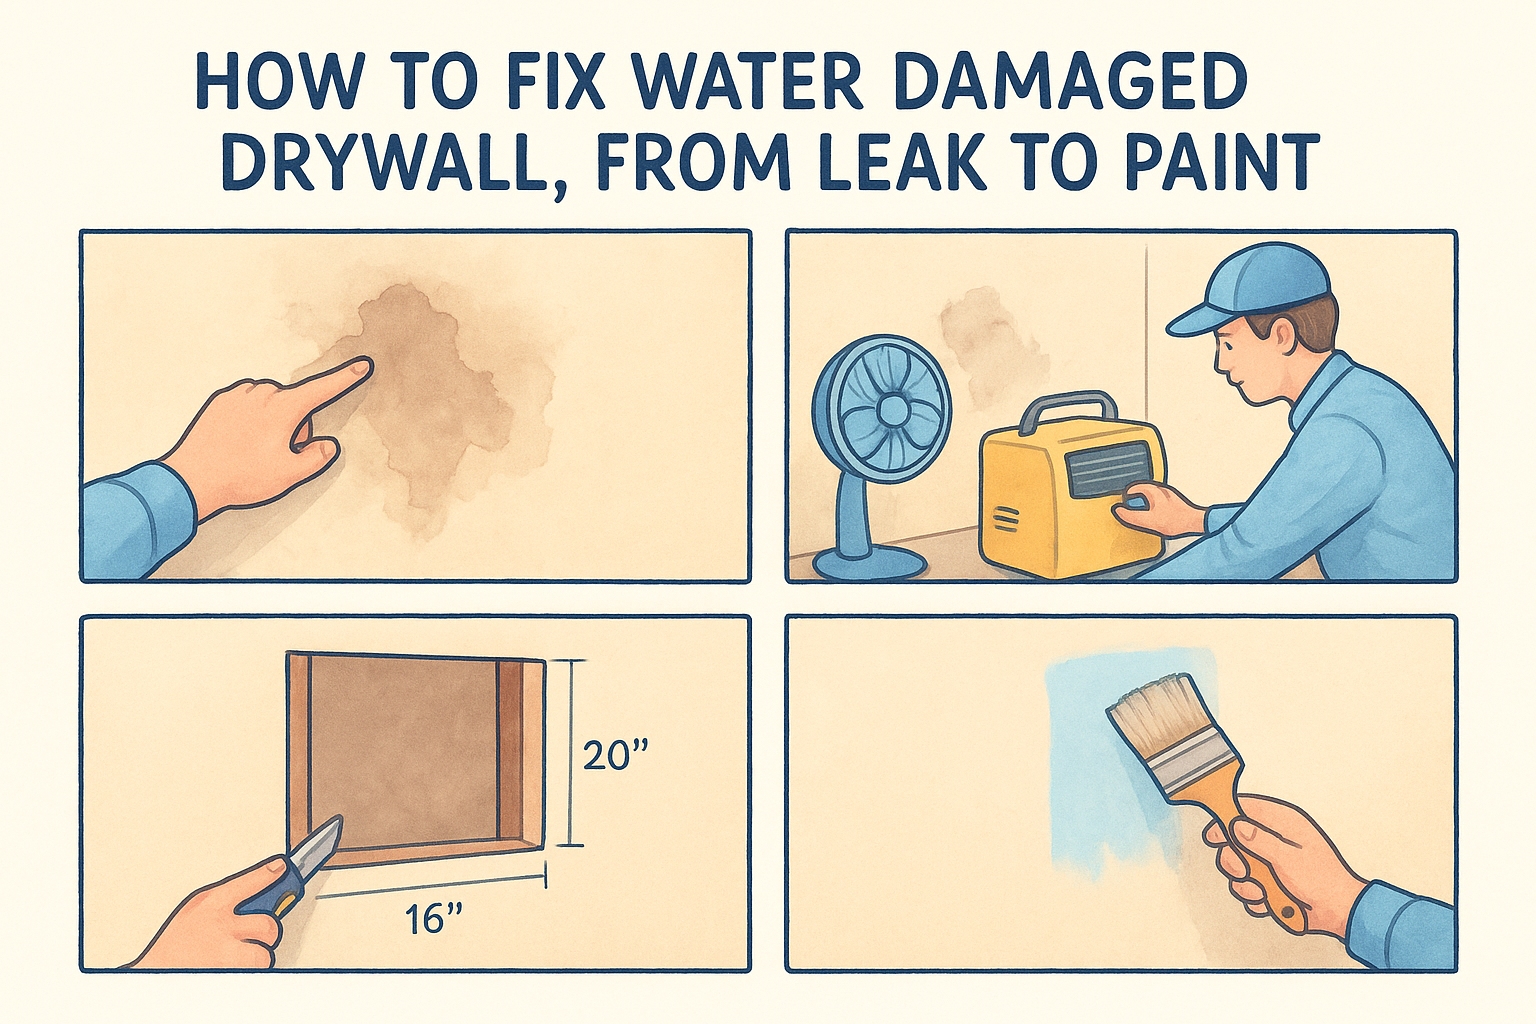
Some jobs go better with a pro, including holes larger than 6 inches, repairs across a ceiling, water-damaged sections, and textures you can't match after a second try. Super Shooters offers free in-home estimates, and payment is due only after the job is complete. If your repair is beyond a weekend project, request an estimate for professional drywall patching and let a crew handle the texture matching.

Recent Posts

By cinchweb • October 25, 2026
How to fix water damaged drywall: stop the leak, dry the wall, cut and patch, prime and paint. Includes a day-by-day schedule and pro warning signs.

By cinchweb • October 23, 2026
Find an asbestos removal company near me in the Sacramento Valley: 5 types compared, license checks, cost ranges and how to get a quote.
By cinchweb • October 23, 2026
Labor cost for drywall installation runs $1.60 to $3.75 per sq ft. See rates by phase, finish level, room and house size, plus how to check a quote.
By cinchweb • October 22, 2026
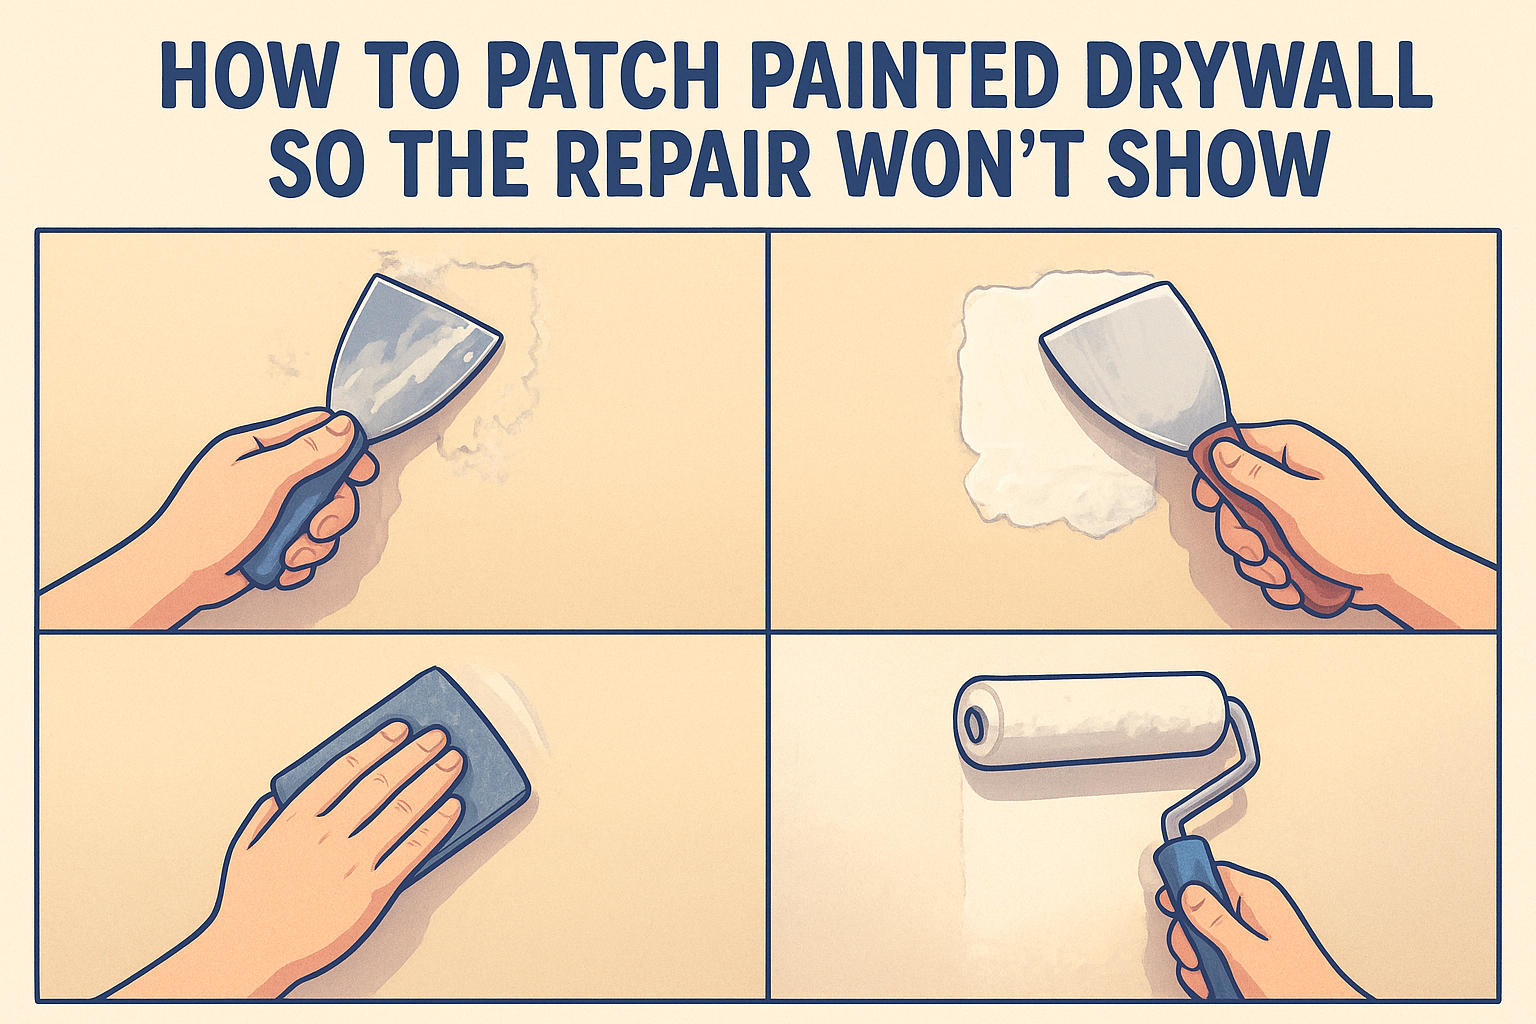
Learn patching painted drywall in 4 steps: prep, fill, sand and prime, then match texture and repaint so the repair blends in and won't flash.
By cinchweb • October 22, 2026
Compare 6 types of residential drywall contractors near me in the Sacramento Valley, with typical costs and how to vet each one before you hire.
By cinchweb • October 20, 2026
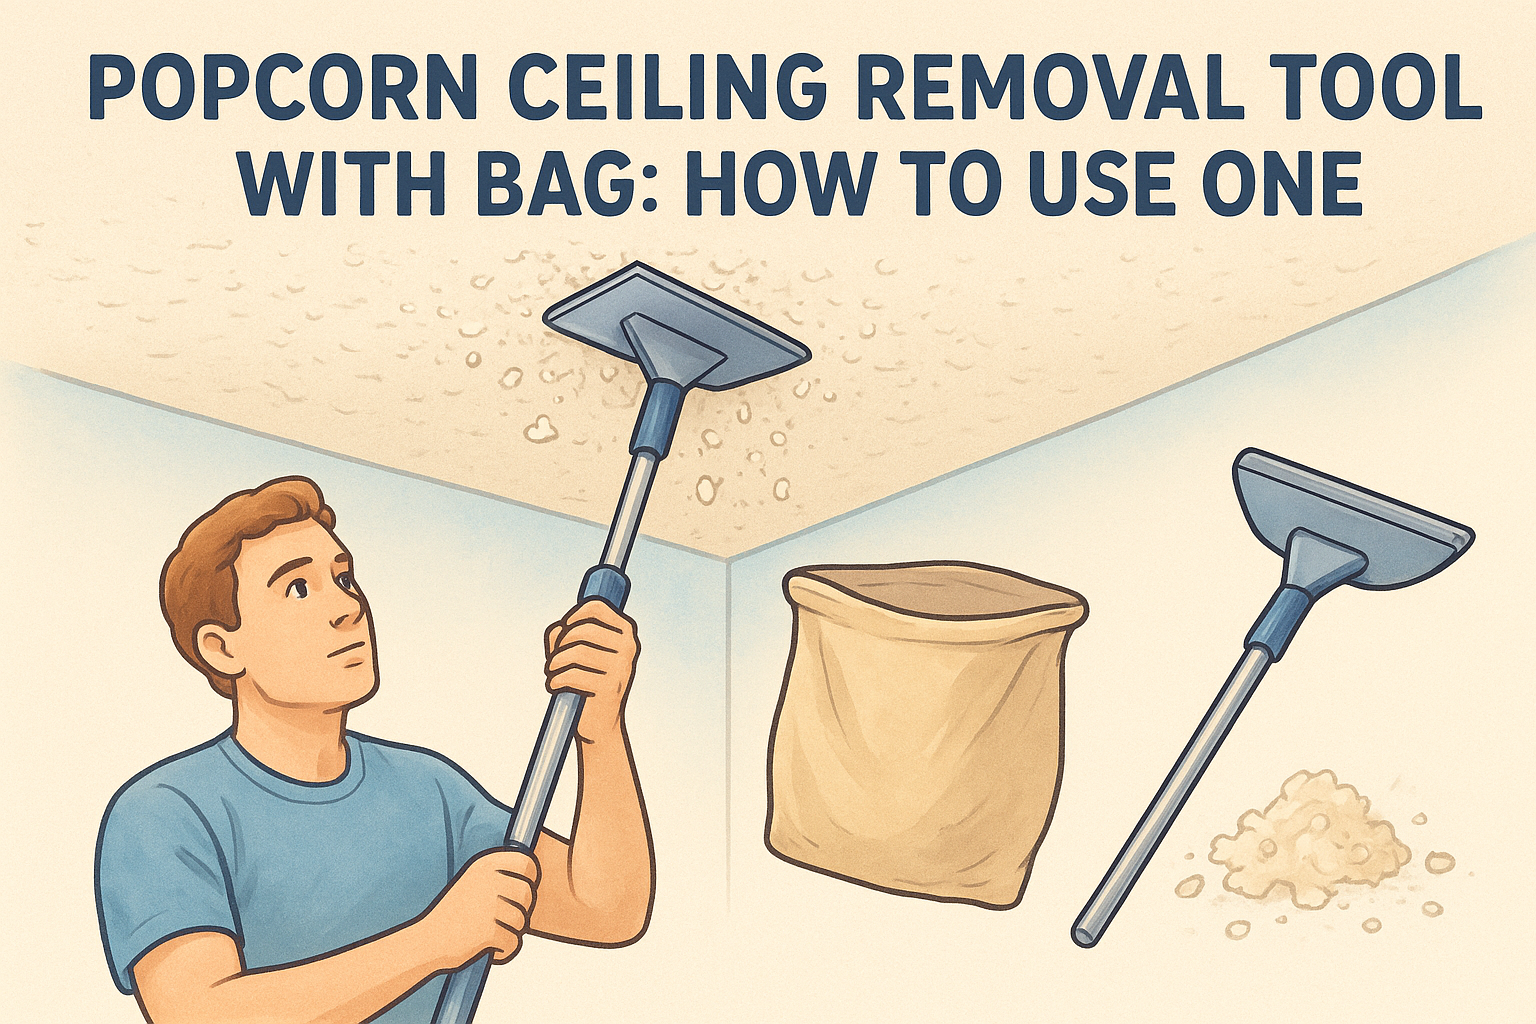
A popcorn ceiling removal tool with bag catches much of the mess. Learn what to test first, how to scrape, and how to finish the ceiling smooth.
By cinchweb • October 20, 2026
Painted popcorn ceiling removal in 4 steps: test for asbestos, break the paint seal, scrape without gouging, then skim coat and repaint.
By cinchweb • October 19, 2026
Fire rated drywall installation in 4 steps: pick Type X or C, count layers for 1- and 2-hour walls, seal joints and penetrations, and pass inspection.
By cinchweb • October 19, 2026
A step-by-step guide to patching plaster wall with drywall: match the thickness, tape the seams, and finish with joint compound so the repair disappears.

Show More