October 25, 2026
How to Fix Water Damaged Drywall, From Leak to Paint
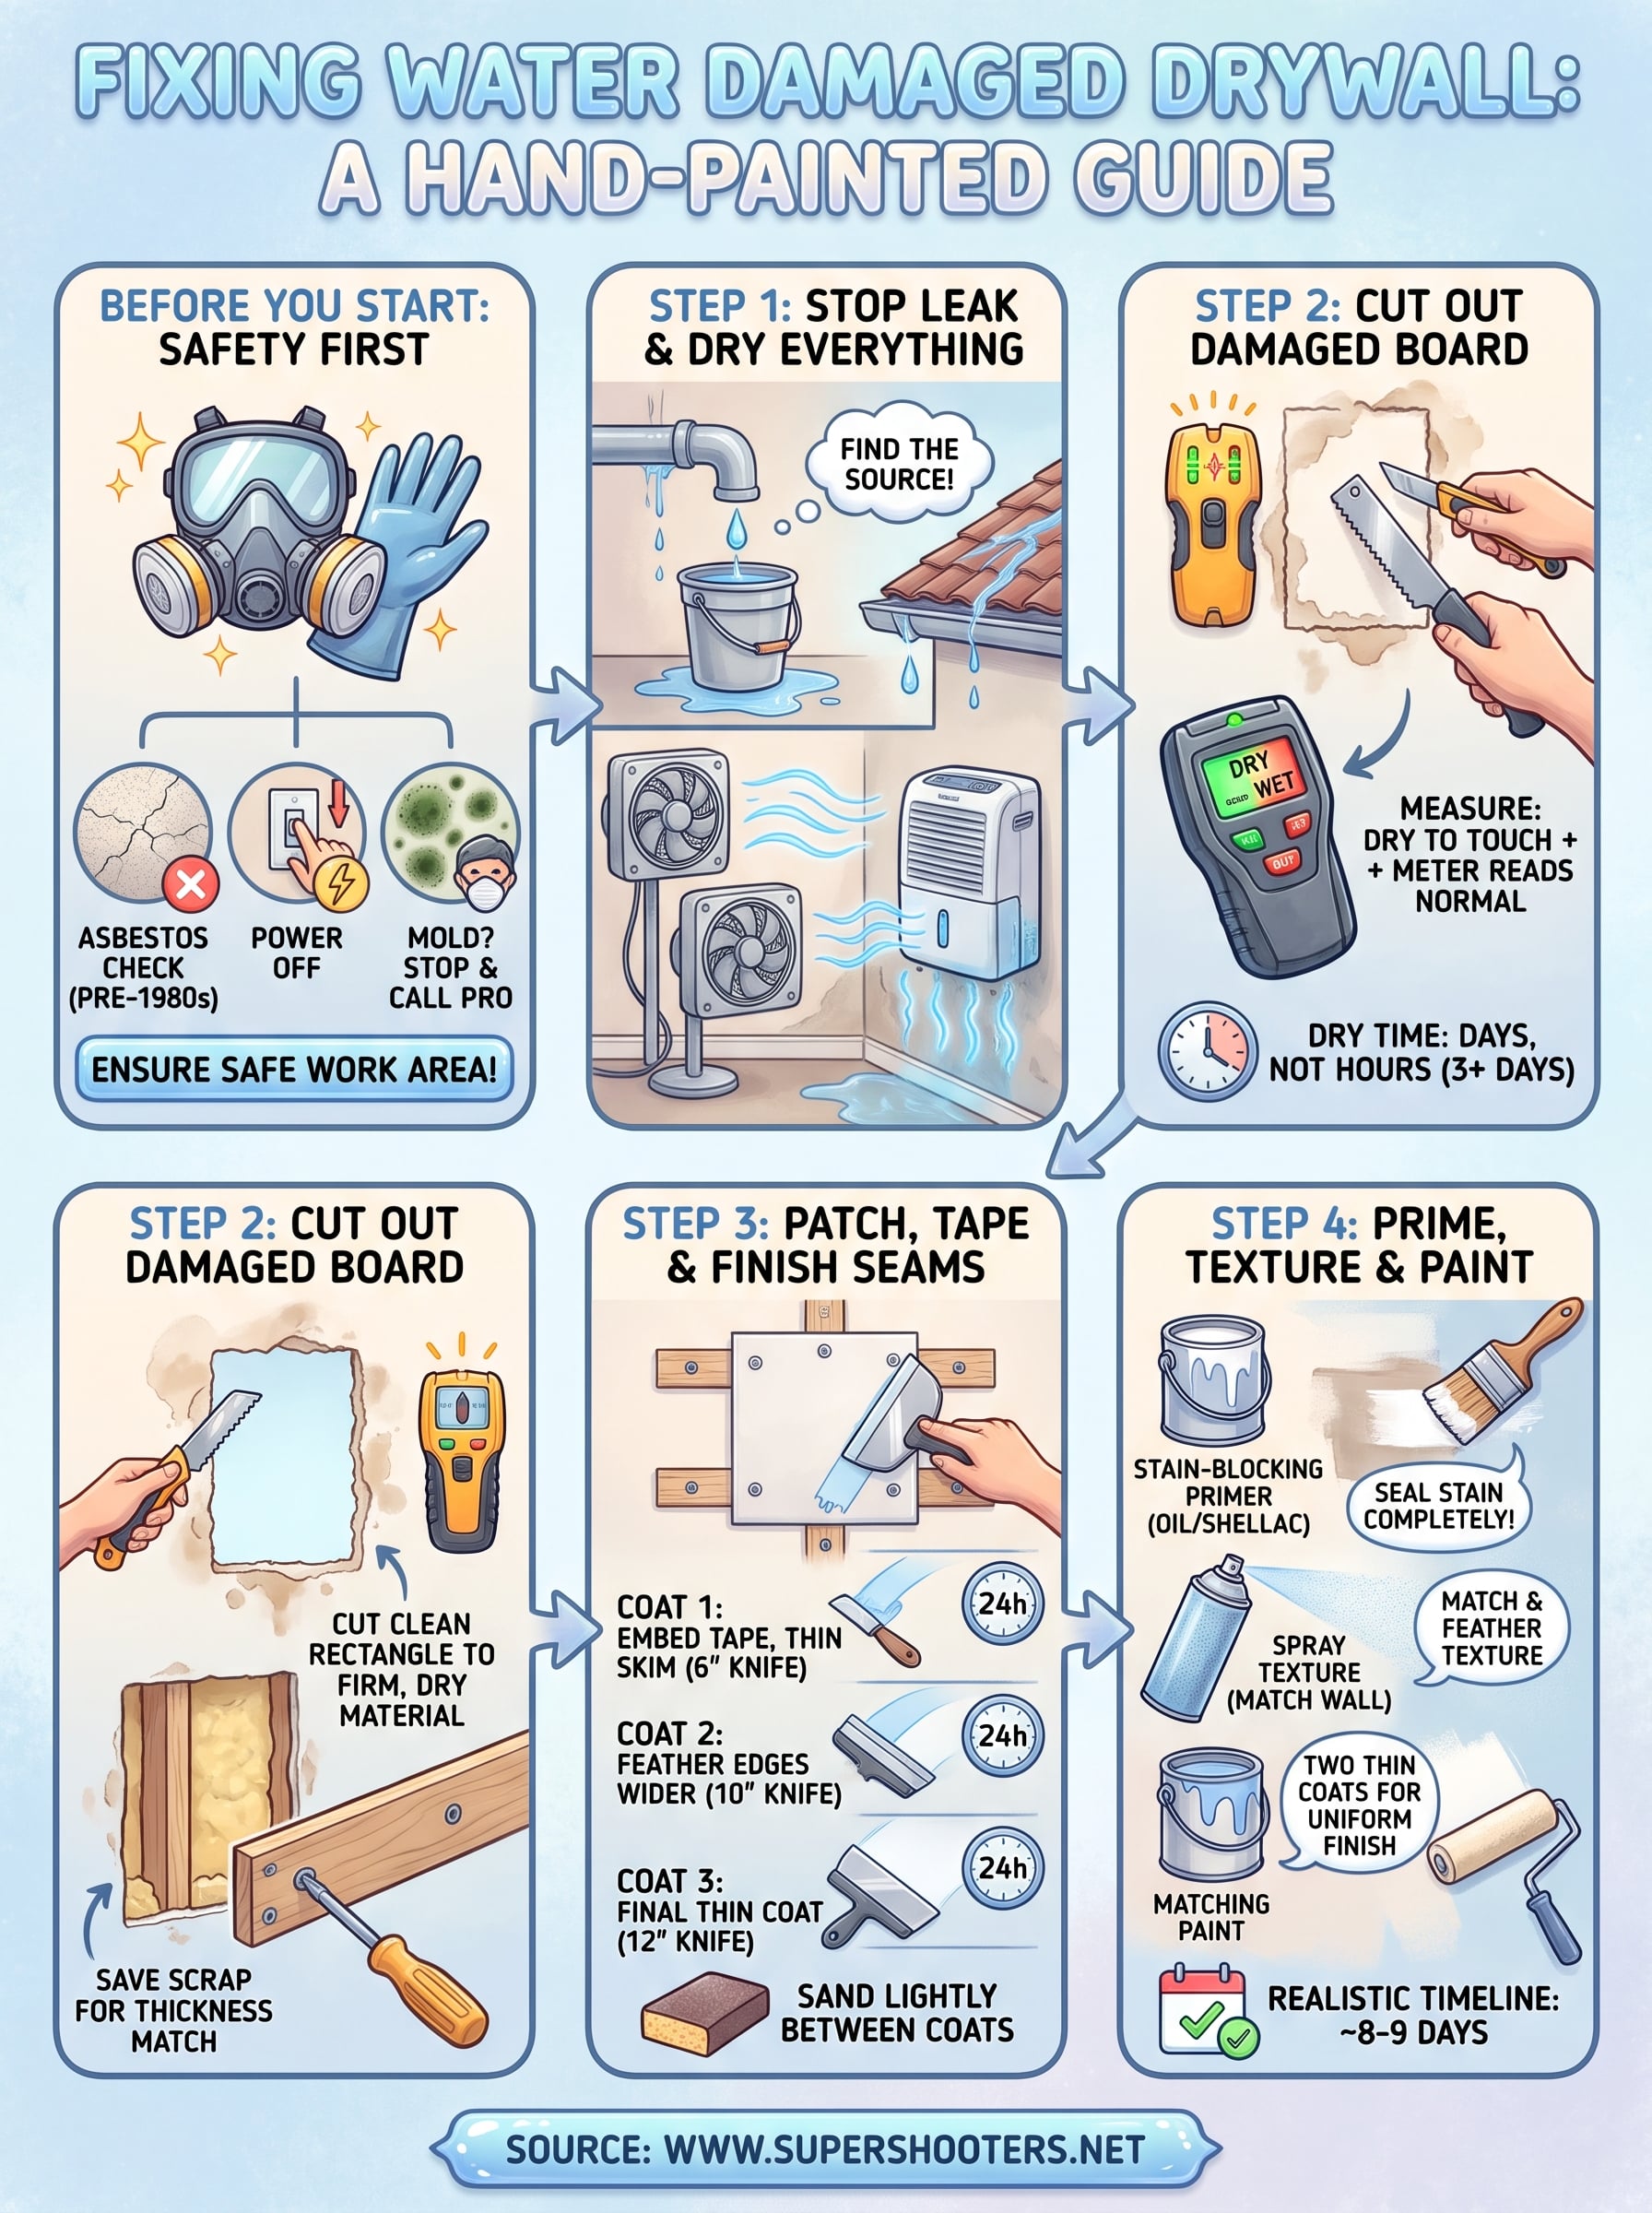
Here is how to fix water damaged drywall : stop the leak, dry the wall until a moisture meter reads normal, cut out any board that is soft or crumbling, patch with new drywall, and seal the stain with a stain-blocking primer before you paint. If the board is only stained and still hard and dry, skip the cutting and go straight to primer and paint. The order of these steps matters more than any single technique.
Most failed repairs fail for the same reason. Someone patches a wall that is still damp, or rolls ordinary paint over a stain, and a few weeks later the brown ring is back or mold shows up. Drywall is gypsum wrapped in paper, so it soaks up water like a sponge, and moisture often travels well past the visible stain.
This guide walks you through four steps in the order you do them, with the tools, measurements, and drying times you need for walls and ceilings. It comes from the way our crew at Super Shooters, a licensed drywall contractor serving the Sacramento Valley for over 30 years, approaches these jobs. You will also learn where DIY ends and a professional should take over.
What to know before you fix water damaged drywall
Drywall can recover from water only when it got wet briefly, still feels firm after it dries, and shows no mold. Anything soft, crumbling, or moldy has to come out. Spend ten minutes sorting your wall into one of those groups before you buy a single supply.
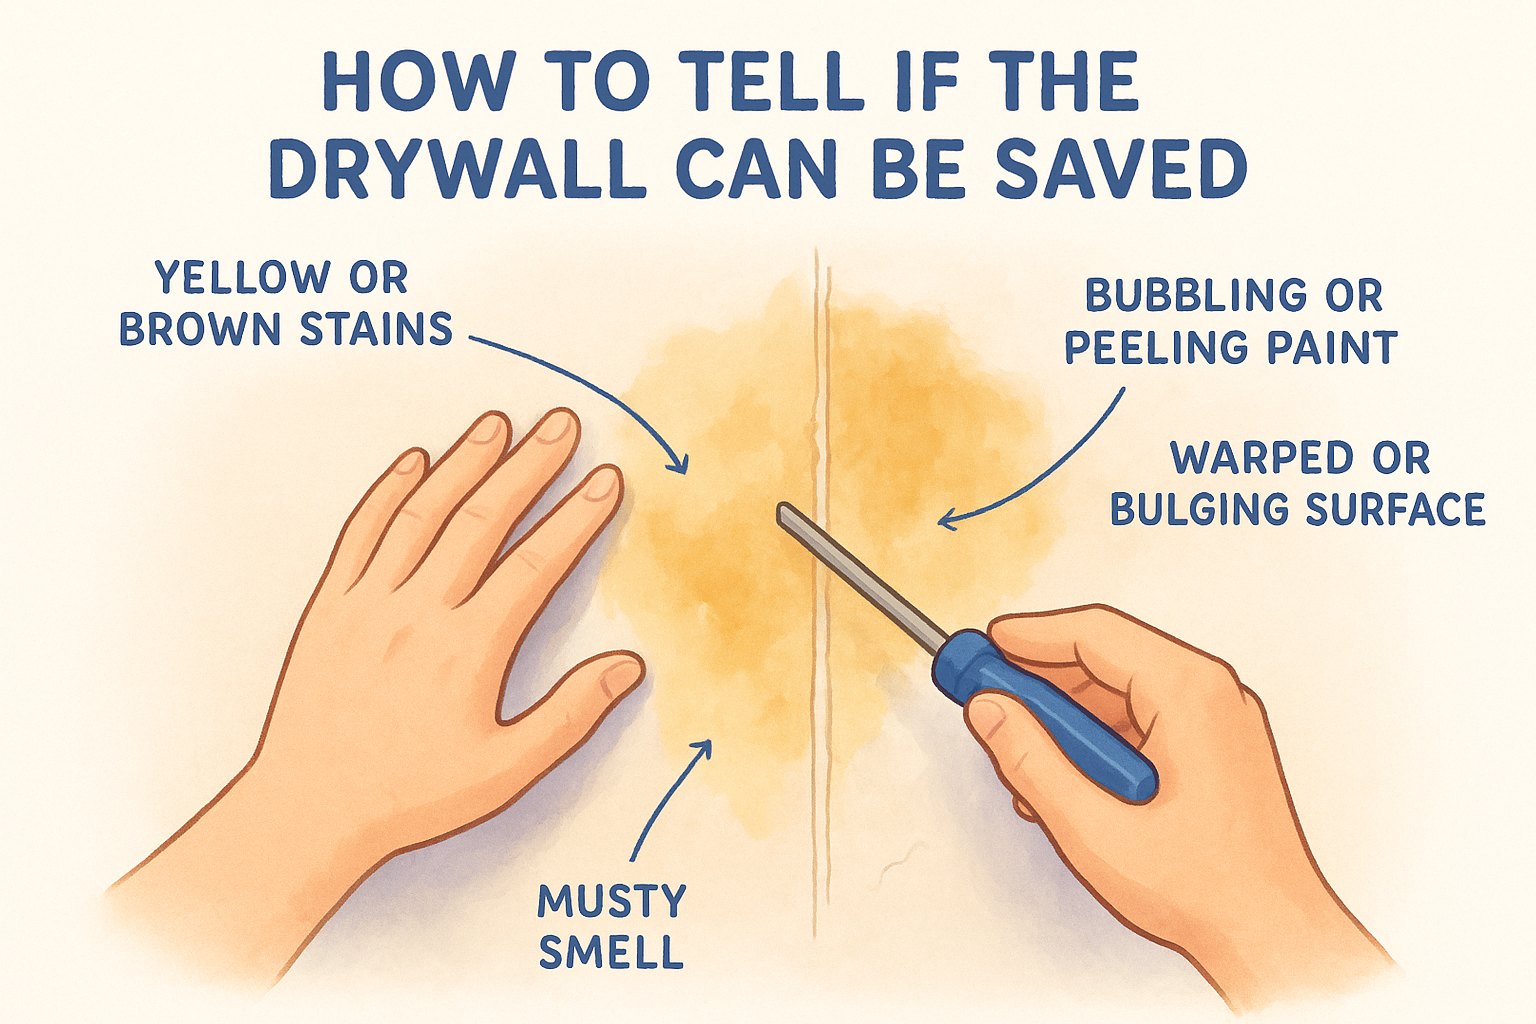
How to tell if the drywall can be saved
Water damage behind drywall shows up as yellow or brown stains , bubbling or peeling paint, a warped or bulging surface, lifted tape at the seams, and a musty smell. Press the stain with the tip of a screwdriver. If the tip sinks in or the surface crumbles, the gypsum core has failed . A stain that keeps growing means the leak is still active.
Use this table to choose your path.
| Condition | What you see or feel | What to do |
|---|---|---|
| Dry stain only | Yellow or brown ring, hard surface, no bubbling | Prime with a stain blocker and repaint (Step 4) |
| Surface damage | Bubbling or peeling paint, board still firm once dry | Scrape, skim with compound, sand, prime, paint |
| Soft or crumbling board | Spongy, sagging, crumbles under a screwdriver | Cut out and replace the section (Steps 2 to 4) |
| Mold or contaminated water | Fuzzy growth, strong musty smell, sewage or floodwater | Stop and call a professional |
A stain is only cosmetic when the board is hard, dry, and free of mold. Otherwise the board has to go.
Safety checks and when to call a pro
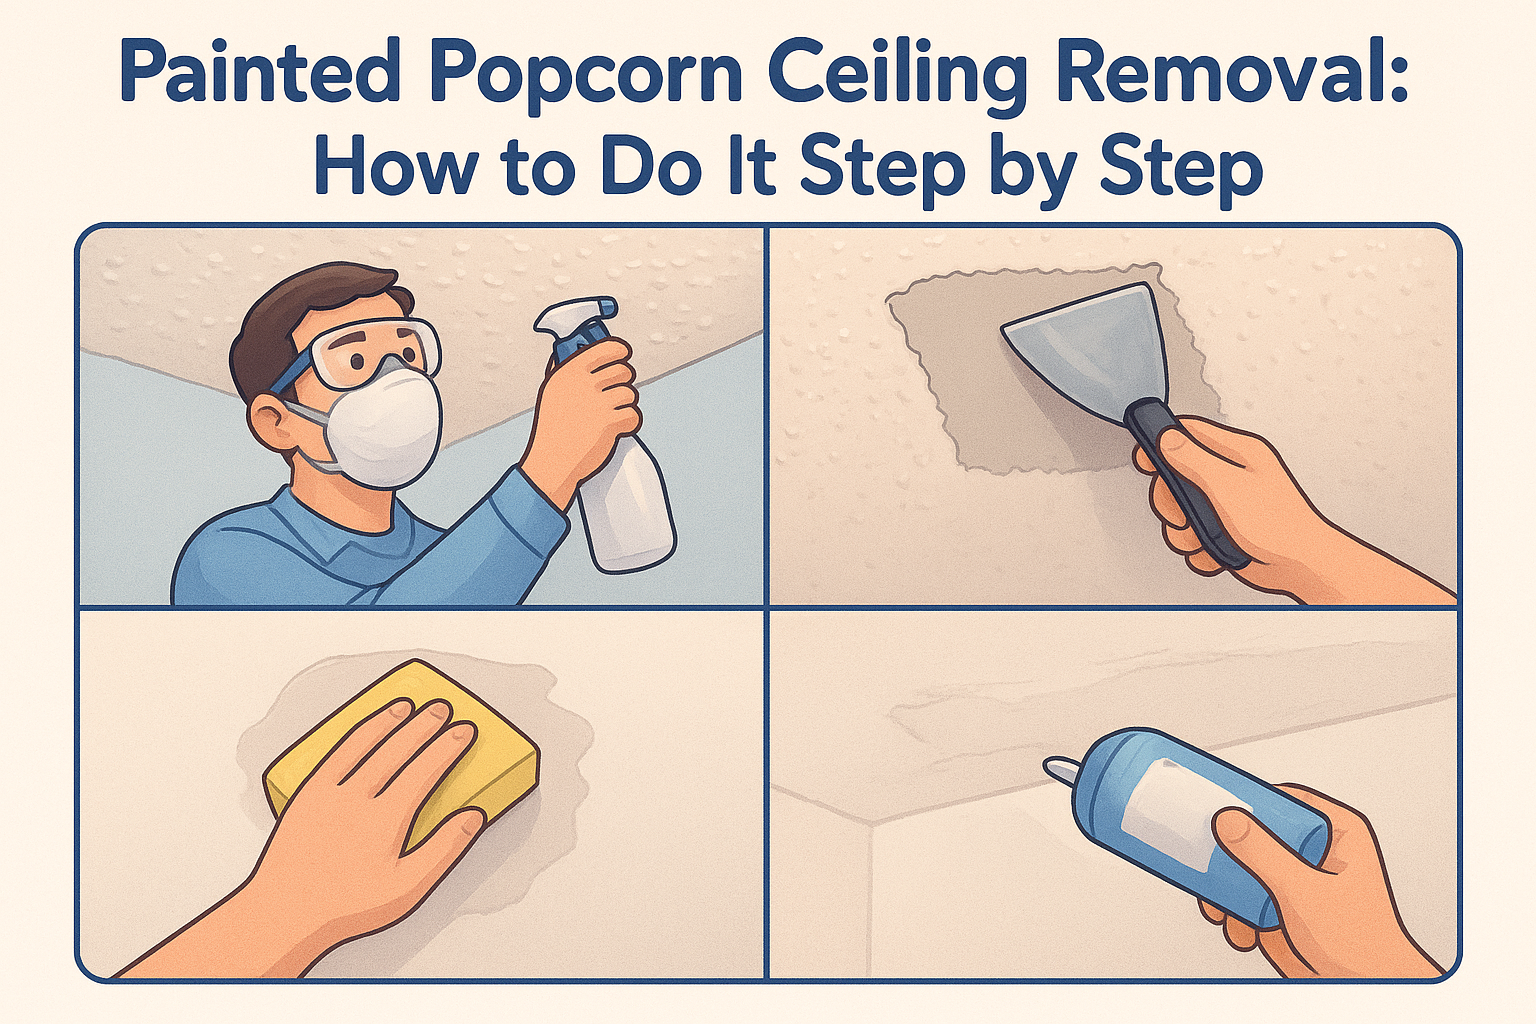
Start with asbestos . Homes built before the 1980s can have asbestos in old joint compound, texture, and acoustic ceilings. If your house is that old and the damage involves a textured ceiling or old taped seams, have a sample tested by an accredited lab before you cut or sand. If it comes back positive, stop and hire an asbestos abatement contractor.
Then check electricity and water quality. Switch off the breaker for any circuit near a wet wall or ceiling, and never touch wet wiring. Water from a sewage backup or a flood is contaminated, so it belongs to a restoration professional, not a weekend patch. Wear safety glasses, gloves, and an N95 respirator whenever you cut or sand.
Cost is the other deciding factor. A DIY patch costs only materials: a piece of drywall, tape, compound, primer, and paint. A contractor's water damage repair price depends on the size of the damage, whether it is a wall or a ceiling, access, how much insulation or framing needs replacing, and whether the texture has to be matched. Get a written estimate. Super Shooters offers free in-home estimates in Sacramento and surrounding areas, and you pay only after the job is complete.
Tools and materials
Gather everything first. Compound dries on a schedule, and you do not want to leave mid-job for a store run.
- Moisture meter, box fans, and a dehumidifier
- Utility knife, drywall saw (or oscillating multi-tool), tape measure, level, and pencil
- Stud finder with AC wire detection
- Replacement drywall that matches your wall thickness
- 2x4 or 1x3 scraps for backing, and 1 1/4 inch coarse-thread drywall screws
- Paper drywall tape and premixed all-purpose joint compound
- 6, 10, and 12 inch joint knives
- Sanding sponge or sandpaper, 120 to 150 grit
- Stain-blocking primer, matching paint, and spray texture if your wall is textured
- Plastic sheeting, painter's tape, safety glasses, gloves, and an N95 respirator
Step 1. Stop the leak and dry everything out
Fix the source of the water first, then dry the wall for days, not hours, until it reads dry on a moisture meter. A patch over a damp wall traps moisture and invites mold.
Stop the source of the water
Common culprits are failed roof flashing, a pinhole in a supply line, a leaking drain, failed caulk around a tub or shower, and clogged gutters. In the Sacramento Valley, leaks often appear after the first heavy storms of the rainy season, so check the roof and flashing above any stained ceiling. For a plumbing leak, shut off the local valve or the main.
A bulging ceiling with water trapped behind it is a special case. Wear eye protection and poke a small hole at the lowest point over a bucket so the water drains before the board collapses . Then leave it open to dry.
Dry the wall and measure it
Open the space up. Point box fans at the wall and run a dehumidifier in the closed room. If the board is wet inside, remove the baseboard or cut a few small inspection holes so the cavity can breathe. Plan on three days to a couple of weeks of drywall drying time, depending on how saturated the wall was and how humid the room is.
Measure instead of guessing. Take a reading on a dry wall in another room as your baseline. Then check the damaged board and the studs behind it. Wood framing reading above roughly 15 percent still needs time. Keep drying until the damaged area matches your baseline.
Check for mold before you close anything
Mold can start growing in a damp cavity within 24 to 48 hours. Look at the back of any drywall you remove, the studs, and the insulation. Wet insulation should be replaced, not dried. The EPA's mold guidance says a moldy area smaller than about 10 square feet is generally manageable for a homeowner, and anything bigger calls for a professional.
A persistent musty smell after drying also means hidden growth. Treat that as a reason to stop and get help.
Dry first, patch second. Sealing a damp wall is how a small stain becomes a mold problem.
Step 2. Cut out the damaged drywall
Cut out everything soft, stained through, or wet, and extend the opening to firm, dry material on every side. Aim for a clean rectangle, because square corners are easy to fit and easy to hide.
Find the edges of the damage
Probe outward from the stain with a screwdriver until the board feels firm. Mark a rectangle a few inches beyond that point, then locate the studs. They usually sit 16 inches apart on center, though some homes use 24.
Here is a worked example. Say the soft area measures 10 by 14 inches. Add 3 inches on every side and you get a 16 by 20 inch opening. With studs 16 inches apart, run the vertical cuts down the center of two neighboring studs. The opening is then exactly 16 inches wide , and both sides of the patch land on framing. The top and bottom edges get backing strips in Step 3.
Cut, remove, and inspect
Check for wires and pipes before the saw touches the wall. Use a stud finder with AC detection, score the lines with a utility knife, then cut with a drywall saw no deeper than about half an inch. An oscillating multi-tool makes the stud-center cuts cleaner. If you only have a saw, cut just beside the studs and add backing along the sides too.
Pull the piece out and inspect the cavity. Remove wet insulation, confirm the studs are dry, and wipe away dust. Keep a scrap of the old board, because it tells you the exact thickness to buy. On a ceiling, support the piece as you finish the last cut so it does not drop on you, and keep your safety glasses on.
Cut back to solid, dry board, not to the edge of the stain. Water travels farther than the eye can see.
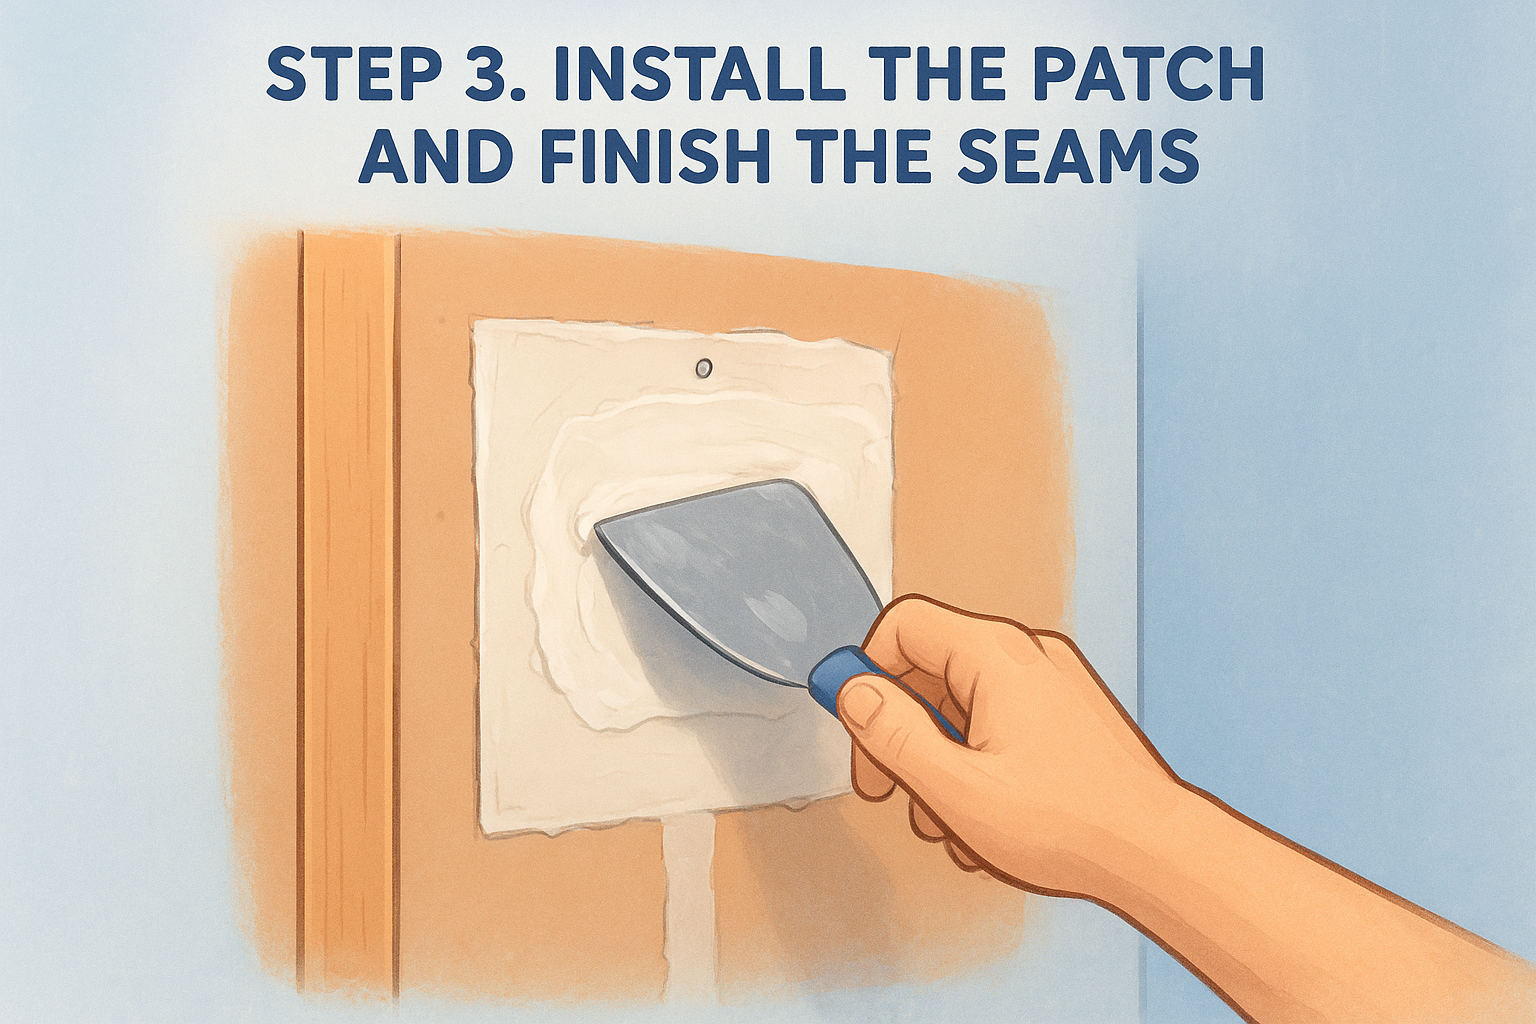
Step 3. Install the patch and finish the seams
Cut a new piece of the same thickness, screw it to the framing, tape the seams, and apply three thin coats of joint compound, letting each coat dry about 24 hours.
Fit and fasten the new drywall
Match the thickness. Half-inch board is common on walls, while 5/8 inch is common on ceilings and on garage walls shared with the house, where fire-rated board is often required. Measure the scrap you kept instead of guessing. Cut the patch about 1/8 inch smaller than the opening on each side so it drops in without forcing.
Screw 2x4 or 1x3 backing strips into the cavity along any edge that has no framing, so each strip sticks out to support the old board and the patch. Then fasten the patch with 1 1/4 inch coarse-thread screws about 8 inches apart. Sink each head just below the paper surface without tearing it. In a bathroom, use moisture-resistant board outside the tub zone. It is water-resistant, not waterproof, so use cement board behind tile in a shower.
Tape and apply three thin coats
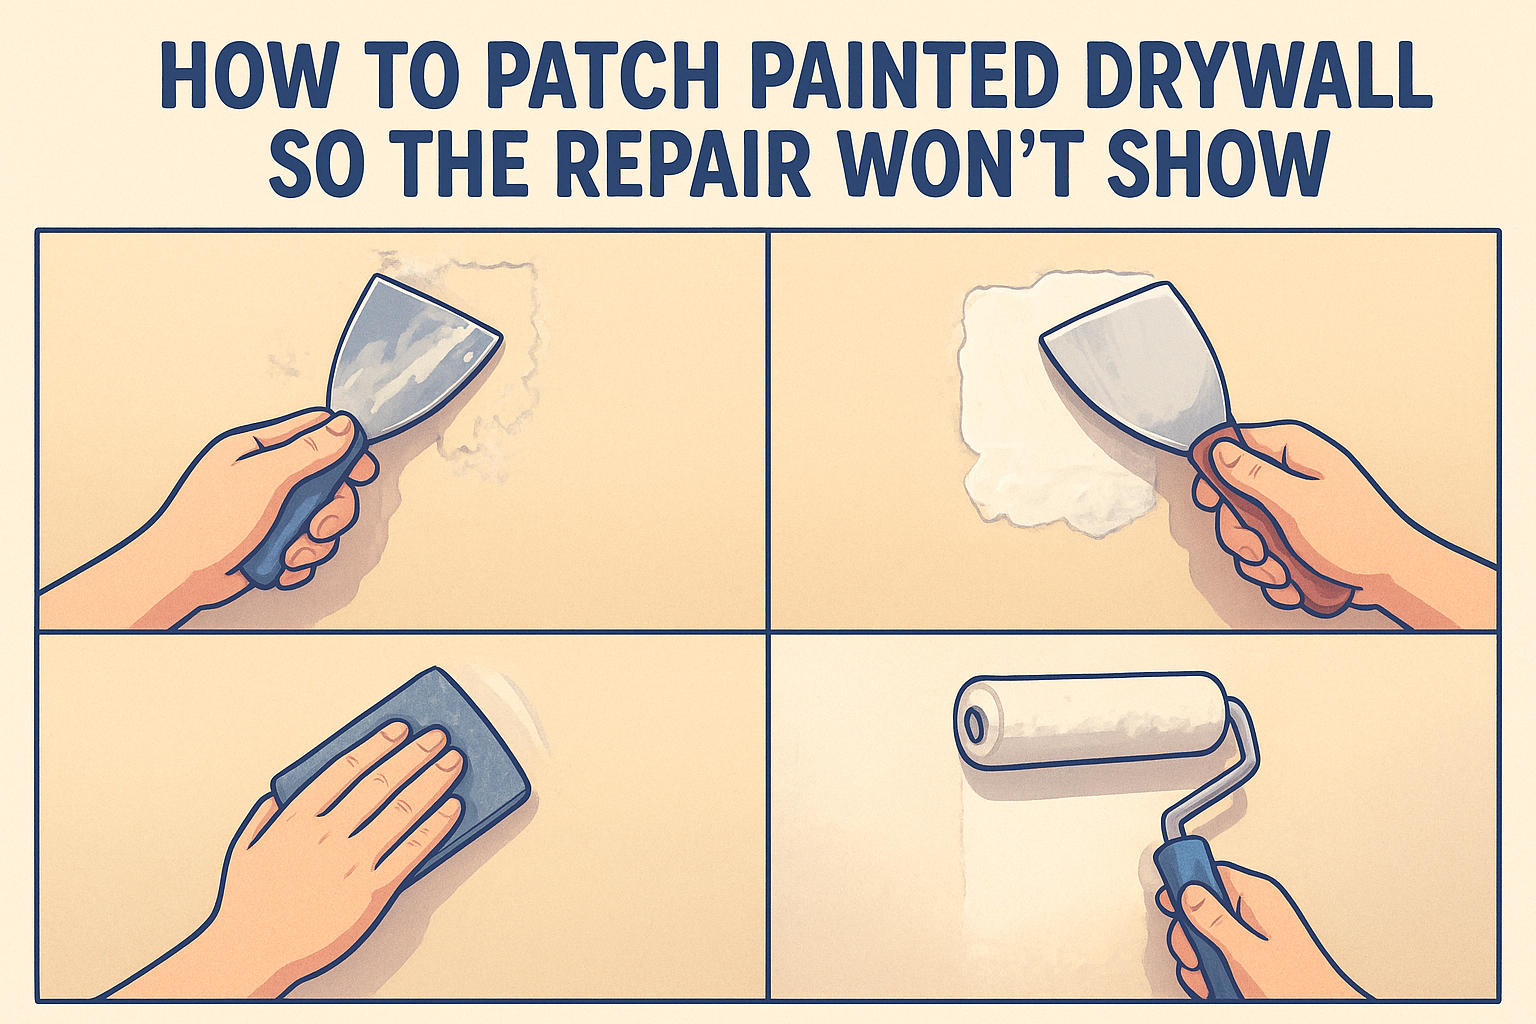
Embed paper tape in a wet first coat of compound, press it flat with your knife, and squeeze out the excess so no air bubbles remain. Then build the repair in thin layers that get wider each time.
| Coat | Knife | What you do | Wait before the next |
|---|---|---|---|
| 1 | 6 inch | Embed tape over every seam, fill the screw dimples, skim thin | 24 hours |
| 2 | 10 inch | Spread 2 inches past coat 1 on each side, feather the edges | 24 hours |
| 3 | 12 inch | Thin final coat, wider again, feather to nothing | 24 hours |
Sand lightly between coats with 120 to 150 grit and wipe the dust off with a damp cloth. The classic mistake is a thick first coat , which dries slowly, cracks, and sands badly. Cold or humid rooms slow drying, so wait longer when the compound still looks dark or feels cool.
Thin coats, fully dry, beat one thick coat every time. Patience here is what makes the seam disappear.
Step 4. Prime, texture, and paint the repair
Seal the whole repair and any old stain with a stain-blocking primer, match the wall texture, then paint two coats. Skipping the primer is why brown stains come back.
Seal the stain with the right primer
Standard wall primer and ordinary paint let water stains bleed through, sometimes weeks later. Use a stain-blocking primer . Shellac-based and oil-based formulas are the classic choice, and some water-based blockers are labeled for water stains. Roll it over the patch and a few inches onto the old paint, and cover the old stain completely. If the stain still shows after the primer dries, add a second coat.
Stain-blocking primer is the only thing standing between your new paint and the old brown ring.
Open the windows while you work. Shellac and oil primers have strong fumes , so ventilate the room and wear your respirator.
Match texture, color, and sheen
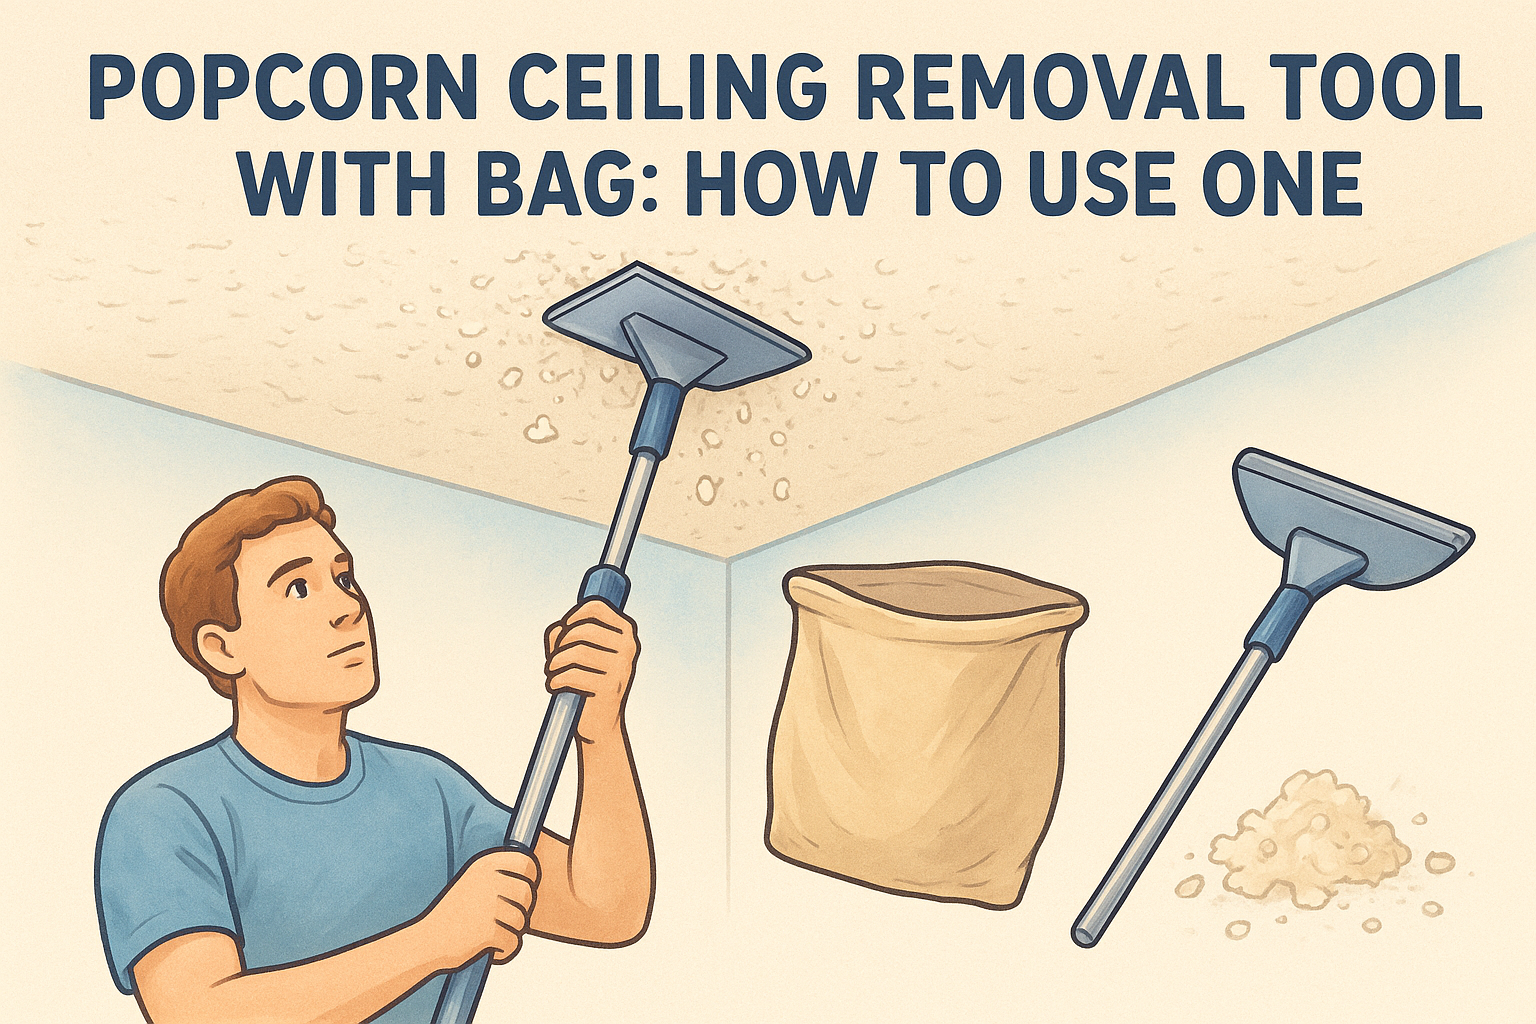
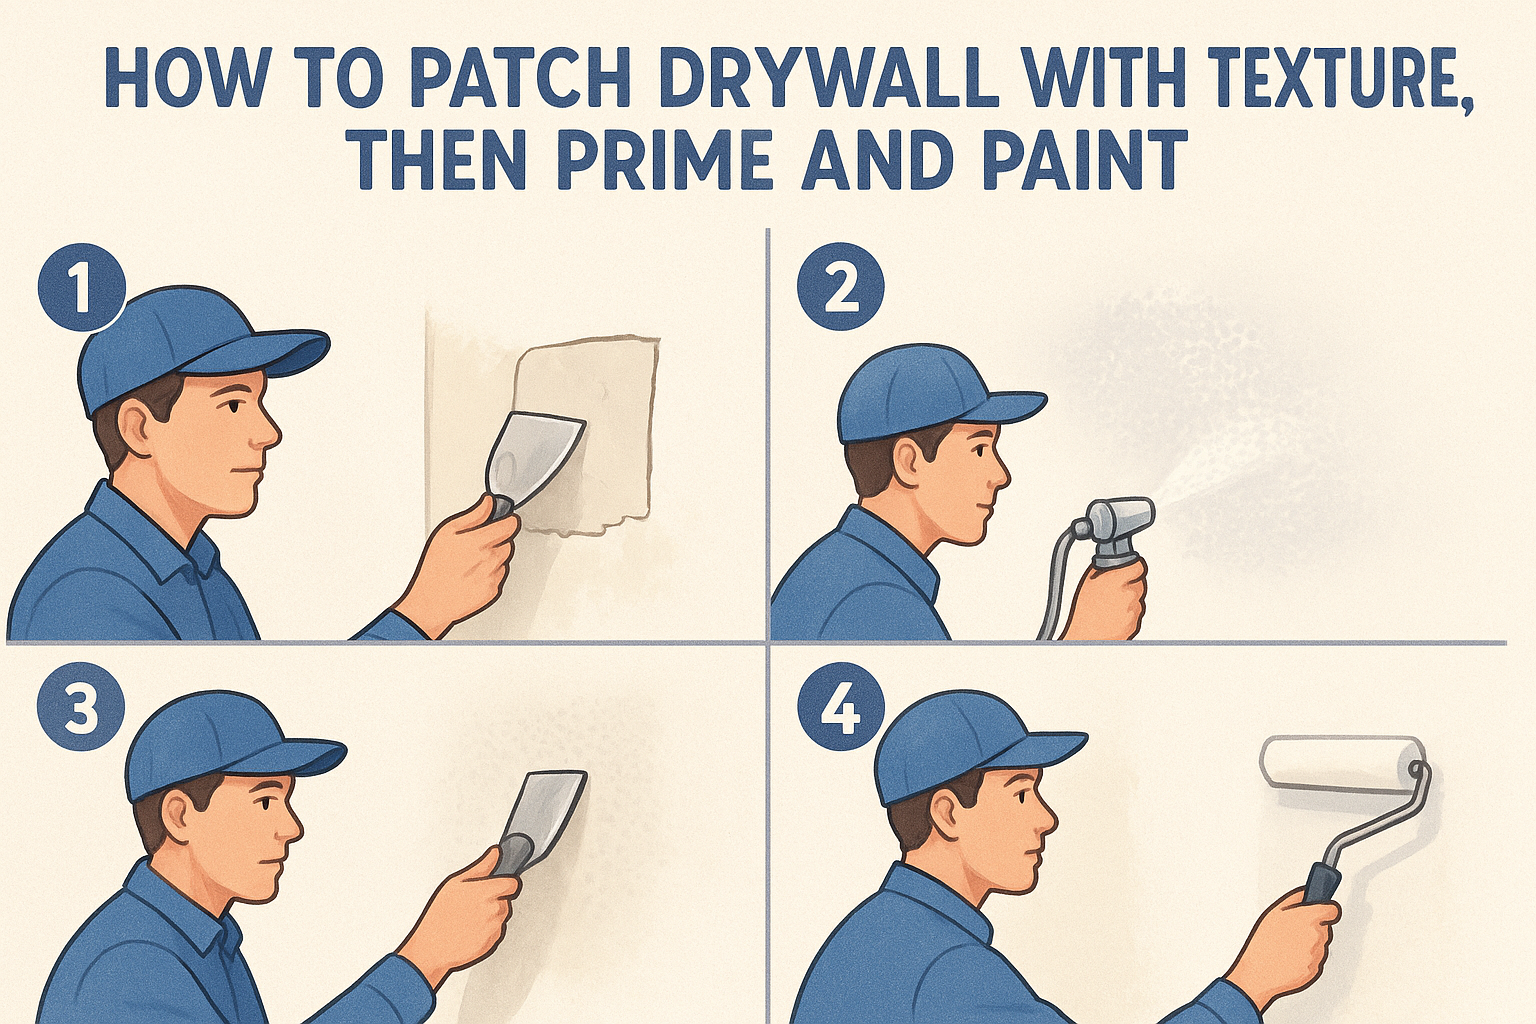
Texture goes on before the primer. Orange peel and knockdown are the most common finishes, and an aerosol spray texture with an adjustable nozzle matches both on a small patch. Practice on cardboard , then feather the texture into the surrounding wall and let it dry fully. Large ceiling areas are harder to blend, which is where a professional texturing crew earns the fee.
For color, take a paint chip or a one-inch cutout from an inconspicuous spot to a paint store for matching. Match the sheen too, because an eggshell patch on a matte wall shows in angled light. Apply two thin coats, and for the best match, paint the whole wall from corner to corner.
A realistic timeline
Active work takes only a few hours a day, but drying stretches the job. This schedule assumes three days of drying and 24 hours per compound coat.
| Day | Task |
|---|---|
| 1 to 3 | Stop the leak, run fans and dehumidifier, confirm dry readings |
| 4 | Cut out damage, install backing and patch, tape, first coat |
| 5 | Sand, second coat |
| 6 | Sand, third coat |
| 7 | Final sanding, apply texture |
| 8 | Stain-blocking primer |
| 9 | Two coats of paint, allowing the recoat time on the can |
Get the order right and the repair lasts
Fixing water damaged drywall comes down to sequence: stop the water, dry the wall, cut back to solid board, patch in thin layers, then seal the stain before you paint. Each step protects the next, and skipping one is what makes a stain or a seam show up again.
If the damage covers a large area, involves a ceiling you do not want to cut overhead, or turns up mold or old textured surfaces, hand it to a professional. For a free look at your wall, request a water damaged wall repair estimate from Super Shooters. We come to your home across the Sacramento Valley, and you pay only after the work is finished.