

Share this article

October 9, 2026

How to Patch a Large Hole in Drywall with Mesh: Easy Steps

A fist-sized hole or a gap where a doorknob went through the wall is more than a quick dab of spackle can fix. If you want to know how to patch a large hole in drywall with mesh , the good news is that it is a job most homeowners can finish in a weekend with a few basic tools. The trick is in the layers, not in muscle.

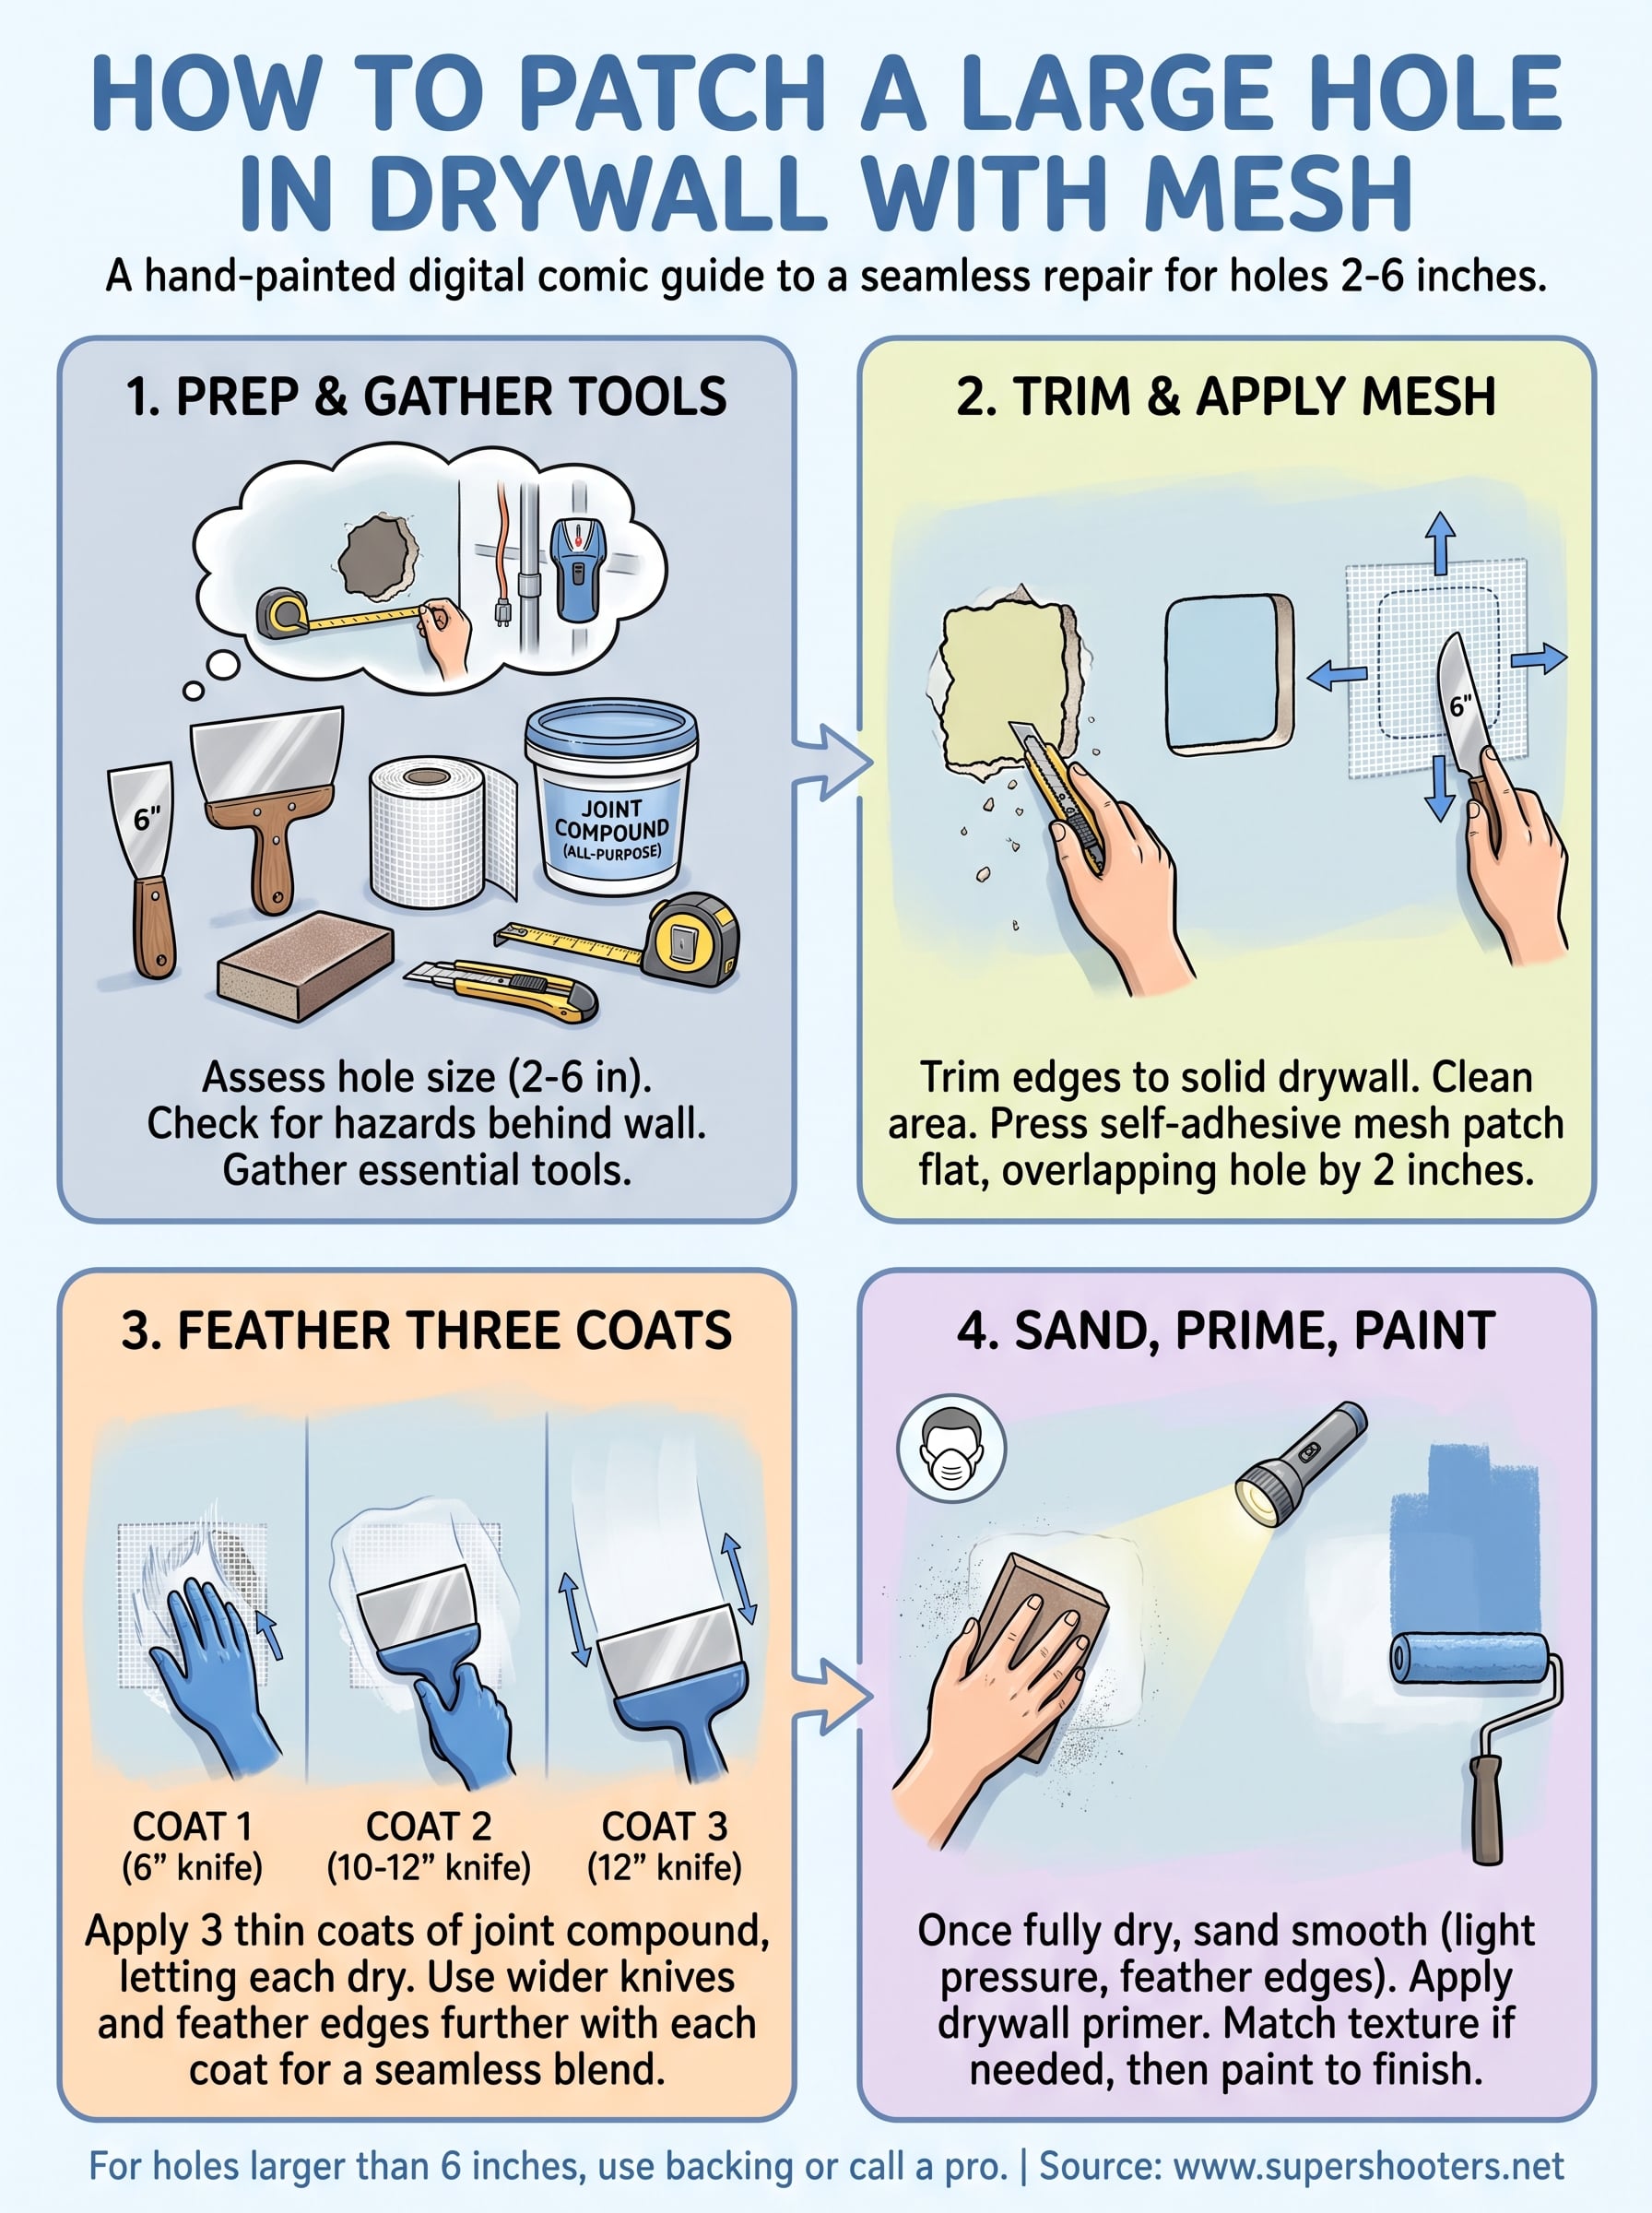
Here is the short answer. For holes from about 2 to 6 inches, you trim the damaged edges clean , press a self-adhesive mesh patch over the opening, and cover it with three thin coats of joint compound . Each coat is feathered wider than the last and sanded once dry. That is what gives you a flat, paint-ready wall instead of a visible bump.

In this guide, we walk through the tools and materials you need, how to prep the hole, how to apply and feather each coat, and how to match the wall texture before you paint. We have repaired thousands of walls across the Sacramento Valley over 30 years, so we also point out where DIY patches go wrong and when a bigger hole is better left to a pro.

What you need before patching a large hole

Gather everything before you open the bucket. Joint compound starts to stiffen once it hits the pan, and hunting for a sanding block mid-coat is how patches end up lumpy. A large hole needs a slightly bigger kit than a nail pop, but nothing here is exotic. If you start from scratch, expect to spend about $50 to $70 at a hardware store.

Tools

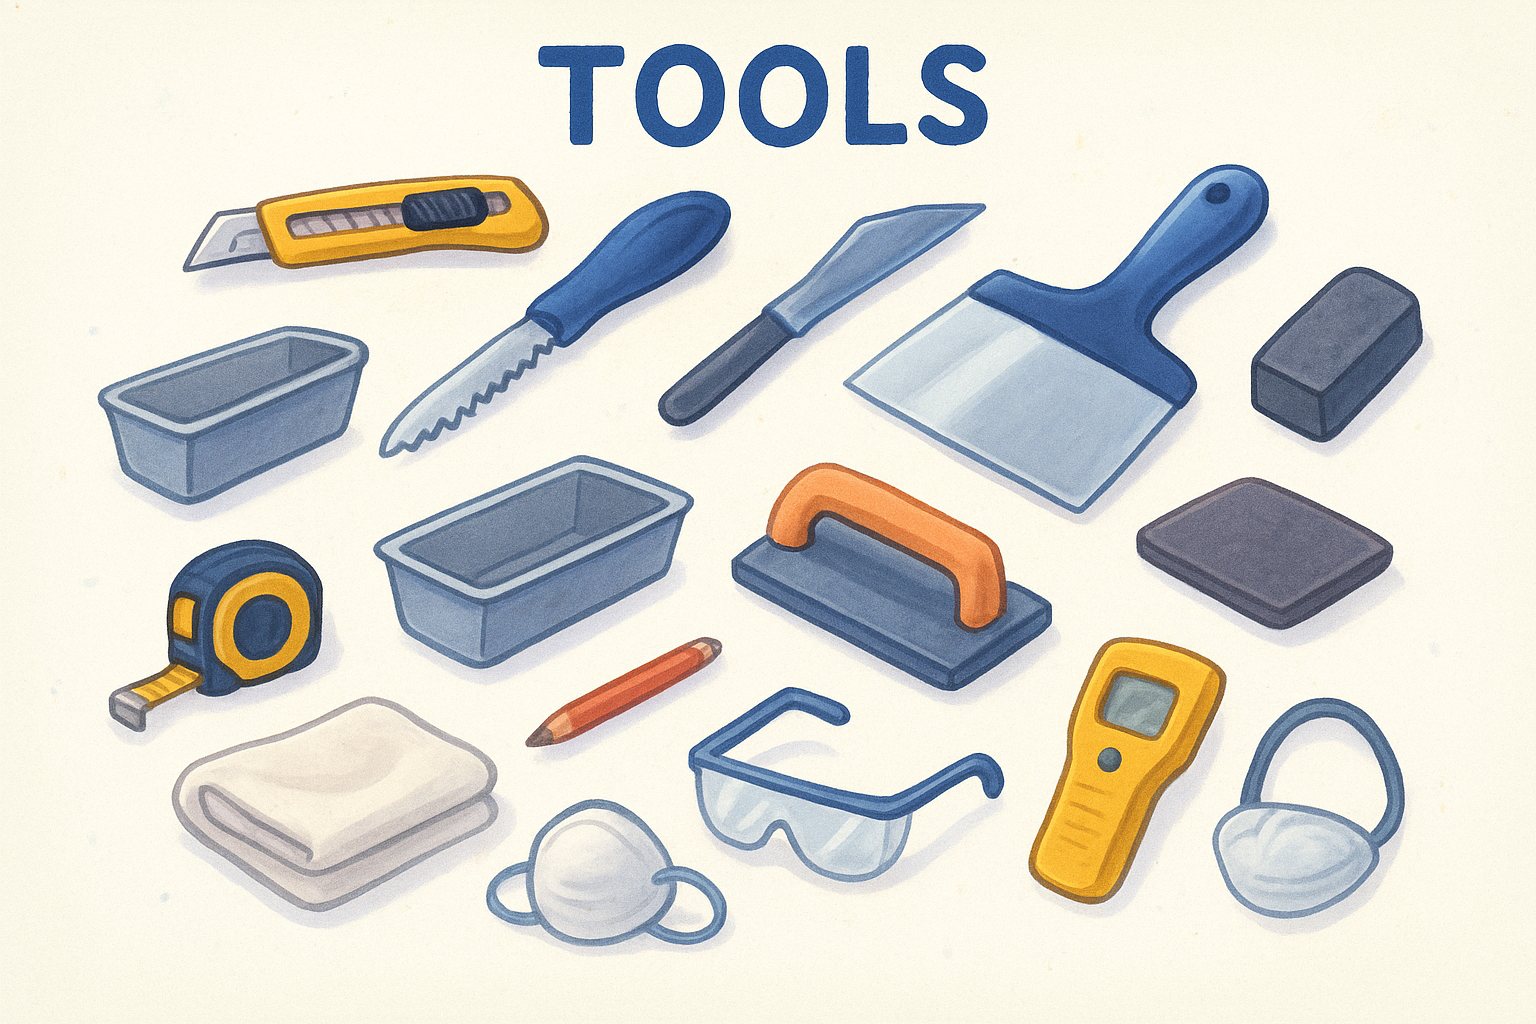
Start with the cutting and spreading drywall repair tools. Two knives matter most: a 6-inch taping knife for the first coat and a 10- or 12-inch knife for the final coats. The wider blade rides on the surrounding wall, which flattens and blends the edges of the patch.

Tool What it does
Utility knife with fresh blades Trims torn paper and ragged edges
Drywall jab saw Squares up a rough opening if needed
6-inch taping knife Embeds the mesh and applies coat one
10- or 12-inch knife Feathers coats two and three
Mud pan Holds compound and keeps your bucket clean
Sanding sponge or pole sander (120 and 220 grit) Smooths each dry coat
Tape measure and pencil Sizes the patch and marks cut lines
Stud finder Confirms nothing hides behind the hole
Drop cloth, shop vac, dust mask, safety glasses Contains and protects you from fine dust

Materials

Next comes everything that stays on the wall. Buy the following before you start:

  • Self-adhesive fiberglass mesh patch. Choose a 6x6 or 8x8 inch size from the best drywall patching kits for holes up to about 6 inches across.
  • Joint compound. One small bucket of pre-mixed all-purpose compound is plenty for one repair.
  • Drywall primer. A PVA or drywall-specific primer keeps the patch from soaking up paint.
  • Matching paint. Bring a chip or a small piece of the wall to the store if you do not have the original can.
  • Texture product. Only needed if your wall is not smooth. Spray texture in a can works for small areas.

Patch size is the choice people get wrong most often. The mesh grips by sticking to sound drywall, not to the open hole.

Buy a patch at least 2 inches wider than the hole on every side, because mesh only holds when it sticks to solid drywall.

Choose the right compound

All-purpose pre-mixed compound is the easiest option for a first-timer. It spreads smoothly, sands well, and stays workable for days if you seal the lid. Lightweight versions sand even easier but can dent if you bump them, so they suit the final coat better than the first.

Setting-type compound, sold as a powder you mix with water, hardens by chemical reaction in 20 to 90 minutes. It shrinks less, which makes it a smart choice for the first coat over mesh on a deep or wide opening. It is also harder to sand, so save it for the base layer and finish with all-purpose. If you want to learn how to patch a large hole in drywall with mesh and get it done in a single day, a 45-minute setting compound for coat one is the shortcut worth taking.

Step 1. Assess the hole and prep the wall

Take five minutes to look before you cut. Most failed patches trace back to skipped prep, not bad technique. Learning how to patch a large hole in drywall with mesh starts with measuring the damage and choosing the right patch size , so the repair holds and sands flat.

Measure the hole and look behind it

Next, measure the widest point of the hole. Shine a flashlight inside and run a stud finder across the wall. You need to know about wires, pipes, and studs before a blade goes anywhere near the opening.

Hole size Best repair
Up to 2 inches Small self-adhesive patch or spackle
2 to 6 inches Self-adhesive mesh patch (this guide)
Over 6 inches Cut-out drywall patch with backing, or call a pro

If you see cables, shut off that circuit at the breaker before you go further. A plumbing line or a stud edge inside the hole also changes your plan, because mesh needs flat, sound drywall to grip.

Never cut, sand, or patch until you know what is behind the wall and what is in it.

Check for asbestos and protect the room

Homes built before the early 1980s can have joint compound or wall texture that contains asbestos. Test a small sample with an accredited lab before you cut or sand, and read the EPA guidance on asbestos if your house is that old. If the test is positive, stop and hire a licensed abatement contractor.

Then set up the room. Move furniture out or to the center, lay a drop cloth along the wall, and tape plastic sheeting over doorways. Turn off the HVAC so fine dust does not travel through your vents. Pull off any nearby outlet covers and switch plates, and tape over the openings.

Finally, wipe loose dust and crumbs from the wall around the hole with a dry cloth. Mesh adhesive sticks poorly to dirty or greasy paint, so clean a band about 4 inches wide on every side.

Step 2. Trim the edges and clear the area

Now the hole gets cleaned up. A mesh patch is only as flat as the edges it sits on, so this step decides whether you see a ridge later. When you patch a large hole in drywall with mesh, loose paper and crumbling gypsum are the main enemies, because they lift the patch off the wall as the compound dries.

Trim the damaged edges

Put on your safety glasses and dust mask first. Then work around the opening with a fresh utility knife blade. You want solid, firm drywall all the way around the hole, with no soft or fuzzy spots.

  1. Slice off torn paper flaps flush with the wall.
  2. Press along the edge with your finger. Anything that crumbles or flexes should come out.
  3. Square up a jagged opening with the jab saw. A rough rectangle or circle is fine, and perfect corners are not required.
  4. Lay the knife flat and shave down raised chips or paper fuzz around the rim.
  5. Scuff any glossy paint in the 4-inch band with 120-grit paper so the adhesive can bite.

Cut back to solid drywall, because mesh sticks to sound paper, not to crumbs.

Do not cut the hole much bigger than it needs to be. Every extra inch you remove is an inch of coverage the patch has to bridge.

Clear the dust and test the fit

Vacuum the opening and the whole prepped band, then wipe it with a barely damp cloth. Let it dry fully. Fine drywall dust is the top reason self-adhesive patches peel, and a wet wall is the second.

Finally, do a dry run. Hold the patch over the hole with the backing still on and check that it overlaps sound drywall by 2 inches on every side and lies flat. If trimming pushed the hole past 6 inches, stop and step up to a cut-out patch with backing. If the fit looks good, mark the patch position lightly with a pencil and move on.

Step 3. Apply the mesh patch

This is the fastest step, but it sets how flat the repair ends up. Your prep is done, so the mesh only has to stick to sound drywall and lie flat with no wrinkles . Slow down here and the next three coats go much easier.

Position and press the patch

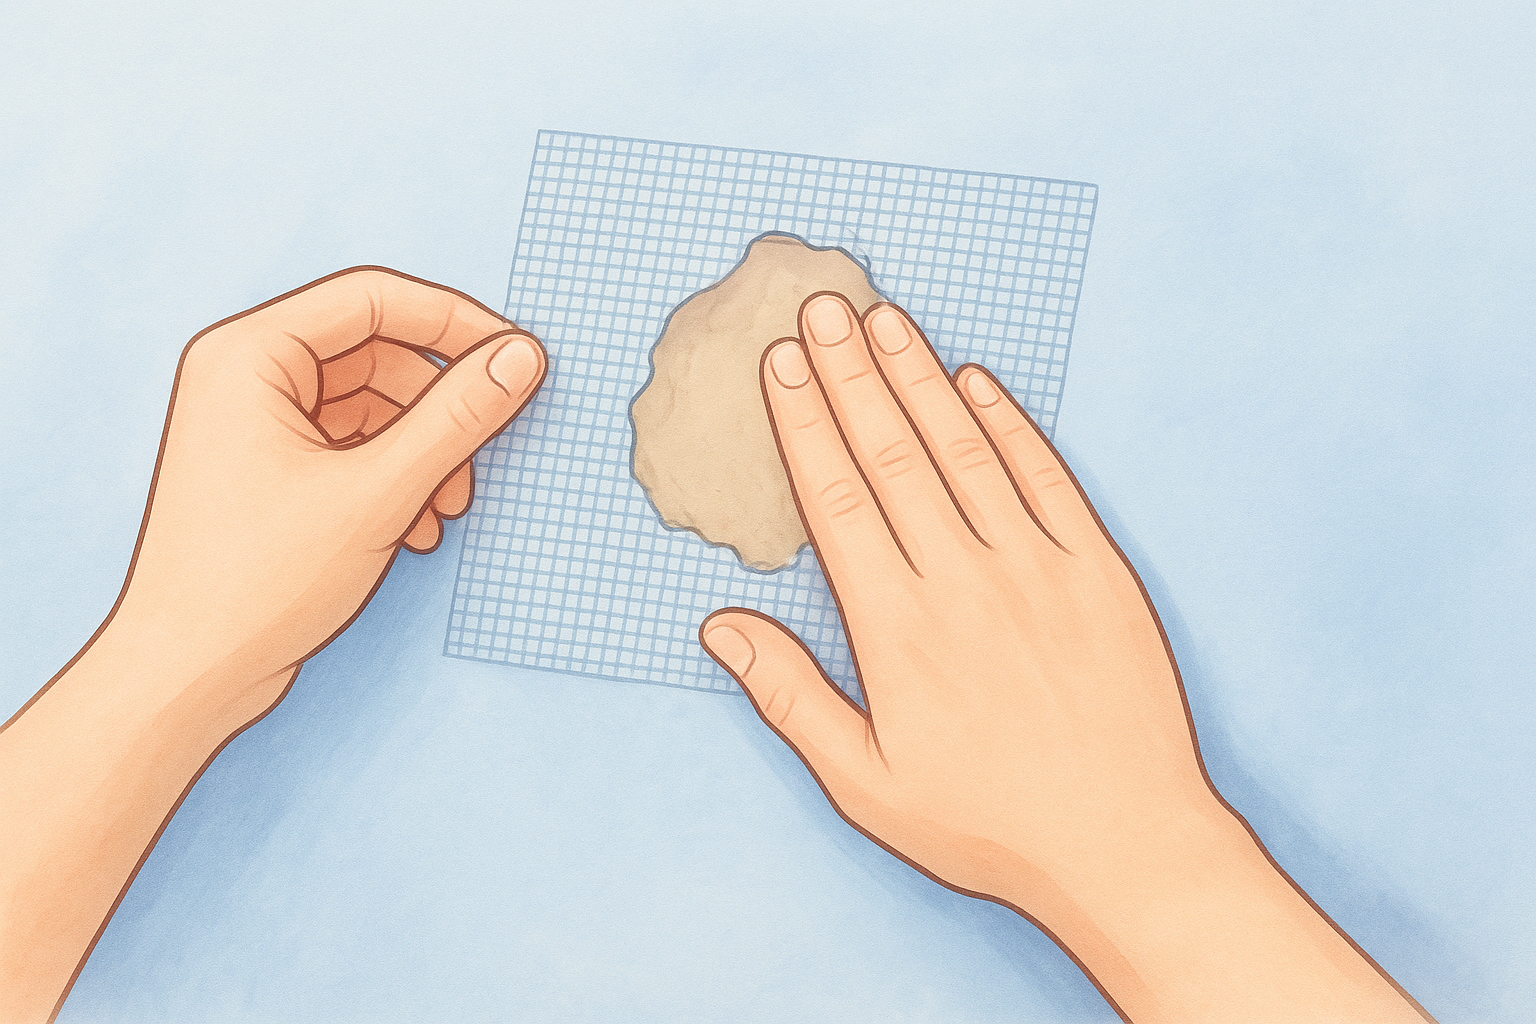
Start with the pencil marks from your dry run. Peel the backing off the mesh and handle it by the edges , because skin oil weakens the adhesive. Then work through these steps:

  1. Center the patch over the hole, lining up your pencil marks.
  2. Lay the middle down first, then smooth outward with your palm.
  3. Run the 6-inch taping knife across the mesh in each direction to seat it.
  4. Check all four edges. Press down any corner that lifts.
  5. Look for bubbles or creases. If you find one, peel back that section and reset it.

Press the mesh flat from the center out, because any wrinkle left underneath will show through the finished wall.

Do not stack a second patch on top to "be safe." Layered mesh creates a thick ridge that takes extra coats to hide.

Check the bond before you mud

Before you open the compound, tug lightly at each edge with a fingertip. The patch should feel fixed to the wall. If an edge peels up easily, lift it, wipe the dust off the wall, and press again. A patch that stuck to dust will release the moment wet compound hits it.

Next, look at the center. Mesh should span the opening with only a slight give when you press it. If it sags deeply into the hole, the opening is too wide for mesh alone. Stop there and switch to a metal-reinforced patch or a cut-out patch with backing, as noted in the size table in Step 1. Otherwise you are ready for the first coat.

Step 4. Apply and feather the joint compound

Mud work is where the repair is won or lost. The method behind how to patch a large hole in drywall with mesh is three thin coats , not one thick one. Thick compound cracks, shrinks, and takes days to cure, so let each coat dry fully before you touch the next.

Coat one: embed the mesh

Load the 6-inch knife from your mud pan and spread compound over the mesh from the center outward. Press hard enough that the compound fills the mesh grid and reaches about 1 inch past the patch edges. Then drag the blade across at a shallow angle to scrape off the excess .

  1. Hold the knife at roughly 30 degrees.
  2. Make one pass in each direction with even pressure.
  3. Scrape off ridges before they set.
  4. Let it dry: overnight for all-purpose, about an hour for 45-minute setting compound.

Mesh may still show faintly through coat one. That is normal, and coats two and three will bury it.

Coats two and three: feather wider

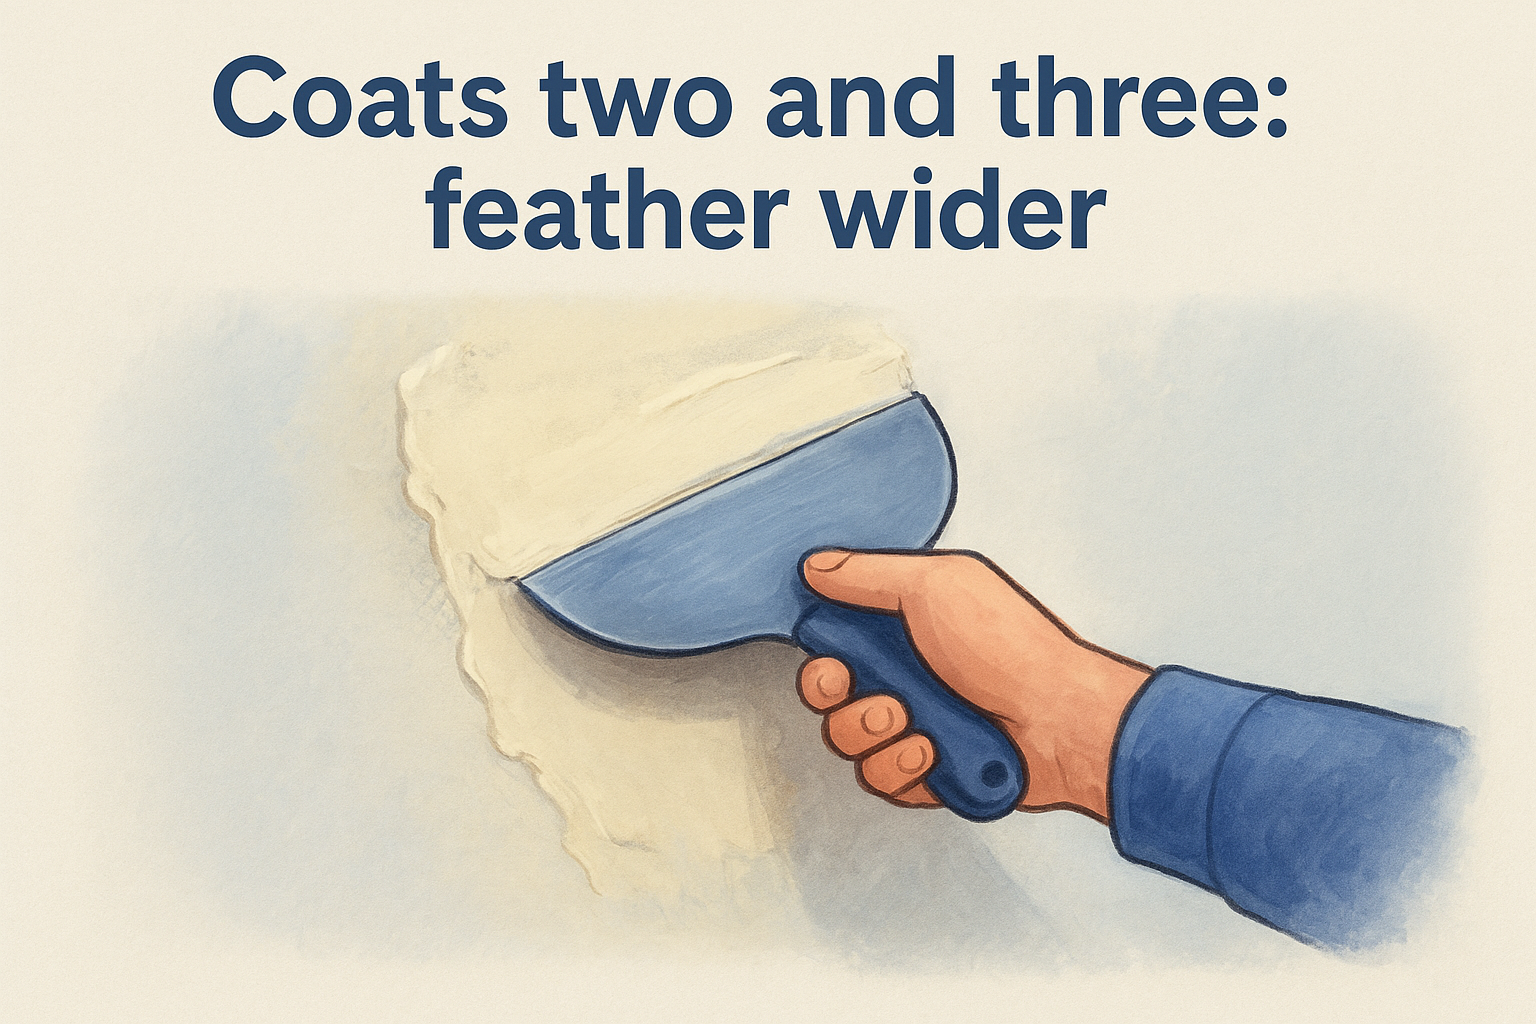
Once coat one is dry, knock off bumps with the knife and wipe away loose crumbs. Switch to the 10- or 12-inch knife for coat two. Spread the compound so it stretches 3 to 4 inches past the first coat, and put most of your pressure on the outer edge of the blade. That pressure creates the feathered edge , a taper so thin it blends into the wall.

Feather each coat wider than the last, because a thin, tapered edge is what makes the patch disappear.

Coat Knife Reach past the previous coat
1 6-inch About 1 inch past the mesh
2 10- or 12-inch 3 to 4 inches
3 12-inch 2 to 3 inches

Apply coat three after coat two has dried and been knocked down. Use the 12-inch knife and a very thin layer to fill any low spots. Then hold a flashlight flat against the wall and look along the beam. Shadows reveal ridges and dips , and you should fix them now, because sanding cannot add compound back.

Step 5. Sand, prime, and paint the repair

Finishing takes patience more than skill. Wait until coat three is completely dry , usually 24 hours for all-purpose compound, before you touch it with sandpaper. Damp mud gums up the paper and tears the surface. A patch that is sanded, primed, and painted correctly is the payoff for all the thin coats you laid down.

Sand the patch smooth

Light pressure is the whole technique here. You want to level the feathered edges , not grind down to the mesh. If fibers show through, stop and brush on one more thin skim coat instead.

  1. Put on your dust mask and safety glasses.
  2. Knock down ridges with 120-grit paper, using light circular strokes.
  3. Switch to 220-grit and sand the outer edges until they vanish into the wall.
  4. Close your eyes and run your palm across the repair. Fingers find what eyes miss.
  5. Vacuum the area, then wipe it with a barely damp cloth.

Sand until you can no longer feel the edge with your fingertips, not just until you can no longer see it.

Prime and match the texture

Bare compound soaks up paint faster than the old wall around it, which leaves a dull spot called flashing. Roll or brush on one coat of drywall primer that reaches an inch or two past the patch. Let it dry for about an hour, or follow the label.

Matching the texture comes next if your wall is not smooth. Test a can of spray texture on cardboard first, then hold the can about 12 inches away and mist light passes over the patch. Let it set, compare it to the wall, and add another pass only if it still looks flat. Prime the texture again once it is dry.

Paint the wall

Finally, paint. Use the same roller nap and sheen as the original job, because a different sheen shows even when the color matches. Apply two thin coats, letting the first dry before the second. Fade the paint outward from the patch in wide strokes, or for a safer match, paint the whole wall from corner to corner.

Knowing when mesh is enough

Mesh is the right tool for holes between 2 and 6 inches in sound drywall. Knowing how to patch a large hole in drywall with mesh comes down to three habits: clean edges, a flat patch, and thin coats feathered wider each time. Follow those and the repair disappears under primer and paint.

Know the limits, though. If the hole is larger than 6 inches , the mesh sags, the wall is wet or moldy, or the old texture tests positive for asbestos, mesh is not enough. Those jobs need backing, moisture repair, or a licensed pro .

Stuck on a repair that looks bigger than a weekend project? Our team has fixed thousands of walls across the Sacramento Valley, and we offer free in-home estimates with no payment until the work is done . Learn more about our drywall patching and repair team and let us handle it.

Recent Posts

By cinchweb • October 8, 2026
Compare 6 Chicago pros for ceiling drywall repair near me, see prices ($250–$1,500 patches to sections), and learn how to vet quotes before paying.

By cinchweb • October 7, 2026
See 2026 California asbestos abatement cost per square foot by material, plus a 1,000 sq ft example, removal vs. encapsulation, and how to read a quote.

By cinchweb • October 6, 2026
How to use drywall patching clips on 4-12 inch holes: pick the right thickness, set the patch, finish in three coats, and know when to call a pro.

By cinchweb • October 5, 2026
Find the best joint compound for skim coating: compare lightweight, all-purpose, Plus 3, Easy Sand and Durabond, plus how to mix, apply and sand.
By cinchweb • October 5, 2026
Is vertical drywall installation okay? Learn when it works, how to hang sheets step by step, common mistakes, and when to hire a pro.
By cinchweb • October 5, 2026
Learn how to patch drywall outlet hole damage safely: match the patch to the gap, then finish with thin coats and primer for a seamless wall.
By cinchweb • October 2, 2026
Drywall ceiling repair near me? Compare 5 contractors, including Super Shooters, and learn what to ask about estimates, warranties and asbestos.

By cinchweb • October 1, 2026
Learn how to patch a nail hole in drywall with tools under $15, spackle, sanding, priming, and painting tips for a seamless, lasting repair.

By cinchweb • September 30, 2026
See real cost ranges, timelines, and what's included in drywall installation services, plus contractor red flags Sacramento Valley homeowners should avoid.

Show More
