


Share this article

October 5, 2026

Best Joint Compound for Skim Coating: How to Choose and Mix

Skim coating looks simple until you pick the wrong mud. Grab a heavy all-purpose bucket for a whole room and you fight drag, pinholes, and hours of sanding. Grab the wrong setting compound and it hardens in the pan before you finish one wall. The best joint compound for skim coating depends on the surface, your speed, and how much sanding you want to do.

Here is the short answer. For most DIY walls and ceilings, use a lightweight or all-purpose premixed compound thinned with a little water . It spreads smooth and sands easily. For fresh drywall, patched areas, or surfaces that need extra grip, use Plus 3 or a setting-type compound like Easy Sand for the first pass. Save Durabond for repairs that need real hardness.

We have finished more than 10,000 ceiling and wall projects across the Sacramento Valley, many after popcorn removal, so we know which mixes hold up. Below, you will learn how each compound behaves, how to match it to your surface, and how to mix it to the right consistency before you load the trowel.

Why the compound you pick matters

Skim coating spreads a layer of mud often thinner than 1/16 inch across an entire surface. At that thickness, small differences in the compound show up fast. Shrinkage, bond strength, and sanding effort all change with your choice, and you live with the result on every wall.

What goes wrong with the wrong mud

Most failed skim coats trace back to a short list of problems, and each one connects to the compound:

  • Peeling or blistering: the mud never gripped a glossy, dusty, or painted surface.
  • Cracks and ridges: a high-shrinkage mix dried unevenly in a thin coat.
  • Pinholes and craters: air trapped in mud that was too thick or poorly mixed.
  • Sanding burnout: a hard compound spread over a whole room.

The last one catches people often. A setting compound like Durabond cures harder than the drywall paper under it. Sand it across 400 square feet and you will gouge the paper before you flatten the ridges.

The best compound for a skim coat is the one that bonds to your surface, shrinks little, and sands easily at the thickness you apply.

How the common types compare

Here is how the five types of drywall mud you will meet at the hardware store stack up for skim coating.

Compound Type Sanding Working time Best use
All-purpose Premixed, air-dries Moderate Hours General skim coats
Lightweight Premixed, air-dries Easy Hours Finish coats, ceilings, big areas
Plus 3 Premixed, air-dries Easy Hours Tricky surfaces, low shrinkage
Easy Sand Powder, chemical set Moderate 20 to 90 min First coats, deep fills
Durabond Powder, chemical set Hard 45 to 90 min Hard-wearing repairs

Premixed drying compounds give you all day to work but shrink as the water leaves . Setting compounds cure by chemical reaction, so they shrink very little and harden on a clock , whether you are done or not. Knowing that trade-off is what lets you choose well in the next steps.

Step 1. Match the compound to your surface

The surface decides your first coat more than the label on the bucket does. Spend ten minutes learning what you are covering before you buy anything. Bond problems start at the surface , and the best joint compound for skim coating one wall can fail on the next.

Test what you are covering

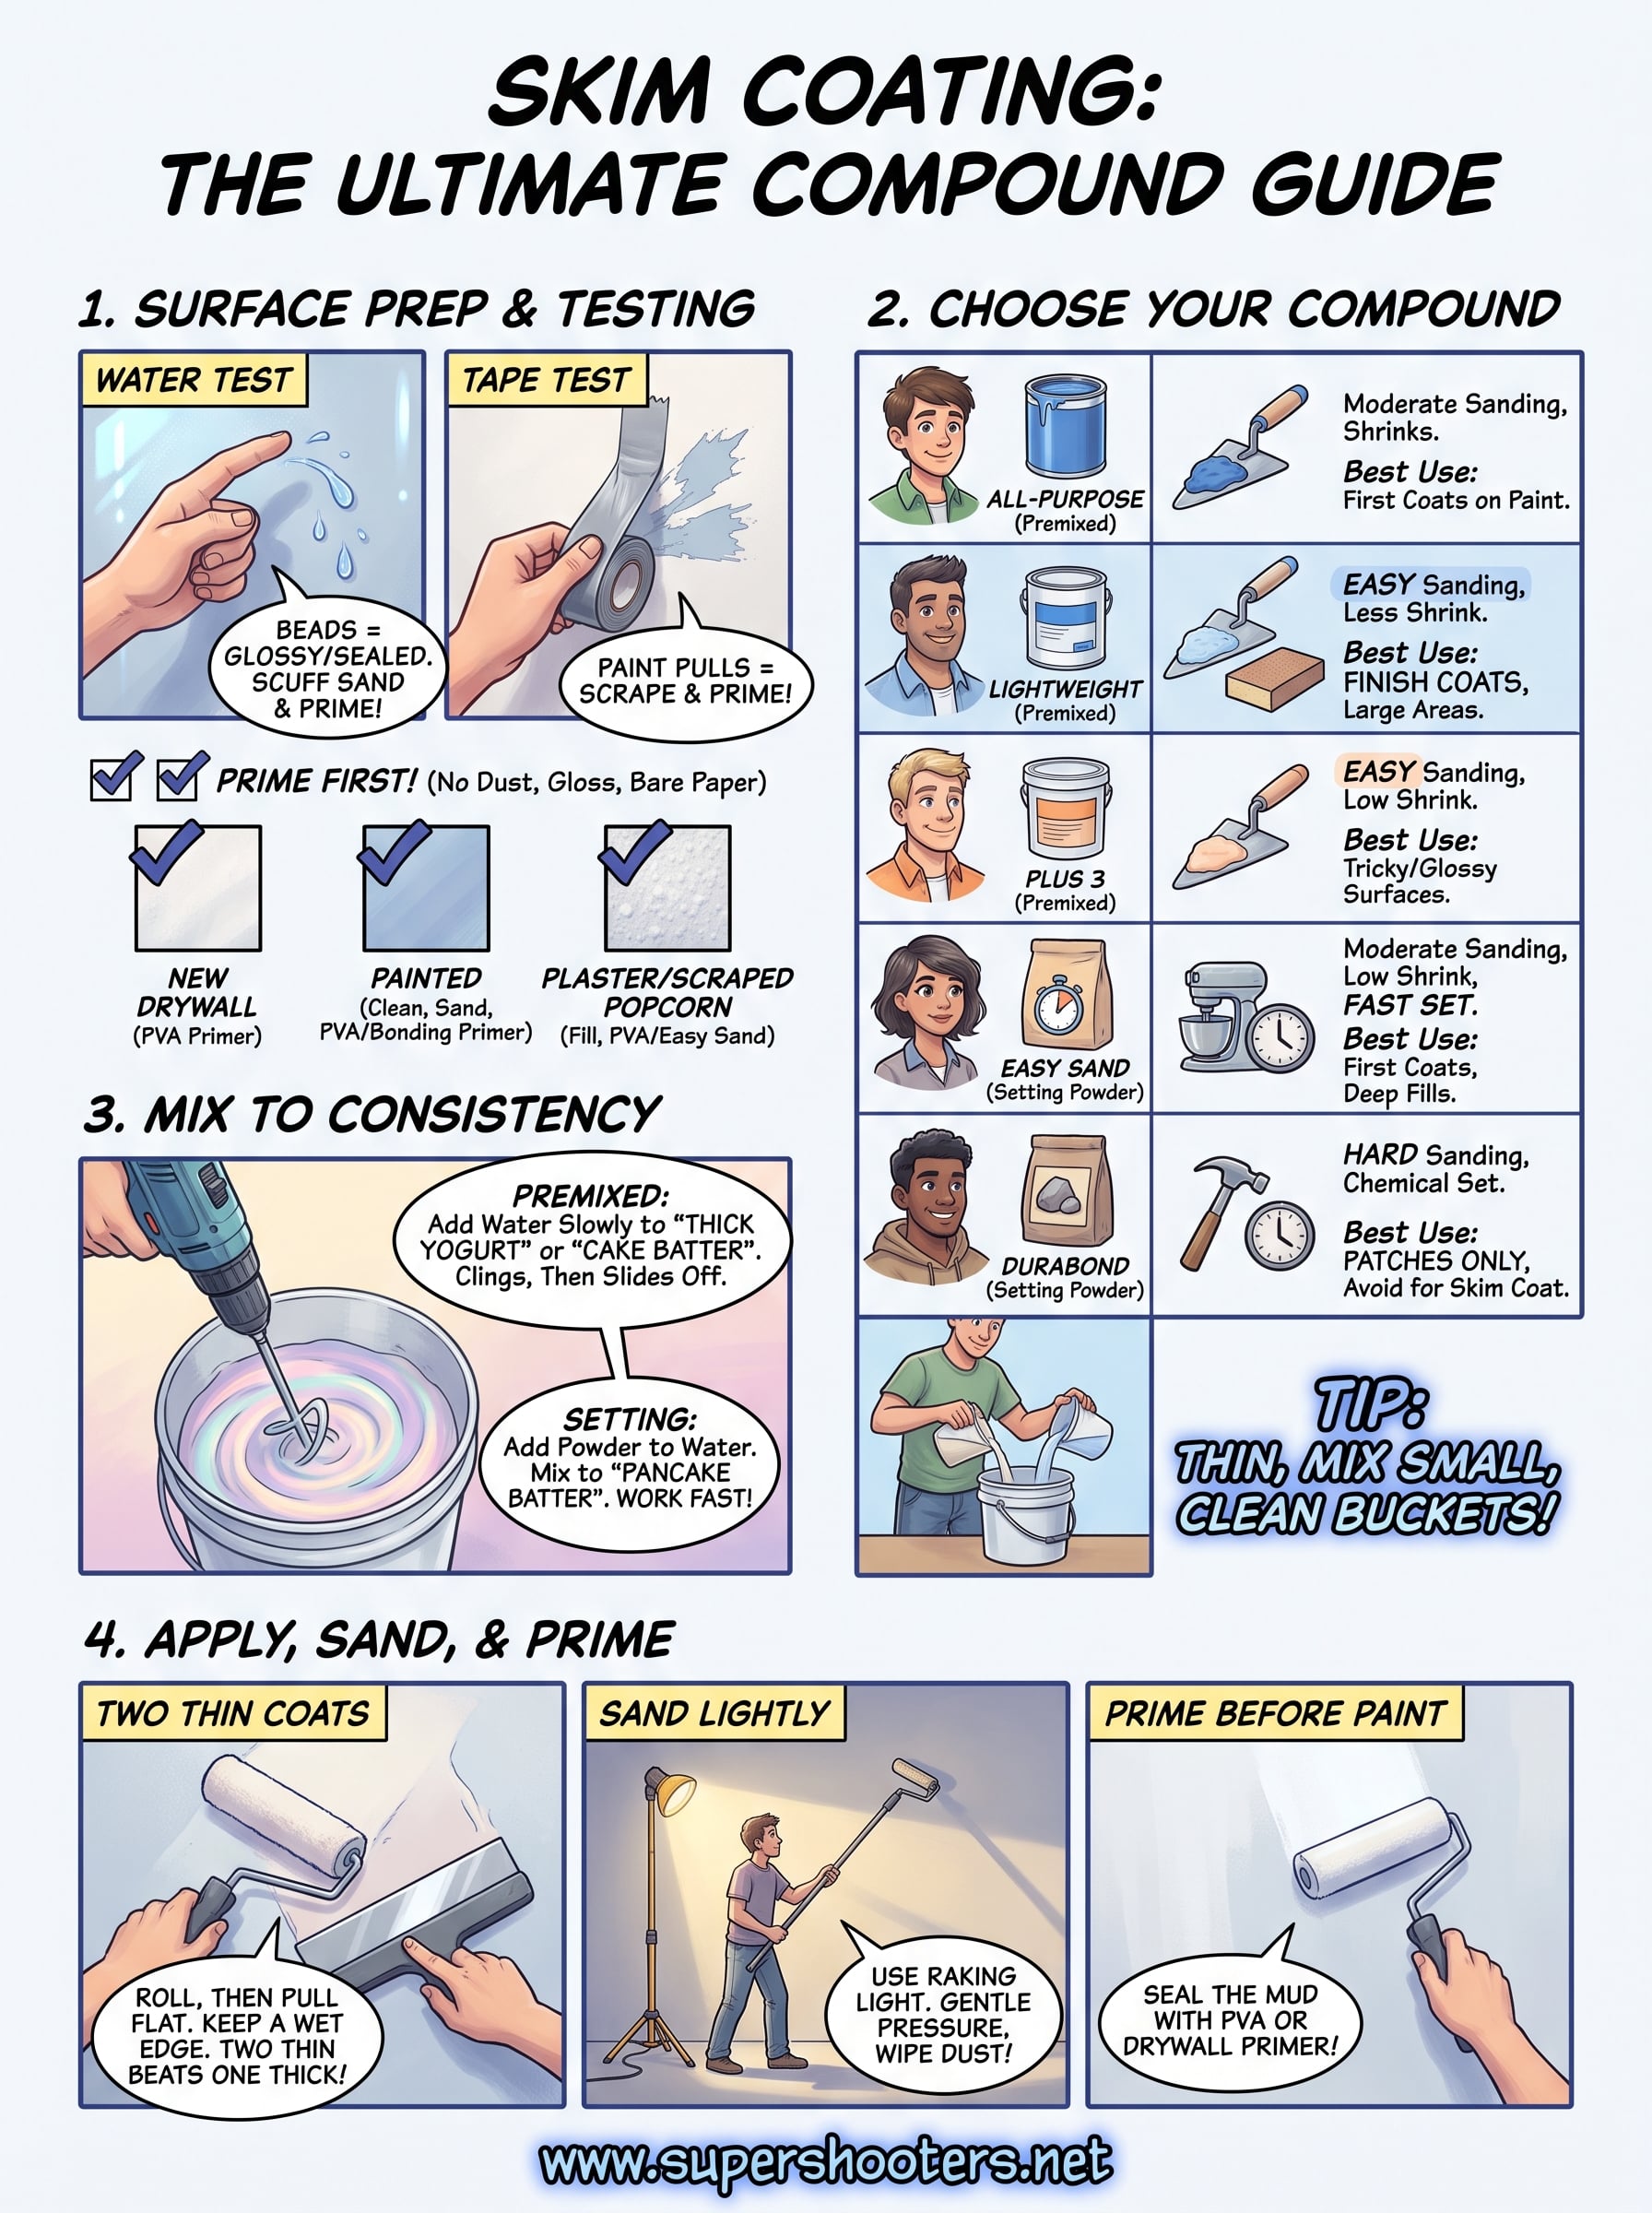
Two quick checks tell you most of what you need. Flick water onto the wall. If it beads, you have glossy or sealed paint that needs scuff sanding and a bonding primer. Next, press duct tape onto the paint and rip it off. If paint comes with it, scrape and prime before any mud goes on.

Pick the compound by surface

Surface Prep First coat
New drywall paper PVA primer Lightweight or all-purpose
Flat or eggshell paint Clean, light sand, PVA primer All-purpose or Plus 3
Semi-gloss paint Scuff sand, bonding primer Plus 3 or Easy Sand
Plaster Fill cracks, PVA primer Easy Sand, then lightweight
Scraped popcorn ceiling Wipe dust, PVA primer Easy Sand 90, then lightweight

Prime first, because no compound sticks to dust, gloss, or bare paper.

Older ceilings need one more check. Homes built before the mid-1980s often have asbestos in the popcorn texture . Get a sample tested by a lab before you scrape or sand. If it comes back positive, hire a licensed abatement contractor instead of doing it yourself.

Step 2. Choose between all-purpose, lightweight, and setting types

Your surface from Step 1 narrows the field to three families. Now weigh room size, drying time, and sanding effort to settle on one.

Lightweight and all-purpose for most rooms

Lightweight is the best joint compound for skim coating a full room if you are a DIYer. It spreads easily, feels lighter on the trowel, and sands with little effort. That matters when you are covering 300 square feet.

All-purpose costs less and grips a bit better, but it sands harder and shrinks more as it dries . Use it for a first coat on painted walls, then finish with lightweight.

Use lightweight for the final pass, because it is the easiest compound to sand smooth.

Setting types for speed and strength

Easy Sand comes as a powder you mix yourself. The number on the bag is working time in minutes , such as 20, 45, or 90. Choose the 90 for skim coating so it does not harden in the pan. It barely shrinks, so it fills low spots and scraped popcorn ceilings well.

Durabond cures much harder. Keep it for patches, corners, and plaster cracks . Never skim a whole room with it, because you will not be able to sand it flat.

Quick decision rules

When in doubt, follow this list:

  • Smooth, sound walls: all-purpose first, lightweight to finish.
  • Glossy or tricky surfaces: Plus 3.
  • Deep low spots or scraped ceilings: Easy Sand 90, then lightweight.
  • Cracks and hard repairs: Durabond, spot use only.

Step 3. Mix the compound to the right consistency

Even the best joint compound for skim coating fails if you spread it straight from the bucket. Premixed mud is made for taping seams, so it is too stiff for a wide, thin coat. Thinning it correctly is what keeps drag, ridges, and pinholes out of your finish.

Thin premixed mud

Start with a clean bucket and a paddle mixer on a drill. Add water a splash at a time, roughly 1 cup per gallon of mud to begin. Mix at low speed until it looks like thick yogurt or cake batter . It should cling to a trowel held upright, then slowly slide off.

Let it rest for five minutes, then remix before you load the pan . Lightweight mud thickens as it sits, so you may need another splash. Skip the speed, because a fast drill whips in air and causes pinholes.

Mix thin, mix small, and keep every bucket clean.

Mix Easy Sand or Durabond

Setting powders follow a different order, and the order matters.

  1. Pour clean, cool water into a clean bucket.
  2. Sprinkle the powder over the water and let it soak for a minute or two.
  3. Mix to a smooth pancake batter with no dry lumps.
  4. Stop mixing and never add water once it starts to stiffen.

Make only what you can spread in about half the stated working time . A 90-minute mud mixed in a warm room will set faster than the bag says. Scrape the bucket and pan between batches, because leftover set chunks leave streaks across your next coat.

Step 4. Apply, sand, and prime the skim coat

Mixed mud is only half the job. Technique decides whether the best joint compound for skim coating ends up smooth or streaky, so work in small sections and keep a wet edge as you go.

Apply two thin coats

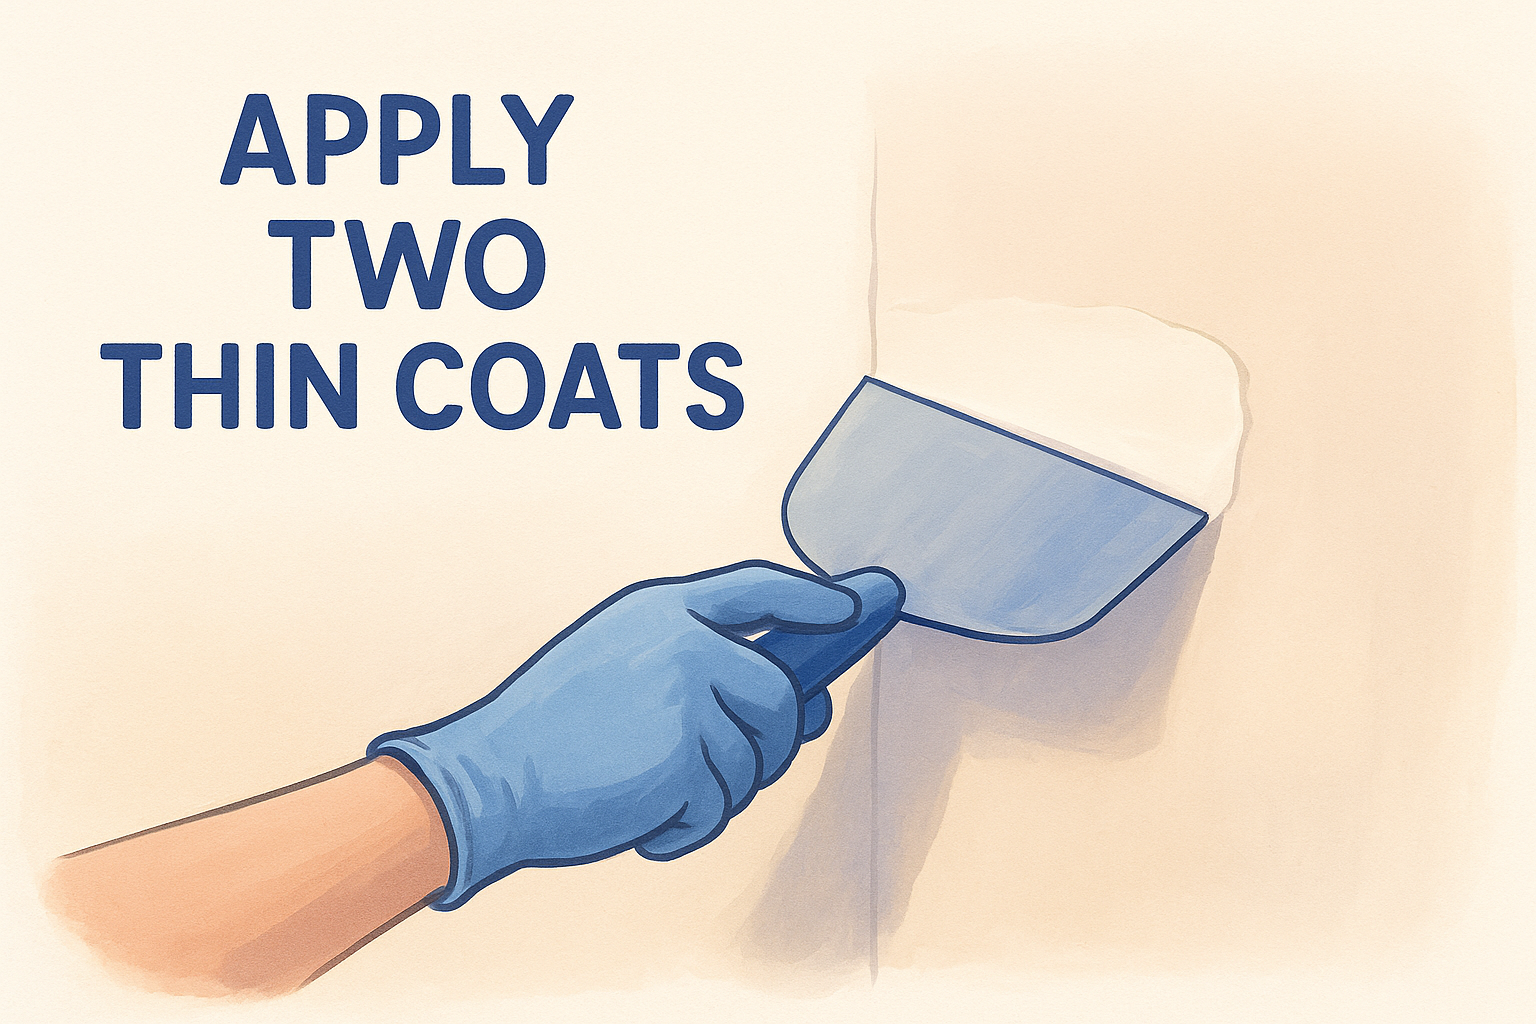
Roll a thin layer onto a 4 by 4 foot section, then pull it flat with a 12 to 14 inch knife held at a low angle. Use light, steady pressure and overlap each pass by a few inches. Plan on two thin coats instead of one heavy one.

  1. Skim the first coat in one direction and knock down ridges before they harden.
  2. Let premixed mud dry about 24 hours, until it turns uniformly white. Setting types are ready for the next coat once they are hard.
  3. Apply the second coat at right angles to the first to fill any tool marks.

Two thin coats beat one thick coat every time.

Sand lightly, then prime

Sanding drywall goes fast if you stay gentle. Hold a work lamp flat against the wall so raking light shows every ridge, then sand with 120 to 150 grit on a pole sander. Wipe off the dust with a damp sponge, because leftover dust weakens the paint bond.

Finally, seal the surface with a PVA or drywall primer. Skim coat is porous, so unprimed mud soaks up paint unevenly and leaves dull patches called flashing. Prime first , then paint.

Picking the right mud and knowing when to call a pro

The best joint compound for skim coating is the one that fits your surface and your pace. Prime first, then use lightweight or all-purpose thinned to a yogurt consistency. Reach for Plus 3 or Easy Sand 90 on tricky or scraped surfaces, and keep Durabond for spot repairs. Two thin coats, sanded lightly and primed , beat one heavy coat every time.

Some jobs are better left to a crew. A full ceiling, a large water-damaged wall, or any popcorn texture that might contain asbestos is hard on your back and risky for your lungs. If you would rather skip the sanding and the guesswork, we have done this for over 30 years. Start with our popcorn ceiling removal crew and book a free in-home estimate , with no payment due until the work is finished.

Recent Posts

By cinchweb • October 8, 2026
Compare 6 Chicago pros for ceiling drywall repair near me, see prices ($250–$1,500 patches to sections), and learn how to vet quotes before paying.

By cinchweb • October 7, 2026
See 2026 California asbestos abatement cost per square foot by material, plus a 1,000 sq ft example, removal vs. encapsulation, and how to read a quote.

By cinchweb • October 6, 2026
How to use drywall patching clips on 4-12 inch holes: pick the right thickness, set the patch, finish in three coats, and know when to call a pro.
By cinchweb • October 5, 2026
Is vertical drywall installation okay? Learn when it works, how to hang sheets step by step, common mistakes, and when to hire a pro.
By cinchweb • October 5, 2026
Learn how to patch drywall outlet hole damage safely: match the patch to the gap, then finish with thin coats and primer for a seamless wall.
By cinchweb • October 2, 2026
Drywall ceiling repair near me? Compare 5 contractors, including Super Shooters, and learn what to ask about estimates, warranties and asbestos.

By cinchweb • October 1, 2026
Learn how to patch a nail hole in drywall with tools under $15, spackle, sanding, priming, and painting tips for a seamless, lasting repair.

By cinchweb • September 30, 2026
See real cost ranges, timelines, and what's included in drywall installation services, plus contractor red flags Sacramento Valley homeowners should avoid.
By cinchweb • September 30, 2026
Learn DIY wall plaster crack repair: identify crack types, prep, mesh tape, texture matching, and when to call Super Shooters for a free estimate.

Show More
