August 30, 2026
How to Use a Drywall Wall Repair Kit the Right Way
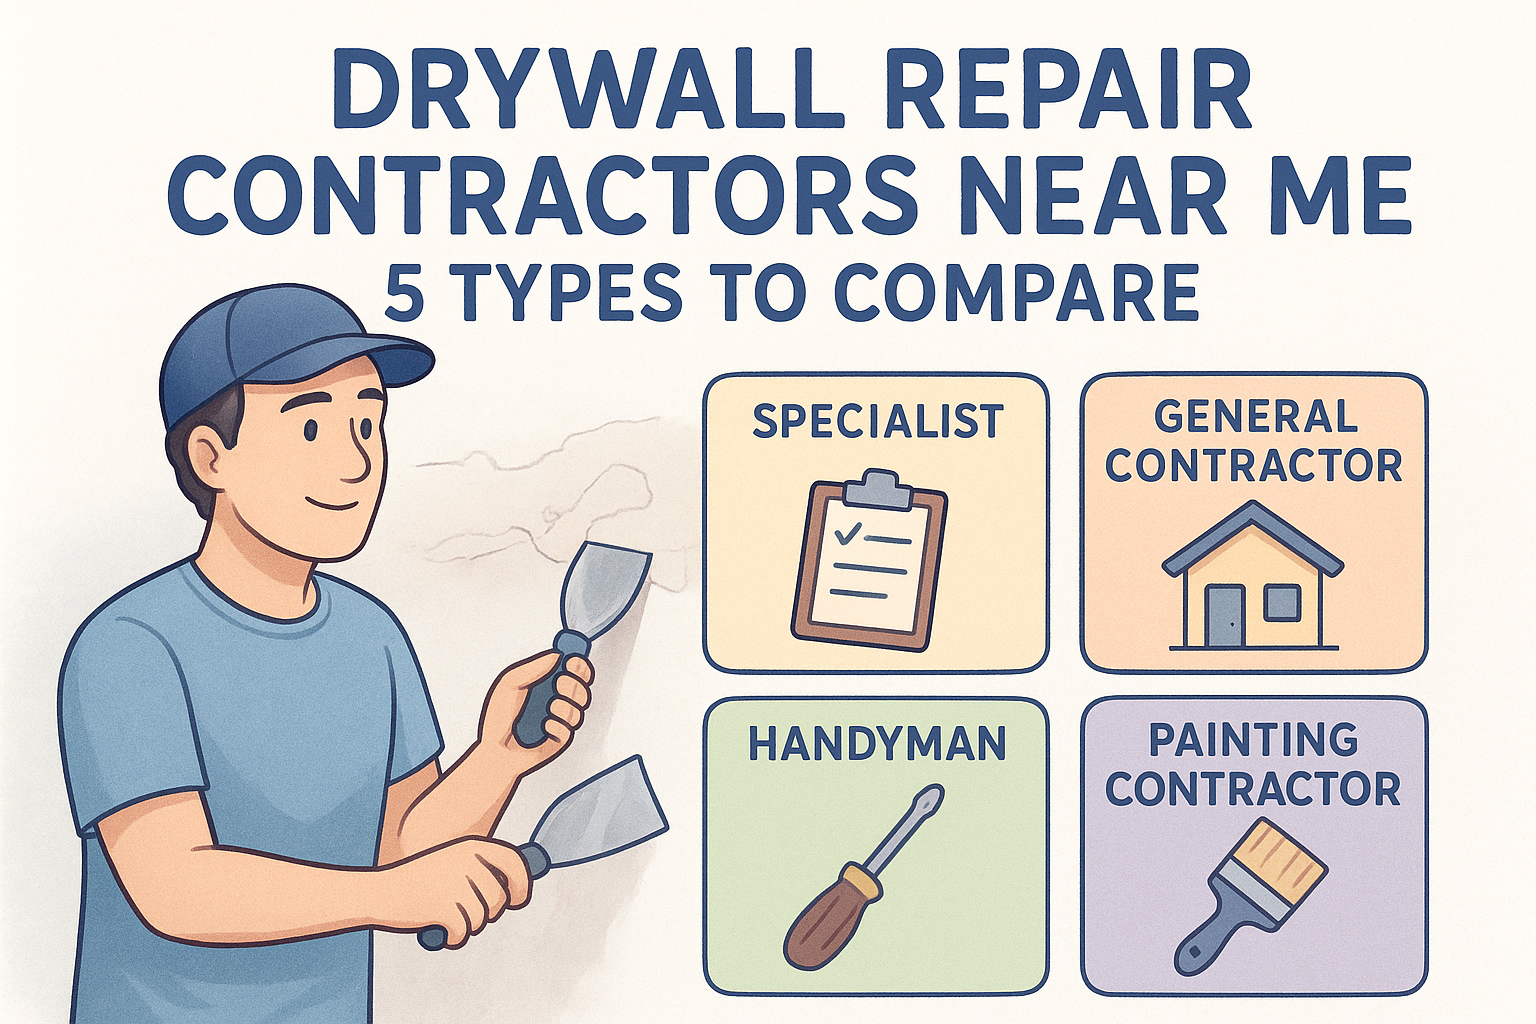
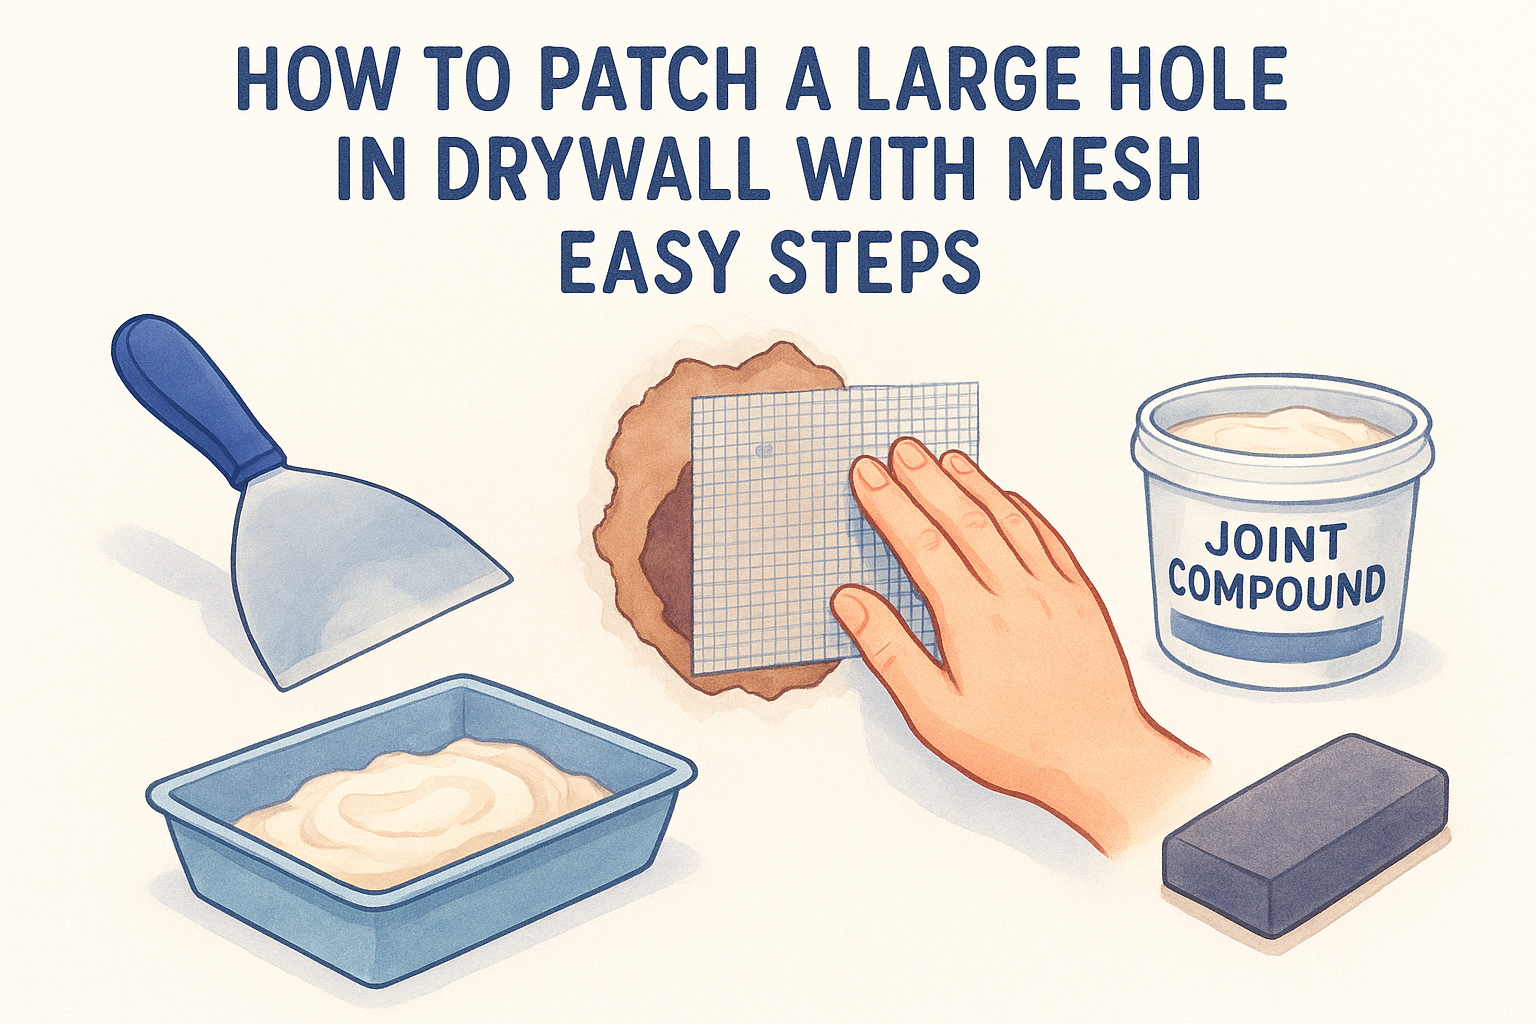
You've got a hole in the wall, a doorknob dent, or a crack that keeps coming back, and you're staring down a drywall wall repair kit at the hardware store wondering if it's actually enough to fix the problem. It usually is, for the right kind of damage. Small to medium holes, corner dings, and minor cracks are all fair game for a DIY patch if you follow the right steps.
This guide walks you through exactly how to use one of these kits so the repair holds up, blends into the wall, and doesn't leave a visible bump or shadow once you paint over it. We'll cover choosing the right kit for your specific damage, prepping the area properly, and applying the patch and compound in the correct order so it actually cures right the first time.
We've patched thousands of walls across Sacramento Valley homes over the past 30 years, and we know where most DIY repairs go wrong: rushing the drying time, skipping the sanding stage, or using a patch too small for the hole. If your damage goes beyond a simple kit, we'll also tell you when it's time to call in a pro instead.
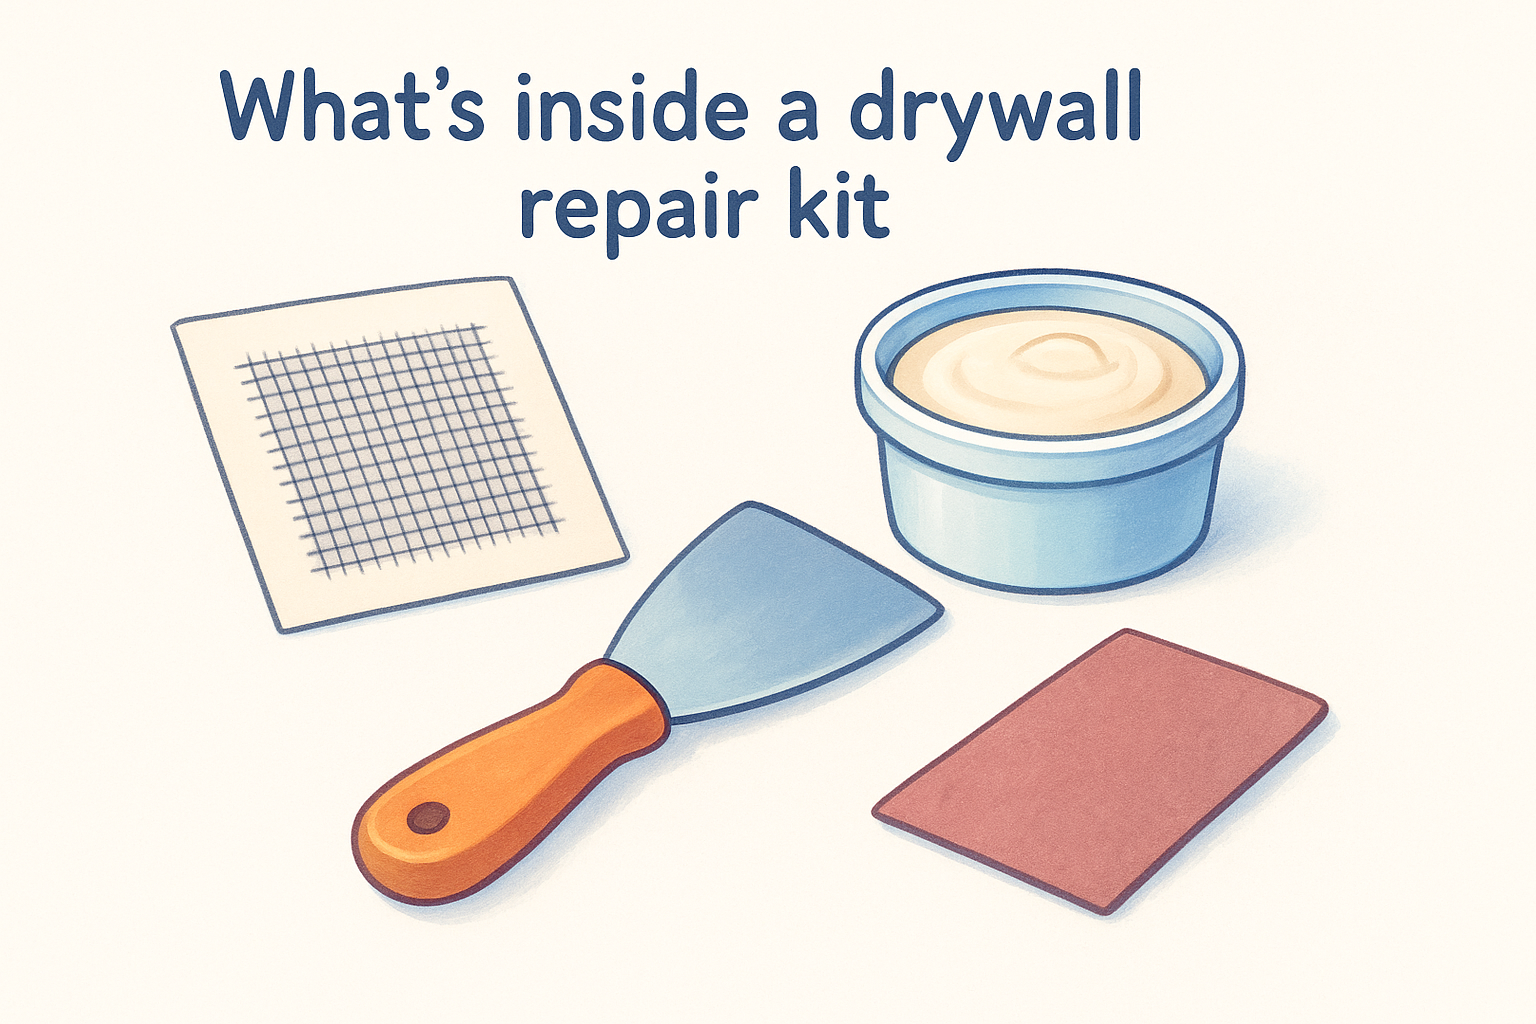
What's inside a drywall repair kit
Most kits sold at hardware stores follow the same basic formula, even though brands package them differently. You're getting a self-adhesive patch (usually aluminum mesh or a fiberglass screen with a metal backing), a tub or packet of joint compound, which comes in several types worth knowing, and a putty knife for spreading it. Cheaper kits skip the sandpaper and mixing tray, so check the label before you buy if you want everything in one box.
A drywall repair kit only works as well as the patch inside it matches the size of your hole.
Standard components you'll find
Here's what a typical mid-range drywall patch kit includes, and what each piece does once you start the repair.
| Component | Purpose |
|---|---|
| Adhesive mesh patch | Covers the hole and gives compound something to grip |
| Joint compound (pre-mixed or powder) | Fills and smooths over the patch |
| Putty knife (4-6 inch) | Spreads and feathers the compound |
| Sandpaper (120-220 grit) | Smooths the dried compound flush with the wall |
| Sanding sponge or block | Optional, makes edge blending easier |
Some kits also throw in a small container of primer or touch-up paint, though that's rare below the $15 price point. If yours doesn't include primer, plan to buy a small can separately since skipping it is one of the most common reasons patches show through paint.
Bigger kits marketed for "wall repair" rather than just "drywall patch" sometimes add a rigid backing plate for holes over four inches wide. That plate matters more than people expect, because without it the compound alone won't support a patch that large.
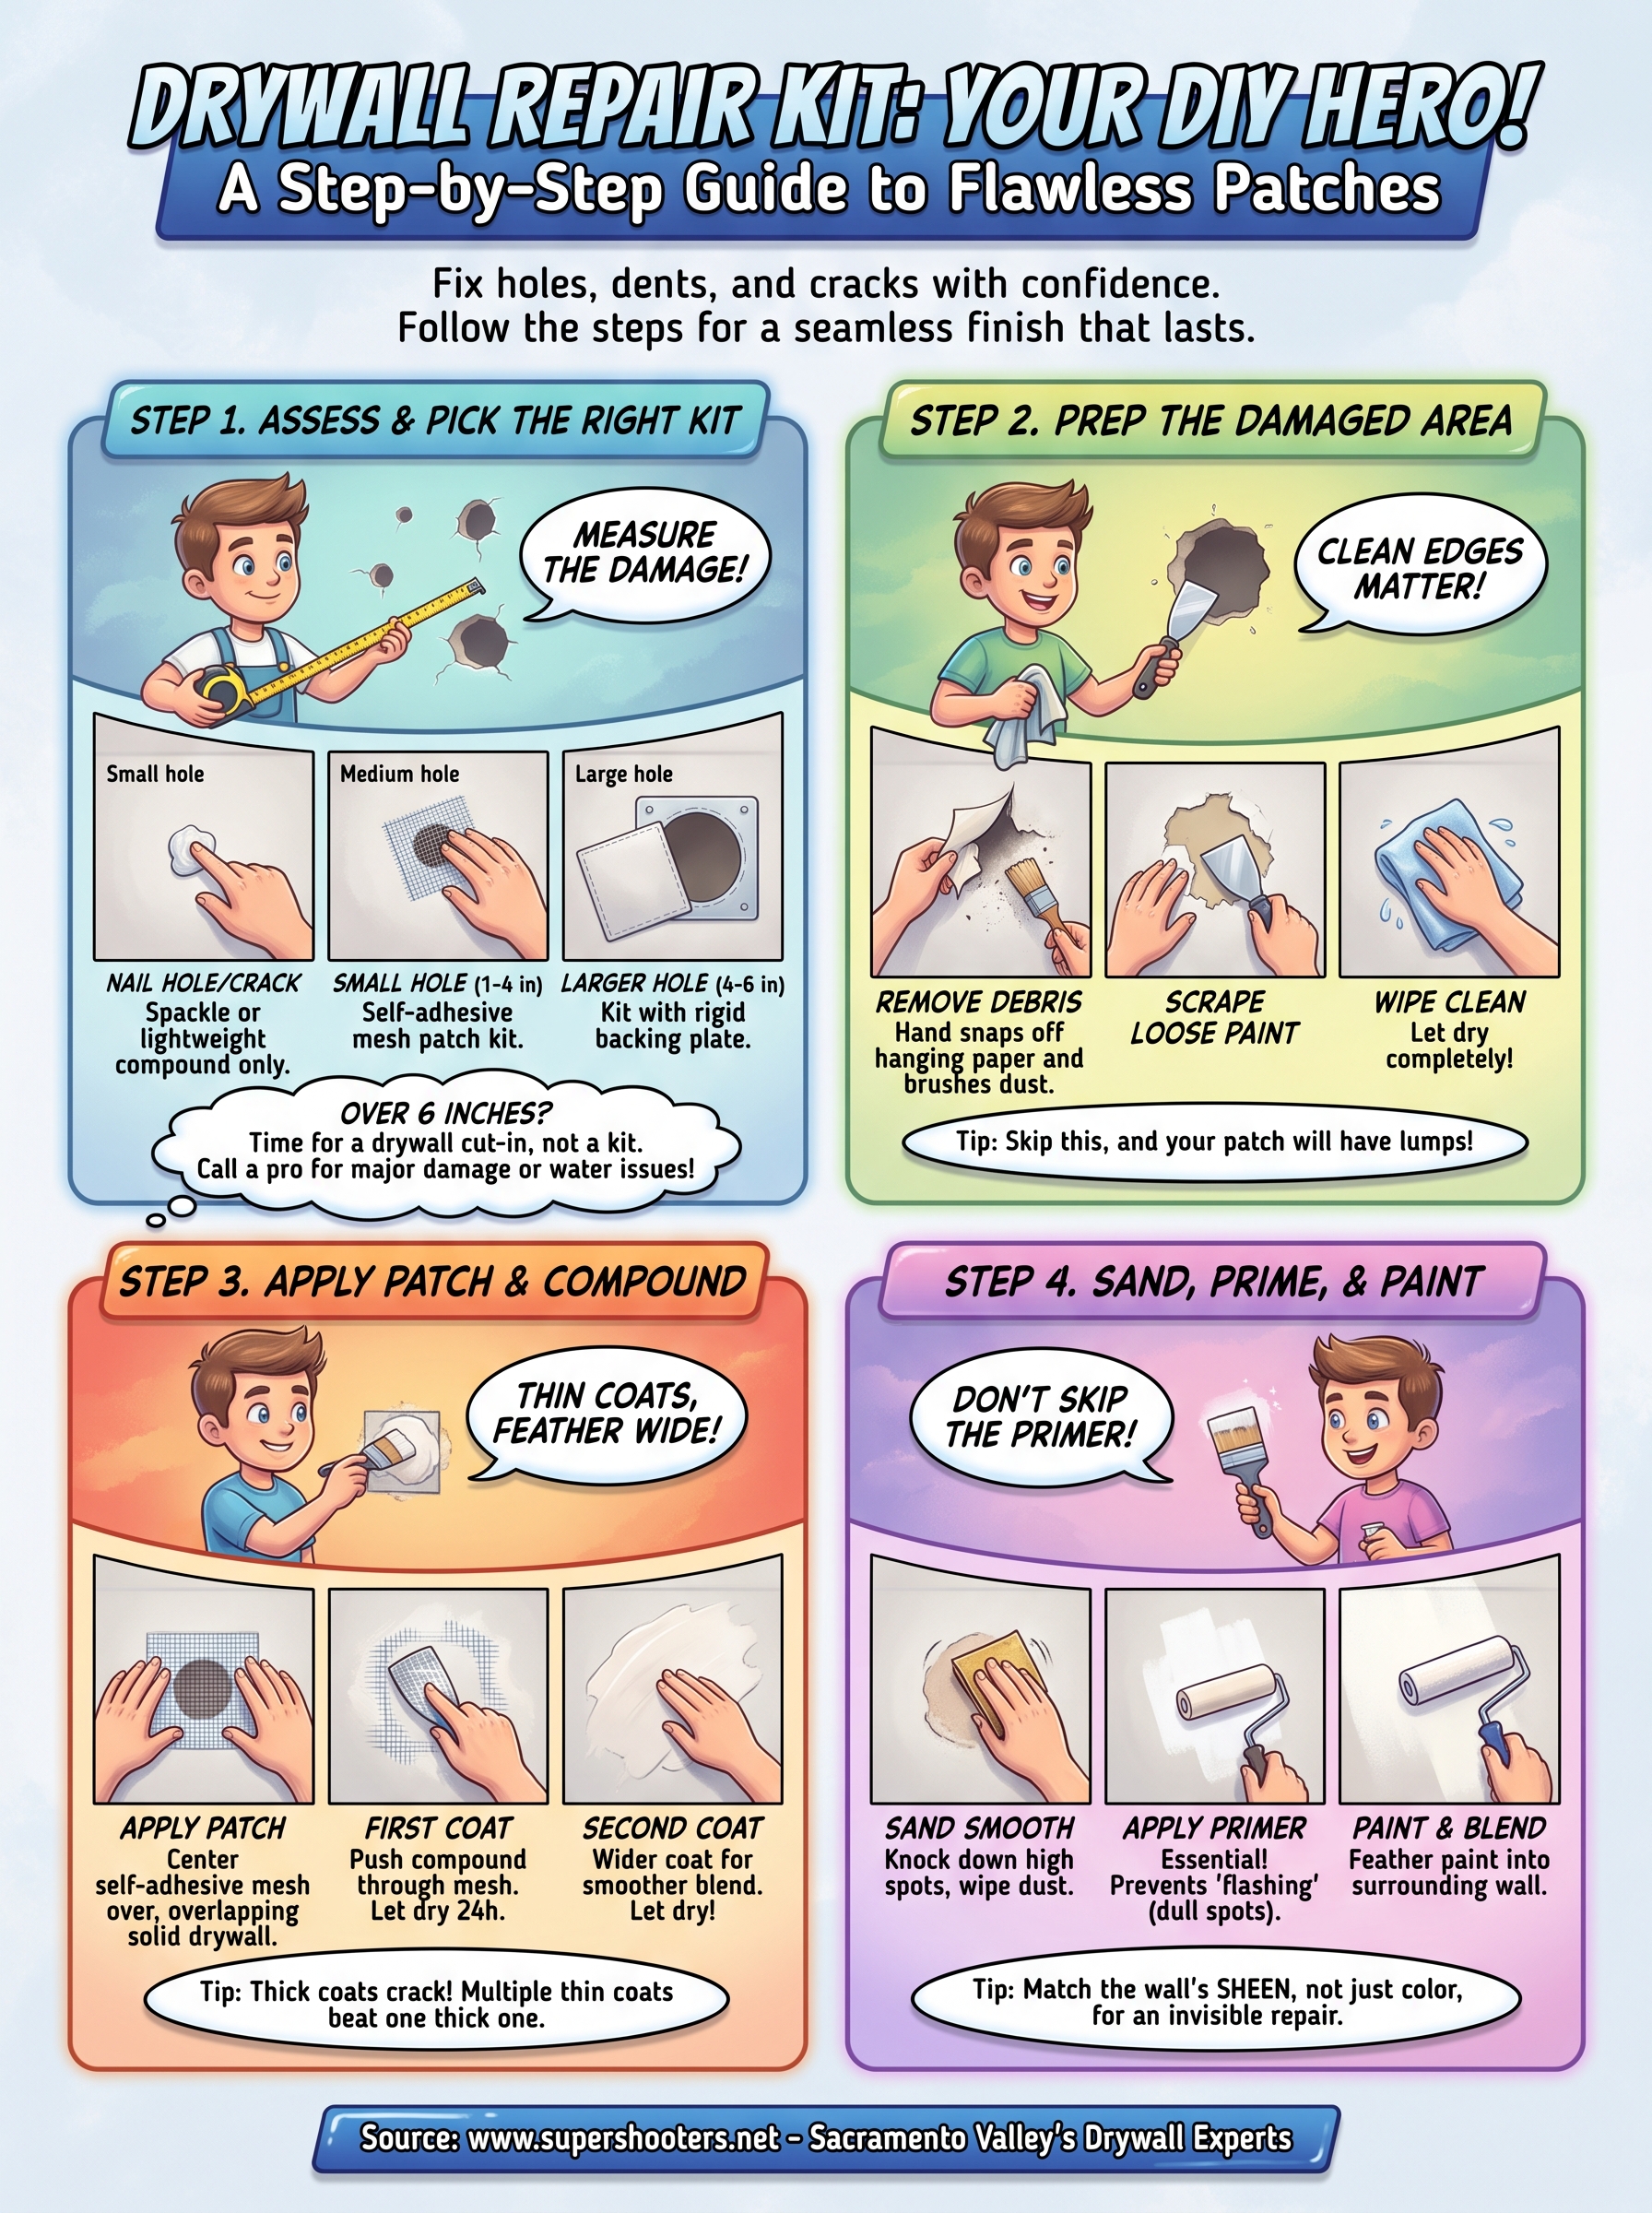
Step 1. Assess the hole and pick the right kit
Before you grab a kit, measure the damage. A nail hole or hairline crack needs nothing more than a dab of compound, while anything from one to six inches wide needs an actual patch. Anything larger than six inches, or damage near an outlet or corner bead, usually calls for a cut-in drywall piece rather than a store-bought kit.
Measure the hole before you buy the kit, not after you've already opened it.
Size determines which wall hole repair kit to buy, and it helps to compare the best drywall patching kits by hole size before you spend anything. Here's a quick reference:
| Hole size | Best kit type |
|---|---|
| Under 1 inch | Spackle or lightweight compound only |
| 1 to 4 inches | Self-adhesive mesh patch kit |
| 4 to 6 inches | Kit with rigid backing plate |
| Over 6 inches | Drywall offcut and joint compound, not a kit |
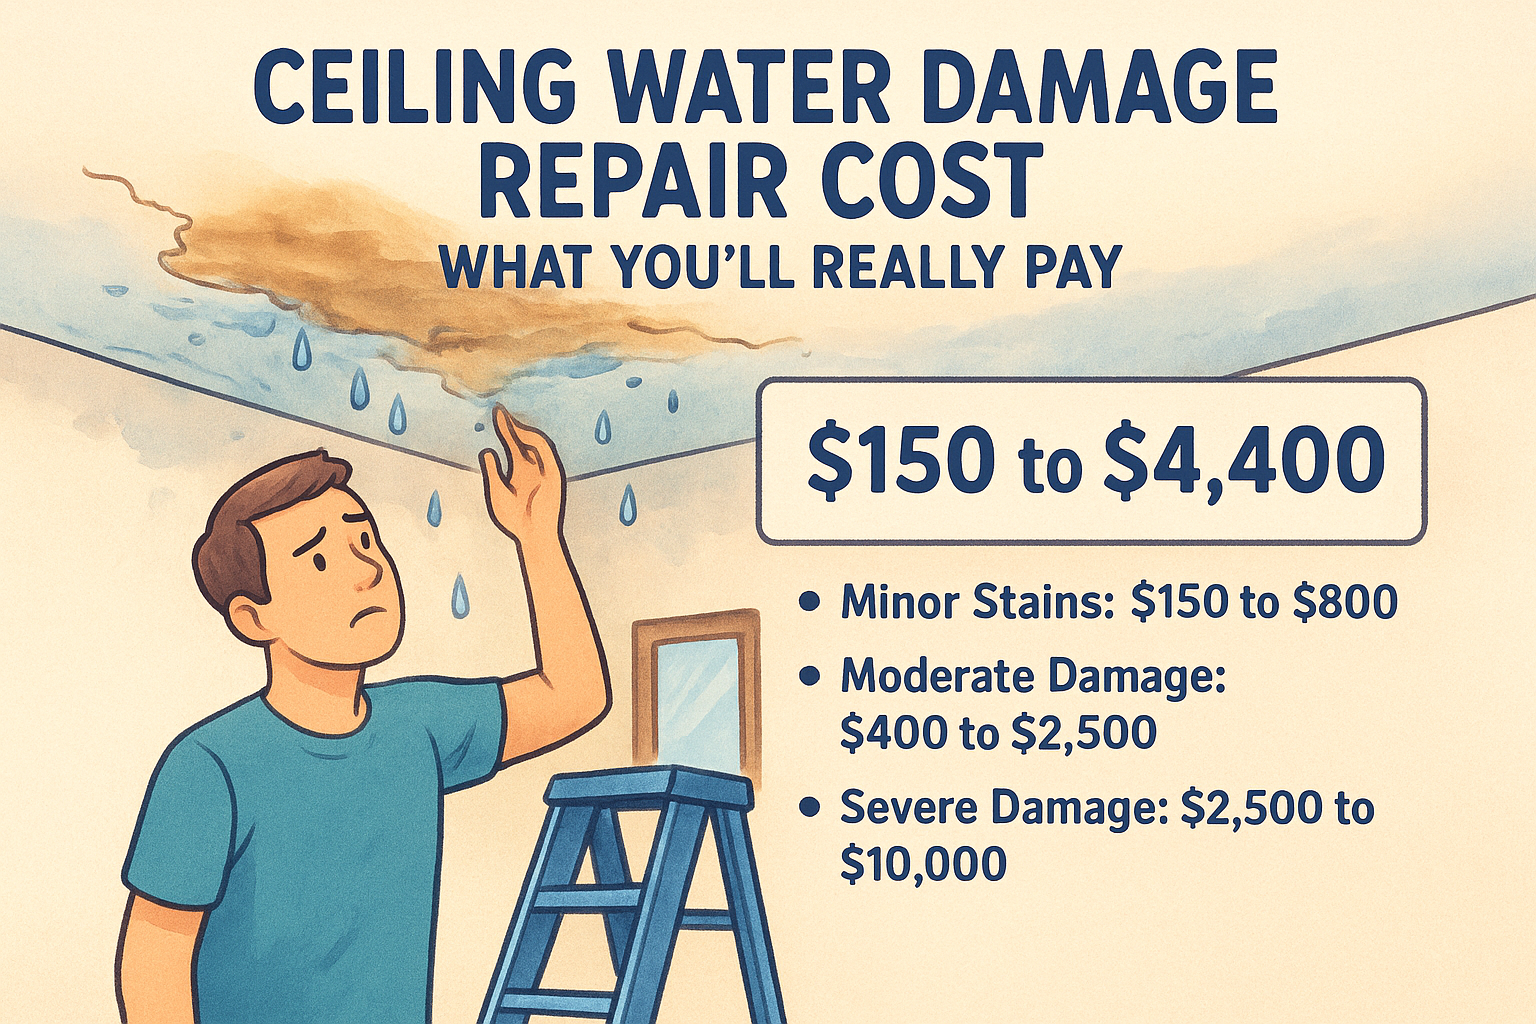
Also check the wall type. Plaster walls behave differently than drywall and often crack again if you patch them the same way, so a standard kit isn't always the right fix. Press around the damaged area with your hand, too. If the drywall feels soft or crumbly, you're likely dealing with moisture, and repairing water damaged drywall takes a different approach because a patch kit won't solve that underlying problem.
Step 2. Prep the damaged area
Clear away loose debris before you touch the patch. Snap off any hanging drywall paper, brush out dust with a dry cloth, and knock down splintered edges with your putty knife so you're working with a clean, flat opening. Skipping this step is why so many DIY drywall repairs end up with lumps under the paint.
A patch only bonds as well as the surface underneath it, so clean edges matter more than a thick coat of compound.
Next, check the surrounding wall for loose paint or texture. If the paint is peeling within an inch of the hole, scrape it back until you hit solid material, otherwise your patch will stick to paint that eventually flakes off and takes the repair with it. Wipe the area with a slightly damp rag to pull off dust, then let it dry fully, usually five to ten minutes.
Here's a quick prep checklist before you open the compound:
- Remove loose or torn drywall paper
- Sand rough edges smooth
- Scrape back any peeling paint nearby
- Wipe dust with a damp rag
- Confirm the surface is dry
Getting this stage right sets up everything that follows.
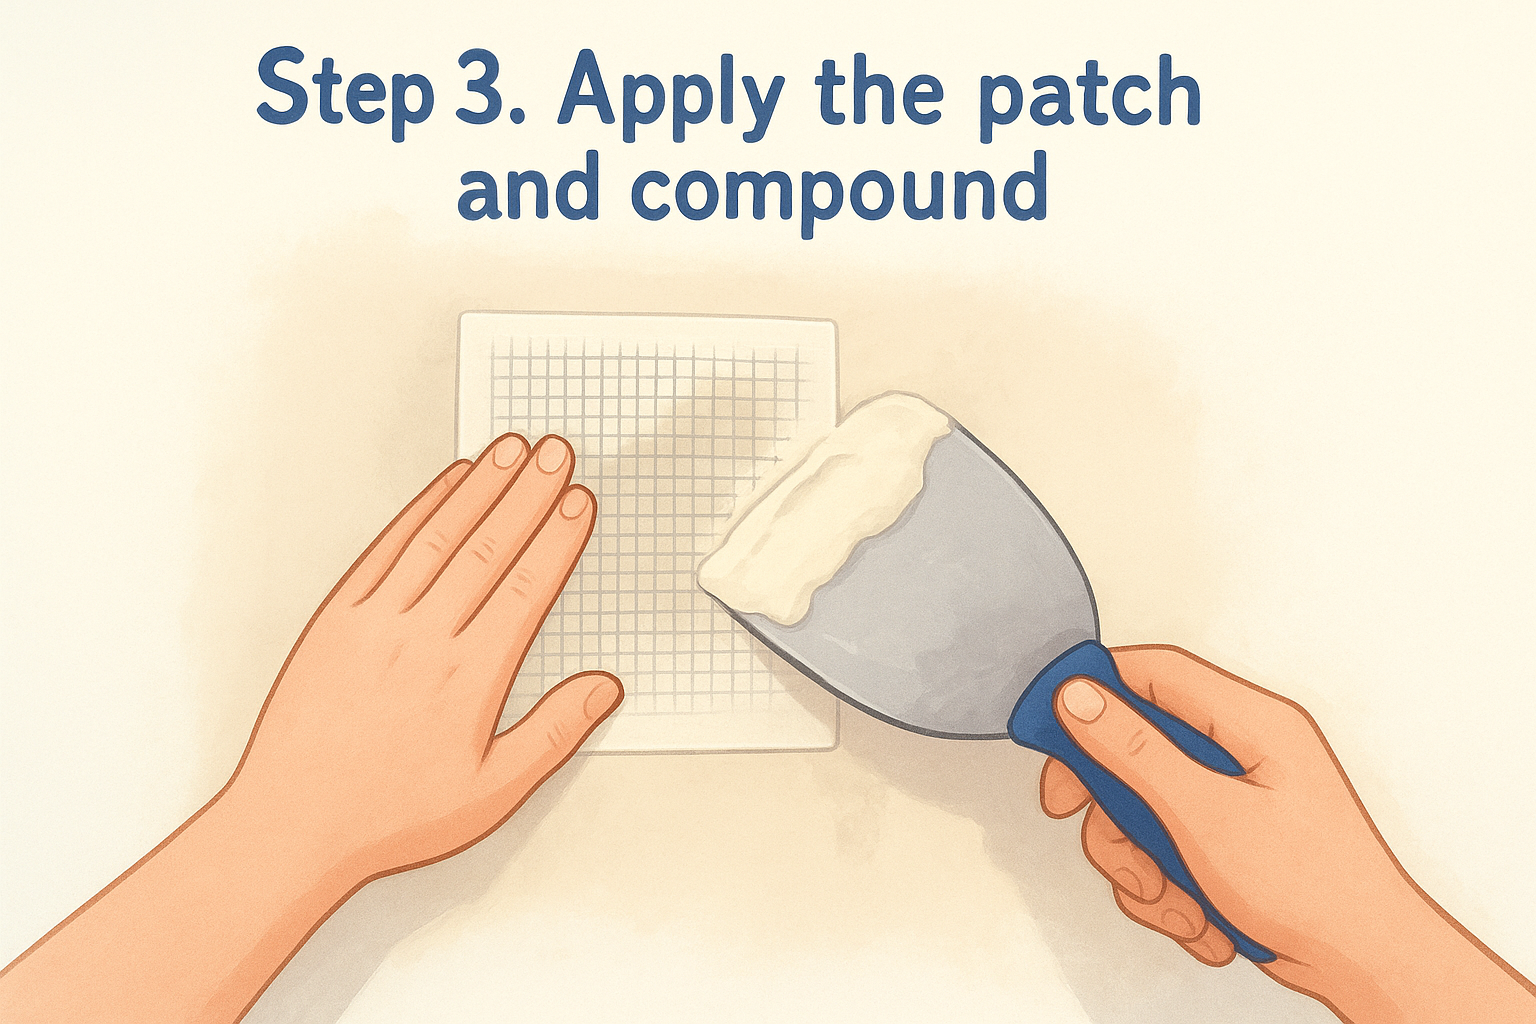
Step 3. Apply the patch and compound
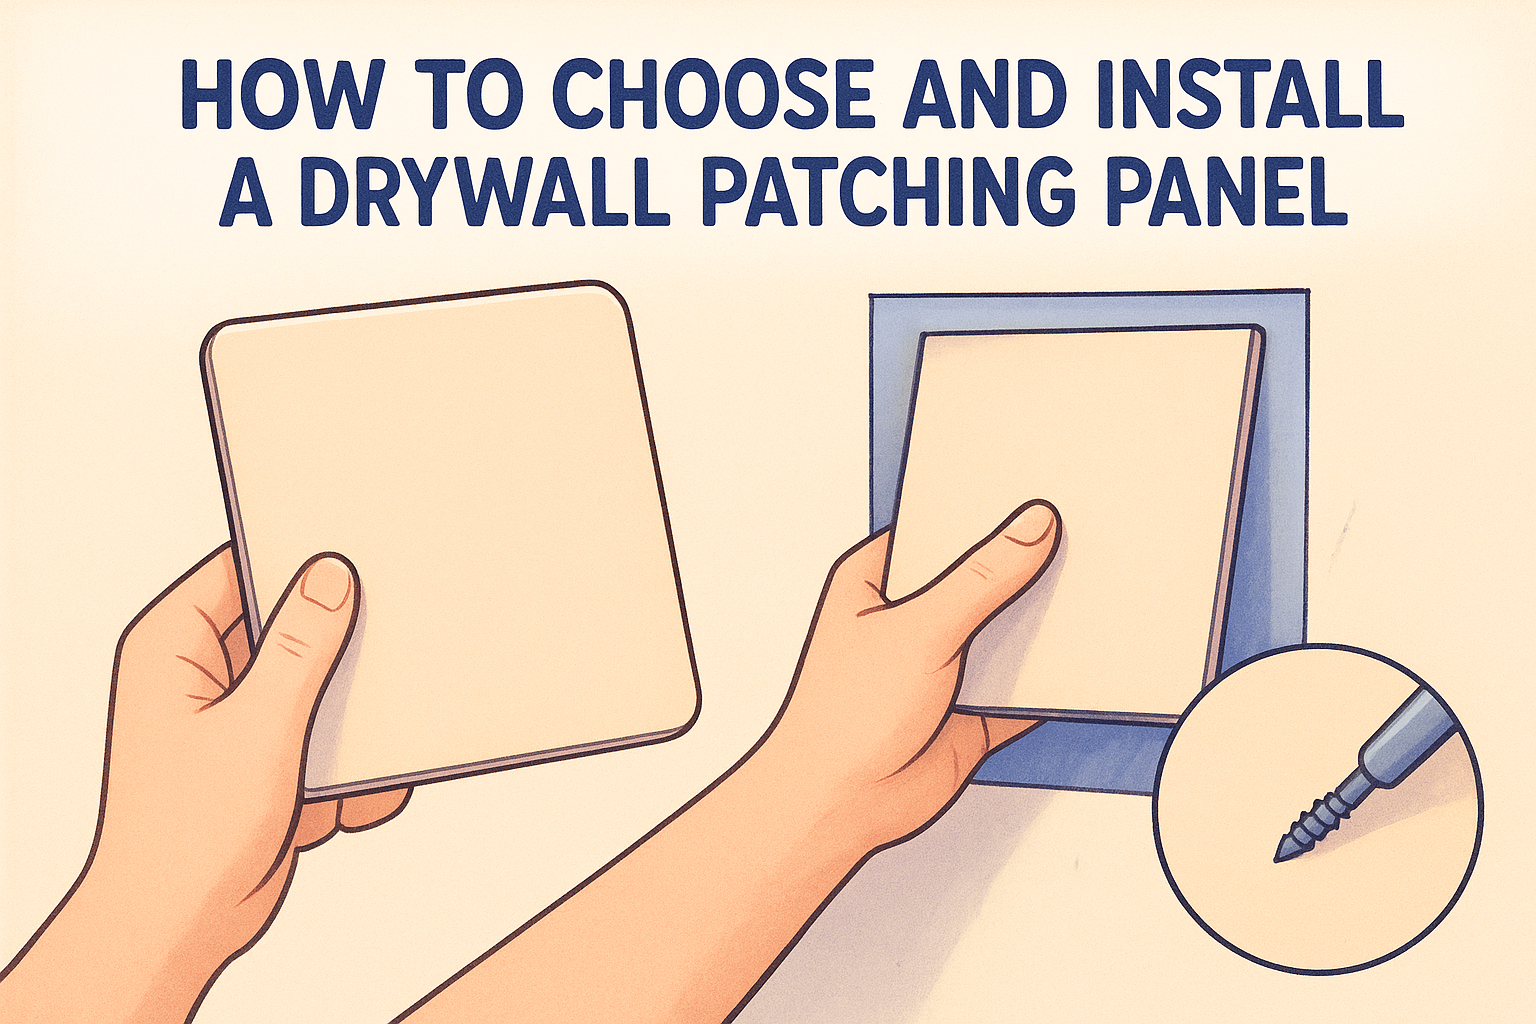
Peel the backing off your self-adhesive patch and press it directly over the hole, centering it so at least an inch of mesh overlaps solid drywall on every side. Smooth it flat with your fingers, working out any air bubbles from the middle toward the edges. If your kit came with a rigid backing plate for larger holes, secure that first, then lay the mesh over it.
Load your putty knife with joint compound and spread a thin first coat over the entire patch, pressing firmly enough to push compound through the mesh openings. Feather the edges out several inches beyond the patch so there's no ridge once it dries.
Thin coats that feather wide beat one thick coat every time, because thick compound cracks as it dries.
Let this first layer dry completely, usually 24 hours depending on humidity, before adding a second, wider coat. Most drywall hole repair failures trace back to rushing this window, so it's worth knowing how long a patch needs to dry before painting. Two or three thin coats of mud, each slightly wider than the last, give you a smoother, flatter result than trying to finish in one pass.
Step 4. Sand, prime, and paint the repair
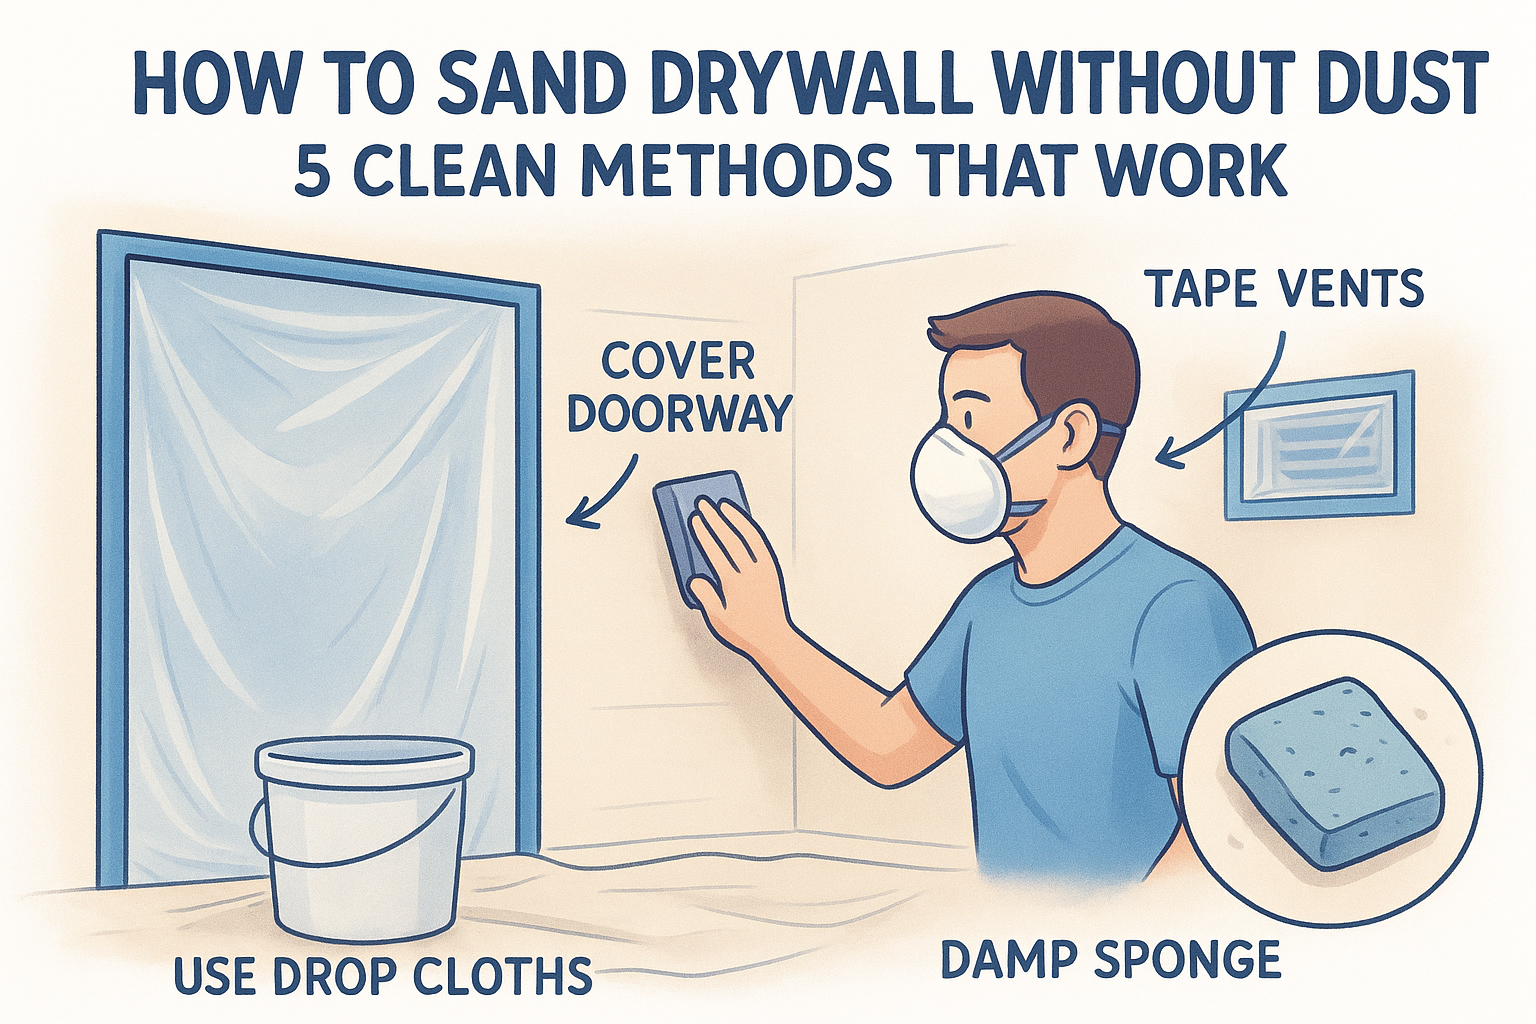
Once the last coat of compound is bone dry, grab your 120-grit sandpaper and knock down the high spots with light, circular strokes. Switch to 220-grit for the final pass so you're not leaving visible scratch marks under the paint. Wipe away the dust with a slightly damp cloth before moving on, since sanding grit trapped under primer shows up as texture later.
Don't skip the primer coat , even if the wall paint looks like it'll cover fine on its own. Compound absorbs paint differently than the surrounding drywall, and without primer you'll get a dull patch called flashing that stands out under any light.
Skip the primer and you'll see the patch every time the sun hits that wall.
Let the primer dry fully, then match your topcoat to the wall's existing sheen , not just its color. A flat wall with a satin patch reads as a shadow from across the room. Roll the paint slightly past the repaired area and feather the edges so the new coat blends into the older, slightly faded paint around it, the same way pro finishing tips for smooth walls recommend.
When a repair kit isn't enough
A drywall wall repair kit handles the small stuff well: nail holes, doorknob dents, minor cracks, and patches under six inches. But some damage is bigger than any box off the shelf can fix. If you're finding soft or crumbling drywall , cracks that keep reopening along a wall or ceiling seam, or damage that spans multiple studs, you're past DIY territory. Water stains that keep coming back usually mean there's a leak behind the wall, and no amount of compound fixes that root cause.
Older Sacramento Valley homes bring another wrinkle: ceilings and walls built before the 1980s sometimes contain asbestos, and no repair kit is rated to handle that safely. If your damage checks any of those boxes, stop patching and get it looked at properly. Our team has fixed thousands of walls across the region, so when the job outgrows a kit, book professional drywall repair and patching in the Sacramento Valley and we'll pick up right where the DIY approach leaves off.