September 22, 2026
How to Repair a Huge Hole in Drywall
A doorknob dent, a moving mishap, or a curious kid with a hammer can leave you staring at a hole that's way bigger than a nail hole. If you're wondering how to repair a huge hole in drywall , the good news is you don't need to replace the whole panel. With the right patch, mesh tape, and joint compound, you can make that gap disappear in an afternoon.
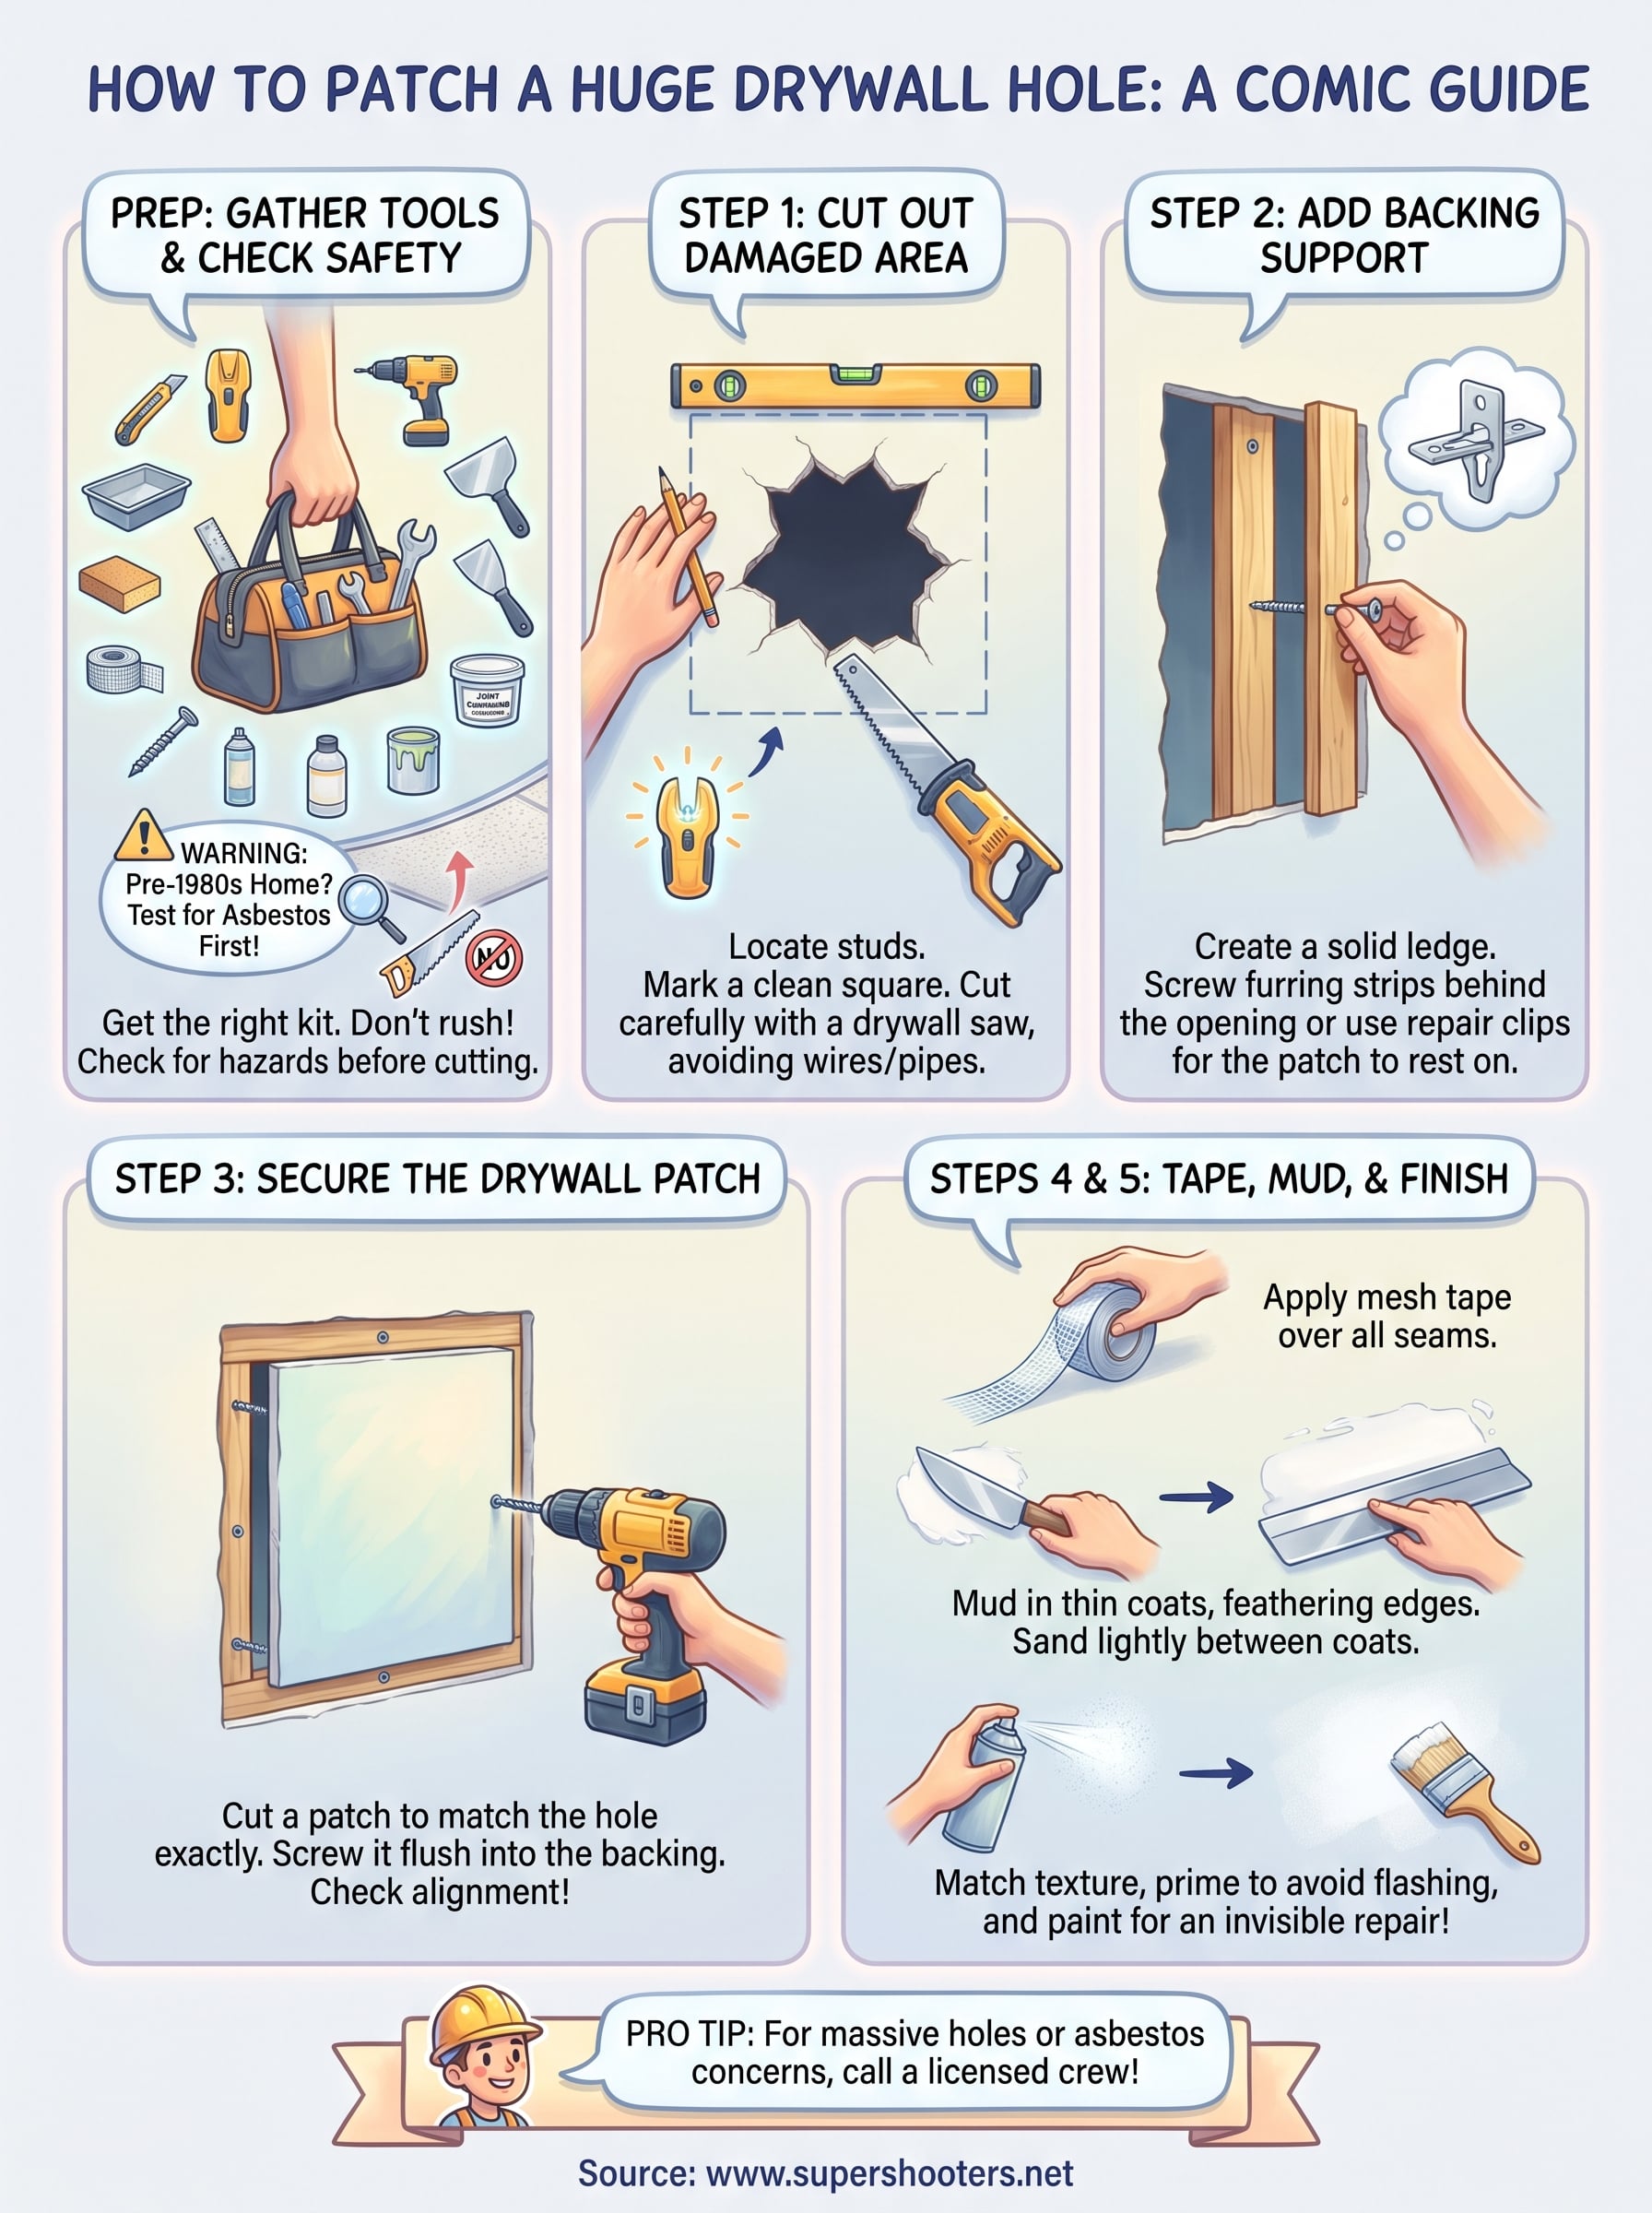
The short answer: cut the damaged area into a clean square, back it with a support piece or a drywall patch cut to size, secure it, tape the seams, then build up compound in thin coats until it blends into the wall. That's the method pros use on jobs across Sacramento Valley homes every week, whether it's a hole from a doorstop failure or damage uncovered during a water damage restoration and wall repair project.
Below, we'll walk through the exact tools and materials you need, how to size and cut your patch, the taping technique that prevents future cracking, and the sanding and texture matching steps that make the repair invisible. If the hole turns out to be bigger than you bargained for, or you find suspicious old texture that might contain asbestos, that's when it's smart to call in a licensed crew instead.
What you need before you start
Before you grab a utility knife and start hacking at the wall, spend ten minutes gathering the right supplies. Rushing this step is the number one reason DIY drywall patches end up lumpy or crack again within a year. Whether you're dealing with a fist-sized dent or a hole the size of a dinner plate, the tools and materials below cover almost every large drywall hole repair job you'll run into in a typical Sacramento Valley home.
Tools you'll need
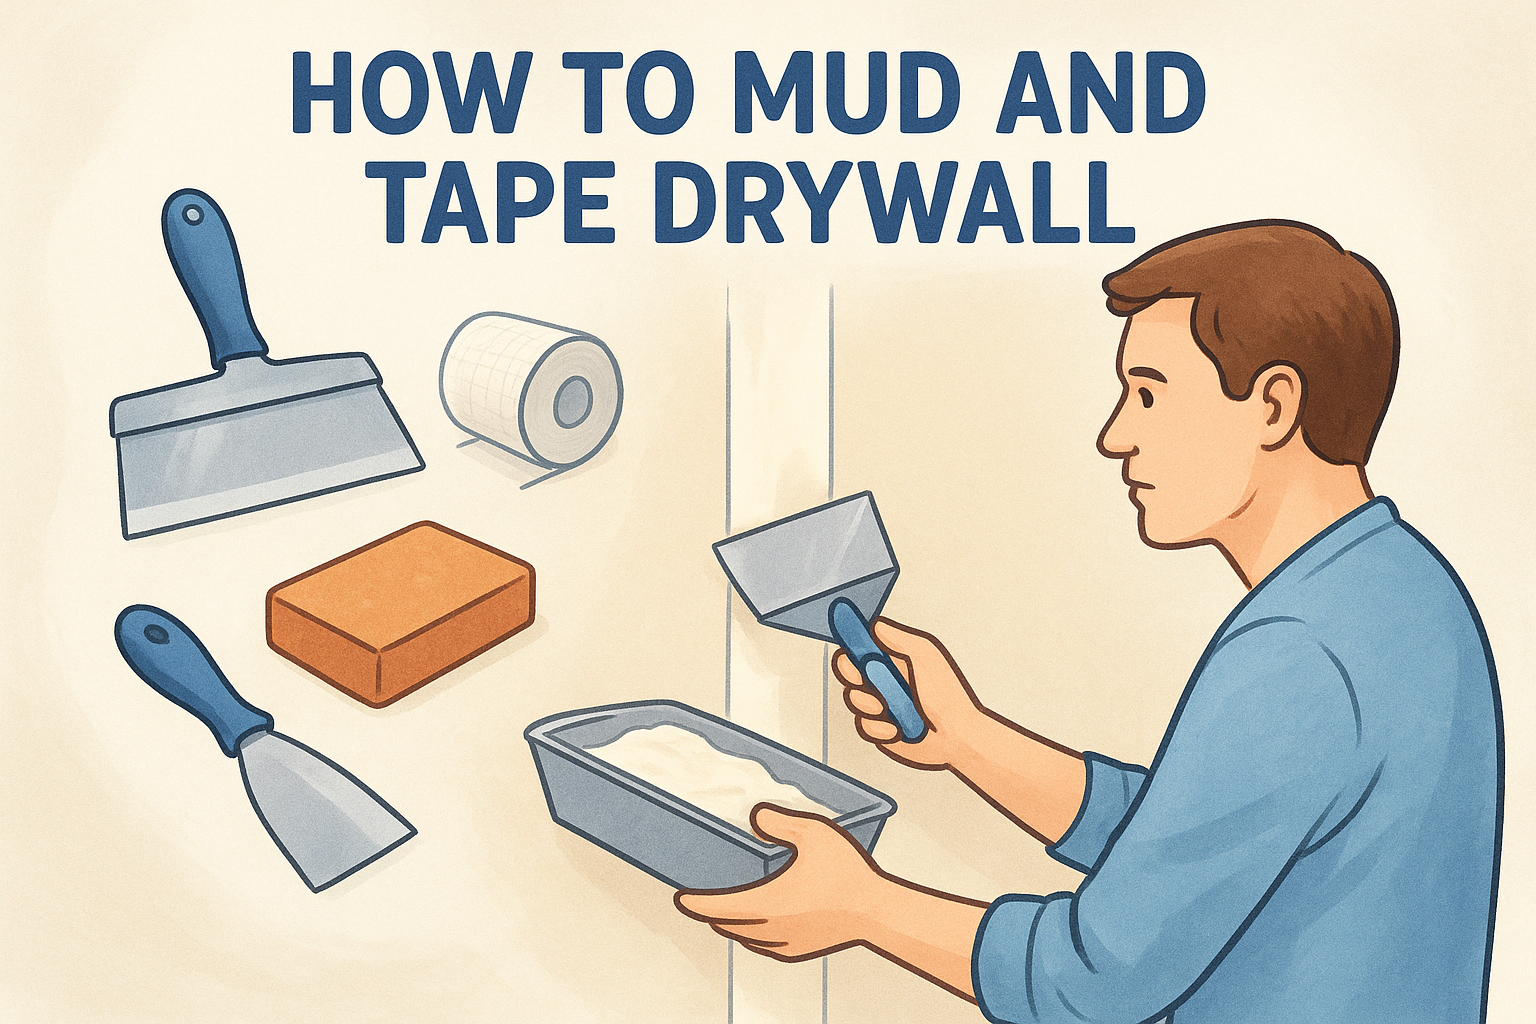
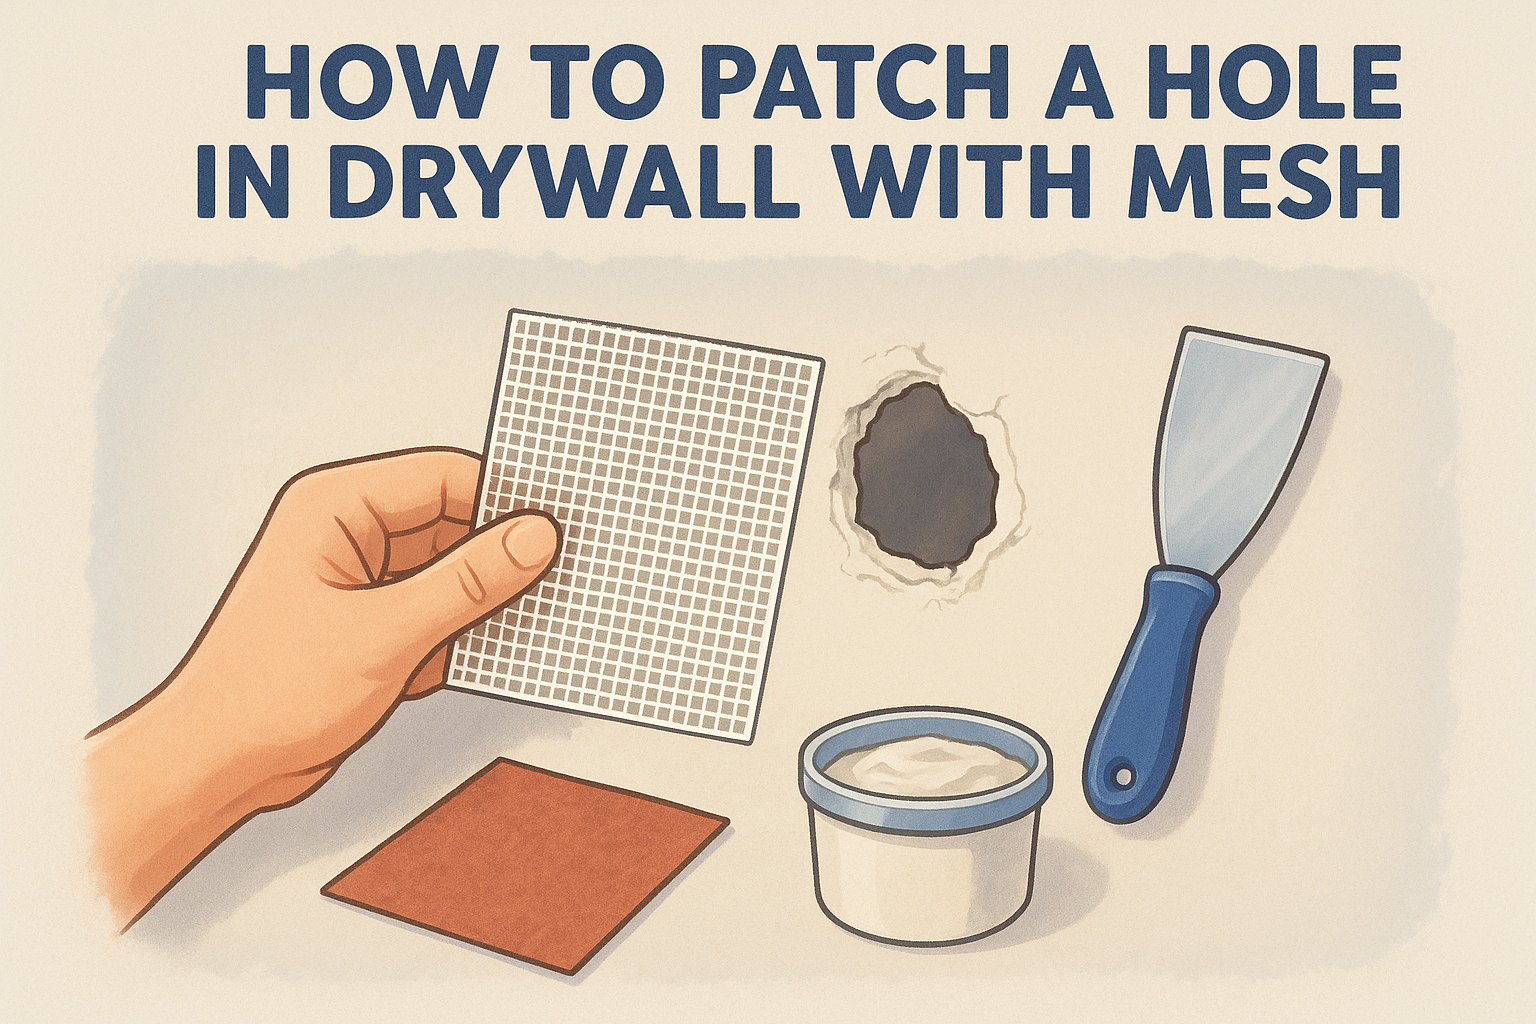
Gathering the drywall patching kit worth having on hand ahead of time keeps the job moving and avoids a mid-project trip to the hardware store with drywall dust on your hands. Here's the core kit:
- Utility knife or drywall saw (a keyhole saw works well for straight cuts)
- Stud finder to locate framing near the hole
- Level or straightedge to mark a clean square around the damage
- Cordless drill with a Phillips bit for drywall screws
- 6-inch and 10-inch taping knives
- Mud pan
- Fine-grit sanding sponge or pole sander
- Texture spray gun or hopper, if your ceiling or wall has texture to match
- Dust mask and safety glasses
A clean, square cutout and the right backing board matter more to the final result than how fancy your taping knife is.
Materials for the patch
For the actual repair materials , buy more than you think you need. Compound and drywall are cheap compared to a second trip to the store. A scrap of drywall from a garage or closet works fine for the patch itself, as long as it matches the thickness of your existing wall, usually 1/2 inch for walls and 1/2 or 5/8 inch for ceilings.
| Material | Typical Use | Notes |
|---|---|---|
| Drywall patch piece | Filling the cut hole | Match thickness to existing wall |
| Wood furring strips or scrap plywood | Backing support | Cut 4-6 inches longer than the hole |
| Self-adhesive mesh tape | Seaming the patch edges | Skip paper tape for large repairs |
| Setting-type joint compound (20 or 45 minute) | First coat over mesh tape | Dries harder and shrinks less than premixed mud |
| Premixed joint compound | Final coats and feathering | Easier to sand smooth |
| Drywall screws (1-1/4 inch) | Attaching patch to backing | Coarse thread for wood, fine for metal studs |
| Texture spray or matching compound | Blending the surface | Match orange peel, knockdown, or popcorn as needed |
| Primer and paint | Final finish | Prime before painting to avoid flashing |
Most of these items run under $60 total at any hardware store, far less than paying someone to patch a single hole, though the math flips once you're dealing with multiple holes or ceiling work.
Check for asbestos before you cut
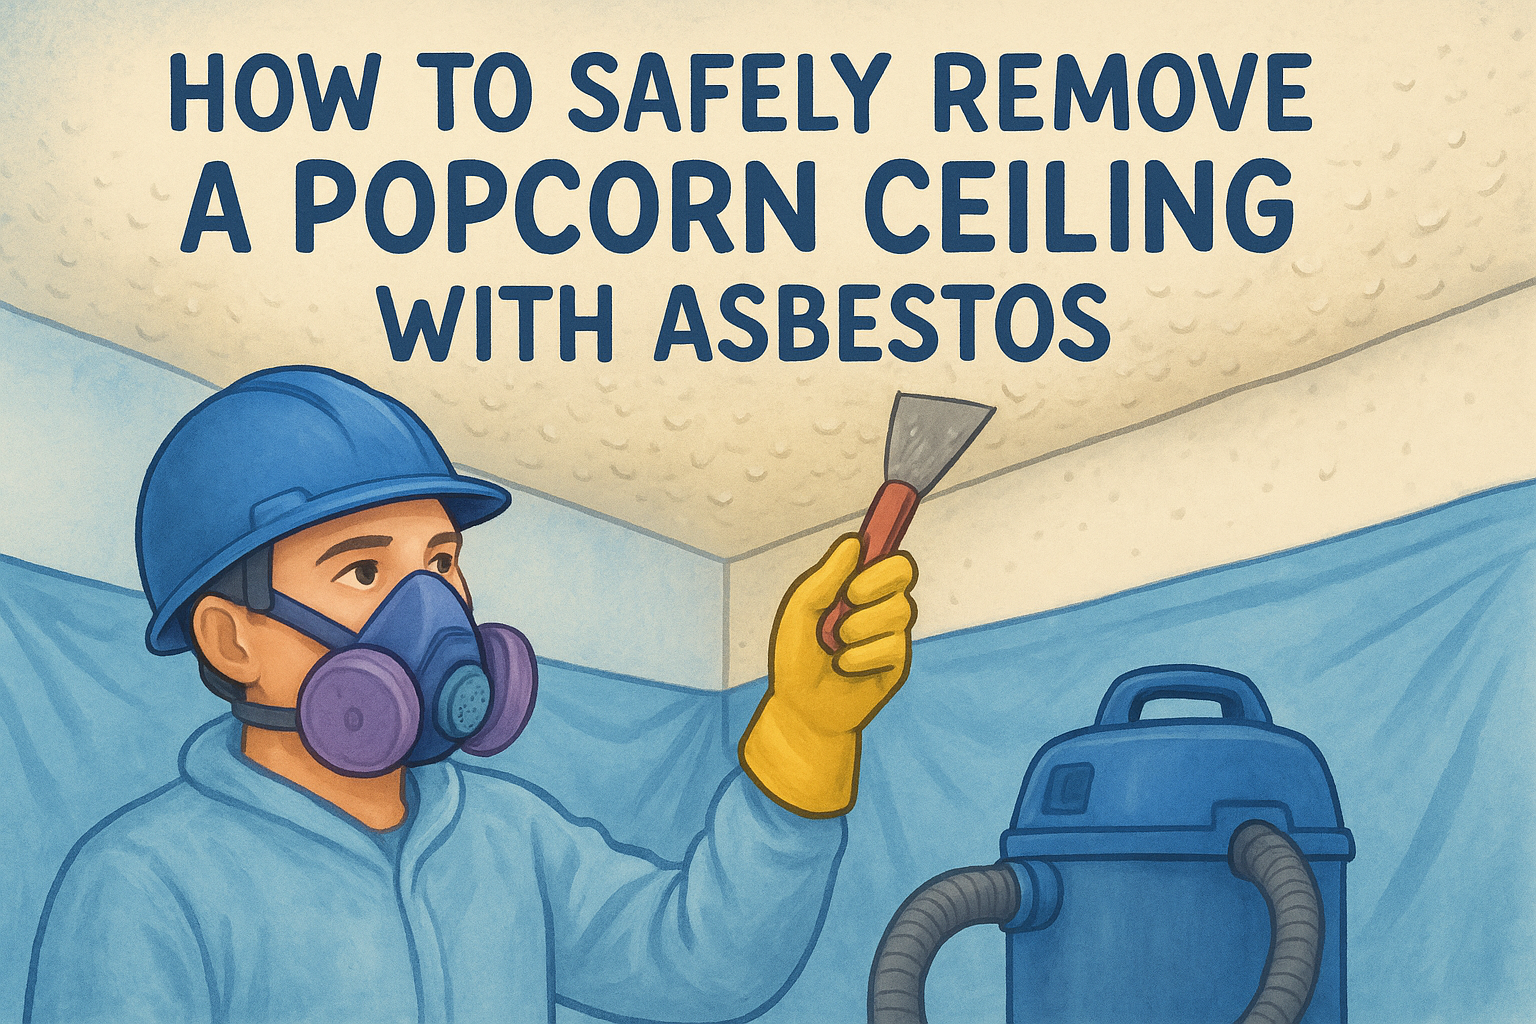
One thing store shelves won't tell you: homes built before the 1980s sometimes have textured ceilings or wall compounds containing asbestos. If your popcorn ceiling or old wall texture looks original to the house and you're not sure of its age, don't start cutting. Disturbing asbestos-containing material releases fibers into the air, and that's a health risk you don't want to gamble on for a DIY patch. Super Shooters handles asbestos testing and abatement for older ceilings as part of our ceiling and wall repair work across the Sacramento Valley, and it's worth a quick call before you break out the saw if there's any doubt.
Once you've confirmed the material is safe to work with and you've got your tools and supplies laid out, you're ready to start cutting. The next step is turning that jagged, torn hole into a clean, workable opening that will actually hold a patch.
Step 1. Cut out the damaged drywall
Grab your stud finder before you touch the utility knife. Run it across the wall on both sides of the hole so you know exactly where the framing sits, because you'll want your patch edges to land on solid wood or metal studs whenever possible. Locating the studs first saves you from cutting a patch that has nothing to screw into on one side.
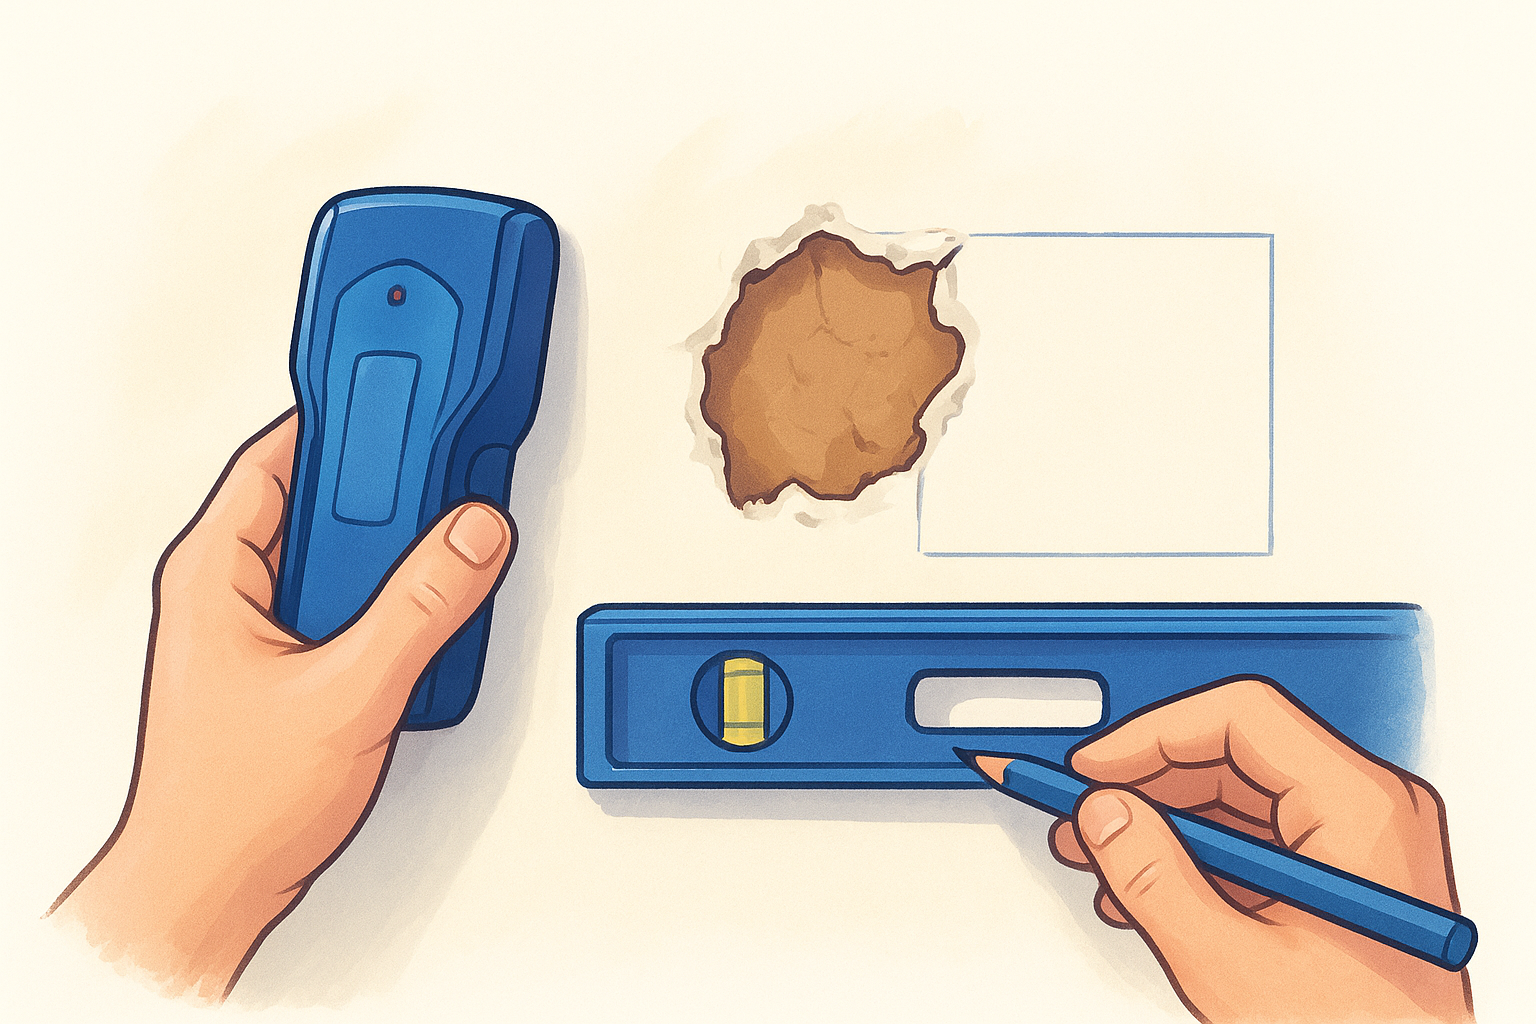
Next, turn that ragged hole into a clean rectangle or square. Irregular tears are hard to patch neatly, but straight edges give your tape and compound a predictable line to follow. Hold a level or straightedge against the wall and trace a box that fully encloses the damage, leaving an inch or two of margin on each side. Use a pencil, not a marker, so stray lines don't bleed through your final paint job.
A square cut with clean edges is the single biggest factor in how invisible your finished repair looks.
Cut along your pencil lines with a drywall saw or a keyhole saw. If the hole is small enough, a utility knife scored several times along the line works too, though it takes more patience through half-inch board. Cut all the way through in one smooth pass if you can, since sawing back and forth tends to chew up the paper face and leave a ragged edge that's harder to tape cleanly.
Watch for wires and pipes
Before you cut deeper than the drywall itself, tap gently around the perimeter and check for any resistance that might signal electrical wiring or plumbing behind the wall. This matters most on exterior walls and around bathrooms or kitchens. If you're at all unsure, cut a small inspection hole first and peek inside with a flashlight before committing to the full cutout.
Remove the cutout piece
Once you've cut the full perimeter, the piece should pop out with a gentle pull. If it's still attached to a stud with old nails or screws, back those out with your drill rather than yanking the drywall free, which can crack the surrounding wall further. Vacuum or brush away loose gypsum dust from the opening and the surrounding wall surface. This keeps your compound from picking up grit later and gives you a clear look at what you're working with before moving to backing support.
With a clean, squared-off opening in front of you, you're ready to give that patch something solid to attach to.
Step 2. Add backing support for the patch
With the opening squared off, the patch needs something solid to screw into, not just floating in open space. If your hole landed between studs, you'll need to build a bridge for the patch to rest on. Furring strips or scrap plywood work best here, cut a few inches longer than the hole so at least an inch or two extends past each edge into solid wall.
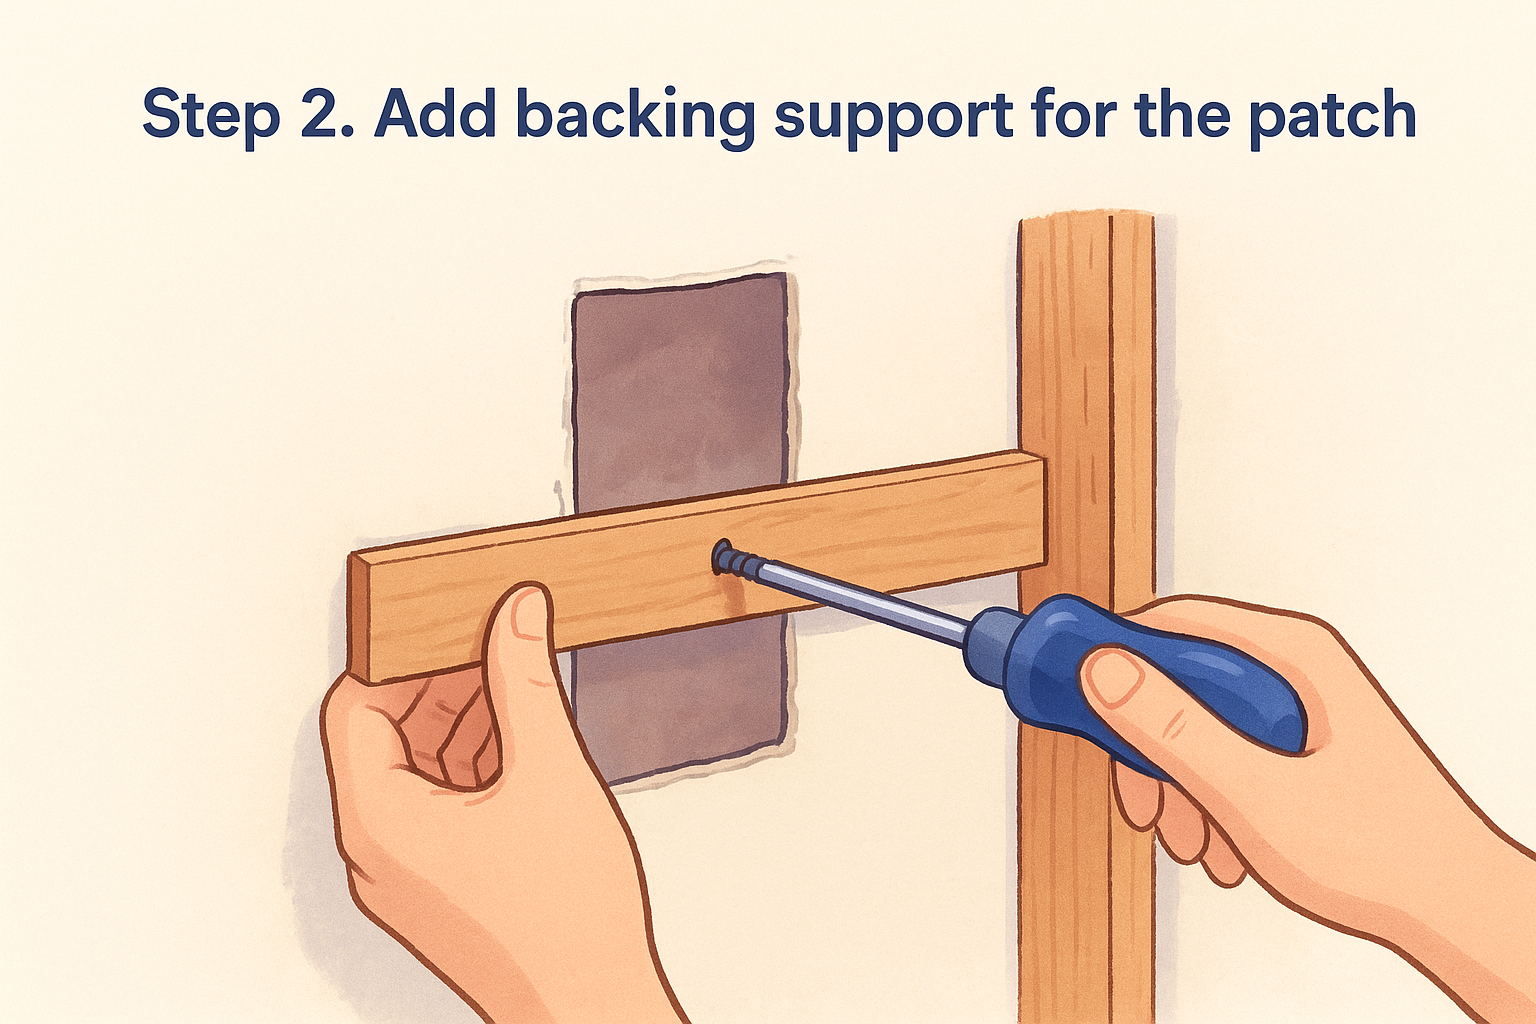
Slide the strip behind the drywall through the opening, holding it flat against the back of the intact drywall on either side of the hole. Drive drywall screws through the existing wall into the strip from the front, one on each side, spacing them every 4 to 6 inches along the length. This creates a solid ledge that the new patch piece will screw into once it's cut to size.
The backing strip is what turns a floating patch into a repair that won't crack or flex again.
If the hole happens to fall right over a stud, you're in luck and can skip the furring strip entirely on that side, since the patch can screw straight into the framing. Many larger holes span the gap between two studs, though, which is exactly when backing a large hole with a cleat matters most.
Alternative: drywall repair clips
If you'd rather skip cutting and installing furring strips, drywall repair clips (sometimes called California patches or hole-saver clips) are a faster option for mid-size holes. They clip onto the cut edge of the existing wall and give the patch piece something to screw into without reaching behind the wall at all.
- Position the clip along the cut edge so the flange sits flush against the drywall face
- Drive a screw through the clip and into the surrounding drywall to lock it in place
- Repeat every 6 to 8 inches around the perimeter of the opening
- Snap off the tab once the patch is screwed to the clip
Clips work well for holes up to roughly a foot across, but for anything larger, furring strips give a more rigid result, especially on walls that see regular bumps like hallways or garages.
Either method accomplishes the same goal: a stable edge for your patch to grab onto so the repair doesn't sag or crack loose down the road. Once your backing is screwed in and solid, you're ready to size up the actual patch piece and get it into place.
Step 3. Cut and attach the drywall patch
Measure the opening you cut in Step 1, width and height, and transfer those numbers straight onto your scrap drywall. Matching the exact opening size matters more here than in almost any other step, since a patch that's even a quarter inch too small leaves a gap that's nearly impossible to tape cleanly, and one that's too big won't sit flush no matter how hard you push it.
Cut the patch with a utility knife, scoring the paper face, snapping the gypsum core along the line, then slicing through the backing paper. A drywall T-square makes this faster if you have one, but a straightedge and a steady hand work fine. Test-fit the piece in the opening before you commit to anything. It should slide in with maybe an eighth of an inch of clearance on all sides, not jammed tight and not loose enough to wobble.
A patch cut to the exact size of the opening is what makes the seams disappear later, not the amount of joint compound you pile on.
Once the fit is right, set the patch into the opening so its edges rest against the furring strip or clip flanges you installed in Step 2. Drive 1-1/4 inch drywall screws through the patch and into the backing, spacing them every 4 to 6 inches around the perimeter. Sink each screw just below the paper surface without tearing through it, the same dimple you'd want on any drywall screw. If you're screwing into a stud on one edge, add a couple of extra screws along that line since it's your most solid anchor point.
Check for flush alignment before moving on
Run your taping knife flat across the patch and the surrounding wall in a few directions. Any spot where the patch sits proud of the surface will show through paint no matter how much you sand later, so catch it now.
- Press gently on the patch center to confirm it doesn't flex or bounce
- Look for gaps wider than 1/8 inch along any edge and add a sliver of drywall or extra compound to fill them
- Confirm every screw head is dimpled slightly below the surface, not sticking proud
- Wipe away dust so your tape and mud have a clean surface to grip
With the patch screwed in flush and solid, you've done the hardest part of the whole large drywall hole repair . Everything from here is about building up thin layers until the seams vanish, starting with mesh tape over every joint.
Step 4. Tape, mud, texture, and paint the repair
Cover every seam around the patch with self-adhesive mesh tape, pressing it flat so no bubbles or loose edges stick up. Mesh tape over paper tape is the right call on a large repair like this because it resists cracking as the house settles and doesn't need a bed of mud underneath to stick. Run tape along all four sides of the patch, overlapping the corners so no gypsum edge is left bare.
Spread your first coat of setting-type joint compound over the taped seams with a 6-inch knife, working the mud into the mesh so it fills the weave rather than sitting on top of it. Setting-type compound (the kind that comes as a powder you mix, labeled 20 or 45 minute) shrinks less than premixed mud and gives you a harder first layer to build on, one reason choosing the right compound for each coat changes the result. Let it cure fully before moving to the next coat, not just dry to the touch.
Thin coats that dry hard beat one thick coat that shrinks and cracks.
Apply two more coats with a 10-inch knife, each one wider than the last, feathering the edges out several inches past the seam so there's no visible ridge once it's painted. Sand lightly between coats with a fine sanding sponge, and vacuum the dust before the next layer so nothing gets trapped underneath.
Match the texture before you paint
Once the compound is sanded smooth and level with the surrounding wall, it's time to bring back whatever texture the rest of the wall or ceiling has. Orange peel and knockdown textures spray on with a hopper gun, while popcorn ceilings need a heavier, coarser mix and a steadier hand to blend the edges.
| Texture type | Application method | Common mistake |
|---|---|---|
| Orange peel | Fine spray, light coat | Spraying too heavy, losing the stipple |
| Knockdown | Spray, then flatten peaks with a knife | Knocking down too soon before it sets |
| Popcorn | Thick spray with aggregate mix | Uneven coverage at patch edges |
Getting the patch texture to match the surrounding wall right on the first try takes practice, and it's the step where most DIY patches give themselves away, even after a perfect mud job.
Prime and paint to finish
Prime the entire patched area, feathering the primer past the edge of your repair so it blends into the existing wall finish rather than stopping in a hard line. Skipping primer is the most common reason patched drywall shows a dull or shiny spot after painting, an effect called flashing. Paint with the same sheen and color as the rest of the wall, and roll from the patch outward so the new paint blends into the old rather than leaving a visible edge.
When to call in a drywall pro
Some holes are worth handing off. A hole bigger than about three feet across, damage spanning multiple studs, or texture you suspect predates the 1980s all push a job past reasonable DIY territory. Ceiling repairs also carry more risk than wall patches since gravity works against you the whole time you're taping and mudding overhead.
If you followed the steps above, you now have a solid method for tackling how to repair a huge hole in drywall yourself, from squaring the cutout to matching texture and paint. But if the scope grows, the framing looks damaged, or you just don't want to spend a weekend on ladders and sanding dust, that's a reasonable line to draw. Super Shooters has handled large drywall hole repair across the Sacramento Valley for over 30 years, and a free estimate costs you nothing. Get in touch about large hole drywall patching in the Sacramento Valley and let a licensed crew finish it right.
Recent Posts