September 21, 2026
Can You Paint a Popcorn Ceiling without It Falling Off?
So can you paint a popcorn ceiling without watching chunks of texture drop into your paint tray? Yes, but only if you approach it the right way. Popcorn ceilings are fragile by nature. That bumpy texture was sprayed on decades ago, and it's held together with age, dust, and not much else. Roll paint on carelessly and you'll soak the texture, add weight, and pull it right off the drywall underneath.
The short answer to your search is this: painting popcorn ceilings works when you use the right technique, the right tools, and the right paint. You need a light touch, a low-nap roller, and paint formulated to avoid oversaturating the texture. Skip any of those and you risk a patchy mess or texture peeling off in sheets, especially in older Sacramento Valley homes where the material is already brittle.
In this guide, we'll walk through exactly how to paint a popcorn ceiling safely, from prepping the room to picking a sprayer versus roller , plus warning signs that mean you should stop and call in a professional instead. If your ceiling looks too damaged or you suspect asbestos, that's a different project entirely, and we'll cover when that's the case.
Should you paint your popcorn ceiling?
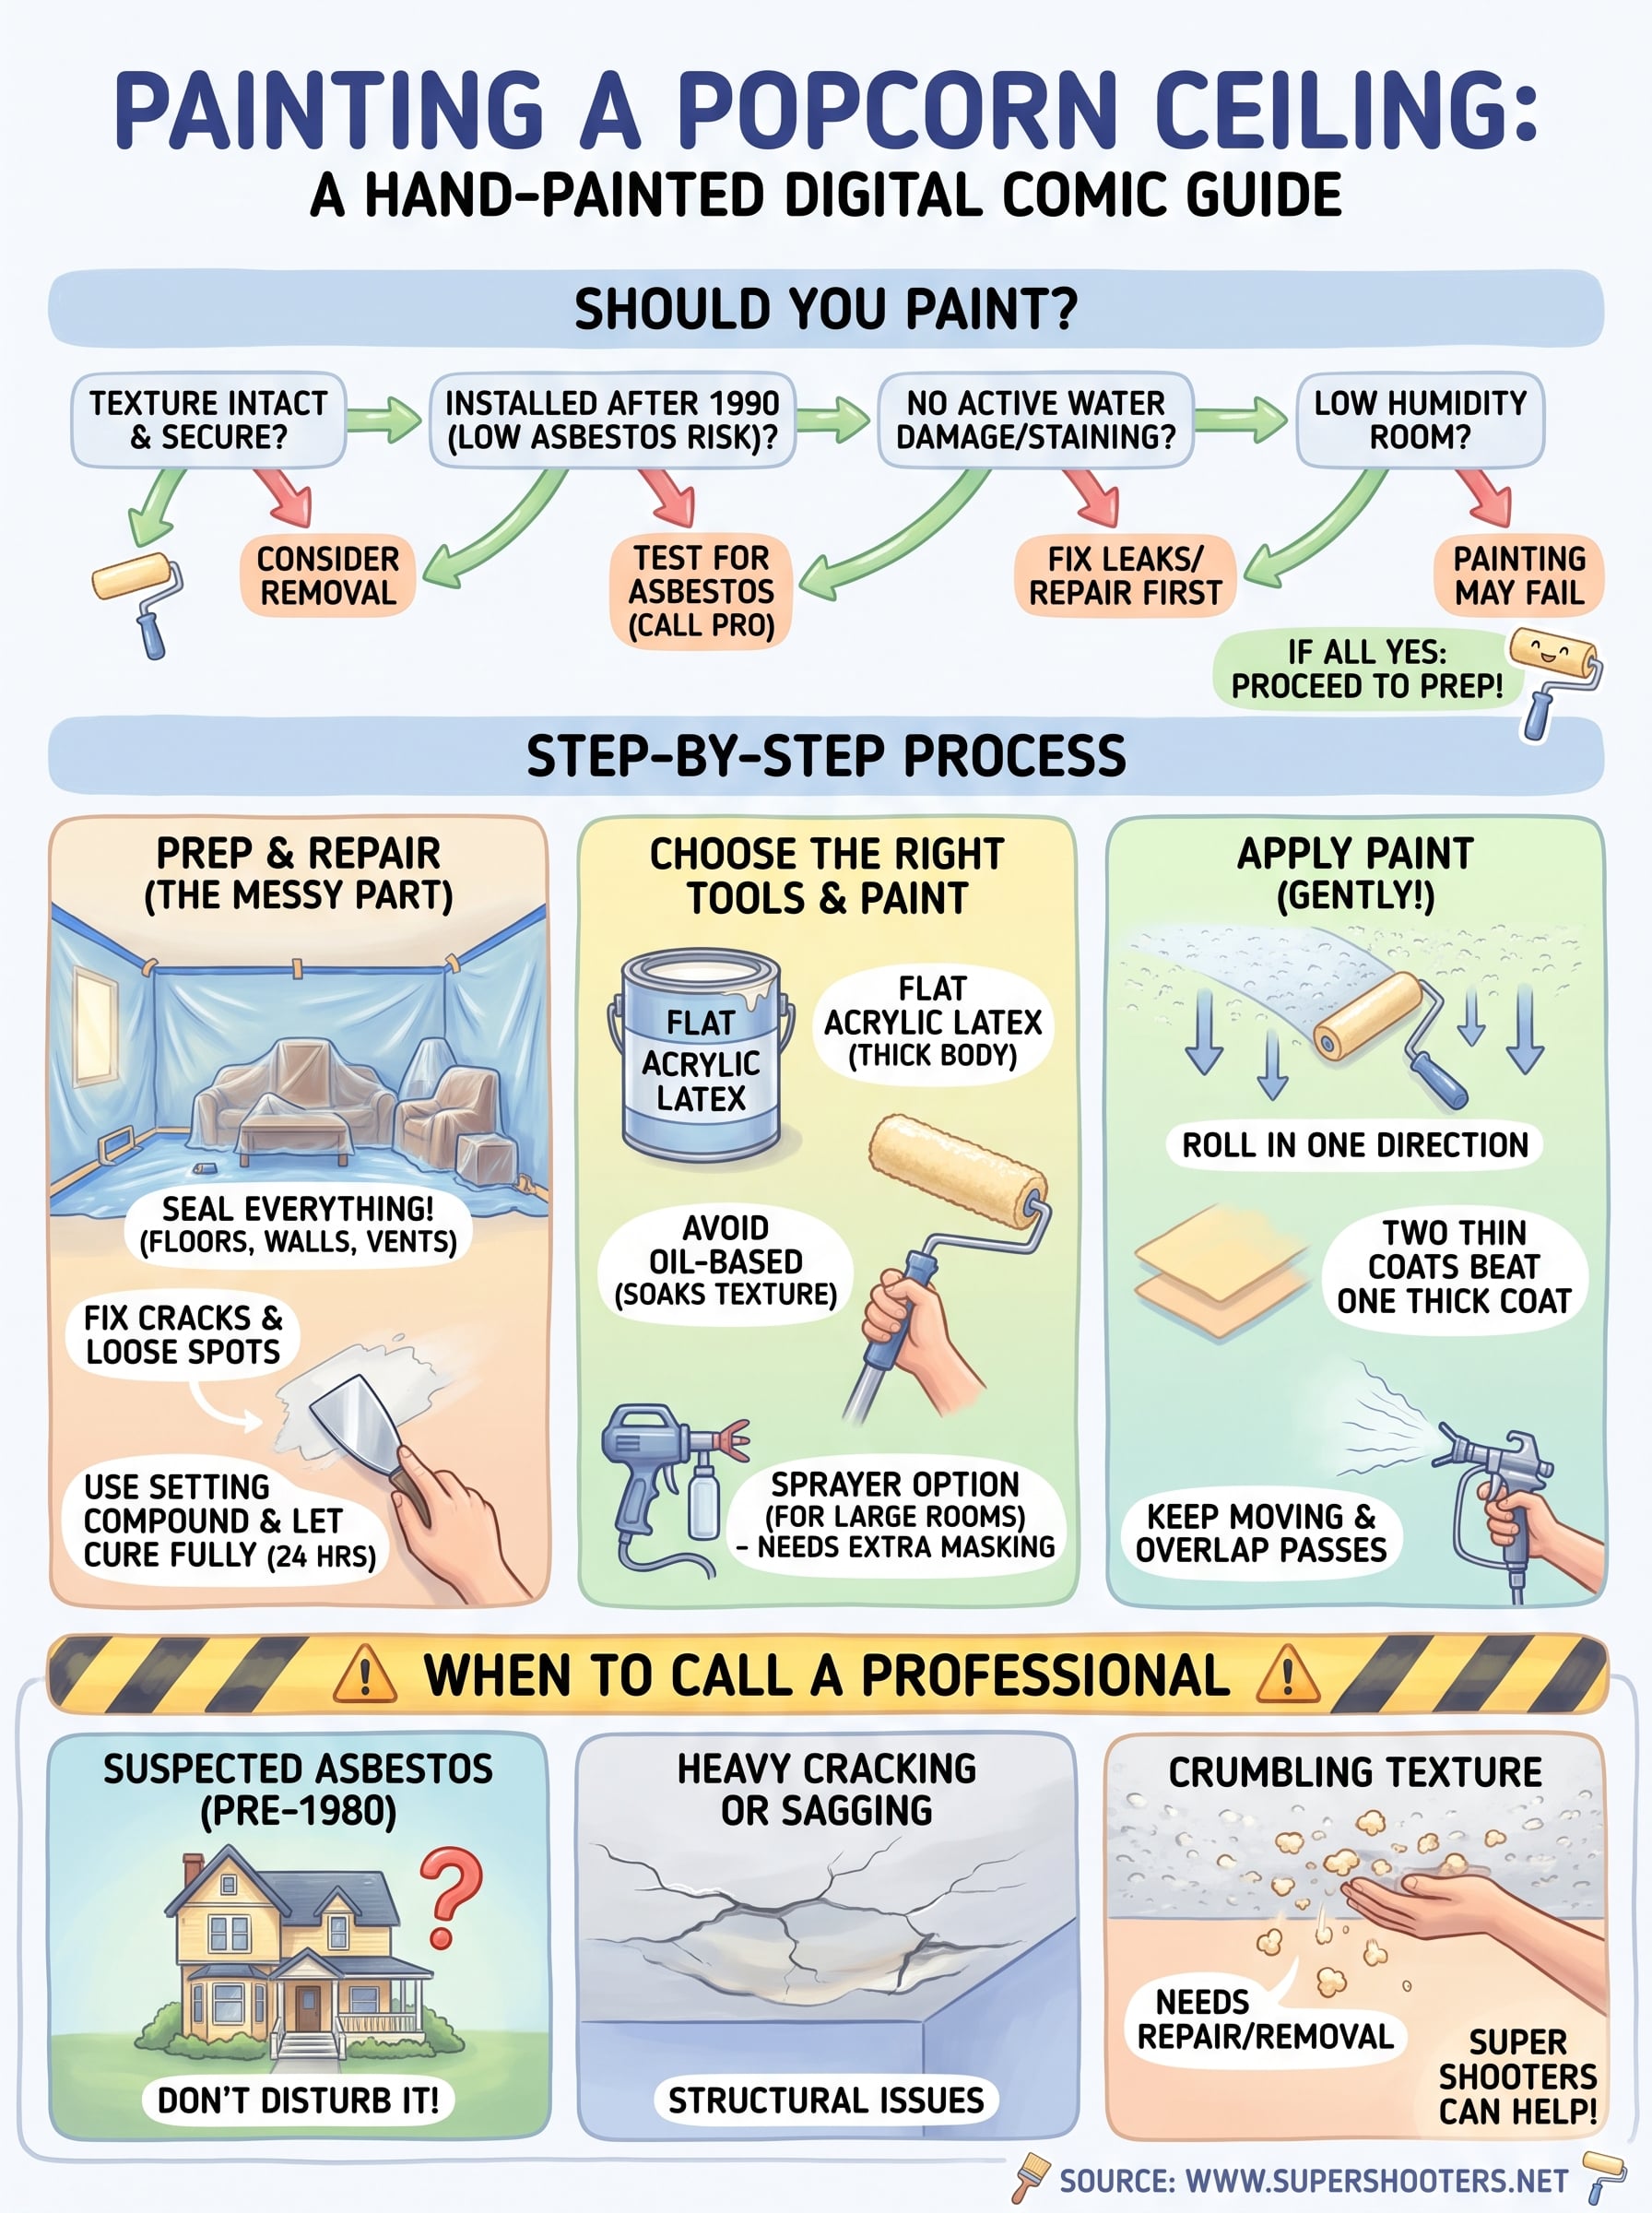
Before you buy a single can of paint, ask yourself if painting is really the right fix. Painting a popcorn ceiling is a good option when the texture is intact, the ceiling was installed after 1990 (so asbestos risk is low), and you just want to refresh a dated look without a full remodel. It's cheaper than removal, faster to finish, and it can brighten a room that's been stuck with a dingy, yellowed texture for decades.
But painting isn't always the smarter move. If the texture is already crumbling, sagging, or stained from old water damage, a coat of paint won't fix the underlying problem. It'll just seal in the damage and make it harder to remove later. Older homes across the Sacramento Valley, especially those built before 1980, often have popcorn ceilings that contain asbestos, and no amount of careful rolling makes painting over that material safe long-term if it's already deteriorating.
If your popcorn ceiling is falling apart, painting it just delays a bigger repair, it doesn't prevent one.
When painting makes sense
Painting works best under a specific set of conditions. Run through this quick checklist before you start:
- The texture is firmly attached with no flaking or sagging
- You've confirmed the ceiling doesn't contain asbestos, or it's been professionally sealed
- There's no active water damage or staining
- You're doing a cosmetic update, not fixing structural or moisture issues
- The room doesn't have heavy humidity, like a bathroom with poor ventilation
When removal beats painting
Sometimes the better long-term investment is removing the texture entirely rather than covering it up. Here's how the two options stack up:
| Factor | Paint Over | Full Removal |
|---|---|---|
| Cost | Lower upfront | Higher upfront |
| Time | 1-2 days | 2-4 days |
| Fixes damage | No | Yes |
| Resale appeal | Moderate | High |
| Asbestos-safe | Only if pre-tested | Yes, when done professionally |
If your ceiling shows heavy damage or asbestos is confirmed, acoustic ceiling removal in the Sacramento area is the safer long-term choice. Our team at Super Shooters handles that process daily across the region, and we can walk you through whether your ceiling is a good painting candidate during a free in-home consultation.
Step 1. Test for asbestos and inspect the texture
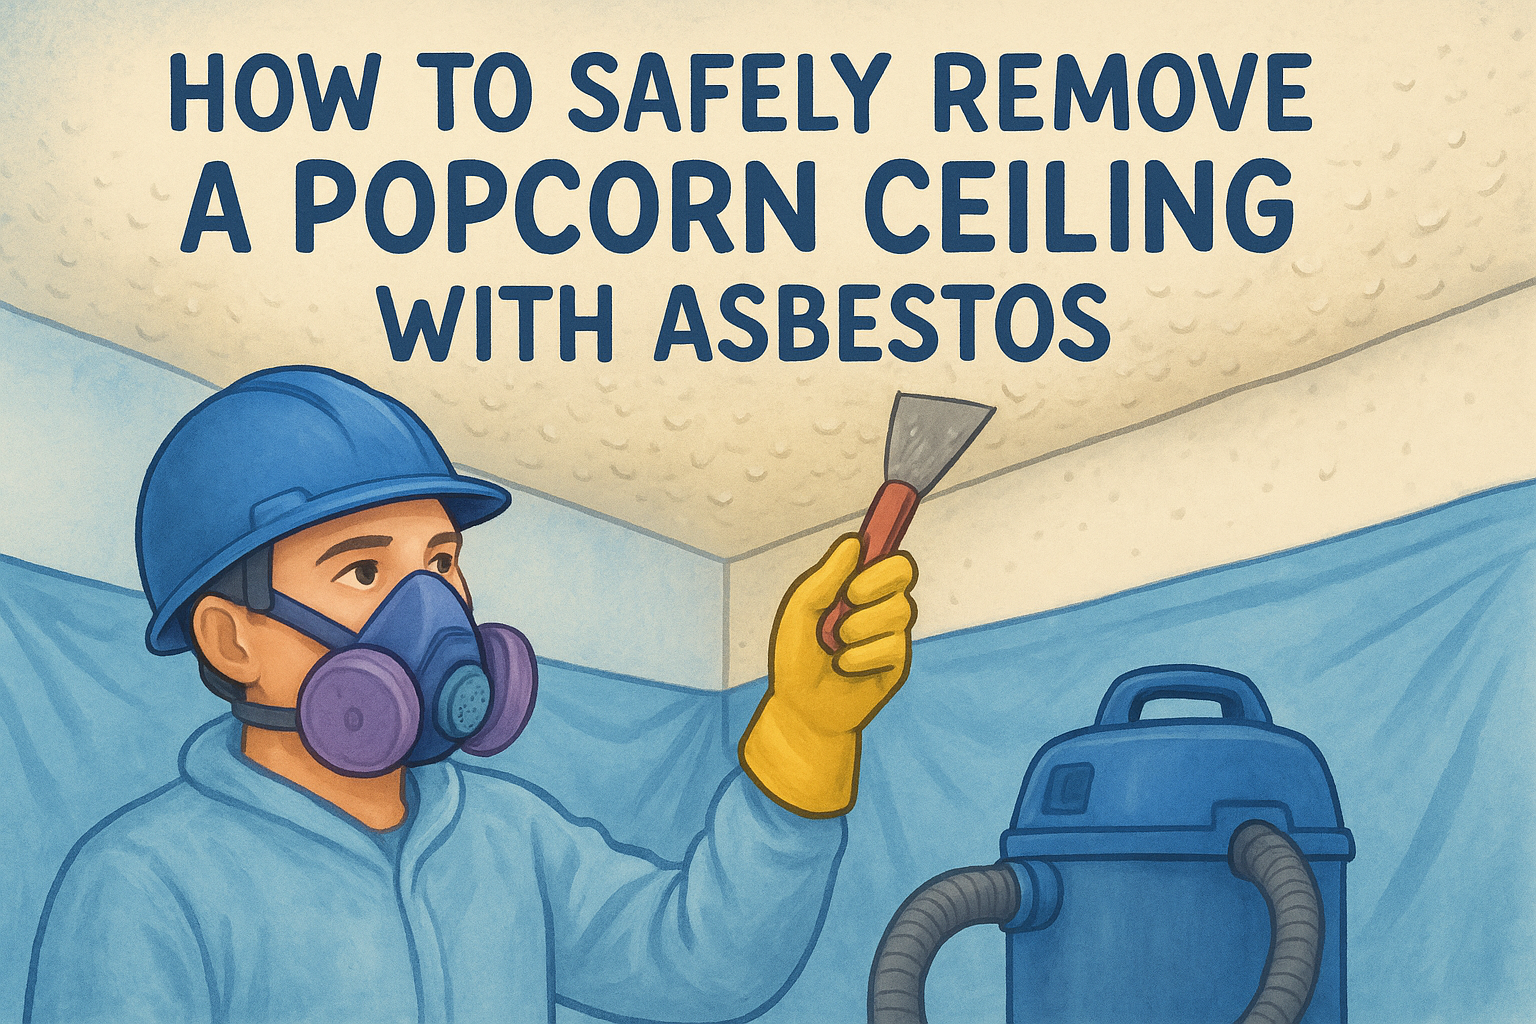
Before you touch a paintbrush, figure out what you're actually painting over. If your home was built before 1980, there's a real chance the texture contains asbestos, and how likely that is depends on the build year, since disturbing it with sanding, scraping, or even aggressive rolling can release fibers into the air. Testing for asbestos safely is the only way to know for sure, and it's not something you should guess about based on the age of the house alone. You can send a small sample to an accredited lab, or hire a professional to test it for you. The EPA's guidance on asbestos in the home explains why disturbing suspect material without testing is risky, especially in older Sacramento Valley homes where popcorn ceilings were common well into the 1980s.
Never sand, scrape, or spray-paint a popcorn ceiling until you know whether it contains asbestos.
Once you've cleared that hurdle, spend time actually inspecting the texture itself. Grab a flashlight and look across the whole ceiling at a low angle, which makes flaking and sagging spots easier to spot than looking straight up.
- Press gently on a few random spots to check for looseness or crumbling
- Look for water stains, which signal moisture damage hiding above the texture
- Check corners and seams for visible cracking or separation from the drywall
- Note any areas where the popcorn looks thinner or worn compared to the rest
If your inspection turns up asbestos or heavy damage, painting isn't the answer. That's when professional acoustic ceiling removal becomes the safer path forward.
Step 2. Prep the room and repair damage
Once you know your ceiling is safe to paint, protect the room before you even open a paint can. Prepping the room with a step-by-step checklist saves you hours of cleanup and keeps overspray or drips off your floors and furniture. Popcorn texture also sheds dust when disturbed, so cover everything, not just the obvious spots.
- Remove furniture or cluster it in the center of the room, then cover it with plastic sheeting hung the way the pros do it
- Tape plastic drop cloths to the walls and floor edges
- Turn off ceiling fans and remove light fixture covers where possible
- Shut doors and use painter's tape to seal off vents, so dust doesn't spread through the HVAC system
- Open a window for ventilation, especially if you're using oil-based primer
Fixing cracks and loose spots
After the room is sealed off, walk the ceiling one more time and repair any damage you flagged during inspection. Small cracks and thin patches need attention now, because paint won't hide a flaw, it highlights it once the surface catches light differently. Use a pre-mixed setting compound for small cracks, feathering the edges with a putty knife so the patch blends into the surrounding texture, and see our guide on repairing ceiling cracks so they stay fixed if they keep returning. For loose or sagging sections, you'll need to re-adhere the texture with a bonding primer or, in worse cases, patch in fresh texture that matches the existing pattern.
A ceiling that's clean, dry, and structurally sound is the only ceiling ready for paint.
Let any patched areas cure fully, usually 24 hours, before moving forward. Painting over a wet repair traps moisture and guarantees you'll see the patch through the final coat.
Step 3. Choose the right paint and tools
The paint you grab off the shelf matters more than most homeowners expect. Choosing the right paint means picking a flat, ceiling-specific formula with thick body, not a thin wall paint that soaks straight into the texture and adds weight. Stick with acrylic latex paint labeled for ceilings, since it dries fast and won't oversaturate the bumps the way oil-based products can.
The wrong roller does more damage to a popcorn ceiling than the wrong paint color ever could.
Paint that works
- Flat acrylic latex ceiling paint (avoid eggshell or satin, which highlight every flaw)
- Stain-blocking primer if you're covering ceiling water stains or nicotine staining
- Paint with a "low-spatter" or "thick-mil" label, built for textured surfaces
Tools that protect the texture
Rollers deserve just as much thought as the paint itself. A thick nap roller , somewhere between 3/4 inch and 1 1/4 inches, holds more paint and lets you apply it without pressing hard into the texture. Pair it with an extension pole so you're rolling from a comfortable angle instead of stretching and dragging.
Sprayers come up often when people research painting a popcorn ceiling, and they can work well for large, open rooms. An airless sprayer applies an even coat without any roller contact at all, which lowers the risk of pulling texture loose. The tradeoff is overspray control and cleanup, so mask everything twice as carefully if you go that route.
- Low-nap roller (3/4" to 1 1/4")
- Extension pole
- Airless sprayer (optional, for large rooms)
- Painter's tape and plastic masking for overspray
Step 4. Apply the paint without damaging the texture
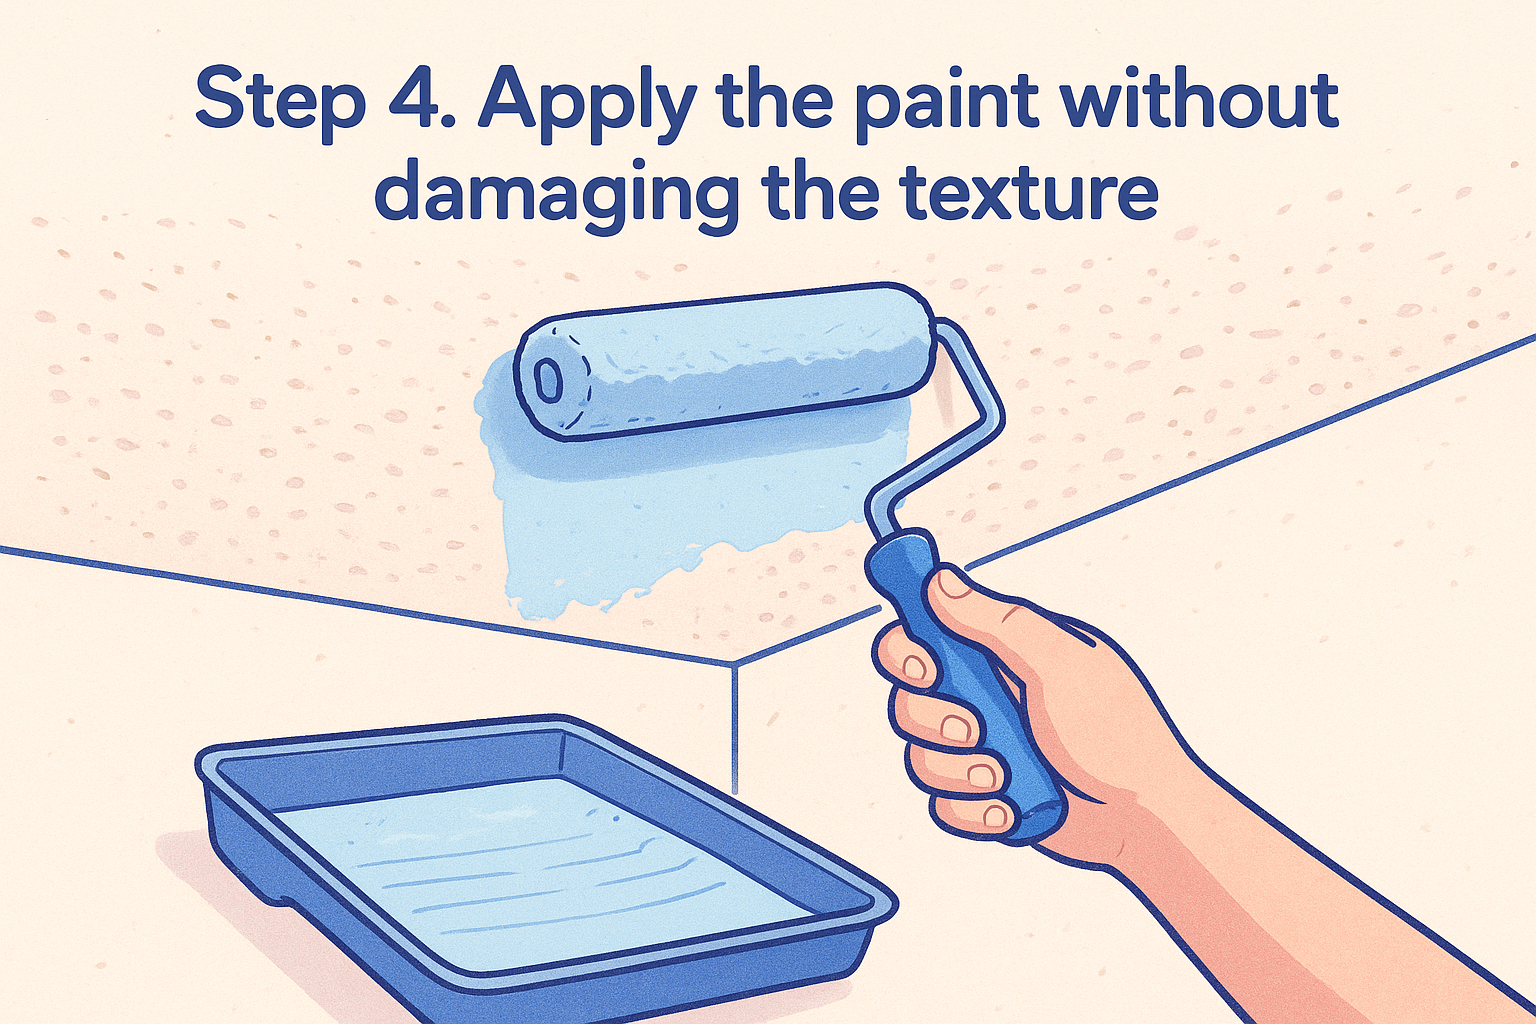
Now comes the part that makes or breaks the whole project. Applying paint correctly means working in thin, even layers instead of one heavy coat. A single thick pass loads the texture with wet paint, and that added weight is exactly what pulls popcorn ceilings loose. Load your roller lightly, roll off the excess on a paint tray, and glide it across the ceiling without pressing down. Let gravity and the roller nap do the work.
Two thin coats beat one thick coat every time on a popcorn ceiling.
Rolling technique that protects the texture
Work in manageable sections, roughly 3-by-3-foot squares, and keep a wet edge so you're not overlapping dried paint. Overlapping too aggressively reactivates the paint underneath and drags texture with the roller. Follow this order for each section:
- Load the roller lightly and roll off excess paint
- Apply in one direction only, without back-and-rolling
- Move to the next section before the edge dries
- Let the first coat dry fully, usually 2-4 hours, before recoating
Spraying technique if you're using a sprayer
Spraying calls for its own rhythm. Hold the tip 10-12 inches from the surface and keep it moving in steady, overlapping passes rather than pausing in one spot, which causes runs and pooling in the texture's crevices. Two light coats from a sprayer almost always outperform one heavy coat, and the finish stays even without the drag marks a roller can leave near seams or corners.
When to call in a professional
Sometimes the safest move is to stop rolling and pick up the phone. If your inspection turned up asbestos, heavy cracking, or texture that crumbles when you press on it, painting won't fix any of that, it just buries the problem under a fresh coat. Calling in a professional makes sense the moment you're unsure about what's actually holding your ceiling together.
Painting a popcorn ceiling can absolutely work when the texture is sound and you follow the right steps, but a damaged or asbestos-containing ceiling needs more than paint. Don't gamble with a texture that's already failing, or with fibers you can't see. If your ceiling raises any red flags during inspection, talk to our licensed Sacramento asbestos ceiling removal crew for a free in-home consultation, and we'll tell you honestly whether painting, repair, or full removal is the right call for your home.