Share this article

August 8, 2026

How to Use Drywall Repair Clips to Patch Large Holes

A hole bigger than your fist turns a simple patch job into a real headache. Without something behind the drywall to screw into, your patch has nothing to hold onto, and it sags or cracks within weeks. That's where drywall clips repair methods come in, and once you know how they work, you'll never reach for a scrap of wood backing again.

Drywall repair clips are small metal brackets that grip the edge of the existing wall and give your patch piece a solid anchor point, no stud required. Whether you're working with painted sheetrock or an older wallboard drywall repair job, these clips let you screw the patch flush and stable, then snap off the tabs once the screws are set. It's a faster, cleaner fix than cutting back to the nearest studs.

In this guide, we'll walk through exactly how to size your patch, position the sheetrock drywall repair clips , fasten everything securely, and finish the seams so the repair disappears into the wall. We'll also point you toward where to find quality drywall clips for patching at your local hardware store, so you're not stuck guessing which product to grab.

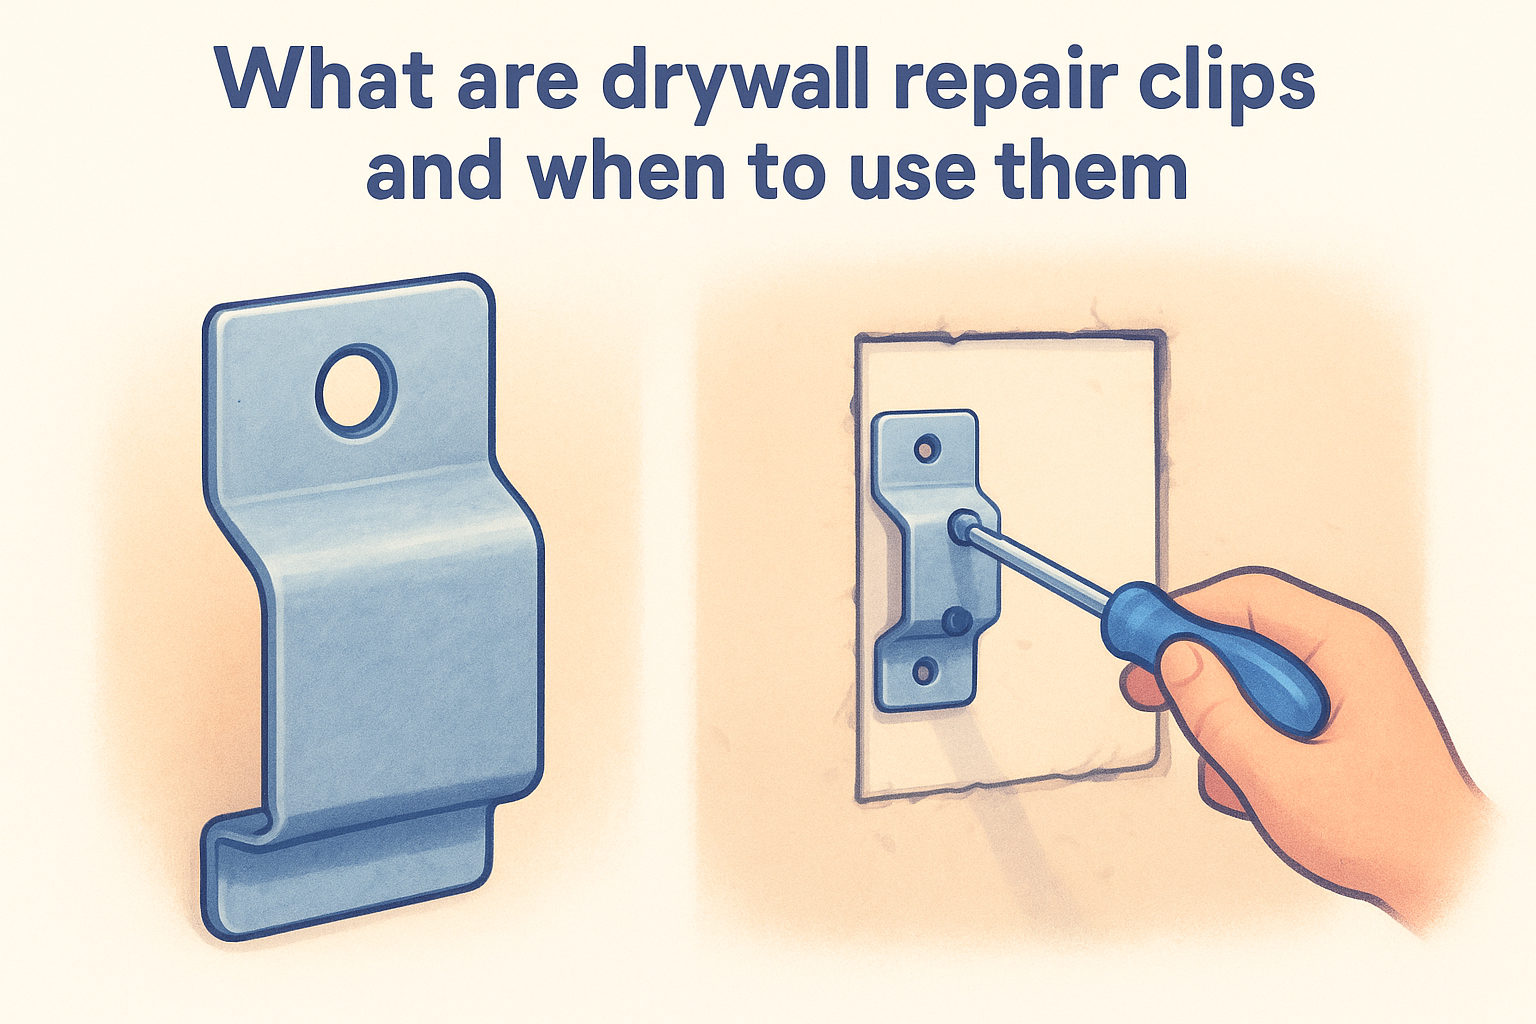
What are drywall repair clips and when to use them

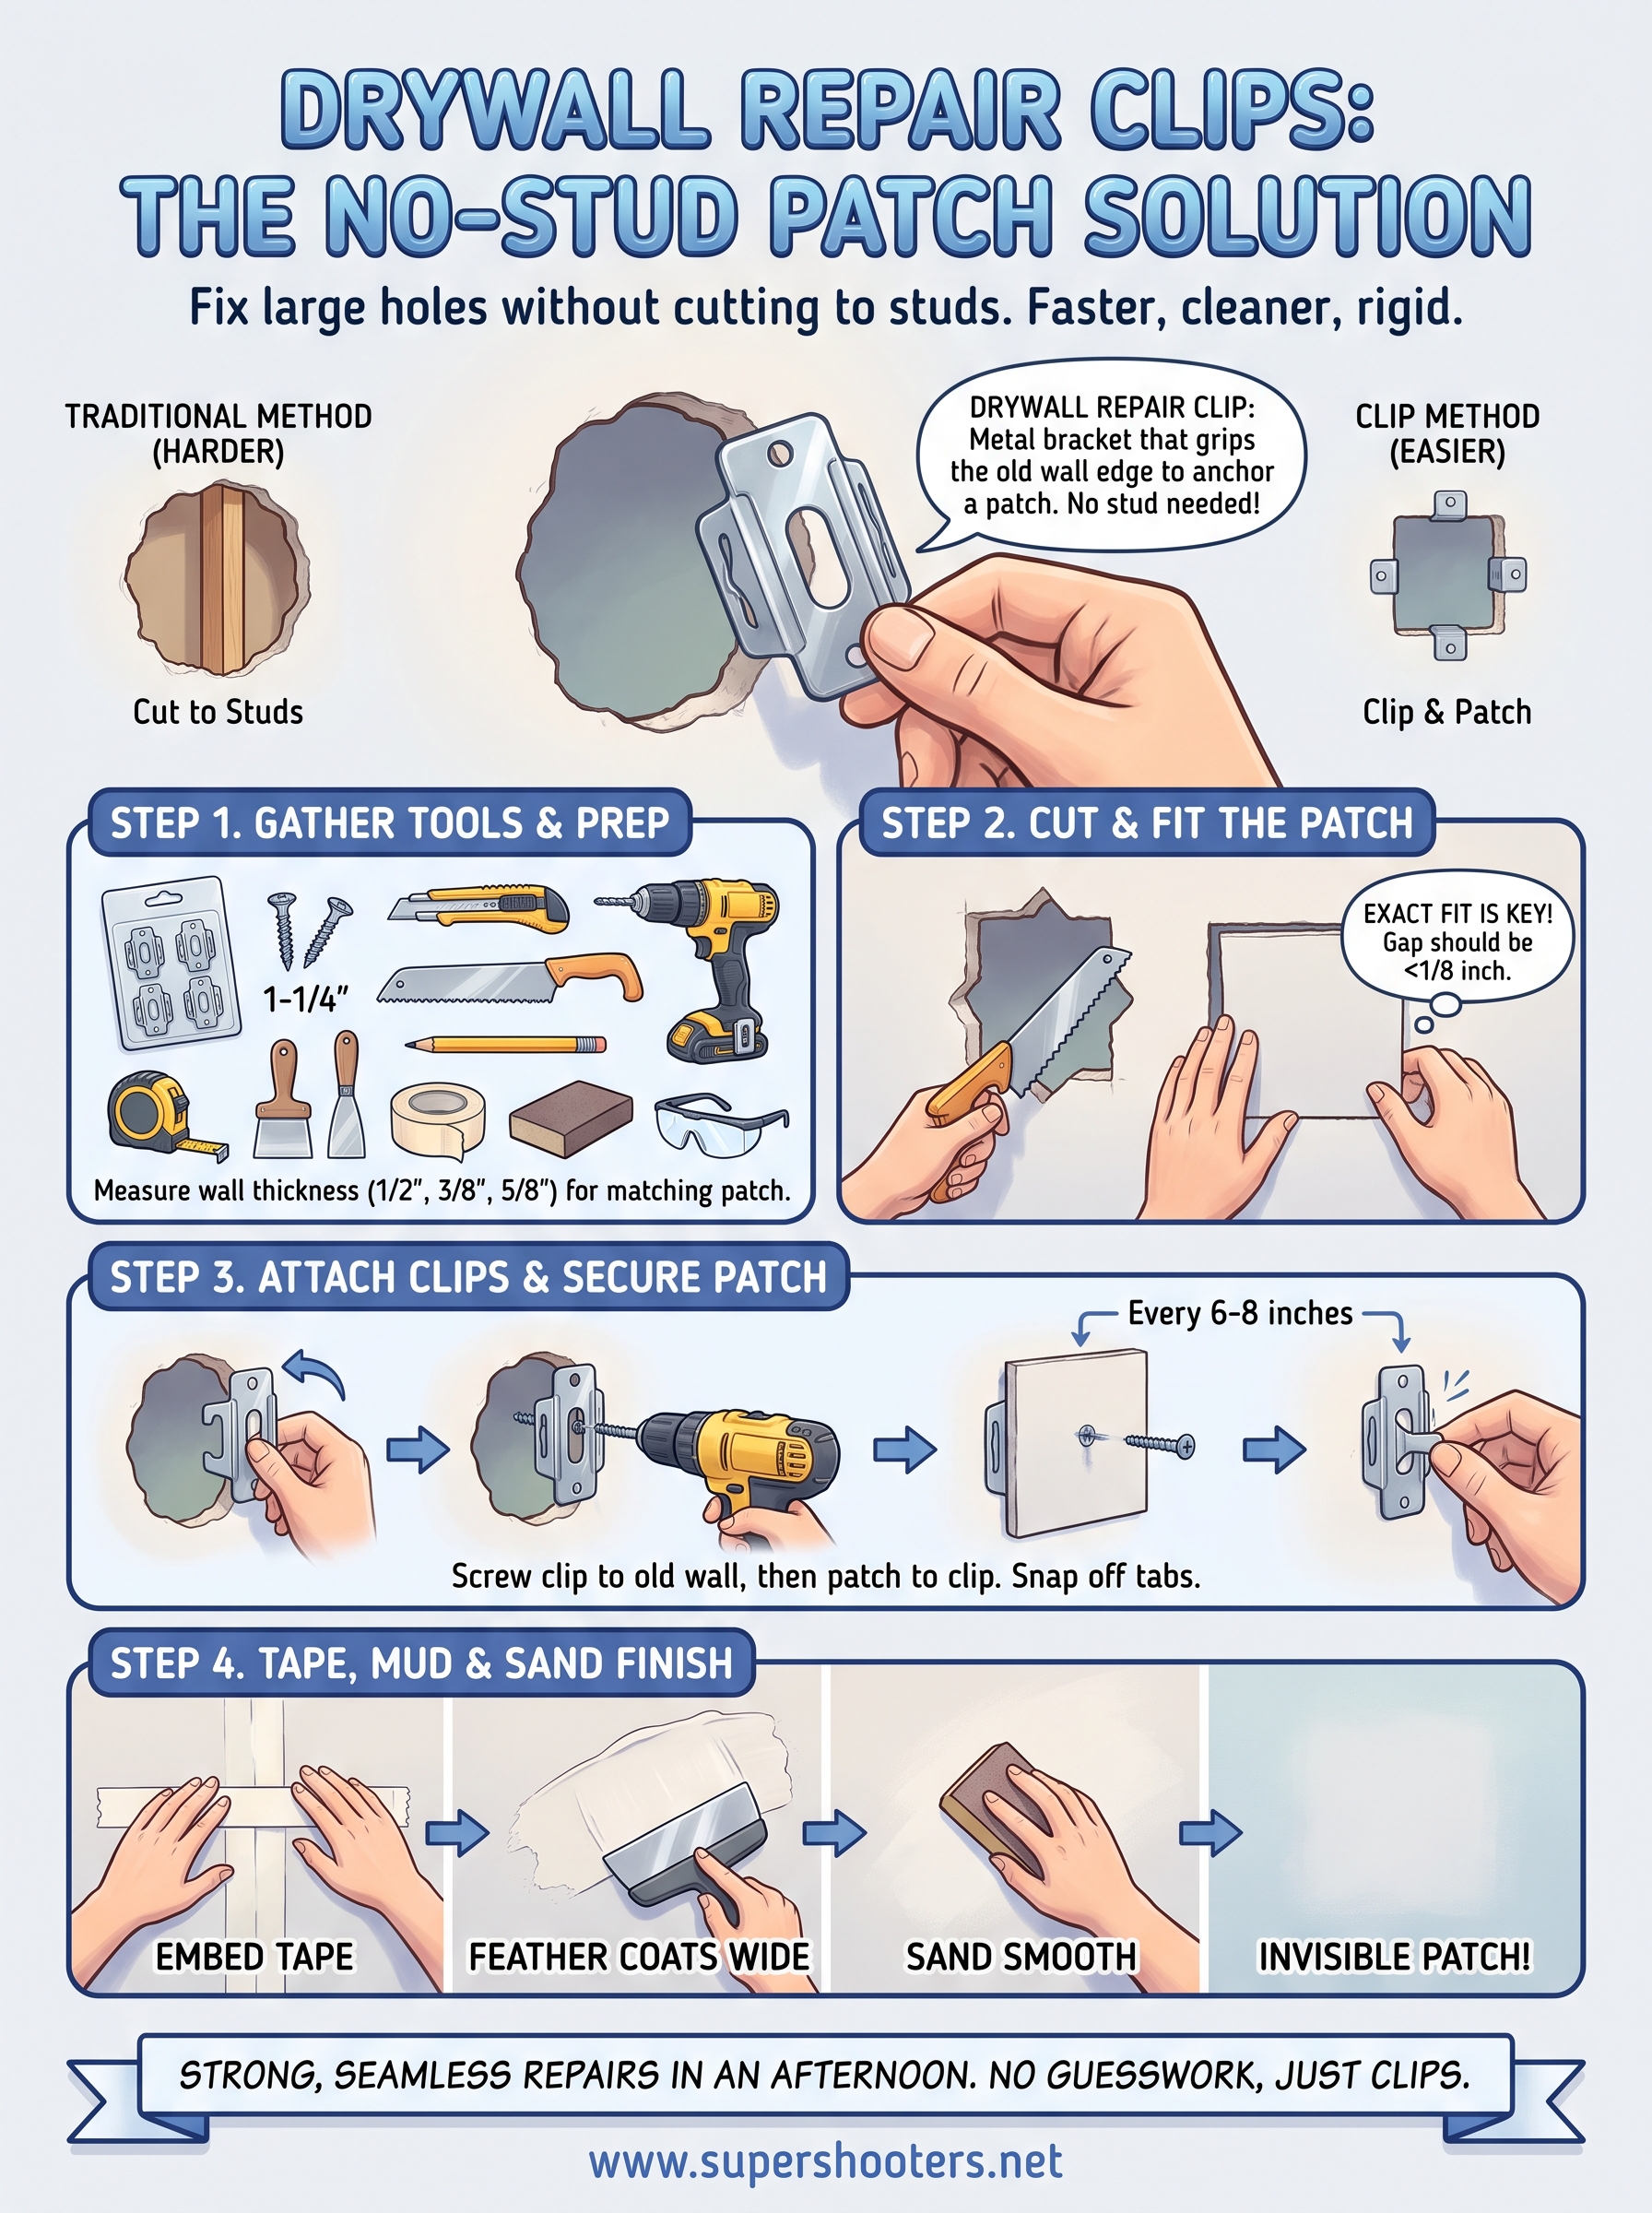
Picture a small metal bracket, usually made of galvanized steel, with a lip that hooks over the cut edge of your existing drywall and a flat face where you drive screws. That's a drywall repair clip in a nutshell. You slide two to four of these along the perimeter of the hole, screw the clip to the old drywall, then screw your patch piece into the same clips. The clip bridges the gap between the patch and the surrounding wall, so you get a rigid connection without needing a stud or furring strip anywhere nearby.

Drywall clips give a floating patch the same strength as one screwed straight into a stud.

Use clips any time a hole falls between studs, which is most of the time once you're patching anything wider than 6 inches. Doorknob dents, plumbing access cuts, and accidental kicks through the wall almost always land mid-span, far from framing. Traditional fixes call for cutting the drywall back to the nearest studs on both sides, which turns a football-sized hole into a project spanning 16 or 24 inches. Clips skip that step entirely.

They work equally well on standard sheetrock drywall repair jobs and older wallboard drywall repair projects, since the clip grabs the cut edge regardless of the board's age or thickness. The one caveat: clips need solid, undamaged drywall to grip onto. If the edges around your hole are crumbling or water-damaged, cut back further until you reach firm material before you start clipping. A clip screwed into soft, damaged board won't hold any better than no backing at all.

Step 1. Gather your tools and materials

Before you cut anything, lay out everything you need within arm's reach. Running to the hardware store mid-project with drywall dust on your hands is annoying, and it's easy to skip if you check your supplies against a list first.

Drywall repair clips come in packs of four or six, and you'll want at least two clips per side of the hole, so buy accordingly. Most home centers stock them near the drywall and joint compound aisle, often labeled as "drywall repair clips" or "California patch clips." A single pack usually costs less than $10 and covers one mid-size repair.

Here's your shopping and tool list:

  • Drywall repair clips (enough for 2-4 per patch)
  • 1-1/4" drywall screws
  • A scrap of drywall matching your wall's thickness
  • Drywall saw or utility knife
  • Tape measure and pencil
  • Cordless drill or screw gun
  • Joint compound and a 6" and 10" taping knife
  • Paper or mesh drywall tape
  • Sanding sponge or 150-grit sandpaper
  • Dust mask and safety glasses

Matching thickness matters here. Most interior walls run 1/2" drywall, but older homes sometimes use 3/8" or 5/8" board, so measure the existing wall before buying your patch piece.

Step 2. Cut and fit the drywall patch

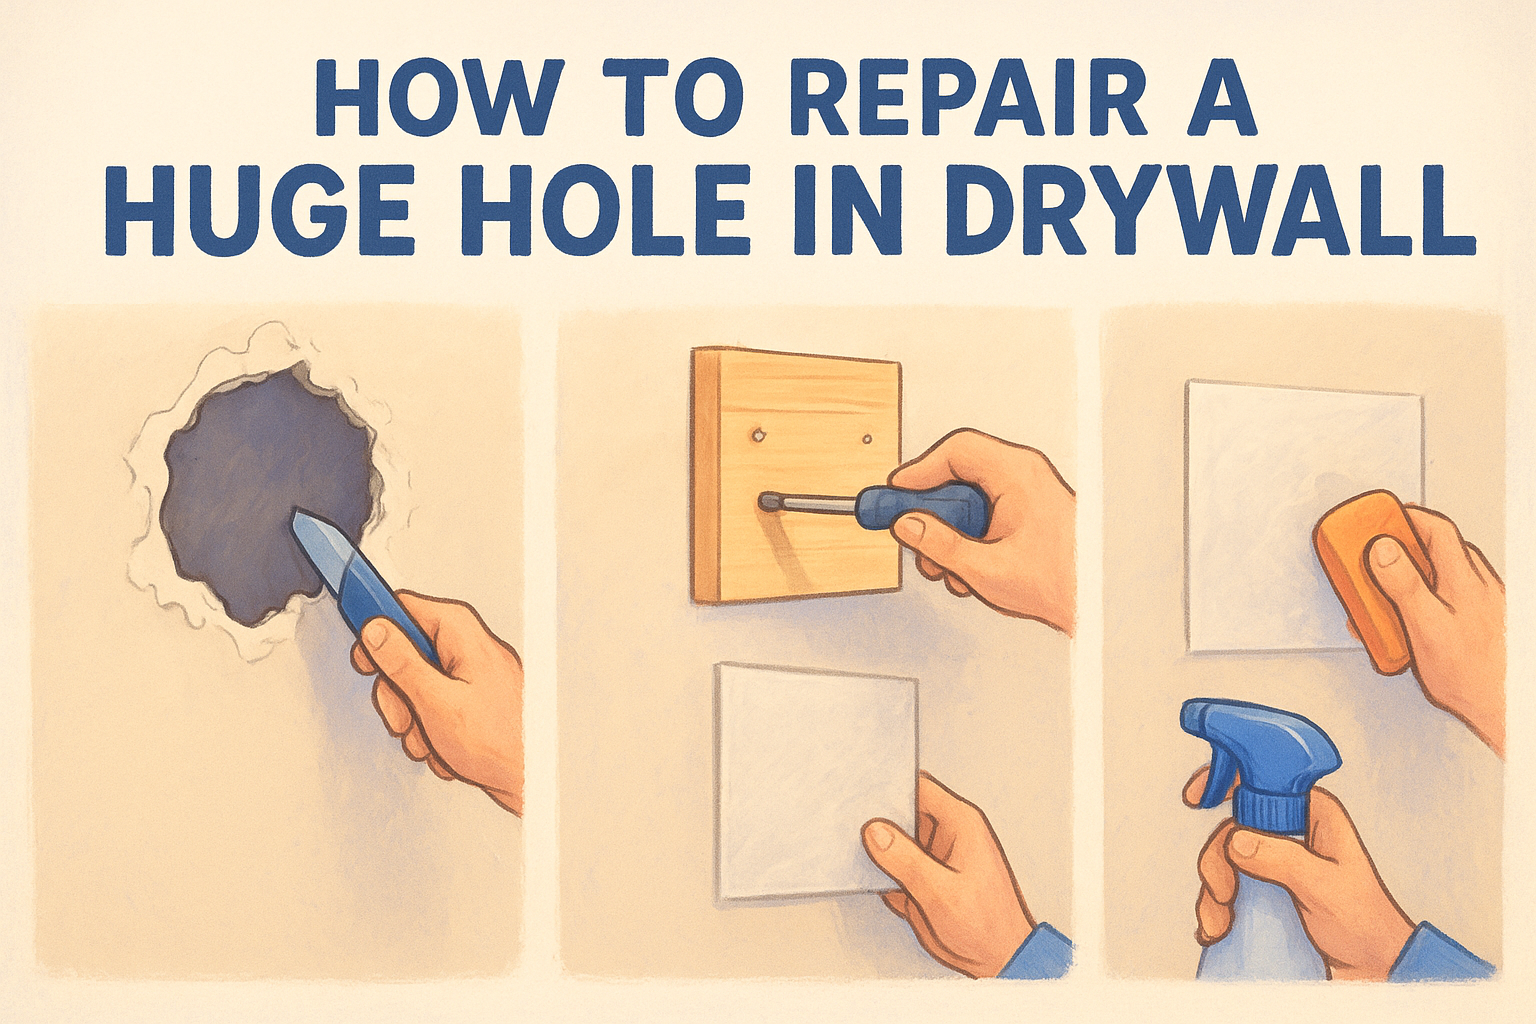
Start by squaring up the damaged area. Ragged, irregular holes are harder to patch cleanly than a simple rectangle or square, so use your tape measure and pencil to draw straight lines around the damage, then cut along those lines with a drywall saw or utility knife. Squaring the opening now saves you from fighting an odd-shaped patch later.

Next, measure the finished opening and cut your patch piece from matching-thickness drywall, adding nothing extra. A patch that's even a quarter inch oversized won't sit flush, and you'll spend more time sanding than you would have spent cutting twice. Dry-fit the piece into the hole before you touch a screw. It should drop in level with the surrounding wall, with a gap no wider than 1/8 inch on any edge.

A patch cut to the exact size of the hole is the single biggest factor in a seam that disappears.

If the fit binds anywhere, shave the edge with your utility knife rather than forcing it. This step matters just as much for drywall clips for patching as it does for any stud-backed repair, since a poor fit shows through the texture and paint no matter how solid the backing is.

Step 3. Attach the repair clips and secure the patch

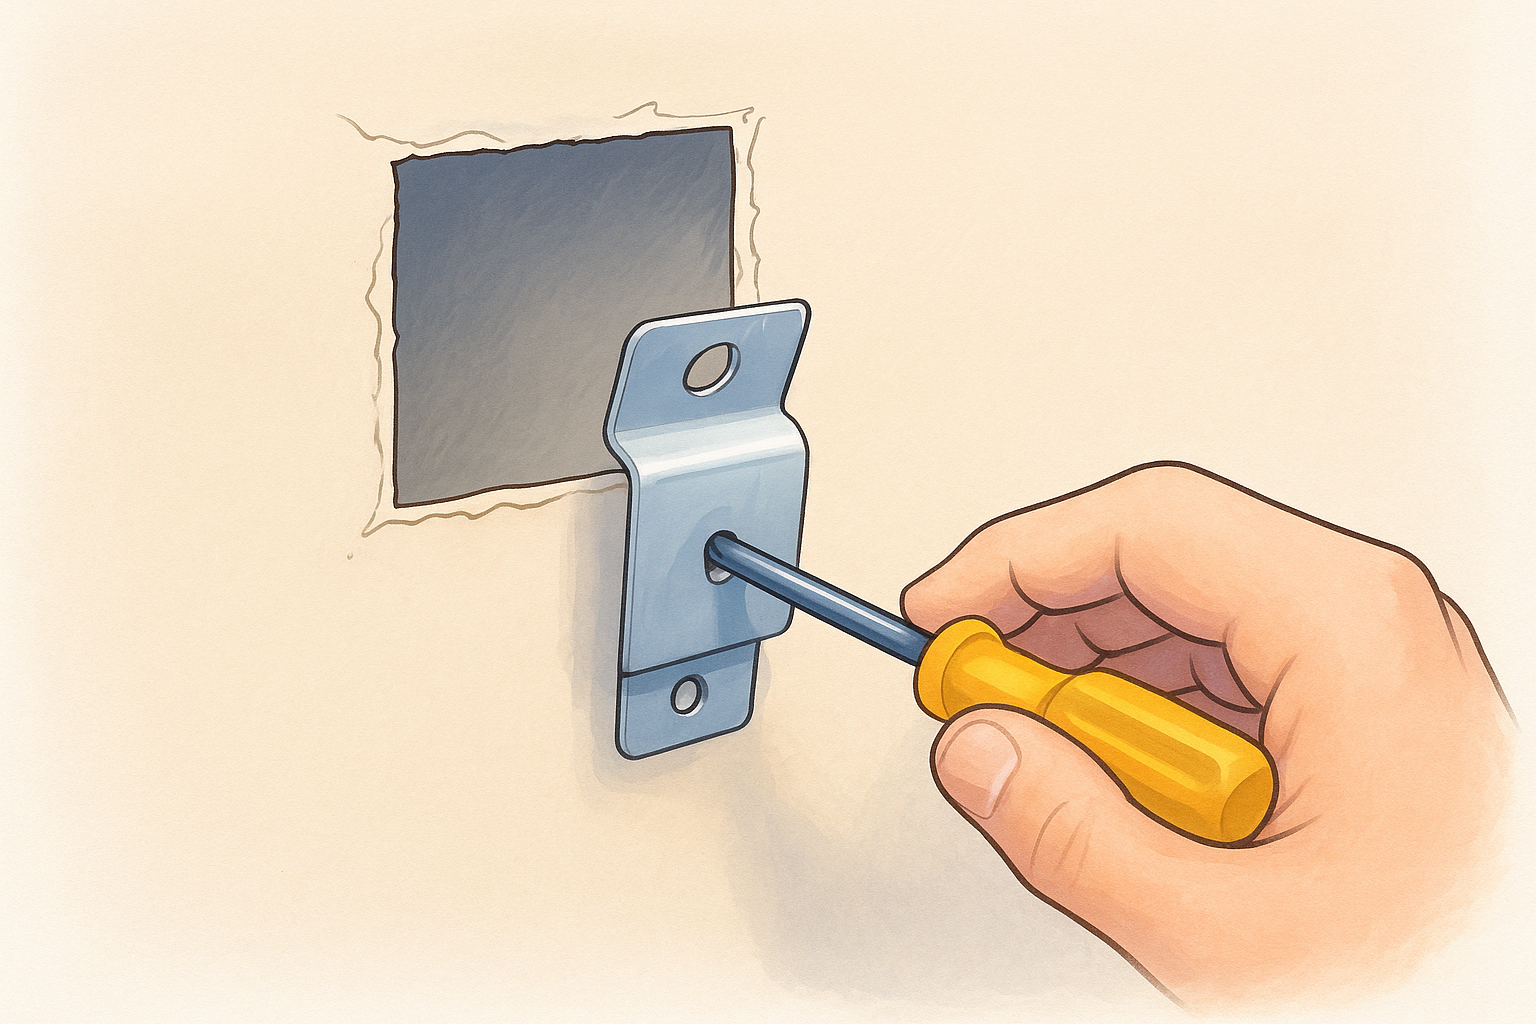
Slide a repair clip onto the edge of the hole so the lip hooks behind the existing drywall and the flat tab sits flush against the front face. Space clips every 6 to 8 inches around the perimeter, with a minimum of two per side and four total for anything larger than a standard letter-sized hole. Drive one drywall screw through each clip's pre-drilled hole into the old drywall, sinking it just below the surface without tearing the paper.

Once every clip is fastened to the surrounding wall, set your patch piece into the opening and screw through the patch into the same clip tabs. Check that the patch sits flush with the surrounding surface as you go, backing screws out slightly if the board dimples inward.

Every clip needs a screw on both sides, the old wall and the new patch, or the connection won't hold.

After all screws are set, snap off the protruding clip tabs by hand or with pliers. This step is what makes drywall clips repair cleaner than furring strips, since there's nothing left proud of the surface to mud around.

Step 4. Tape, mud, and sand for a seamless finish

Apply joint compound thinly along every seam where the patch meets the old wall, then press paper or mesh tape into the wet mud with your 6" taping knife. Smooth out air bubbles and excess compound as you go, working from the center of each seam outward. This first coat is about embedding the tape, not building thickness, so don't worry if you can still see the tape pattern through it.

Let that coat dry fully, usually overnight, then apply a second, wider coat with your 10" knife, feathering the edges several inches past the seam so there's no visible ridge. A third skim coat, applied even thinner and wider than the second, is what separates an amateur patch from one that vanishes under paint.

Feathering each coat wider than the last is what makes a drywall repair clips patch invisible once it's painted.

Once the final coat is bone dry, sand with a sanding sponge or 150-grit paper until the surface feels smooth under your palm. Match any texture the surrounding wall has before priming and painting.

Wrapping up your drywall repair

Grab a scrap piece of drywall and practice on a small offcut before tackling the real hole, and you'll see how quickly the clip-and-patch method comes together. Drywall repair clips turn what used to be a multi-hour project involving furring strips and stud-finding into a tight, four-step process you can finish in an afternoon. The patch holds firm because the clips give it the same rigid connection a stud would, without the extra cutting.

Square your hole, cut a tight-fitting patch, anchor it with clips spaced every 6 to 8 inches, then feather your joint compound wide enough to disappear under paint. That's the whole job. Skip a step, especially the fit or the feathering, and you'll see it later under the wrong light.

If the hole is bigger than a basketball, spans multiple studs, or you'd rather hand it off entirely, our drywall repair and patching team handles it with a free estimate and no payment until the work's done right.

Recent Posts

By cinchweb August 6, 2026
Learn how to remove a stucco ceiling safely: asbestos testing, containment setup, scraping technique, and repair tips from Sacramento Valley pros.
By cinchweb August 5, 2026
Learn how to patch and repair drywall step-by-step, from sizing damage to matching texture and paint—plus signs it's time to call a pro.
By cinchweb August 4, 2026
Learn when drywall tool repair beats replacement, common fixes for knives and bazookas, and DIY vs pro tips—plus a free Sacramento Valley estimate.
By cinchweb August 3, 2026
Learn how to patch screw hole in drywall step-by-step—from filling and sanding to priming and painting for a seamless, professional finish.
By cinchweb August 3, 2026
Learn how to repair hole.in drywall with our step-by-step guide: tools, patch sizing, compound coats, and finishing tips for seamless results.
By cinchweb August 1, 2026
Learn what causes cracks in walls, from Sacramento Valley soil shifts to foundation issues, plus how to spot cosmetic vs. structural damage.
By cinchweb July 31, 2026
Learn how to install drywall in a bathroom: pick moisture-resistant panels, hang and tape correctly, then finish with mold-resistant paint.
By cinchweb July 31, 2026
How common is asbestos in popcorn ceilings by build year? See risk timelines, testing steps, and safe Sacramento removal options.
Illustration of taping drywall seams with joint compound, tape, and knives for a smooth wall.
By cinchweb July 29, 2026
Learn how to tape drywall seams step-by-step, from mudding tools to feathering coats, plus when to call Sacramento Valley pros instead.
Show More