Share this article

September 9, 2026

How to Remove Old Wallpaper: A Step-by-Step DIY Guide

That decades-old wallpaper in your dining room isn't just outdated, it's probably fighting you every step of the way. Learning how to remove old wallpaper gets messy fast when the paper was hung with heavy-duty adhesive or painted over by a previous owner. Old glue formulas from the 70s and 80s were built to last, and they usually do, long after the pattern went out of style.

The good news is you don't need special equipment to strip it yourself. A scoring tool , hot water, and either vinegar or fabric softener will loosen most residential wallpaper within a couple of hours. The key is soaking the adhesive properly before you scrape, rather than fighting dry, stubborn paper with a putty knife.

Below, we walk through the exact steps we'd use on a real job, from testing a small section to dealing with multiple layers and stubborn glue spots. We'll also cover what to do once the walls are bare, since most homeowners uncover cracks, uneven texture, or damaged drywall underneath. If that's the case here in the Sacramento Valley, that's where our crew at Super Shooters comes in for the repair and refinishing work.

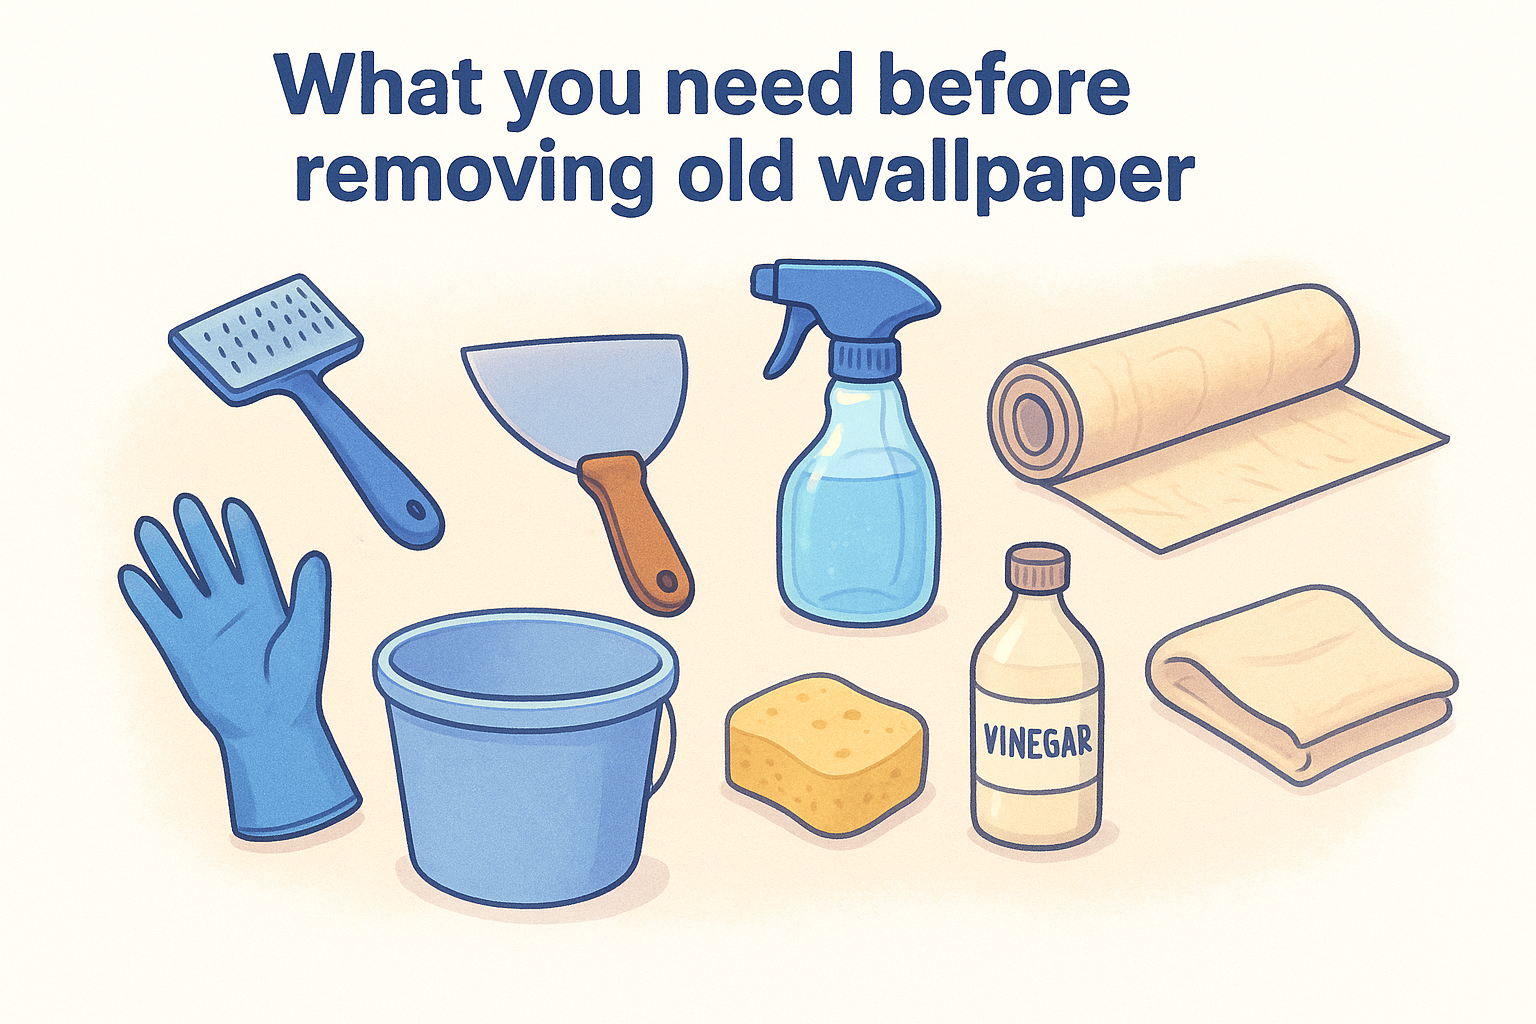
What you need before removing old wallpaper

Getting the right supplies together before you start saves you from three trips to the hardware store mid-project. Wallpaper removal in Sacramento doesn't require anything fancy, but a few specific tools make the difference between a two-hour job and an all-weekend struggle. Most of what you need costs under $40 total, and you likely already own half of it.

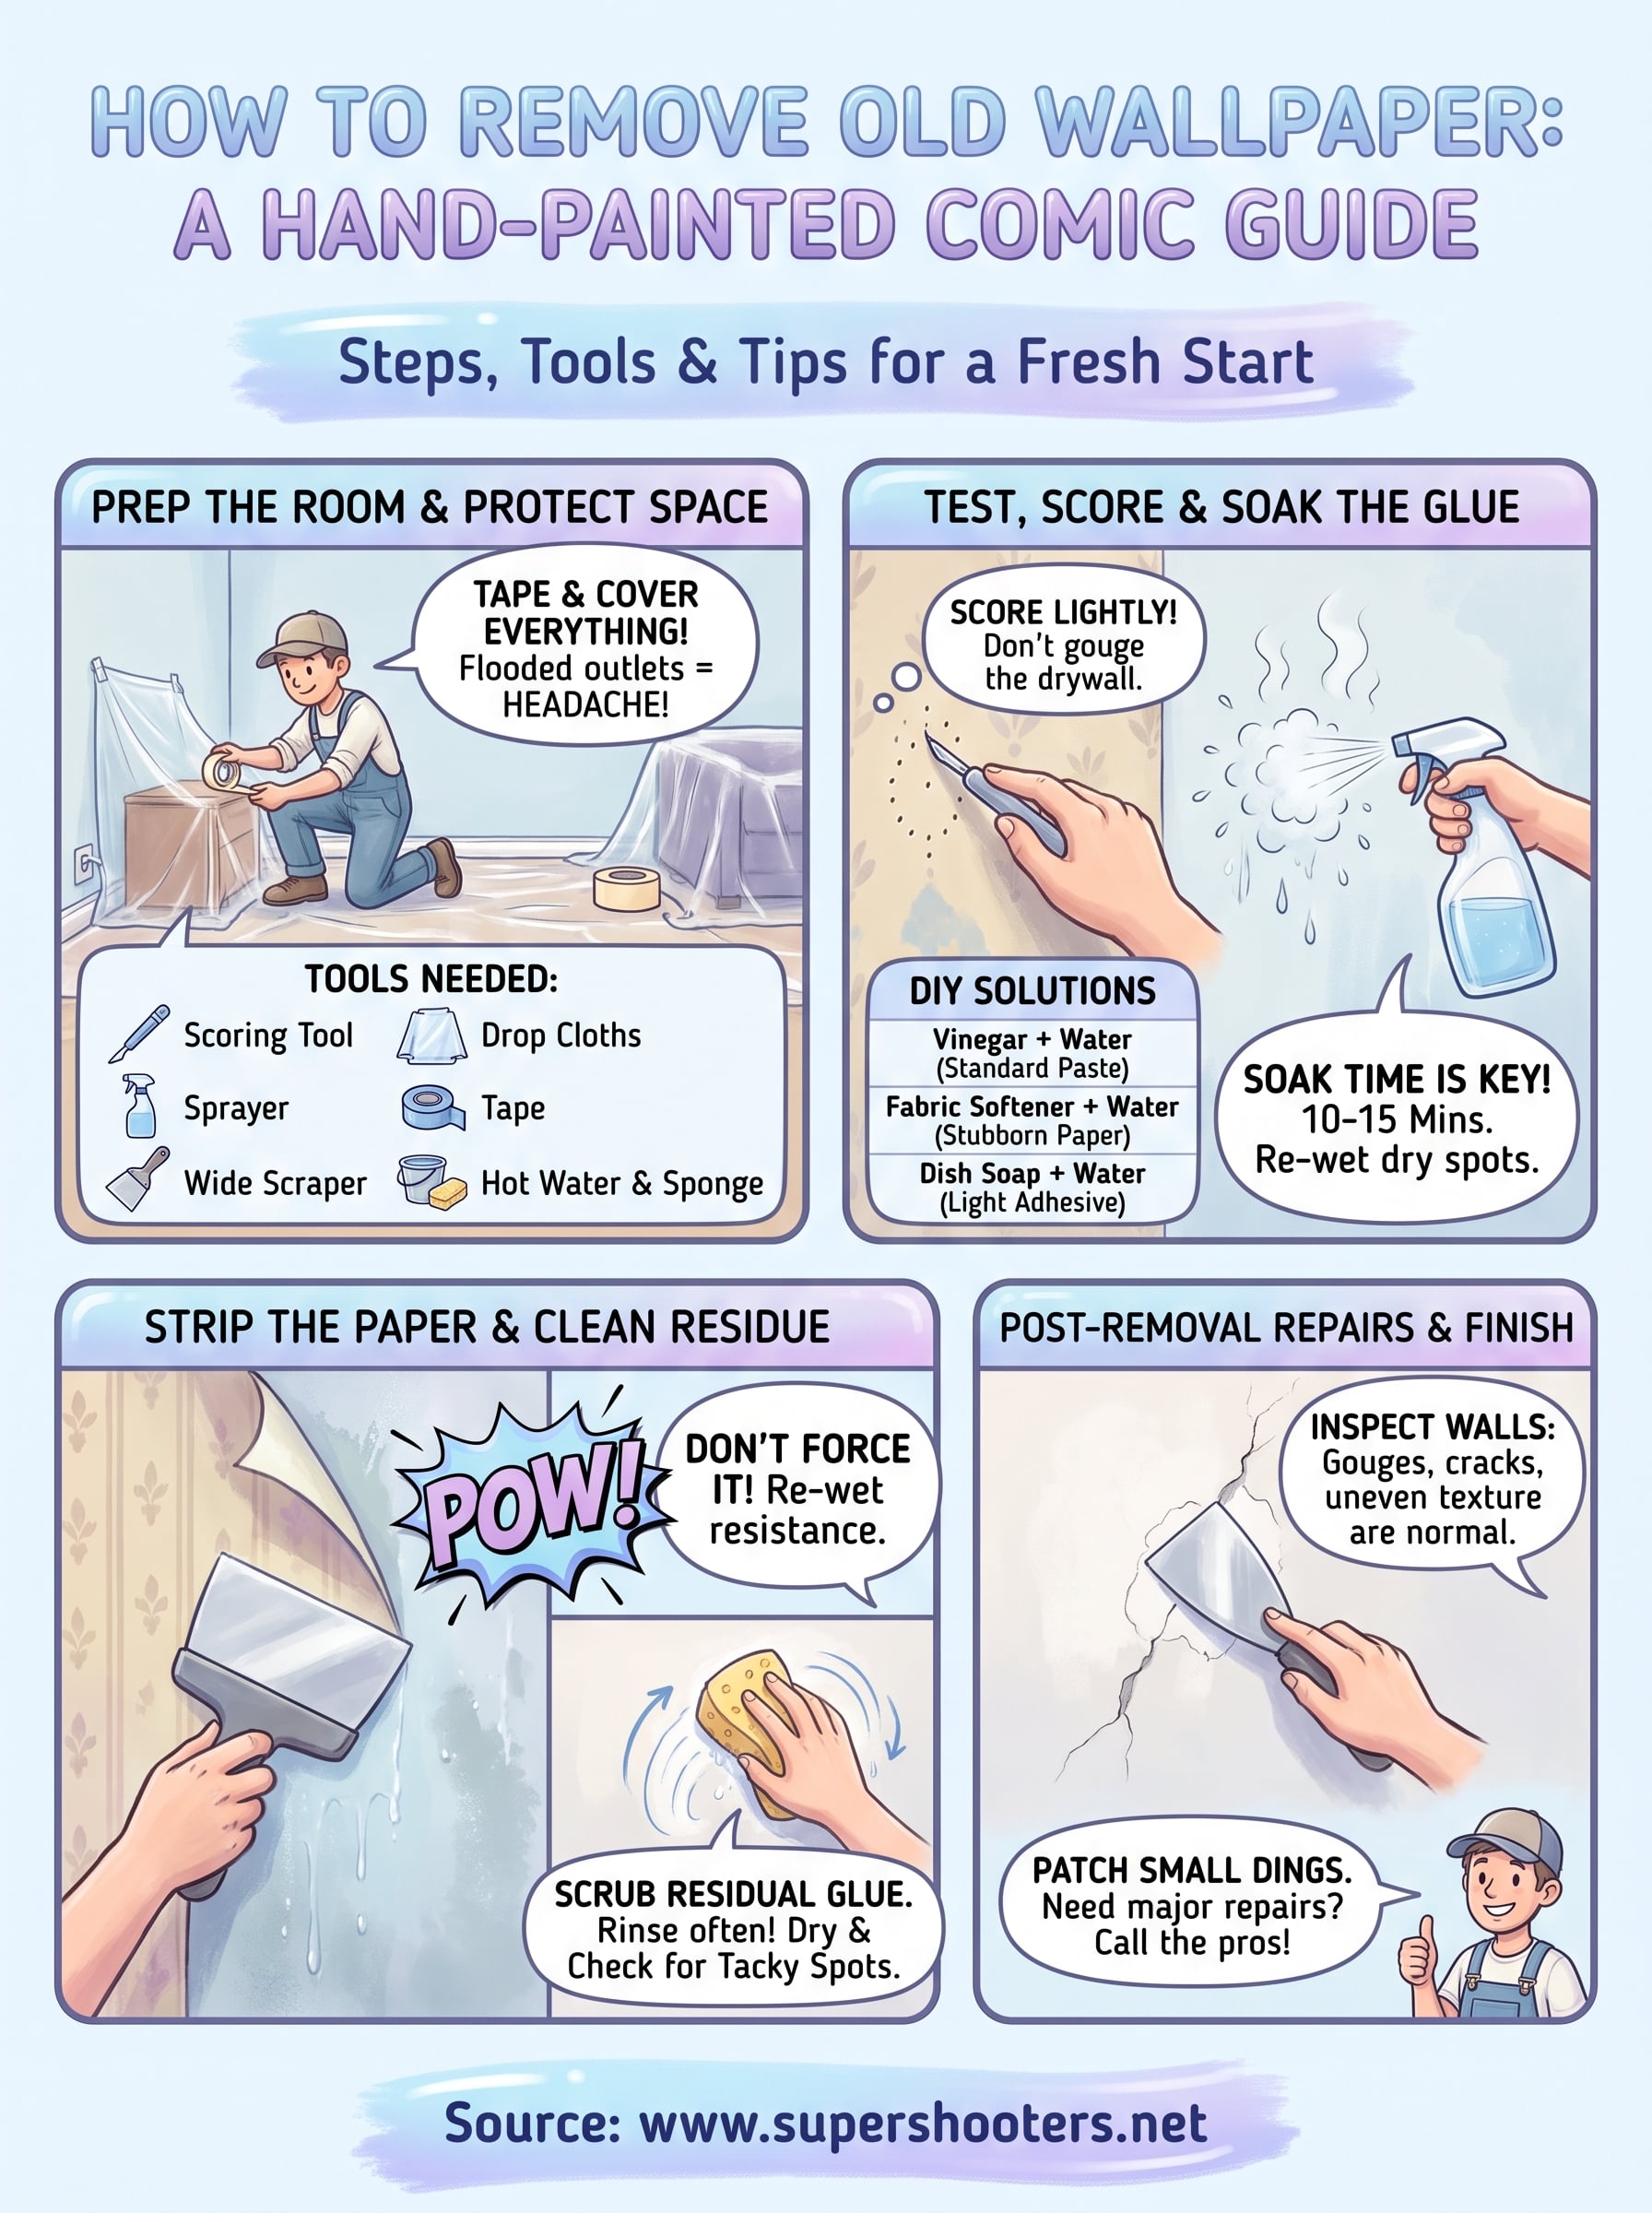
Tools you'll need for wallpaper removal

Here's the full checklist we recommend gathering before you touch the walls:

  • Wallpaper scoring tool (sometimes called a perforator) to puncture the top layer without gouging drywall
  • Spray bottle or garden pump sprayer for applying your soaking solution evenly
  • Wide putty knife or wallpaper scraper , 4 to 6 inches wide
  • Plastic sheeting or drop cloths to protect flooring and baseboards
  • Painter's tape to seal off outlets, switches, and trim
  • Bucket of hot water , as hot as your tap allows
  • White vinegar or liquid fabric softener for the soaking solution
  • Sponge or rags for wiping down walls after stripping
  • Rubber gloves to protect your hands from prolonged glue and moisture exposure

The scoring tool is the one item you can't skip, since it's what lets water actually reach the adhesive underneath.

Homemade wallpaper removal solutions

Skip the pricey commercial removers unless you're dealing with multiple layers or a commercial-grade adhesive. A DIY wallpaper stripping solution made from household items works on most residential jobs:

Solution Mix Ratio Best For
Vinegar solution 1 part white vinegar to 1 part hot water Standard paste, single layer
Fabric softener solution 1 cup fabric softener to 1 gallon hot water Vinyl-coated or stubborn paper
Dish soap solution 2 tablespoons dish soap to 1 gallon hot water Light adhesive, quick jobs

Vinegar breaks down the starch-based glue common in older homes, while fabric softener works better on newer vinyl papers with synthetic adhesive. Fill your spray bottle or sprayer with whichever mix matches your wallpaper type, and you're ready to move into the room prep stage.

Once you've got your supplies staged, take five minutes to check your wall type too. Plaster walls handle scoring and moisture differently than drywall, and knowing how to tell drywall from plaster walls changes how aggressive you can be with the scraper later on.

Step 1. Prep the room and protect your space

Before any scoring or spraying happens, clear the room down to the studs of what you can move, the same way you would when getting a room ready for a paint job. Furniture, wall art, and outlet covers all need to come out of the splash zone, since hot water and vinegar solution will drip more than you expect once you start working overhead sections. Push anything heavy into the center of the room and cover it with plastic sheeting, then focus on the floor.

Running painter's tape along the baseboards and around every outlet or switch plate takes ten extra minutes but saves you from soggy trim and tripped breakers later. Drywall screws and electrical boxes don't love standing water, so tape generously rather than sparingly. Lay drop cloths edge to edge across the entire floor, overlapping seams so nothing seeps through to hardwood or carpet underneath.

A flooded outlet box is a bigger headache than any stubborn wallpaper strip, so tape first and score second.

Next, kill the power to the room at the breaker if outlets sit anywhere near your working height. This isn't optional if you're stripping wallpaper that surrounds switch plates, since removing wallpaper glue near live electrical components with a wet sponge is asking for trouble. Pull the switch plates and outlet covers themselves, not just tape around them, and set the screws aside somewhere you won't lose them.

Open a window or run a fan if the room doesn't ventilate well. Vinegar fumes aren't dangerous, but a stuffy room makes a two-hour job feel like four. Once the space is protected and the power's off, you're ready to test your removal method on a small section before committing to the whole wall.

Step 2. Test a corner and score the wallpaper

Pick a small, inconspicuous section, like behind a door or near the baseboard, and spray it with your chosen solution before touching the rest of the wall. Wait ten minutes, then try peeling a corner with your putty knife. If the paper lifts in one piece with the backing intact, you've likely got strippable wallpaper and can skip heavy scoring. If it tears and leaves a papery layer stuck to the drywall, you're dealing with a traditional wallpaper job that needs the full scoring and soaking process.

Score the entire wall in overlapping passes using your perforating tool, working in sections roughly three feet wide. Press firmly enough to puncture the top coating without gouging the drywall paper underneath, since deep gouges mean extra joint compound work later. A wallpaper scoring pass should leave hundreds of tiny perforations, not visible scratches you can see from across the room.

Score too lightly and your solution won't penetrate; score too hard and you'll be skim-coating the whole wall afterward.

Drywall takes scoring differently than plaster, so adjust your pressure accordingly. On drywall, go light and let the tool's wheels do the work rather than pressing down with your arm. On plaster walls, which tolerate more moisture and abrasion, you can afford a firmer pass since the surface underneath is far more forgiving than paper-faced drywall. Either way, work in sections you can spray and strip within twenty minutes, since scored wallpaper that dries back out just means scoring it twice.

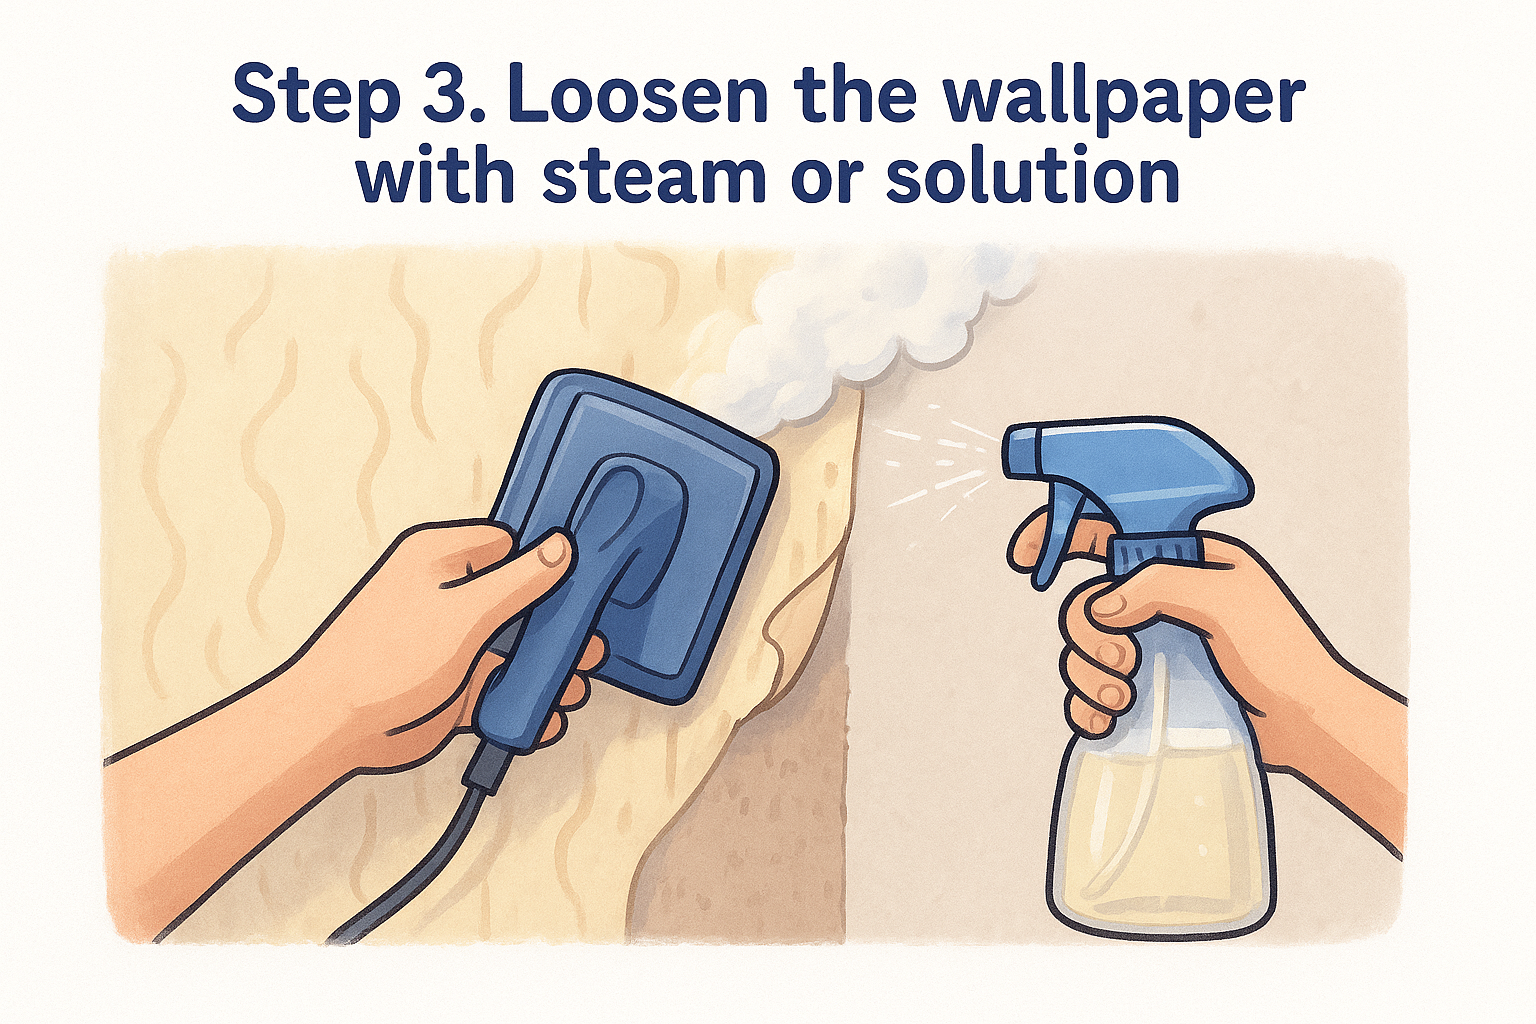
Step 3. Loosen the wallpaper with steam or solution

Apply your soaking solution or steam immediately after scoring, since perforated paper starts drying out within minutes in a warm room. Steaming wallpaper works faster on multiple layers or vinyl-backed paper that resists liquid penetration, while a spray solution handles single-layer paper on drywall just fine. Either method needs the same scored surface underneath to actually reach the glue.

Using a wallpaper steamer

Rent a wallpaper steamer from a hardware store for around $25 a day if you're tackling more than one room. Hold the plate against a scored section for 10 to 15 seconds, then move to the next section while the heat softens the adhesive behind it. Steam works especially well on plaster walls, which handle the sustained heat and moisture better than drywall's paper facing.

Using the spray solution method

For smaller jobs, saturate each scored section with your vinegar or fabric softener mix using a pump sprayer, then let it sit.

Give the solution real dwell time, ten to fifteen minutes minimum, since rushing this step is the number one reason people end up gouging drywall later.

Re-spray any spots that look dry before you start scraping. A second light coat right before stripping keeps the adhesive removal process moving without constant reapplication mid-scrape.

Work in three-foot sections regardless of which method you choose, since covering the whole wall at once means the first section dries out before you get back to it. Track your progress with a simple loop:

  1. Score a section
  2. Soak or steam it
  3. Wait 10 to 15 minutes
  4. Strip before moving to the next section

Keeping this rhythm is what separates a smooth afternoon from a frustrating one.

Step 4. Strip the paper and clean off leftover glue

Once a section has soaked long enough that the paper looks dull and slightly bubbled, work your putty knife under a top corner and push it at a low angle, close to 15 degrees from the wall. Stripping wallpaper at too steep an angle is how people gouge drywall, so keep the blade nearly flat and let it glide under the paper rather than dig into it, which is the heart of removing wallpaper from drywall without damaging it. Pull steadily in long strips rather than short jerks, and if you hit resistance, stop and spray that spot again instead of forcing the scraper through.

Fighting a dry patch with brute force is how a clean wall turns into a repair job, so re-wet it instead of pushing harder.

Expect two layers to come off separately if your home has been repapered before. The outer vinyl or printed layer usually peels first, leaving a thin paper backing still glued to the wall. That backing needs its own soak and scrape pass, since it holds just as much adhesive as the top layer did.

Cleaning off residual glue

After the visible paper is gone, you'll almost always find a hazy film or raised ridges of dried paste across the wall. Removing wallpaper glue residue takes one more round with your solution and a scrub sponge:

  • Spray the remaining glue film and let it sit 5 minutes
  • Scrub in circular motions with a non-abrasive sponge
  • Wipe with a clean, damp rag to lift loosened residue
  • Rinse the rag frequently so you're not just smearing paste around
  • Let the wall dry fully, then run a hand over it to check for tacky spots

Any wall that still feels sticky after drying needs another light scrub before you move on to the cleaning, repairing, and priming steps that follow wallpaper removal.

Giving your walls a fresh start

Bare walls after wallpaper removal rarely look ready for paint right out of the gate. You'll likely see gouges from scraping , faint glue shadows, or cracks that were hidden under the paper for decades, all of which call for drywall repair after wallpaper removal. That's normal, and it's the same condition we find on most jobs when we pull old wallpaper for clients across the Sacramento Valley.

Patch small dings yourself with joint compound and a light sand, following the step-by-step wall repair process after stripping paper, but don't rush a wall that's cracked, uneven, or soft in spots. Those issues point to drywall problems that a skim coat won't fix, and papering over them again just delays the repair.

If your walls need more than a patch job, or you're not confident matching wall texture across a full room, our team can finish the job cleanly. Reach out for professional drywall repair and patching in the Sacramento Valley and we'll get your walls ready for paint, free estimate included.

Recent Posts

By cinchweb September 10, 2026
Learn drywall repair how to fix nail holes, cracks, and big holes step by step, plus when to call Super Shooters for asbestos or larger jobs.
By cinchweb September 9, 2026
Compare 5 ceiling popcorn removal machine options by cost, texture type, and room size, plus why pre-1980 homes need asbestos testing first.
By cinchweb September 7, 2026
Compare 7 ways to hire a drywall installation service, from contractors to handymen, with pricing and vetting tips for Sacramento Valley homeowners.
By cinchweb September 6, 2026
Compare 5 sheetrock drywall repair kit picks by hole size, price, and where to buy, plus when to call a pro instead of DIY patching.
By cinchweb September 5, 2026
Learn how to patch anchor holes in drywall step by step, remove anchors, fill, sand, and paint for a seamless, invisible repair.
By cinchweb September 4, 2026
Compare popcorn ceiling removal contractors by cost, asbestos testing, and expertise to pick the right fit for your Sacramento Valley home.
By cinchweb September 4, 2026
See real stucco ceiling removal cost breakdowns, a worked Elk Grove example, DIY vs pro pricing, and tips to save on your Sacramento Valley project.
By cinchweb September 4, 2026
Learn corner bead drywall installation step by step, tools, cutting, mudding, and sanding tips, or call Super Shooters for expert Sacramento Valley help.
By cinchweb September 2, 2026
See what drives ceiling drywall repair cost in 2026, from texture matching to asbestos risks, plus Sacramento Valley price ranges to check your quote.
Show More