
Share this article

July 7, 2026

How To Prep A Room For Painting: Step-By-Step Checklist

A fresh coat of paint can completely transform a room, but only if you put in the work before the roller ever touches the wall . Skip the prep, and you'll end up with peeling edges, visible cracks, and a finish that looks worse than what you started with. Knowing how to prep a room for painting is the difference between a result you're proud of and one you'll want to redo in six months.

At Super Shooters, we've completed over 10,000 drywall, texturing, and wall repair projects across the Sacramento Valley. A huge chunk of that work happens right before homeowners paint, patching holes, fixing settlement cracks, smoothing out old textures. We see firsthand what happens when prep gets rushed, and we know exactly what it takes to set up a room the right way .

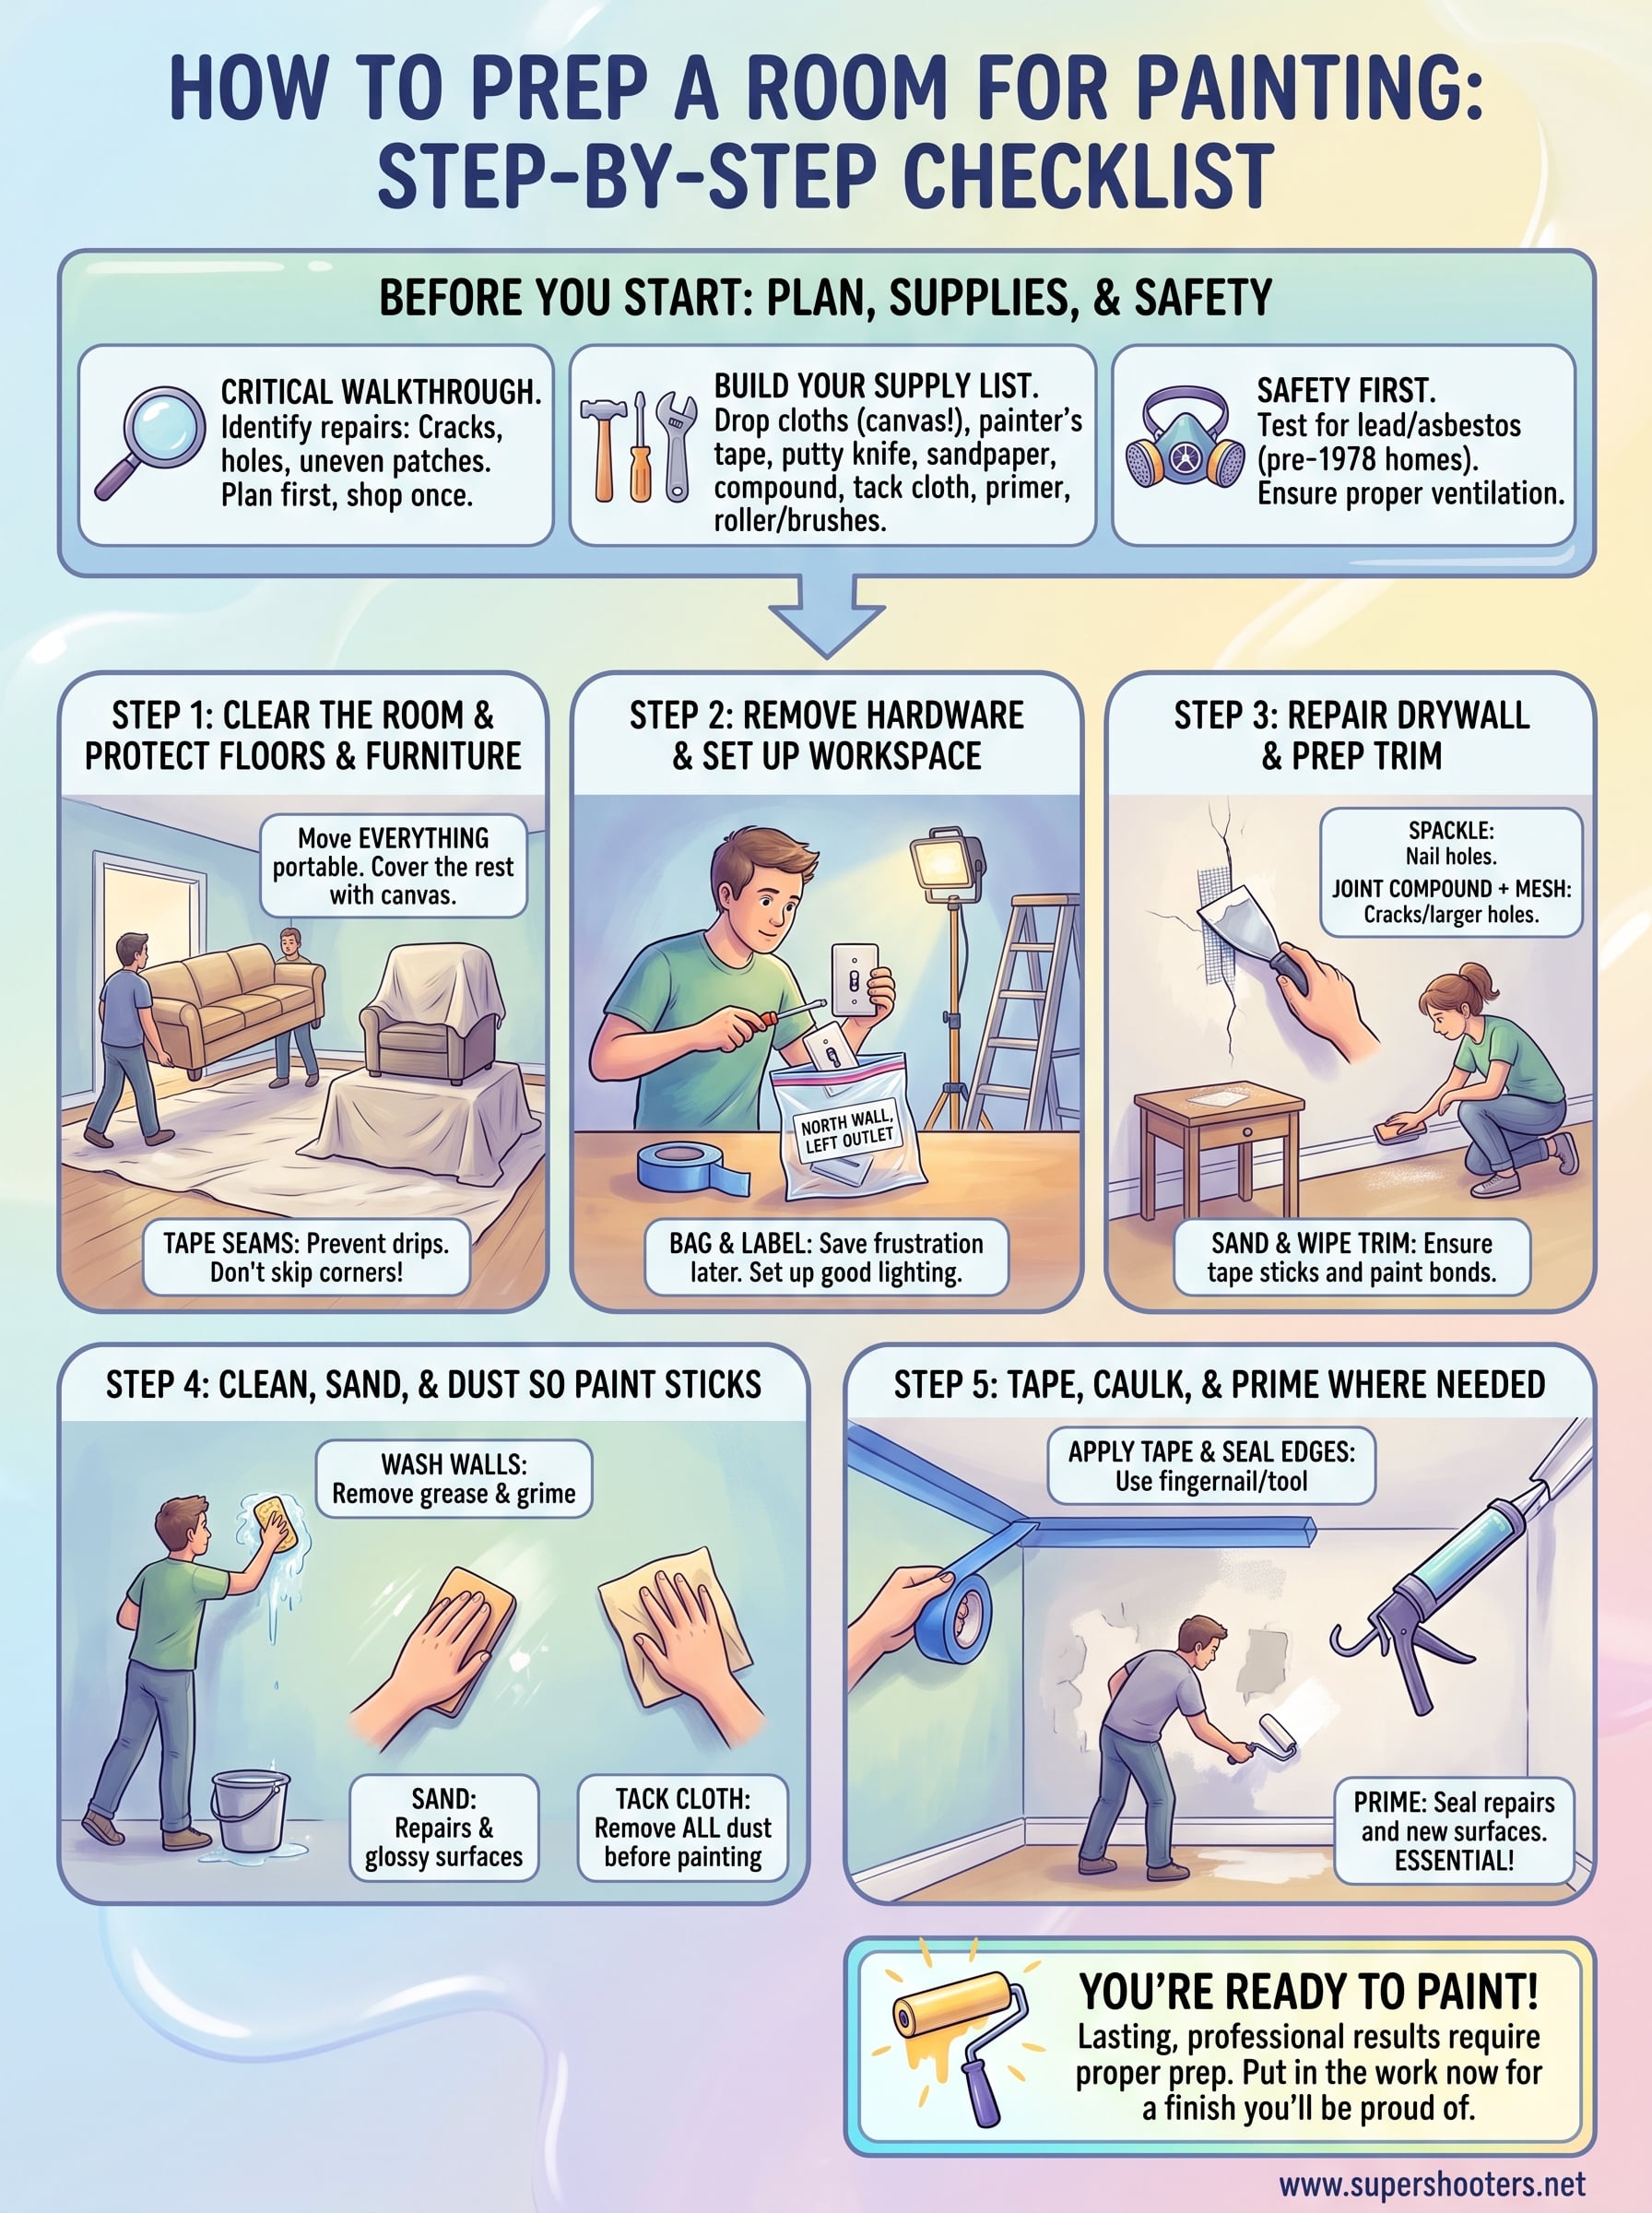
This step-by-step checklist walks you through the entire process, from clearing furniture to final sanding . Whether you're repainting a single bedroom or refreshing every wall in the house, follow these steps and you'll paint over a surface that's clean, smooth, and ready to hold color for years.

Before you start: plan, supplies, and safety

Before you pick up a brush, take 10 to 15 minutes to walk through the room with a critical eye. Look at every wall and ceiling surface. Note cracks, nail holes, water stains, and rough or uneven patches as you go. Knowing exactly what needs fixing before you start means you won't make three trips to the hardware store mid-project and won't discover a hidden problem after the paint is already on. Good preparation is what separates a lasting result from one that needs redoing, and it's the first real step in learning how to prep a room for painting the right way.

Build your supply list

You don't want to stop halfway through prepping because you're missing joint compound or the right grit of sandpaper. Gather everything before you begin , and you'll move through each step without interruption. Below is a complete checklist for most standard rooms:

Item Purpose
Drop cloths (canvas or plastic) Protect floors and furniture from drips
Painter's tape (1.5" or 2") Mask trim, outlets, and ceiling edges
Putty knife and sandpaper (120 and 220 grit) Smooth repairs and rough surfaces
Joint compound or spackling paste Fill holes and cracks before priming
Tack cloth or microfiber rags Remove dust before applying paint
Primer Seal repairs and improve paint adhesion
Roller, brushes, bucket, and extension pole Apply paint efficiently and evenly

Check for safety hazards

Homes built before 1978 may have lead paint on the walls or asbestos in ceiling texture or joint compound. If your home falls in that range, test before you sand or scrape anything. The EPA provides guidance on lead testing that can help you determine the right next step.

If you suspect asbestos in your ceiling texture or wall finish, stop all work immediately and contact a licensed abatement professional before you continue.

Ventilation is the other safety factor most people skip over entirely. Open windows and run a fan throughout the prep process, especially when you sand or use chemical-based primers. Dust and fumes build up fast in a closed room, and prolonged exposure in a poorly ventilated space causes real respiratory issues over time.

Step 1. Clear the room and protect floors and furniture

The first physical step in how to prep a room for painting is getting everything out of the way. Paint drips and sanding dust travel much farther than you expect , and furniture left in place gives you less room to work and more surfaces to accidentally damage. Move as much as you can completely out of the room before you do anything else, and you'll move through every following step faster and with fewer mistakes.

Move furniture and belongings out

Pull out everything you can carry. For large pieces that have to stay, push them to the center of the room and group them tightly together, leaving at least two feet of clear space along every wall. Items to remove from the room entirely:

  • Wall art, mirrors, and framed photos
  • Lamps, side tables, and small chairs
  • Rugs, curtains, and window treatments
  • Anything fragile, breakable, or irreplaceable

Cover what stays behind

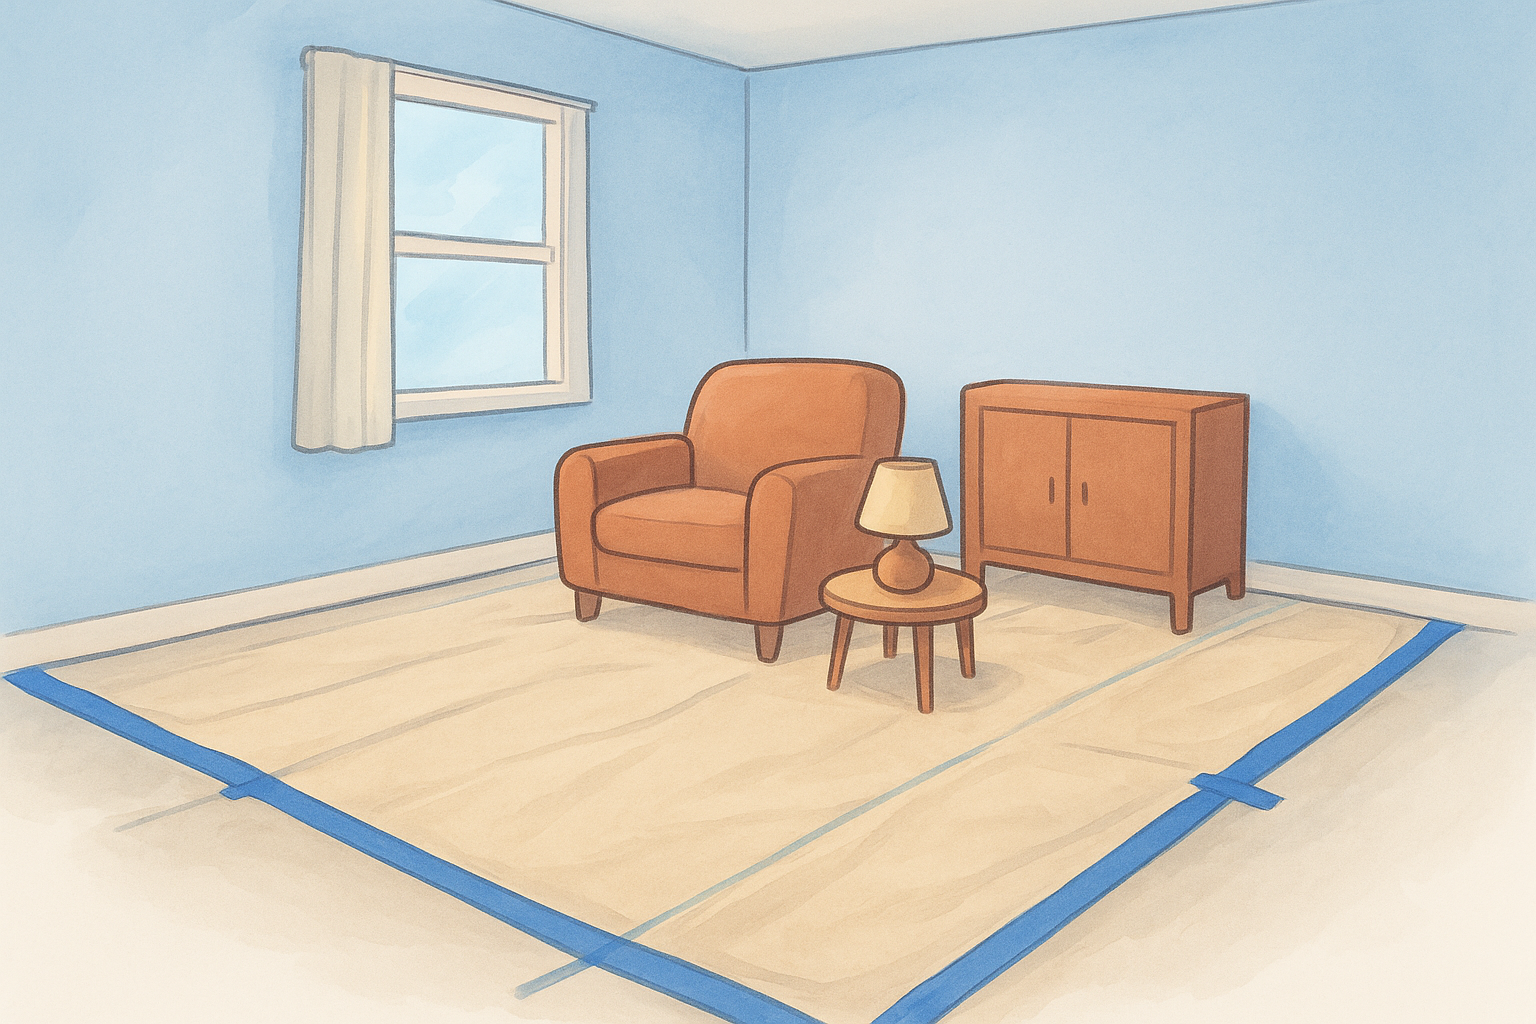
Once the furniture is repositioned, lay canvas drop cloths over everything remaining in the center. Canvas grips the floor better than plastic sheeting and won't bunch up or shift under your feet while you work. Cover the full floor surface all the way into corners , then tape the seams between drop cloth sections so paint can't drip through the gaps.

One uncovered patch of hardwood or carpet will take more time to clean up than covering the entire floor would have taken in the first place.

Step 2. Remove hardware and set up your workspace

With the room clear and the floors covered, your next job is to strip the walls of anything that could catch paint or slow you down . Removing hardware before you start is one of the most skipped steps in how to prep a room for painting, and skipping it always costs you more time on the back end.

Take off outlet covers, switch plates, and fixtures

Pull every outlet cover, light switch plate, and vent cover off the walls. Use a flathead screwdriver, drop each piece into a labeled zip-lock bag with its screws, and set the bag somewhere out of the way but easy to find later. Tape a small piece of painter's tape directly over each exposed outlet and switch to keep paint out of the openings.

Label each bag by location, such as "north wall, left outlet," so reinstalling hardware takes minutes instead of a frustrating guessing game.

Remove any wall-mounted hooks, brackets, or fixtures you can take down safely. Anything you leave on the wall requires careful cutting in around it, and the result rarely looks as clean as a surface you painted unobstructed.

Set up your lighting and ladder

Good lighting catches surface flaws and thin spots that you'd miss under standard room light. Bring in a work light or a clip-on LED and angle it low against the wall surface. Position your ladder or step stool near the first wall you'll tackle so you're not constantly repositioning it as you move through taping and priming.

Step 3. Repair drywall and prep trim for paint

Wall repairs are where most people cut corners, and that mistake shows up the second the paint dries. Every hole, crack, and dent you skip will catch light and stand out on the finished wall. Taking the time to fix surfaces properly is one of the most critical parts of how to prep a room for painting the right way.

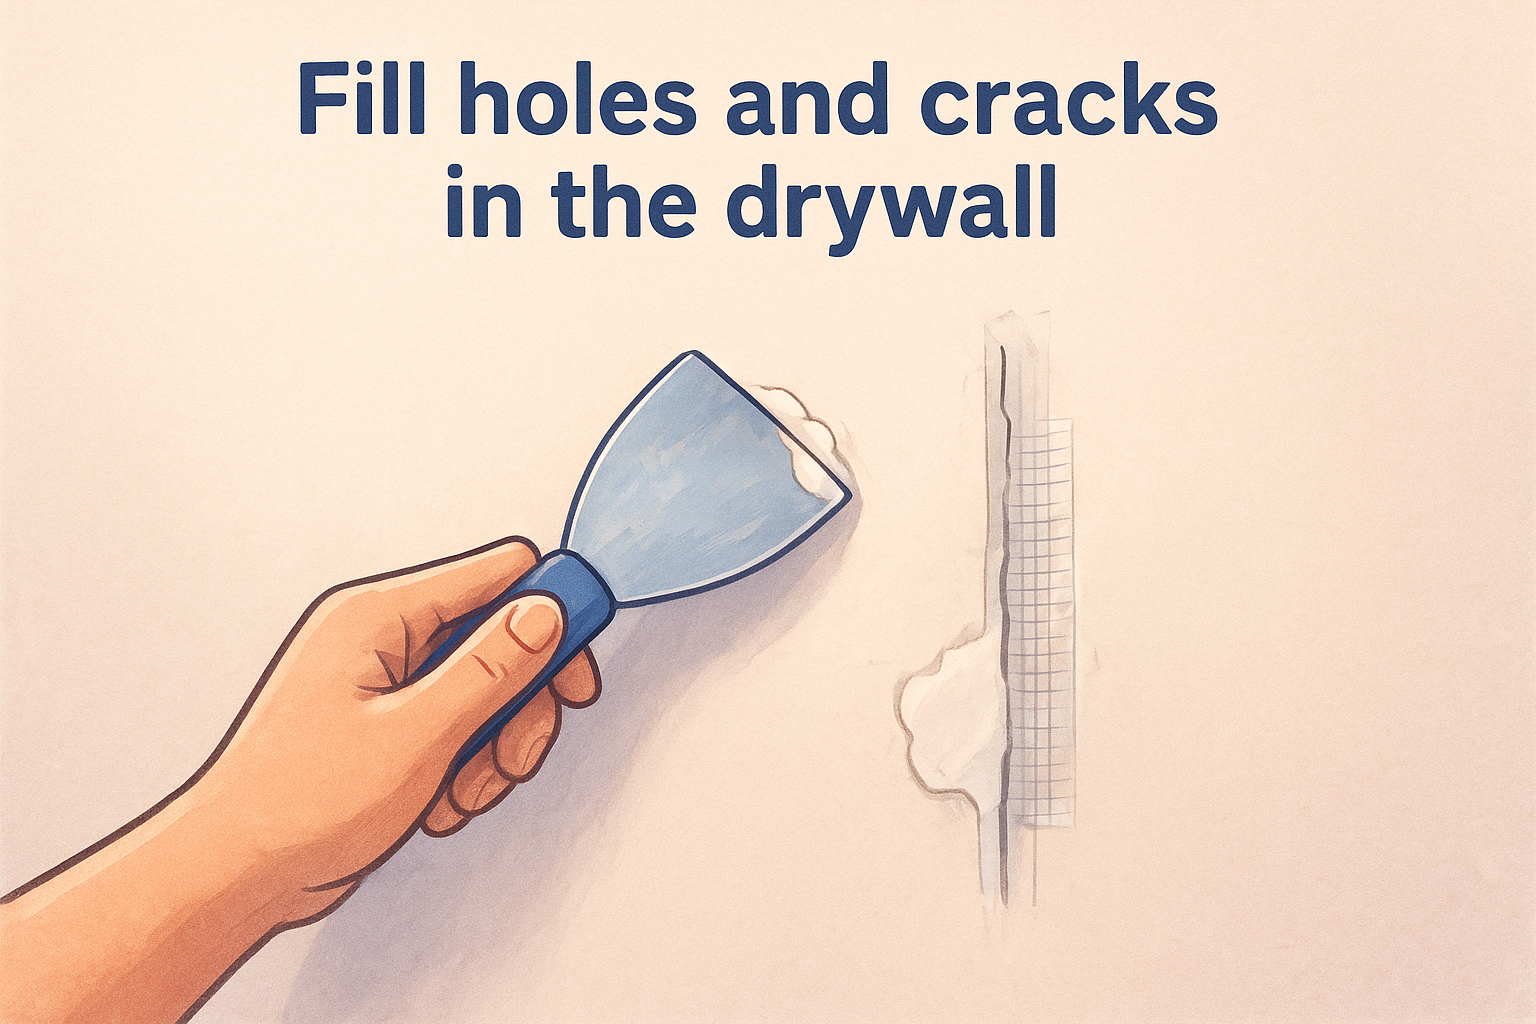
Fill holes and cracks in the drywall

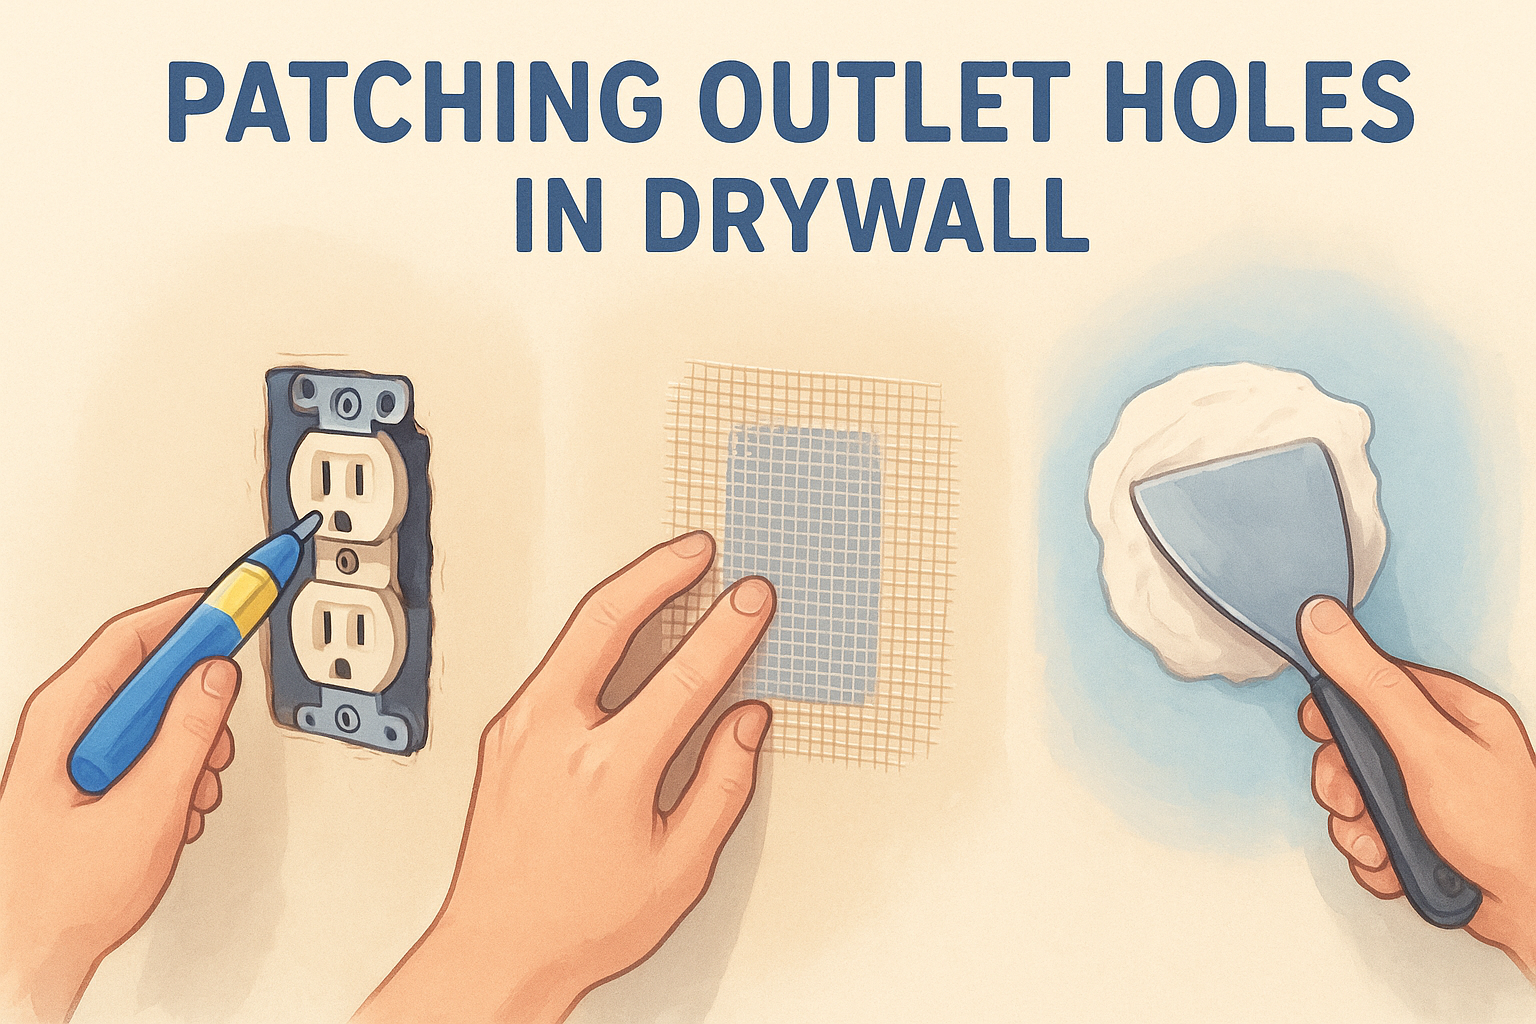
Start with nail holes and small dents , pressing spackling paste in with your putty knife and scraping it flat. For cracks wider than a hairline , use joint compound and embed a strip of mesh tape before applying compound over it. Let each coat dry fully before adding another, then sand smooth once dry.

If you see cracks running diagonally from door or window corners, those are typically settlement cracks that go deeper than the surface and may need a professional assessment before you paint.

Use this quick reference to match the repair to the right product:

Repair Type Best Product
Nail holes and small dents Spackling paste
Holes up to 4 inches Joint compound with mesh patch
Hairline or settlement cracks Joint compound with mesh tape

Prep the trim for a clean edge

Lightly sand all trim, baseboards, and window casings with 120-grit sandpaper before you apply tape. Sanding scuffs the surface so tape sticks firmly and paint bonds to the trim without peeling.

Wipe every sanded surface with a damp microfiber cloth after sanding. Dust left on the trim sits between the surface and the tape and breaks the seal, which lets paint bleed underneath.

Step 4. Clean, sand, and dust so paint sticks

Paint won't stick to a dirty surface, no matter how many coats you apply. Grease, dust, and residue on your walls act as a barrier between the surface and the paint, causing peeling and poor adhesion within weeks. This step is often skipped when people figure out how to prep a room for painting, but it makes a measurable difference in how long the finish lasts.

Wash the walls before anything else

Start with a bucket of warm water and a few drops of dish soap . Work from the top of the wall down so dirty water doesn't drip over areas you've already cleaned. Pay extra attention to kitchen walls, areas around light switches, and any surface that gets touched frequently , since those spots carry the most grease and fingerprint buildup.

Let the walls dry completely before you sand. Sanding wet or damp drywall tears the paper face and creates a rough texture that shows through the finished paint.

Sand repaired areas and scuff glossy surfaces

Once dry, lightly sand any repaired patches with 220-grit sandpaper until the surface feels flush and smooth. If the existing paint has a glossy or semi-gloss finish , scuff the entire wall with 120-grit to give the new paint something to grip.

Wipe every surface with a tack cloth or dry microfiber rag to pull up all the dust and loose debris before you move on. Run your hand along the wall after wiping. If it comes away clean, you're ready for the next step.

Step 5. Tape, caulk, and prime where needed

This is the final step in how to prep a room for painting before the roller comes out, and it determines whether you get clean, sharp edges or bleed lines you'll spend hours touching up. Taking 15 to 20 minutes here saves you far more time once the paint goes on.

Apply painter's tape and caulk the gaps

Press 1.5-inch or 2-inch painter's tape firmly along every edge where the wall meets the trim, ceiling, and baseboards. After placing the tape, run your fingernail or a plastic putty knife along the full length of the tape edge to seal it completely so paint has no path to creep underneath.

Anywhere you see a visible gap between the trim and the wall, run a thin bead of paintable latex caulk along the seam, smooth it with a damp finger, and let it dry fully before you tape over it.

Prime before you paint

Primer is not optional on any surface with fresh repairs, bare drywall, or a significant color change. Apply a coat of PVA drywall primer over every patched spot and any area where you sanded down to bare paper. Primer seals the surface, evens out how the wall absorbs paint, and gives the topcoat something solid to grip so the color holds long-term.

Let the primer dry according to the manufacturer's instructions, which is typically one to two hours under normal conditions, before you pick up the paint roller.

You're ready to paint

You've cleared the room, fixed the walls, cleaned every surface, and laid down tape and primer. That means you've done what most homeowners skip, and your walls are genuinely ready for color . Following the full checklist on how to prep a room for painting takes more time upfront, but it pays off the moment the paint goes on smooth and stays that way for years instead of months.

Paint applied over a well-prepped surface lasts significantly longer , looks more even, and requires fewer touch-ups down the road. That's the real return on the time you put into this process. Every step you completed, from washing the walls to sealing the tape edges, directly affects how the finished room looks and holds up .

If you found damage during prep that goes beyond a nail hole or hairline crack, our team at Super Shooters can handle professional drywall repair and patching for Sacramento Valley homeowners before you pick up the roller.

Recent Posts

By cinchweb July 9, 2026
Learn how many coats of drywall mud you need, the tools for each pass, drying times, finish levels, and common mistakes to avoid.
By cinchweb July 8, 2026
Learn how to tape drywall corners like a pro: prep tools, bed and feather coats, fix cracks, and get smooth finishes step by step.
By cinchweb July 7, 2026
Find the best options for asbestos ceiling testing near me. Compare professional inspector costs, DIY kits, and accredited labs to safely test your home.
By cinchweb July 5, 2026
Repair holes and cracks with these professional tips on how to patch ceiling drywall. Master mudding and texture matching for a seamless, invisible finish.
By cinchweb July 4, 2026
Stop before you scrape. Learn how to test ceiling for asbestos safely with our step-by-step guide on DIY sampling, lab analysis, and protective gear.
By cinchweb July 3, 2026
Master how to apply drywall mud for perfectly smooth walls. Learn professional techniques for mixing, feathering edges, and finishing seams like a pro.
By cinchweb July 2, 2026
Learn how to mix drywall mud for a smooth, professional finish. Master the right ratios and consistencies for every coat to save time on sanding.
By cinchweb July 1, 2026
Learn what is drywall mud, its uses, and how to choose the right type. Discover the differences between mud, spackle, and plaster for a seamless finish.
By cinchweb June 30, 2026
Master drywall installation for beginners with our guide. Learn how to hang panels, tape seams, and apply a smooth finish for professional-looking walls.
Show More