June 29, 2026
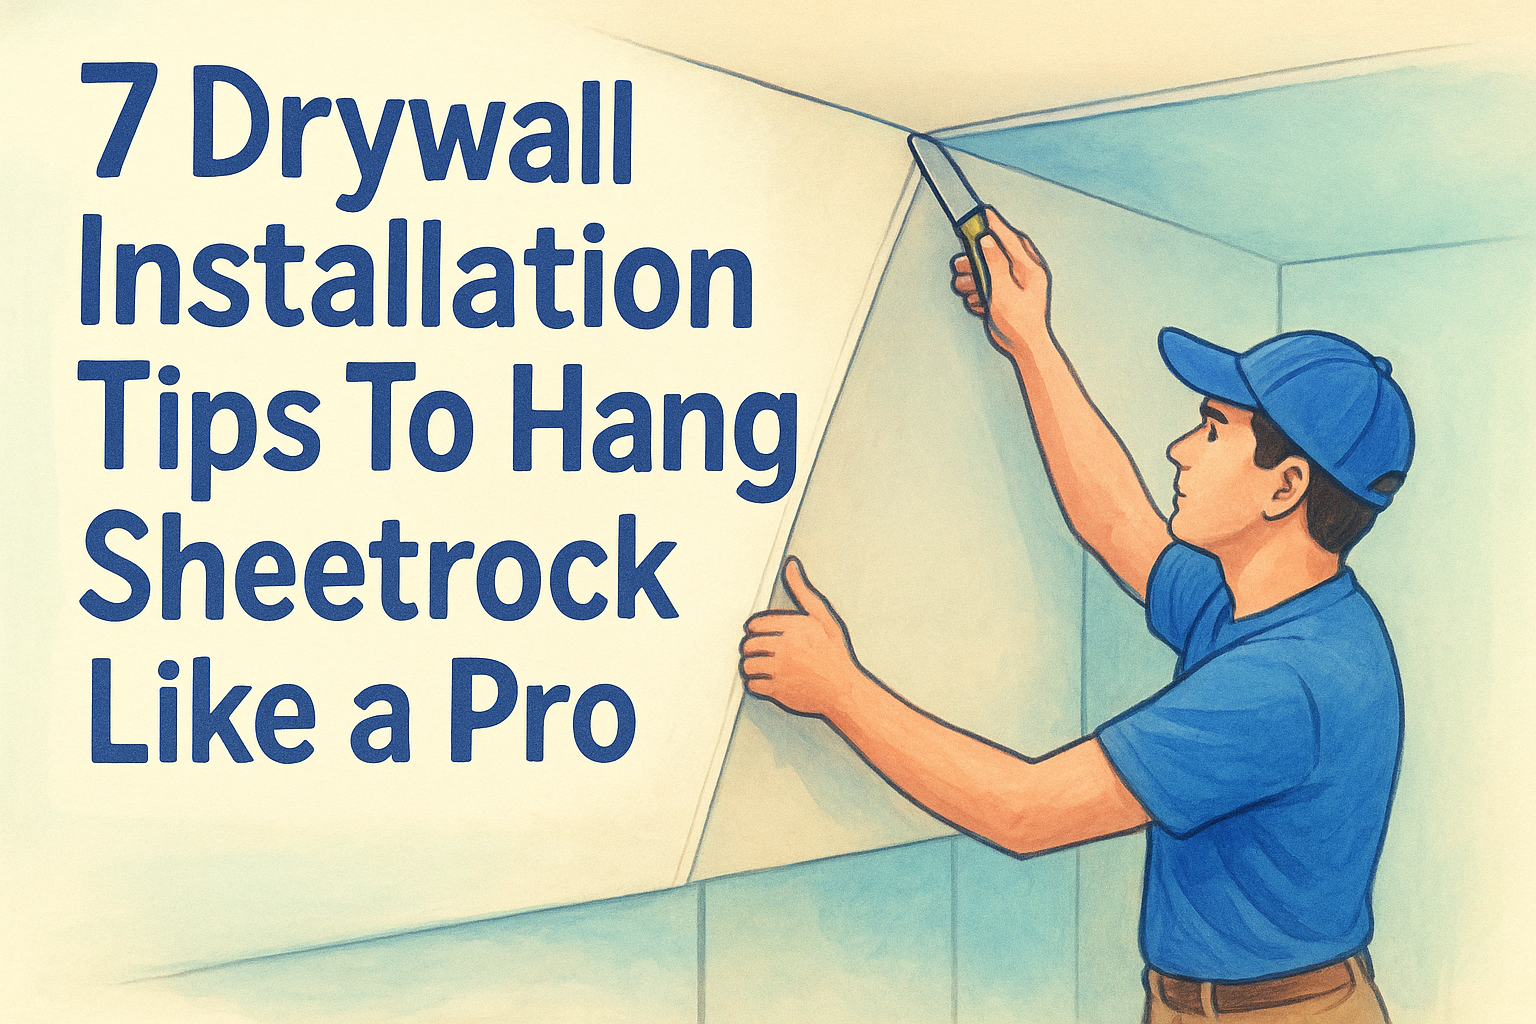
Drywall Repair After Wallpaper Removal: Step-By-Step Guide
You finally got that old wallpaper down, and now the wall looks worse than before. Torn drywall paper, leftover adhesive, gouges, and uneven surfaces are staring back at you. If you're facing drywall repair after wallpaper removal , you're dealing with one of the most common (and frustrating) challenges in home renovation. The good news: with the right approach, you can bring those walls back to a smooth, paint-ready condition without ripping everything out and starting over.
The damage wallpaper leaves behind varies. Sometimes it's minor, a thin layer of paste residue and a few scuffs. Other times, especially with older homes here in the Sacramento Valley, you're looking at torn face paper, deep gouges, and multiple layers of adhesive baked on over decades. Each type of damage calls for a slightly different repair method, and skipping steps or using the wrong technique can leave you with a finish that looks bumpy, patchy, or just plain off once the paint goes on. Knowing what you're working with before you pick up a putty knife makes all the difference.
At Super Shooters, we've completed over 10,000 residential projects across the Sacramento Valley, including countless wallpaper removals and drywall repairs. With more than 30 years in the business, our crews have seen every type of wall damage wallpaper can cause. We put this guide together based on that hands-on experience to walk you through the process step by step: assessing the damage, prepping the surface, applying the right repairs, and getting your walls ready for a clean, professional-looking paint job . And if at any point the project feels like more than you want to tackle, we're always here with free estimates and no upfront costs.
Before you start: tools, materials, safety
Rushing into drywall repair after wallpaper removal without the right setup usually means stopping mid-job to run to the hardware store, or worse, using the wrong product and having to redo work you already finished. Take 30 minutes to gather everything listed below before you touch the walls. A complete setup means fewer interruptions and better results from start to finish.
Tools you'll need
The tools for this job are mostly standard drywall and painting supplies , but a few specific items make a real difference in the final quality. A 6-inch and 10-inch drywall finishing knife gives you control over thin skim coats and helps you feather edges so repairs blend into the surrounding wall rather than standing out as obvious patches. You'll also want a sanding block or pole sander, a mud pan to hold joint compound while you work, and a spray bottle filled with clean water to keep the compound workable as you go.
Here's a complete tool list to have ready before you start:
- 6-inch flexible drywall finishing knife
- 10-inch drywall finishing knife
- Mud pan
- Pole sander or sanding block
- 80-grit and 120-grit sanding sheets
- 220-grit sanding sheets (for final smoothing)
- Paint roller with 3/8-inch nap cover
- 2-inch angled paintbrush
- Spray bottle with clean water
- Drop cloths
- Ladder or step stool as needed
Materials you'll need
Your material list depends on the extent of the damage , but you should have all of these on hand regardless of how the walls look now. Premixed all-purpose joint compound works well for most surface repairs and skim coats, but a setting-type compound, the powder you mix with water, is the better choice for deep holes because it hardens chemically rather than drying by evaporation. That means it shrinks far less in thick applications and won't crack as it cures.
| Material | Purpose |
|---|---|
| Drywall primer (PVA or shellac-based) | Seals torn paper and exposed gypsum before mud |
| Premixed all-purpose joint compound | Skim coating and general surface repairs |
| Setting-type compound (powder form) | Deep patches and fills where thickness is needed |
| Drywall paper tape or mesh tape | Bridging cracks and seams |
| Self-adhesive drywall patches | Covering holes larger than two or three inches |
| TSP substitute or sugar soap | Cleaning adhesive residue off the surface |
| Fine sandpaper (120-grit and 220-grit) | Smoothing between coats and before paint |
Safety considerations
Wall repairs after wallpaper removal raise one important safety concern that many homeowners overlook: asbestos. Homes built before 1980 in the Sacramento Valley and throughout California may have wallpaper adhesive or underlying joint compound that contains asbestos. Disturbing these materials through scraping or sanding without prior testing can release fibers into the air of your living space.
If your home was built before 1980, have a sample of the wall adhesive or compound tested by a licensed professional before you begin any scraping or sanding.
Beyond asbestos, standard dust and chemical precautions apply throughout this project. Wear an N95 respirator any time you sand, because fine drywall dust irritates your lungs even in small amounts. Keep safety glasses on during sanding and when applying primer to overhead surfaces. Open windows, run a fan to move air through the room, and keep children and pets out of the work area until the dust settles and primer has fully dried.
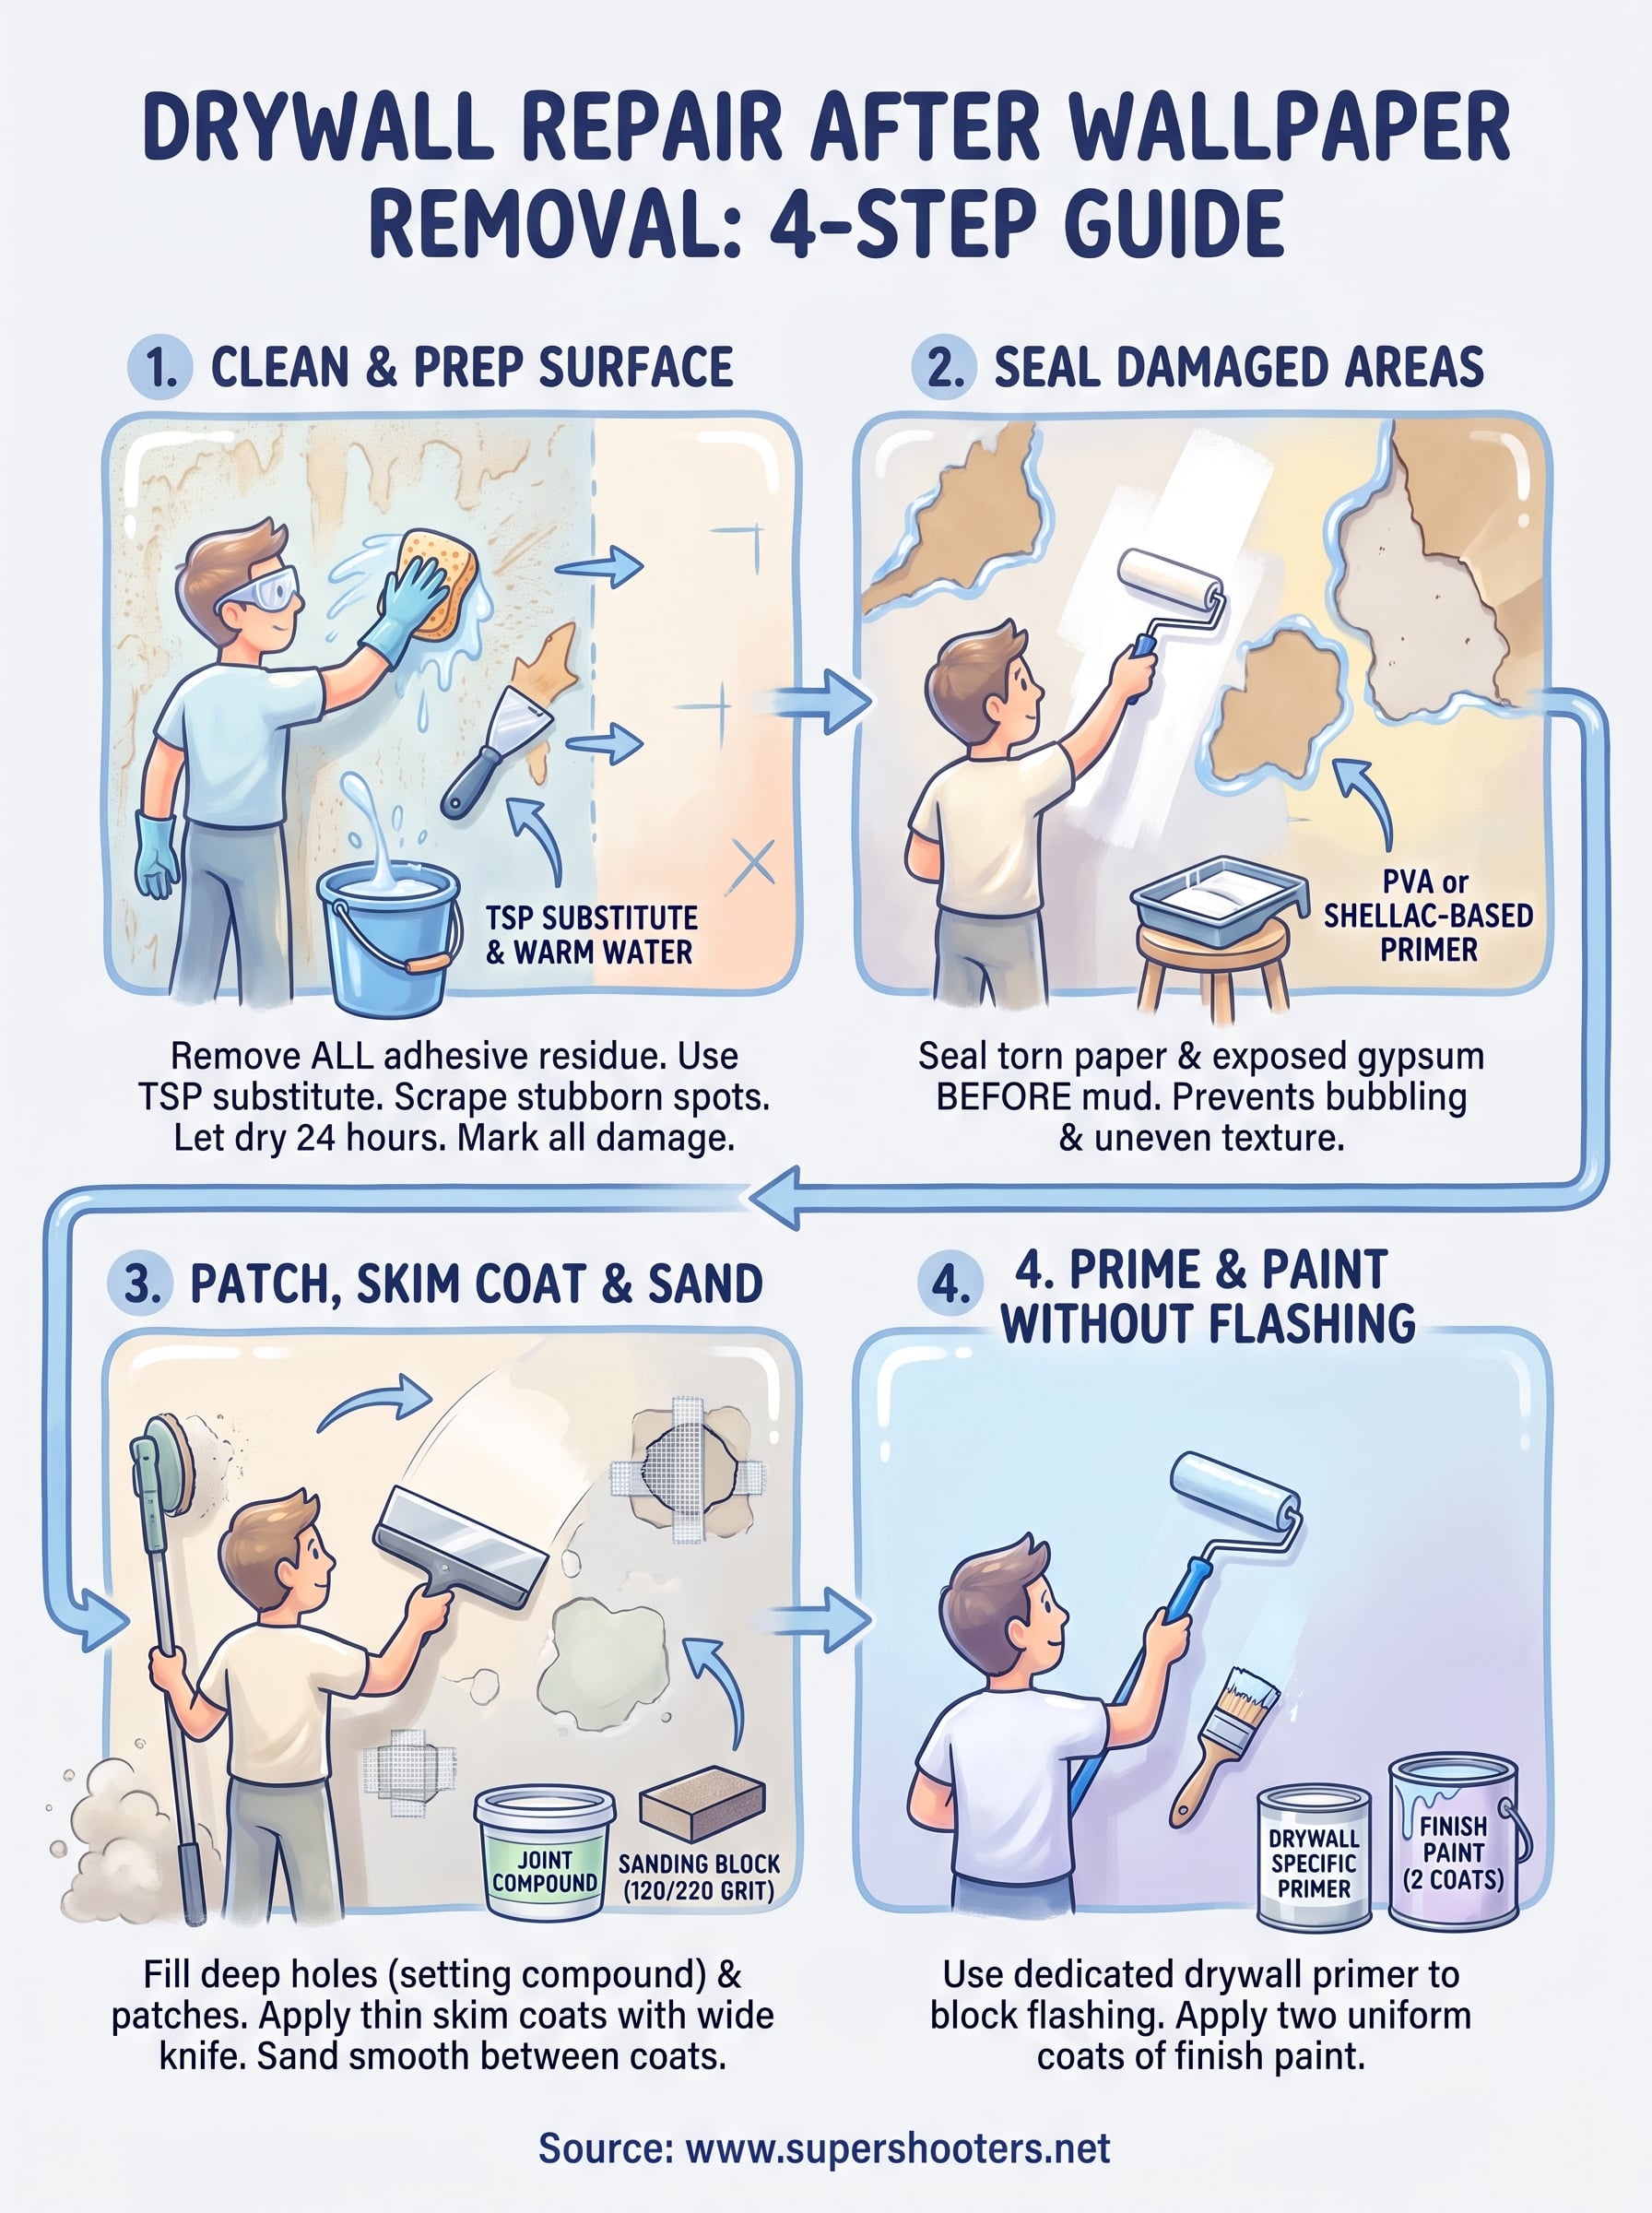
Step 1. Clean off paste and prep the surface
Before any compound goes on the wall, every bit of adhesive residue needs to come off first . Applying joint compound over old paste is one of the most common mistakes in drywall repair after wallpaper removal , and it causes problems that show up much later, often after the paint is already on. Paste left on the surface prevents primer and compound from bonding correctly, leading to peeling, bubbling, and uneven texture that no amount of sanding will fix.
Remove the adhesive residue
Mix a solution of TSP substitute (trisodium phosphate substitute) and warm water according to the product label, typically about 2 tablespoons per gallon. Apply it to the wall with a sponge or a low-nap paint roller, let it sit for two to three minutes to break down the adhesive, then wipe the area down with a clean damp sponge. Work in small sections of about 3 to 4 square feet so the solution doesn't dry on the surface before you wipe it off. Rinse the wall with clean water after washing each section to remove any chemical residue.
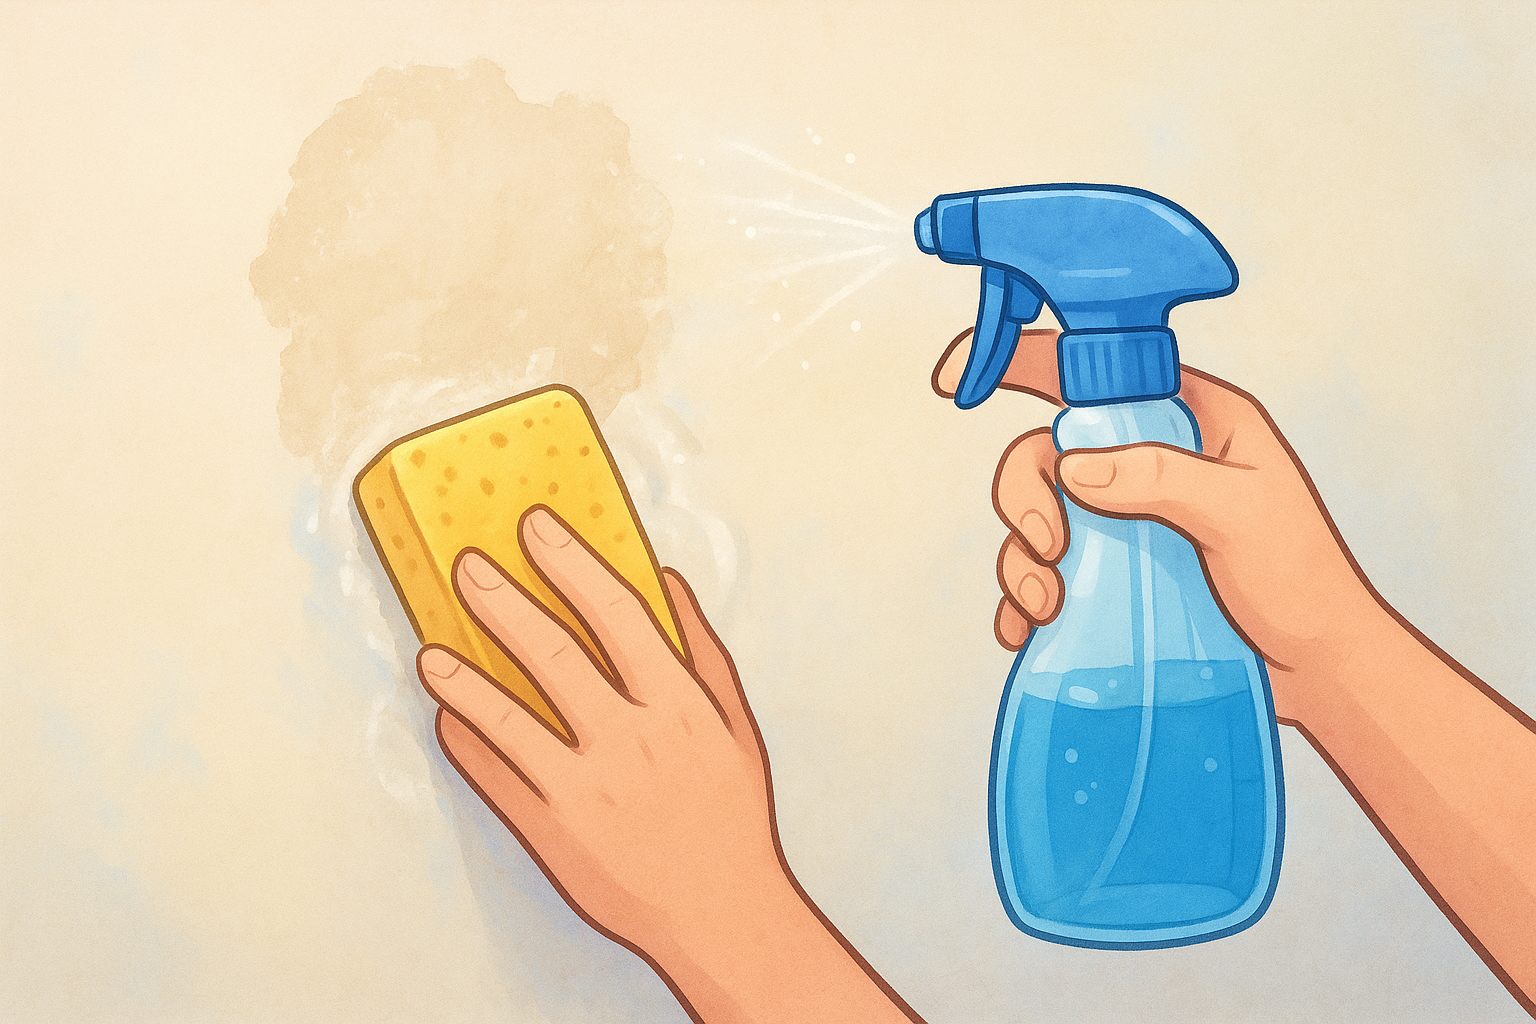
Do not soak the wall. Too much water on damaged drywall paper will cause it to bubble and separate further, creating more repairs than you started with.
For stubborn spots where the adhesive has hardened, warm water alone won't cut it . Use a plastic scraper held at a low angle and apply light pressure to lift the residue without gouging the paper. If the paste is particularly thick, a second application of the TSP substitute solution usually loosens it enough to wipe away cleanly.
Check and mark all damaged areas
Once the wall is clean and fully dry (give it at least 24 hours), get a strong work light and hold it at a low angle against the surface. Raking light shows you every ding, tear, and uneven spot that you'd otherwise miss under normal room lighting. Mark every damaged area with a pencil or piece of painter's tape so you have a clear repair map before moving to the next step.
Walk the entire wall systematically, starting at the top left corner and moving in rows. Note torn paper face separately from gouges, since they require different treatments in Step 2.
Step 2. Seal damaged paper and exposed gypsum
Sealing is the step most DIYers skip, and it's the main reason so many drywall repair after wallpaper removal projects end up with a patchy, uneven finish once the paint goes on. When you strip wallpaper, you expose raw gypsum and torn face paper that absorb primer and compound at completely different rates than the surrounding undamaged surface. Applying joint compound directly over these areas without sealing first causes bubbling, peeling, and flashing.
Why sealing matters before you mud
Drywall is built around a gypsum plaster core wrapped in paper . That outer paper gives the board its structural integrity and provides the surface that joint compound bonds to. When wallpaper removal tears or scuffs that paper, the exposed gypsum underneath becomes extremely porous . Joint compound applied over raw gypsum soaks in unevenly, dries with a different texture than the surrounding wall, and leaves you with a repair that stands out even after heavy sanding.
Apply sealer to every torn paper spot and bare gypsum area before you pick up a mud knife, or you will redo this entire step.
Choosing the right sealer
Two types of sealer work for this situation : PVA drywall primer and shellac-based primer. PVA (polyvinyl acetate) primer is the more common choice. It's water-based, dries quickly, and bonds raw gypsum so the surface accepts compound and paint evenly. Shellac-based primer is the better option when walls have heavy adhesive staining or water damage, because it blocks stains from bleeding through without re-activating old paste.
| Sealer type | Best for | Dry time |
|---|---|---|
| PVA drywall primer | Torn paper, exposed gypsum, general surface sealing | 30 to 60 minutes |
| Shellac-based primer | Heavy adhesive staining, water damage, odor blocking | 45 minutes |
How to apply the sealer
Use a 2-inch angled brush for edges, corners, and tight spots first, then switch to your paint roller with a 3/8-inch nap cover for larger flat areas. Cover only the damaged zones you marked in Step 1 , not the entire wall. Follow these steps in order:
- Cut in around any corners and edges with the brush.
- Roll sealer over each marked area using light, even pressure.
- Avoid going back over wet areas with the roller.
- Let the sealer dry completely before touching the wall with compound.
- Run your hand over each sealed spot once dry: the surface should feel firm and slightly rough, not soft or tacky.
Step 3. Patch, skim coat, and sand smooth
With the sealer dry and every damaged area mapped, you're ready for the repair work that determines the final quality of your drywall repair after wallpaper removal . This step covers three distinct stages: filling individual holes and gouges, skim coating the broader surface, and sanding everything flat before primer goes back on. Rushing any one of these stages ruins the smoothness you worked to build in the steps before it.
Fill holes and gouges first
Before you skim the entire wall, address deep damage individually . For holes smaller than half an inch, press premixed all-purpose compound directly into the void with your 6-inch knife, slightly overfilling the hole. For anything deeper than a quarter inch, use setting-type compound mixed to a peanut butter consistency so it hardens quickly and shrinks minimally. Apply it in two thin layers rather than one thick one, letting each layer set before adding the next.
For holes larger than 2 or 3 inches across, place a self-adhesive drywall patch over the opening first, then spread compound over it with your 10-inch knife. Feather the edges outward at least 6 inches in every direction so the patch blends into the surrounding wall rather than sitting as a raised platform.
Let every patch harden completely before you apply any skim coat over the top, or the compound will shift and crack as it dries.
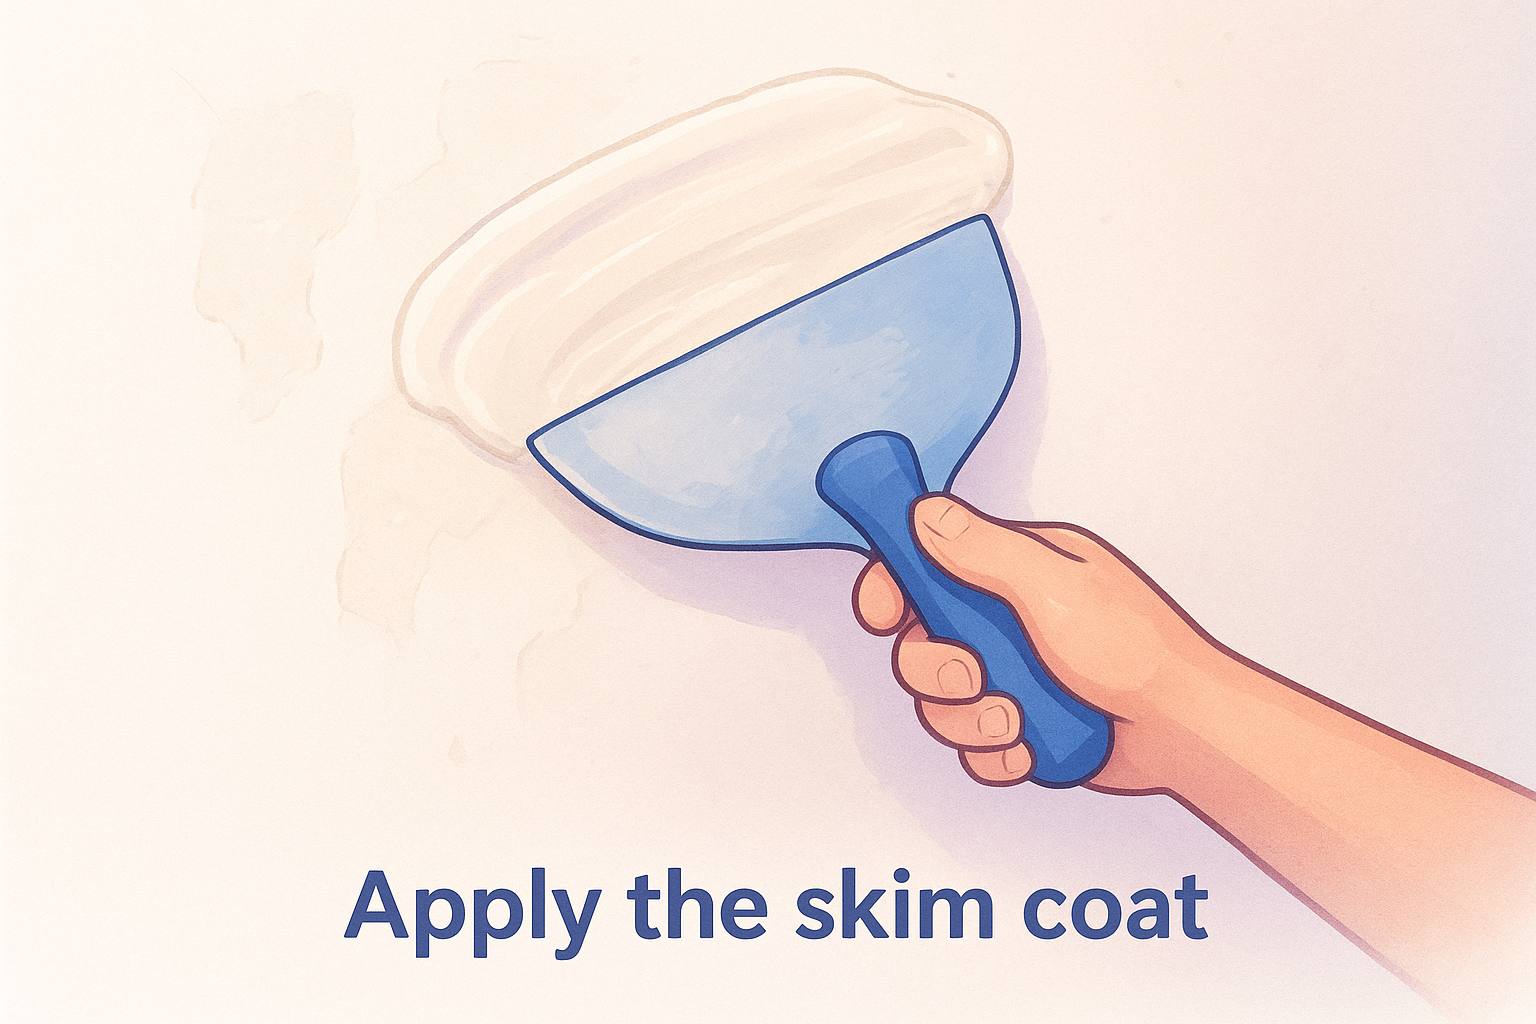
Apply the skim coat
A skim coat is a thin layer of joint compound spread across the entire repaired surface to unify the texture and fill minor imperfections the patching stage missed. Thin your premixed all-purpose compound with a small amount of water until it spreads like smooth peanut butter , then load your 10-inch knife and pull it across the wall in long, overlapping strokes. Keep the knife at a 15- to 20-degree angle to the surface and apply consistent pressure throughout each pass. Two thin coats give better results than one thick coat.
Sand between coats and before painting
Once your first skim coat is fully dry , knock down any ridges or tool marks with 120-grit sandpaper before applying the second coat. After the second coat dries, switch to 220-grit paper for the final smoothing pass. Run your hand across every repaired section to feel for high spots, and re-sand anything that catches. Wipe the entire wall with a slightly damp cloth to remove all dust before moving on.
Step 4. Prime and paint without flashing
Flashing is what happens when repaired patches absorb paint differently than the surrounding wall, leaving dull or shiny spots visible under certain lighting conditions. After all the work you put into drywall repair after wallpaper removal , the wrong primer or a sloppy paint application can make those repairs stand out again. A proper prime coat, applied before any finish paint, ties the entire repaired surface together and gives you a uniform sheen once the final coats dry.
Choose the right primer
Not every primer performs the same on a freshly repaired wall. Drywall primer specifically formulated for new drywall and repairs bonds to both the sealed patches and the surrounding surface, creating an even base for finish paint. Standard latex wall primer can work on an undamaged surface, but on a wall with multiple repaired zones, it often allows the patchwork to ghost through the finish coat.
| Primer type | Best use | Notes |
|---|---|---|
| PVA drywall primer | New drywall, skim-coated surfaces | Water-based, fast drying |
| High-build primer | Surfaces with minor texture variation | Fills small imperfections |
| Shellac-based primer | Stains, heavy adhesive residue | Blocks bleed-through |
Apply primer and check for flashing
Roll the primer onto the wall using a 3/8-inch nap roller in overlapping W-pattern strokes , then back-roll to even out the coverage. Cut in corners and edges with a 2-inch brush before rolling the flat surfaces. Let the primer dry fully according to the manufacturer's label, typically 60 to 90 minutes, then hold a work light at a low raking angle to the wall to check for any patches that look different from the rest.
If you spot flashing after the first prime coat, apply a second coat to those specific areas before you pick up the paint roller.
Paint for a uniform finish
Apply two coats of finish paint , letting the first coat dry completely before adding the second. Use consistent roller pressure and stroke direction on each pass to keep the texture uniform across the entire wall. Thin spots or areas painted with too much pressure leave texture differences that show through the sheen once the paint dries. If texture variation is still visible after priming, roll on a coat of high-build primer before the finish coats go on.
Ready for the next room
Following these four steps gives you a wall that's genuinely smooth, properly sealed, and ready for paint without the patchy, uneven finish that trips up most DIY repairs. Drywall repair after wallpaper removal doesn't have to mean guesswork or redoing work twice. When you clean the surface, seal before you mud, build up thin coats, and prime correctly, the repairs disappear into the wall instead of showing through the finish.
Some walls come back with damage deeper than surface repairs can handle : large sections of blown-out drywall, asbestos-containing compound underneath old adhesive, or water damage that spread further than it first appeared. When that's what you're dealing with, a professional repair crew gets you to a finished result faster and without the risk of doing more damage. If your walls are beyond a DIY fix, get a free estimate from our drywall repair team and we'll assess the work at no cost.
Recent Posts