
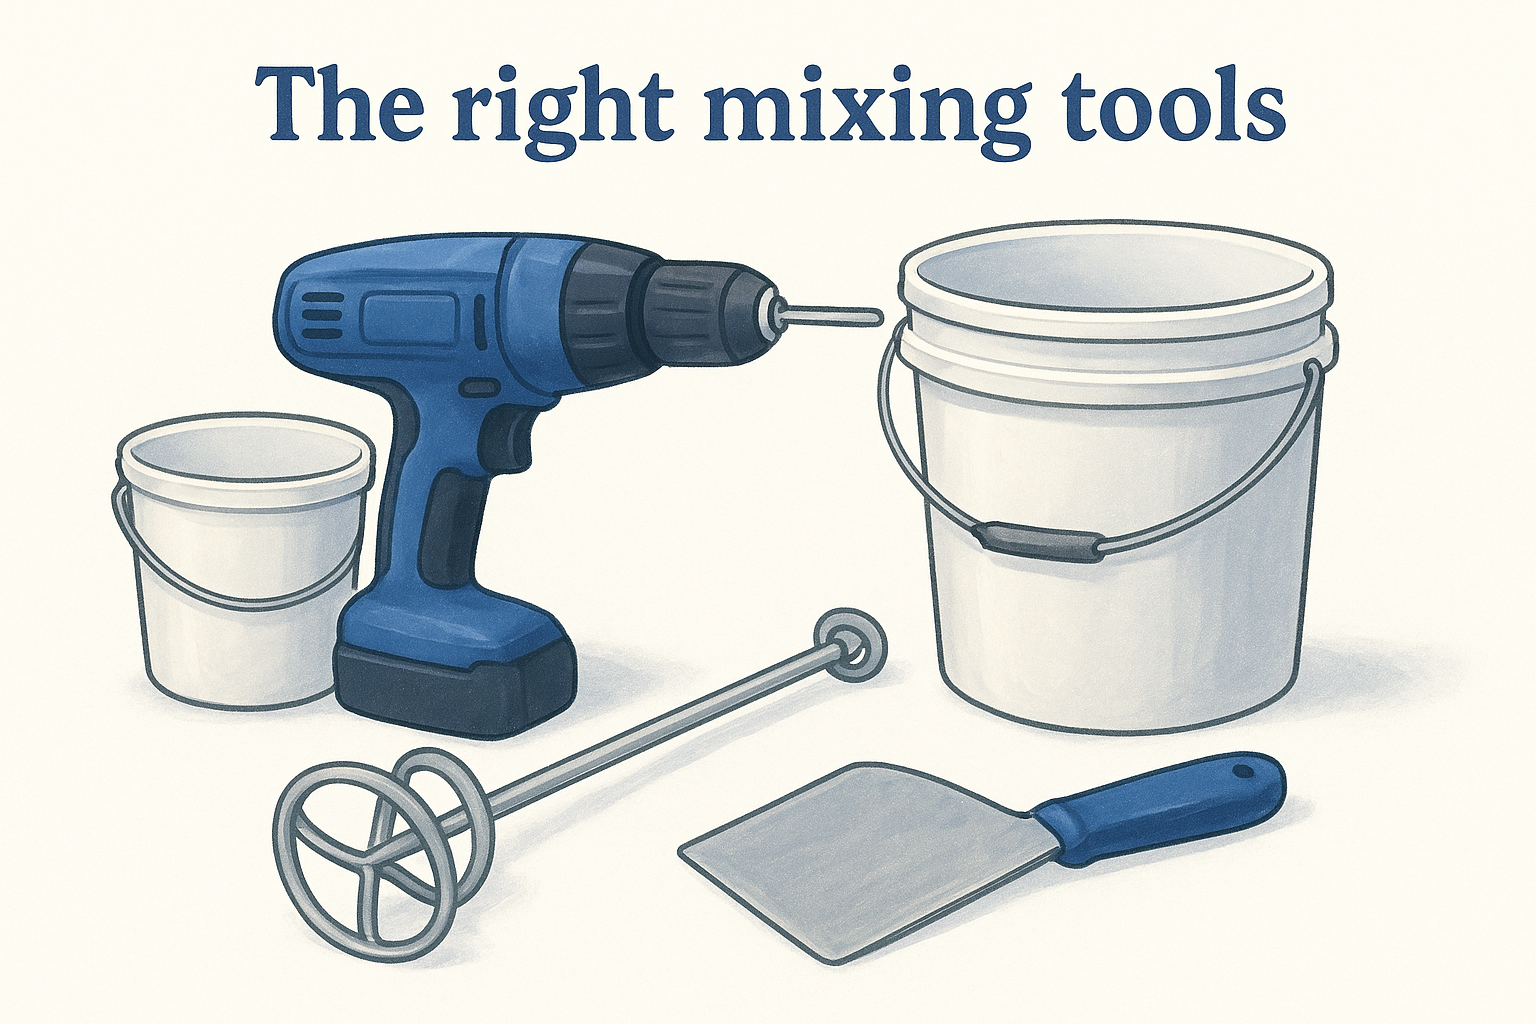
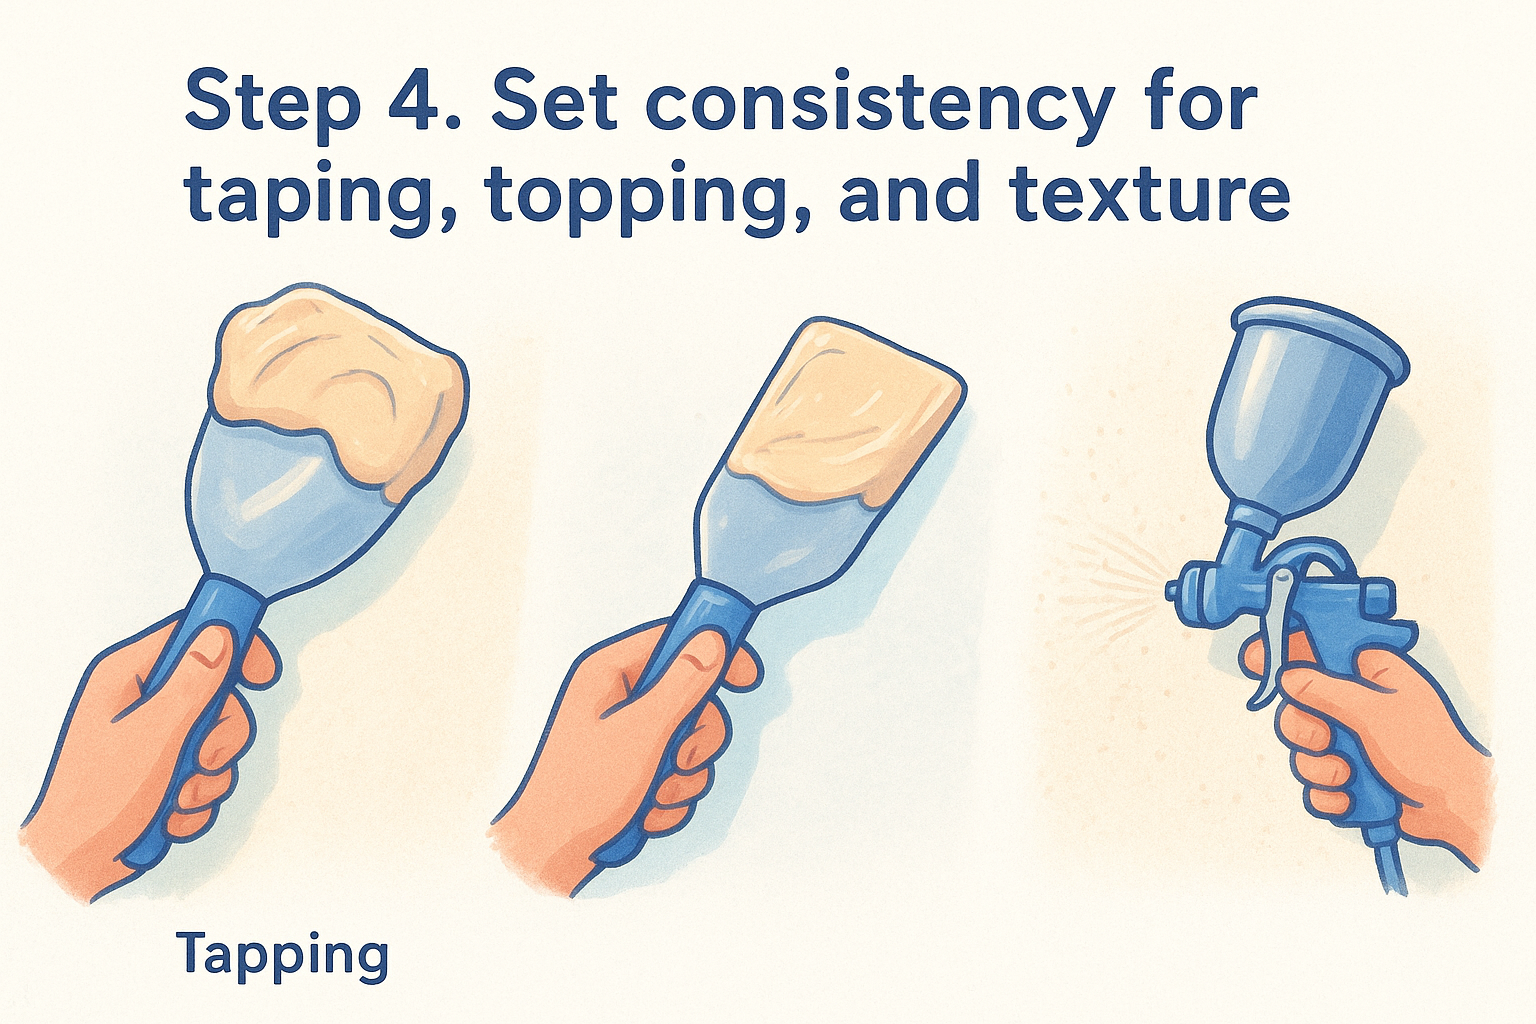
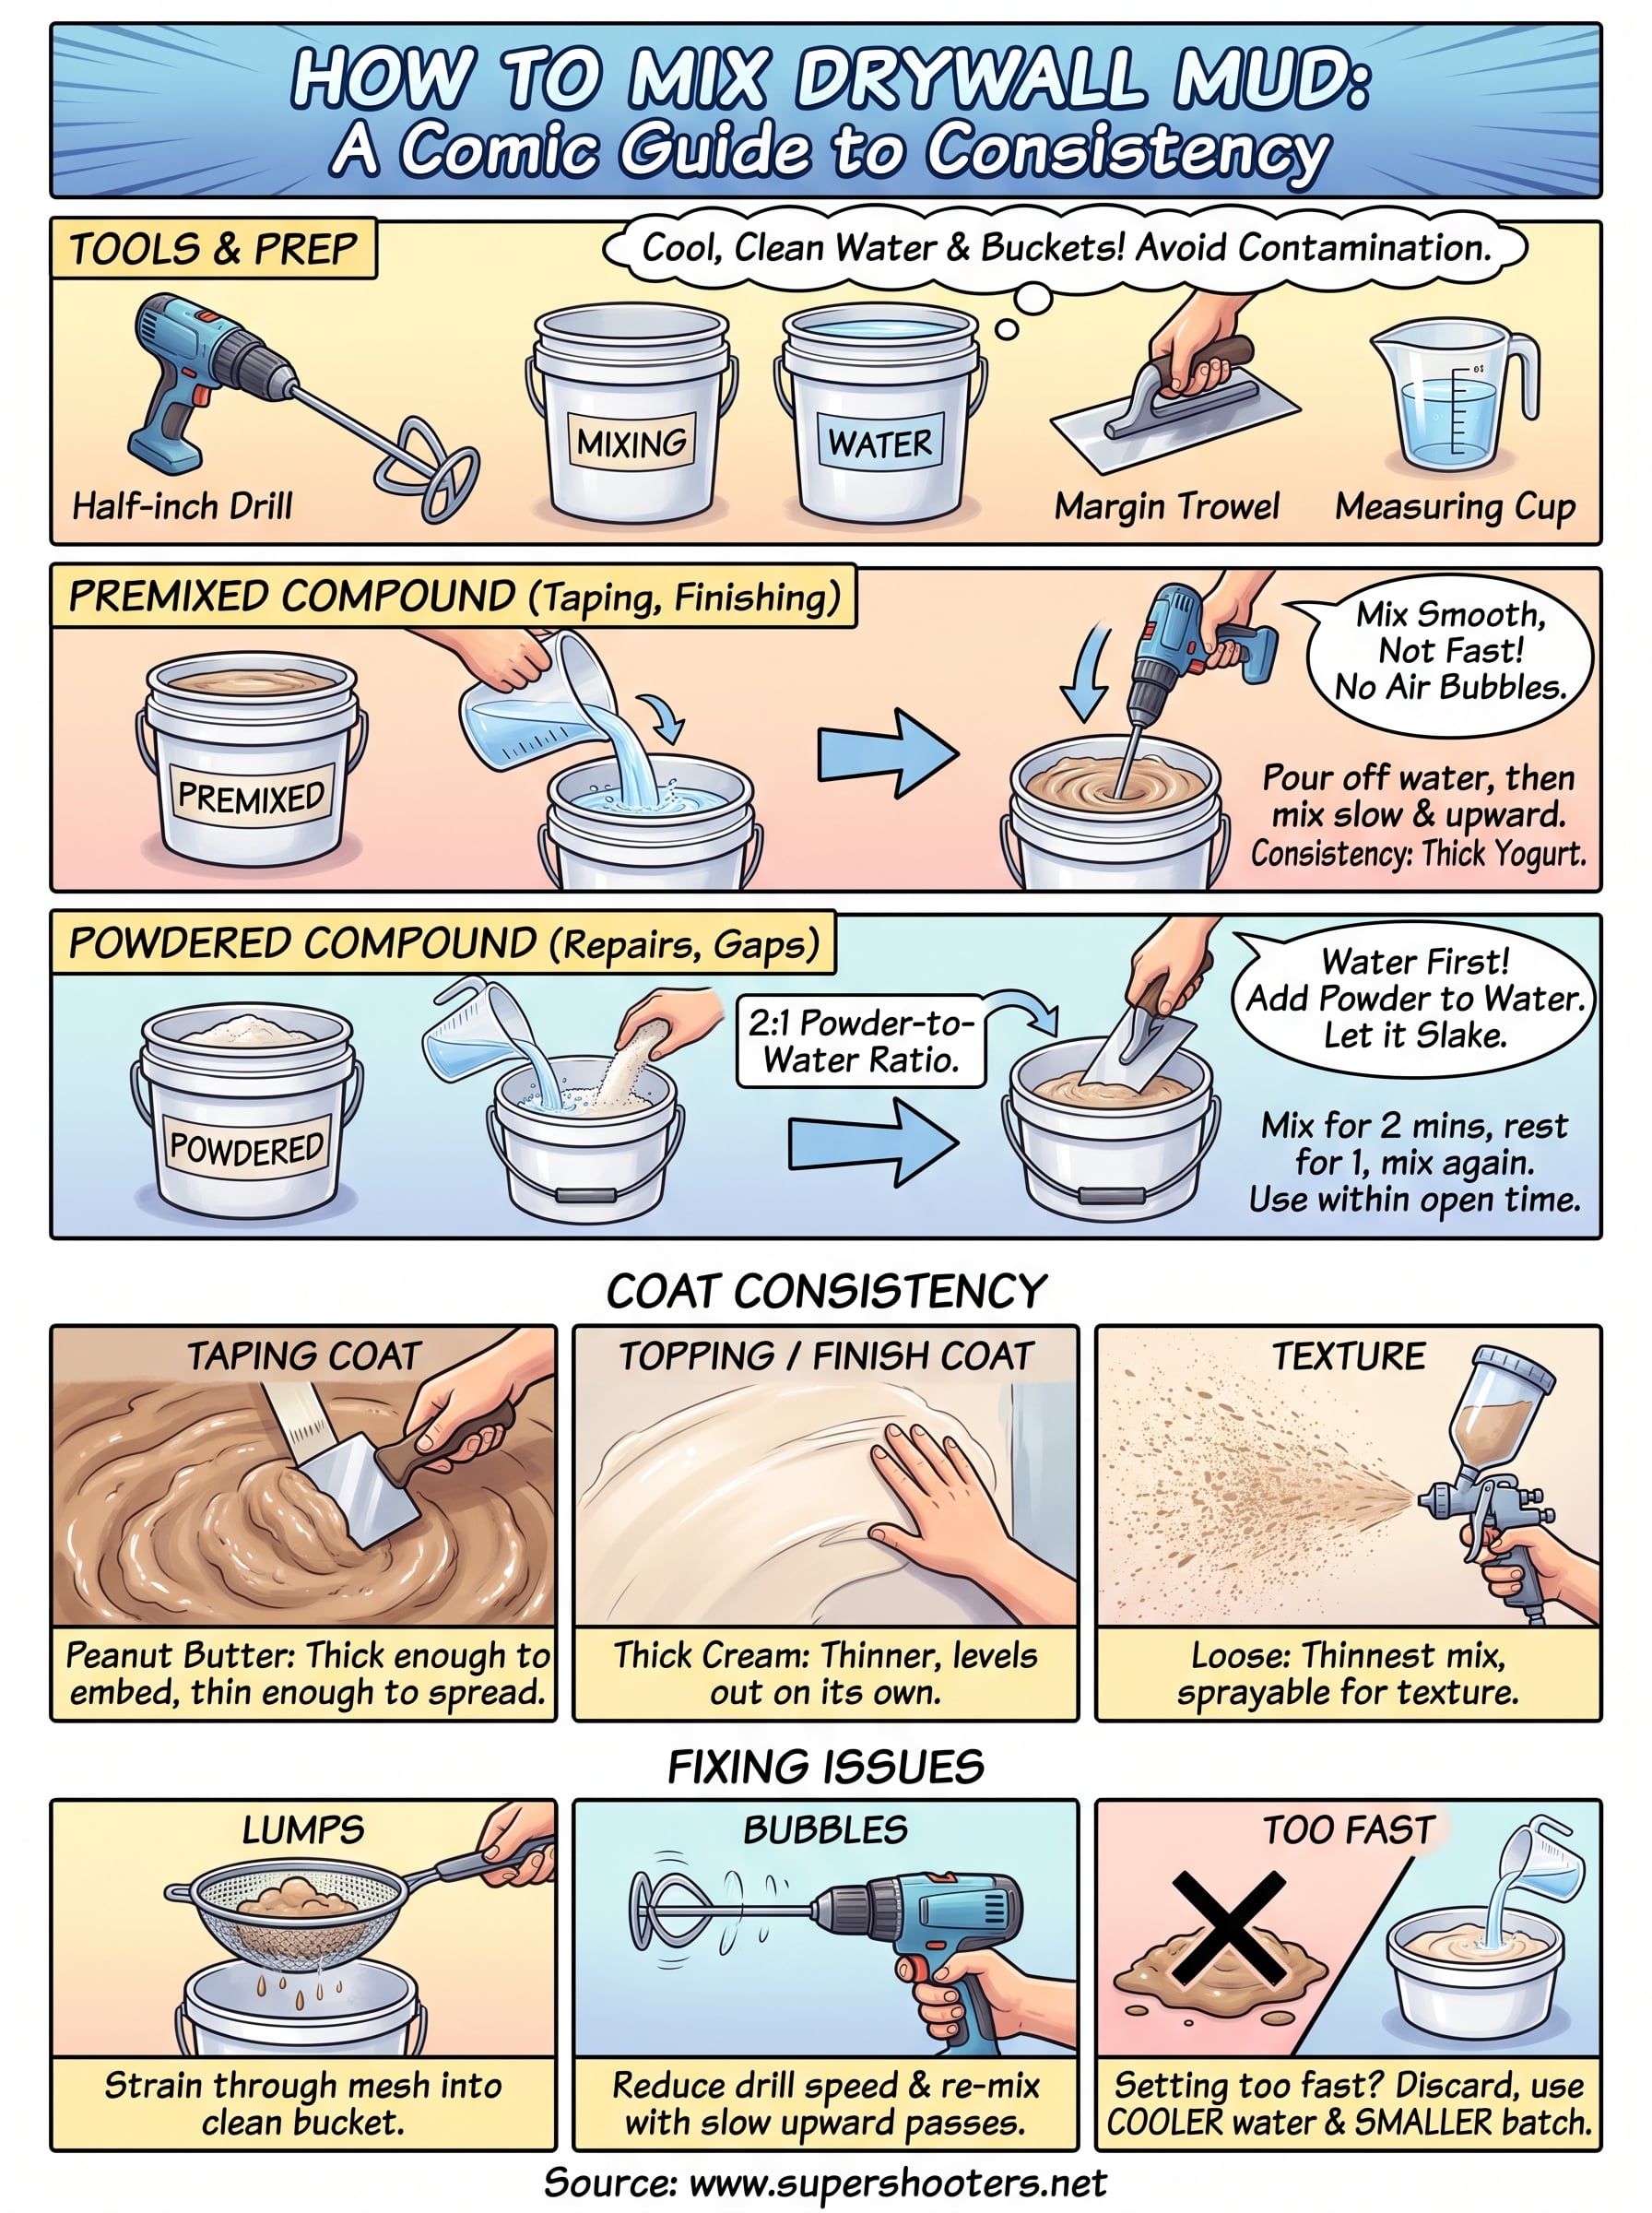
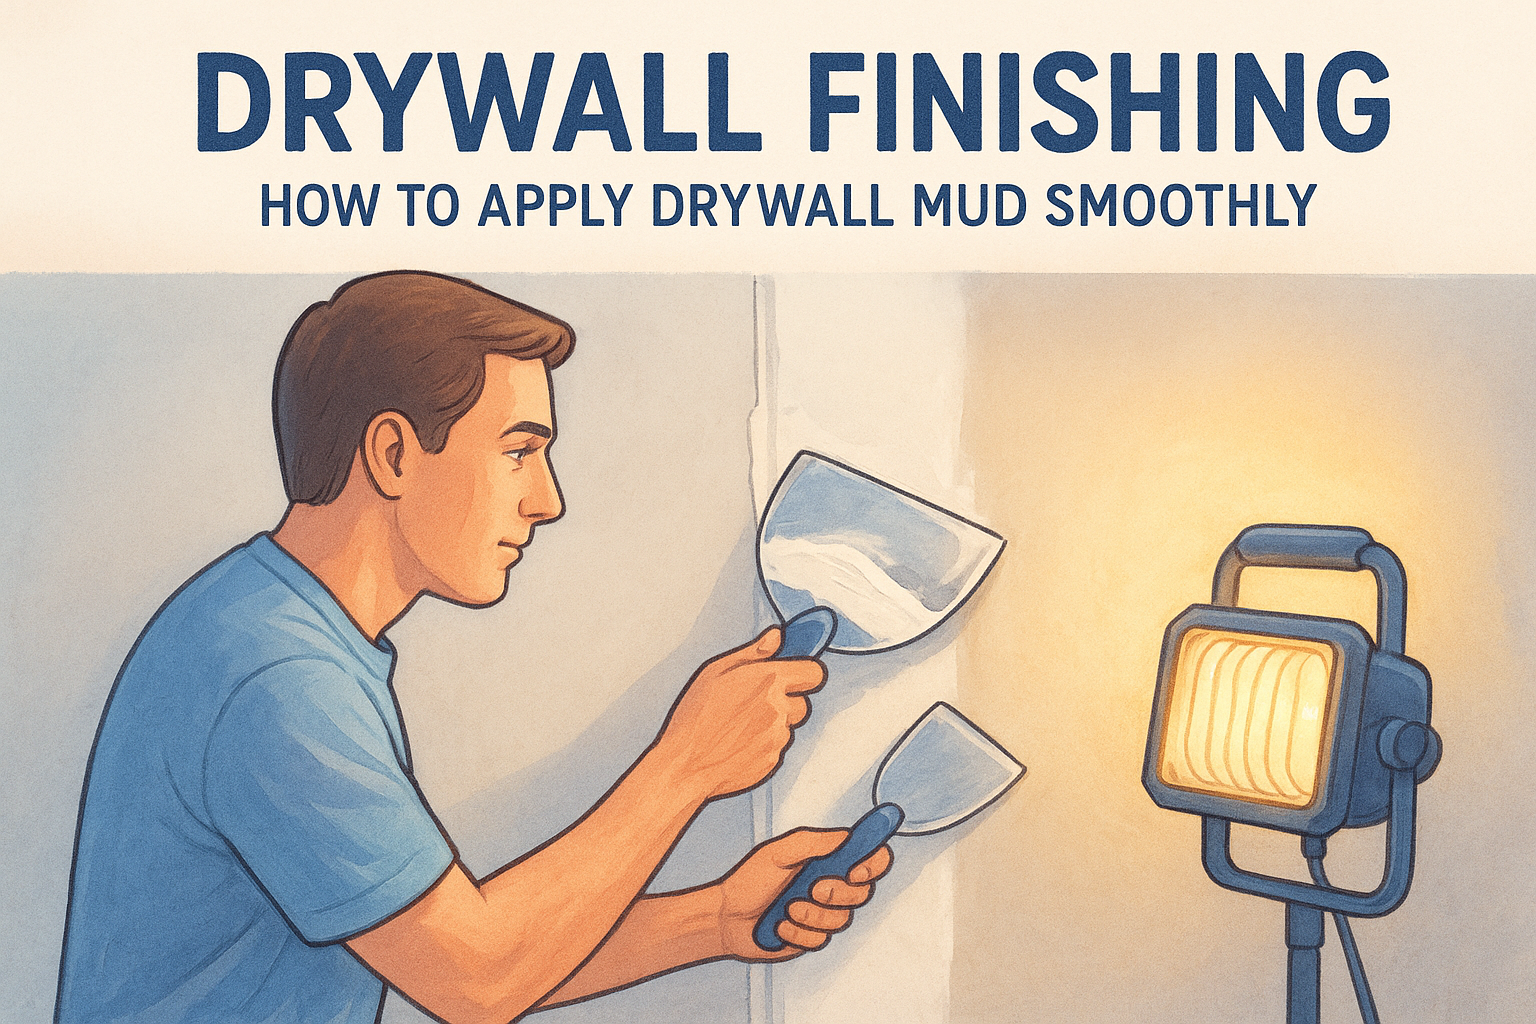
Master how to apply drywall mud for perfectly smooth walls. Learn professional techniques for mixing, feathering edges, and finishing seams like a pro.
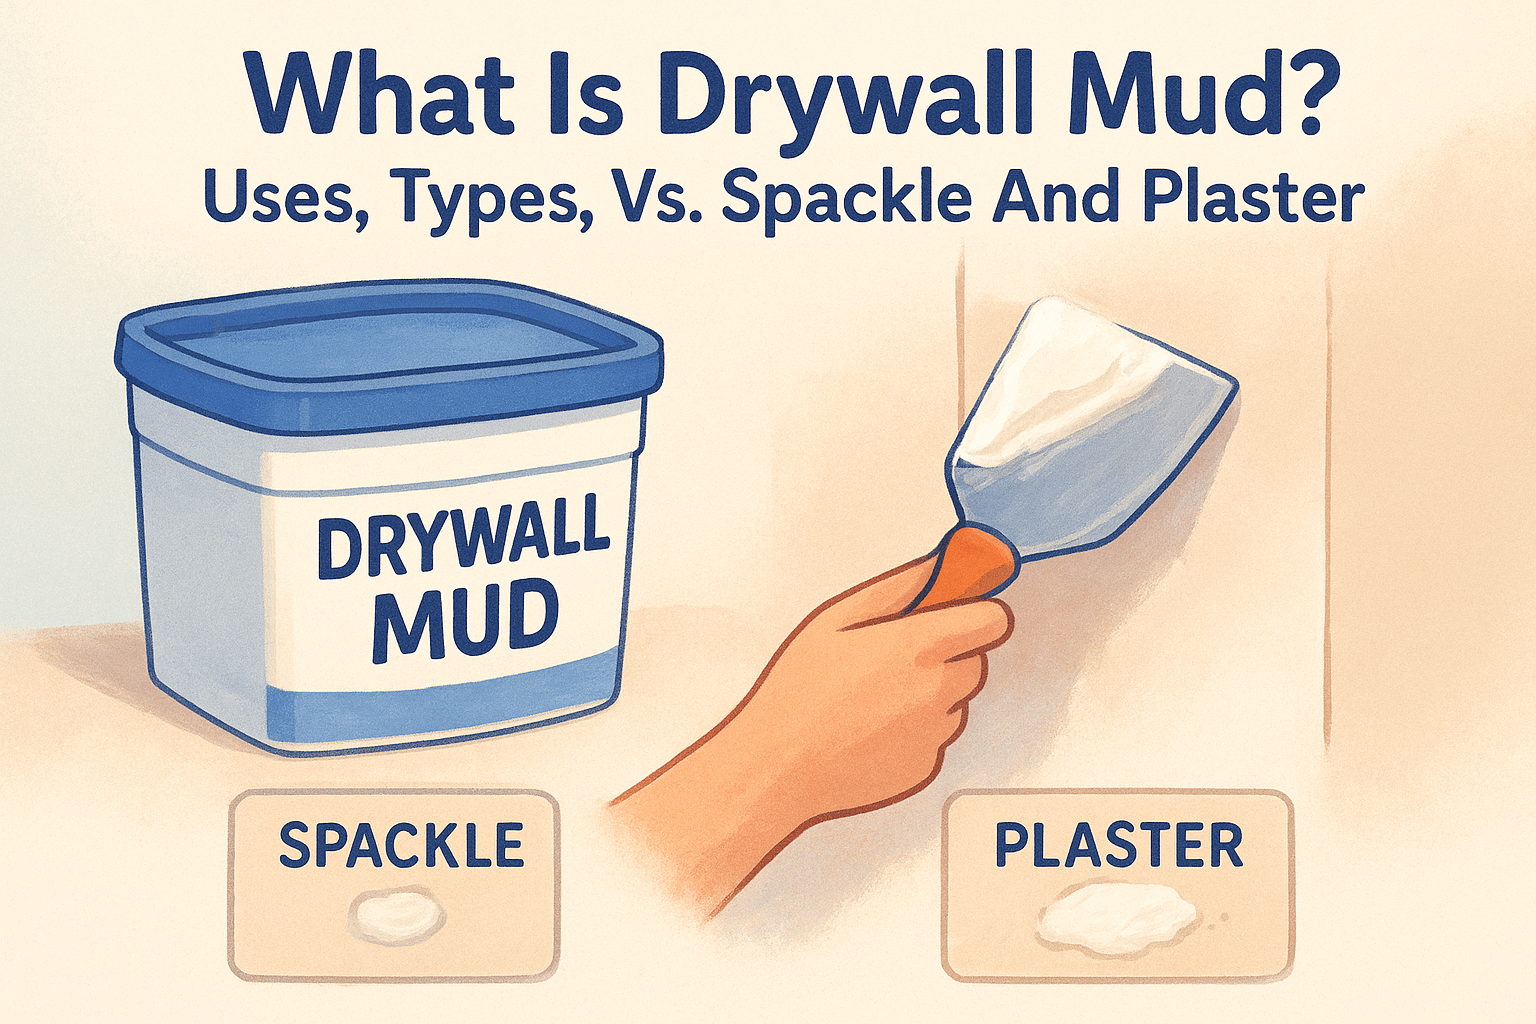
Learn what is drywall mud, its uses, and how to choose the right type. Discover the differences between mud, spackle, and plaster for a seamless finish.

Master drywall installation for beginners with our guide. Learn how to hang panels, tape seams, and apply a smooth finish for professional-looking walls.
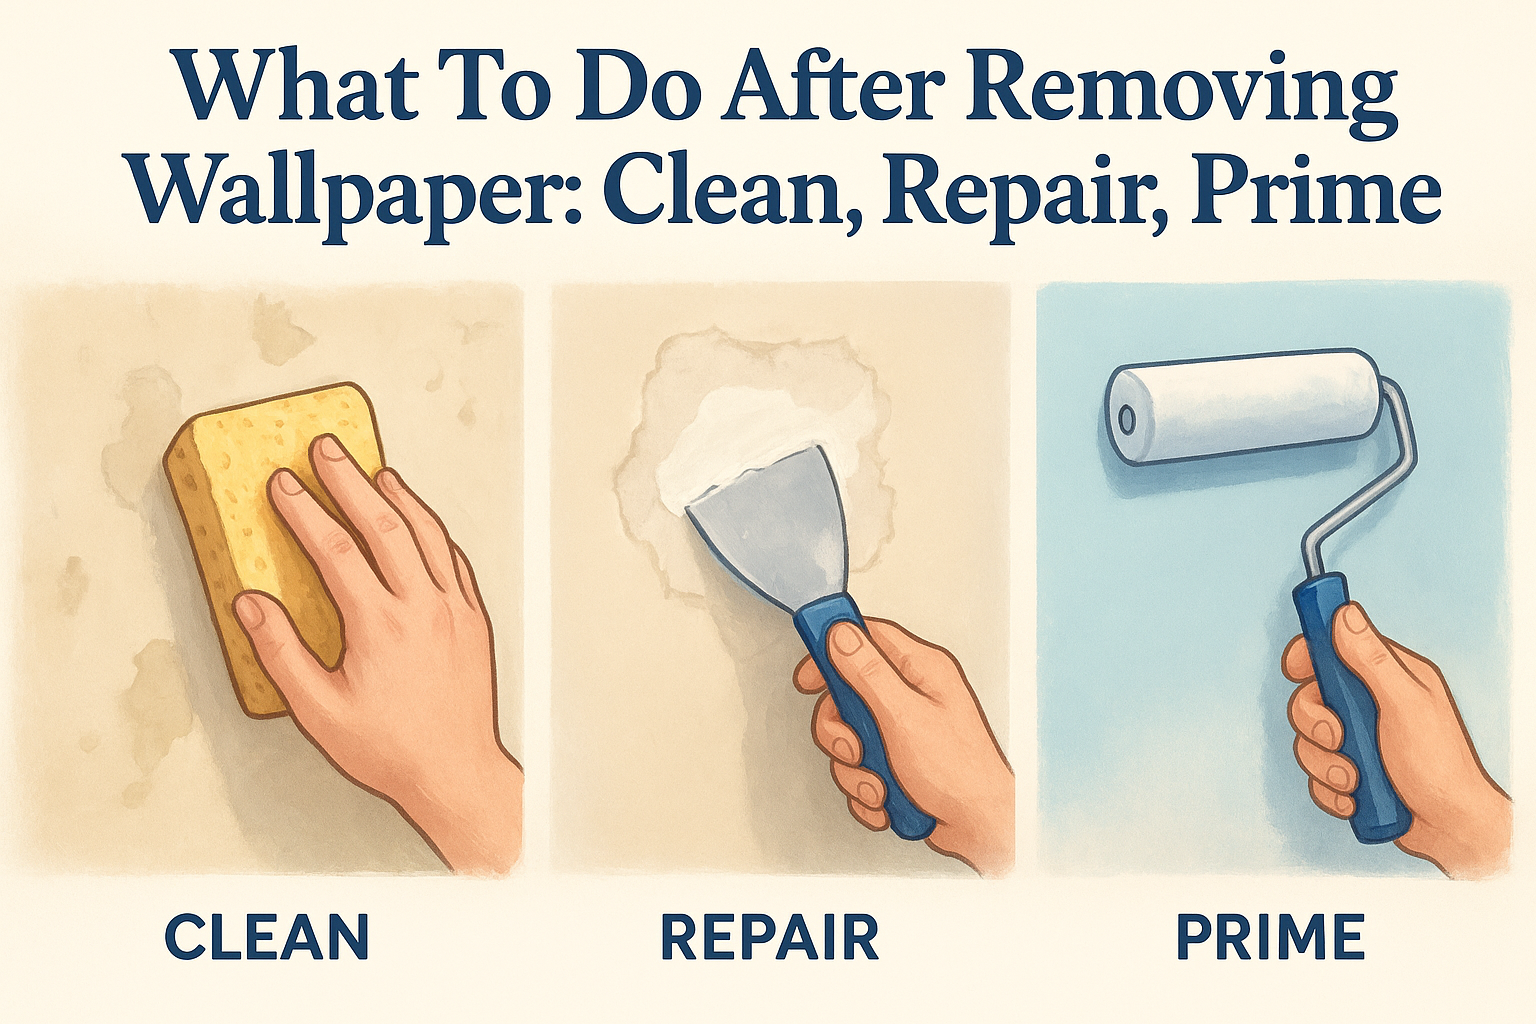
Learn exactly what to do after removing wallpaper. Our guide covers scrubbing adhesive, repairing drywall damage, and priming for a smooth paint finish.
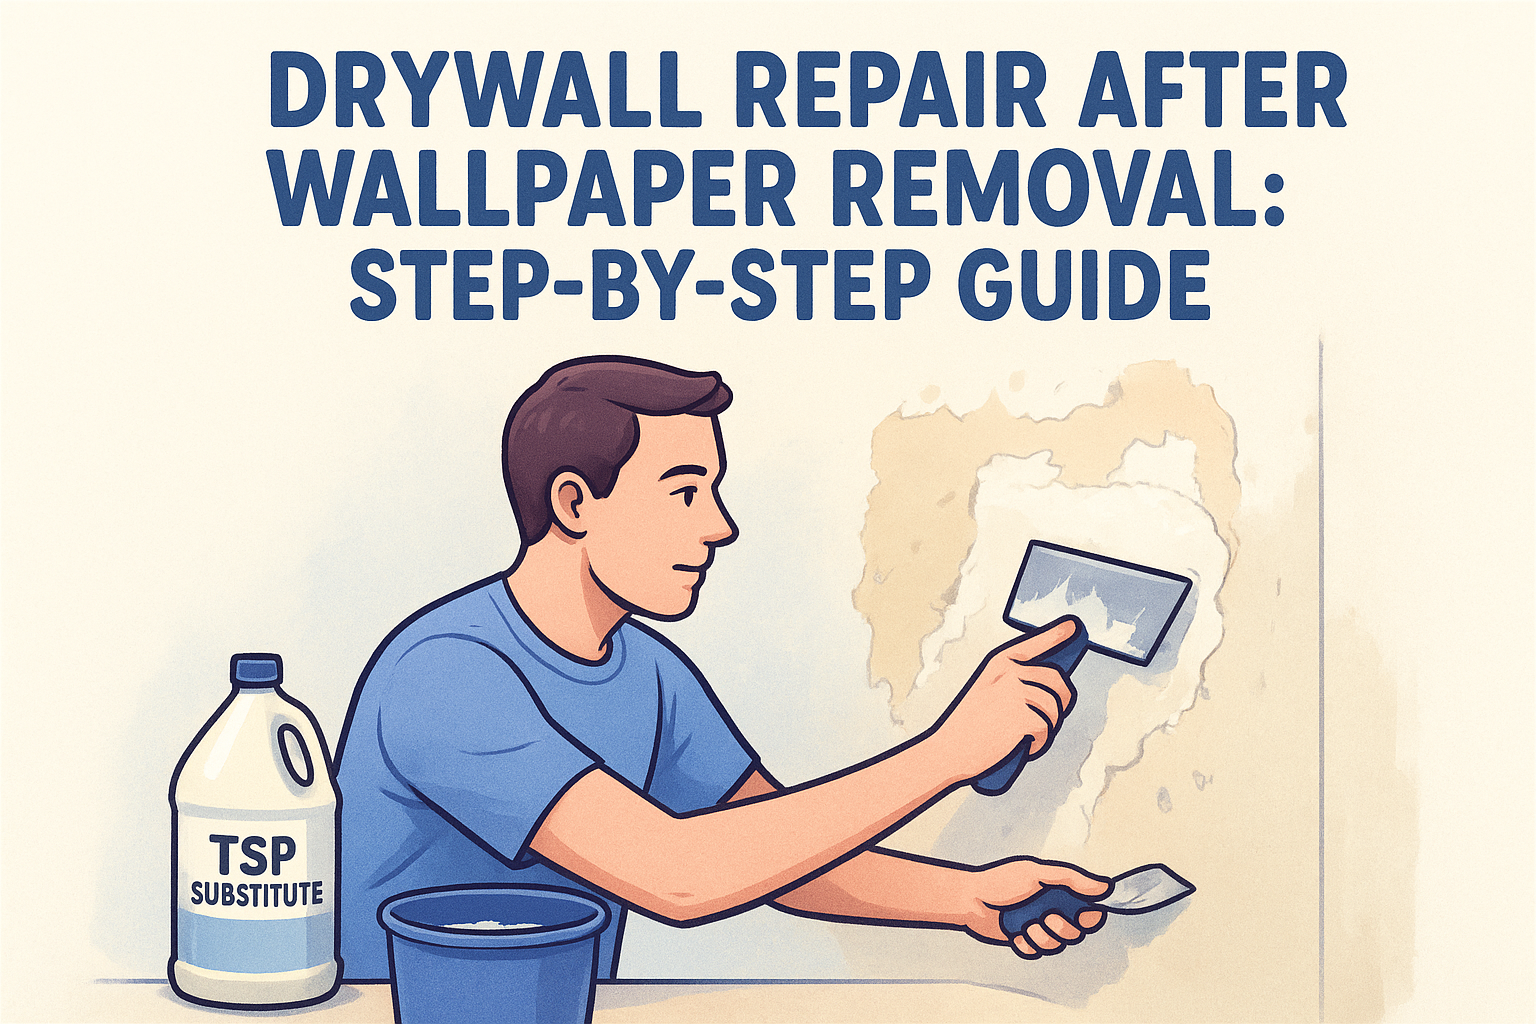
Master drywall repair after wallpaper removal with our guide. Learn how to seal torn paper, patch gouges, and skim coat your walls for a professional finish.
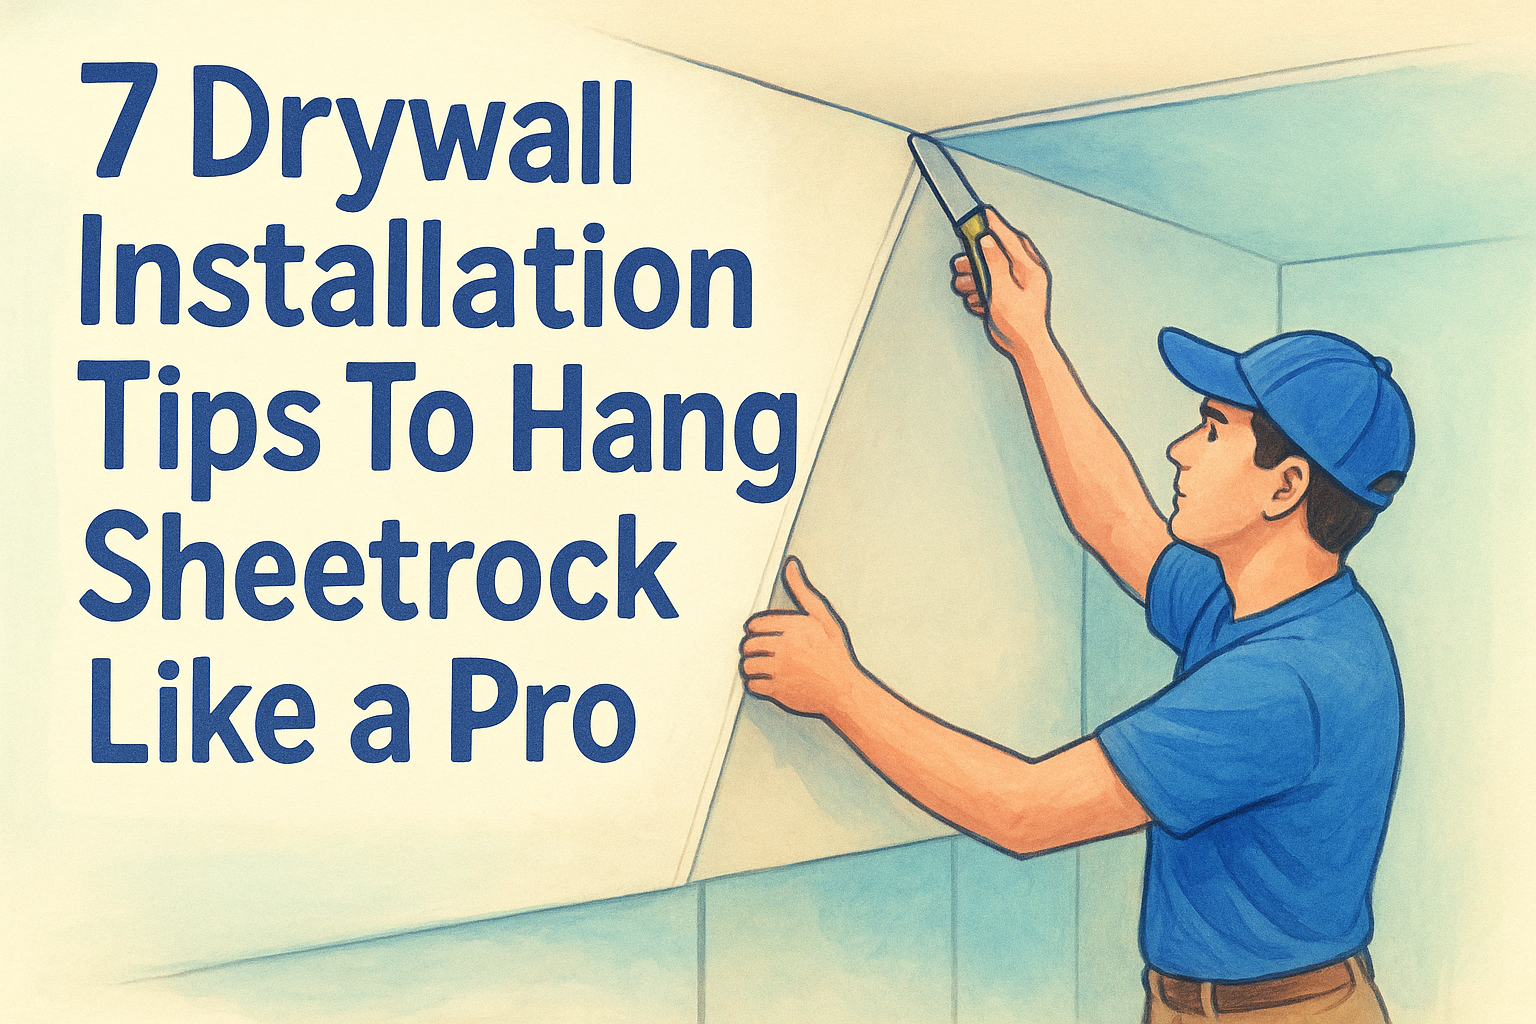
Hang sheetrock like a pro with these 7 drywall installation tips. Learn how to handle framing, layout, and fastening for a smooth, crack-free finish.

Compare drywall vs plywood for garage walls to find the best fit for your home. Learn about California fire codes, workshop durability, and 2026 costs.
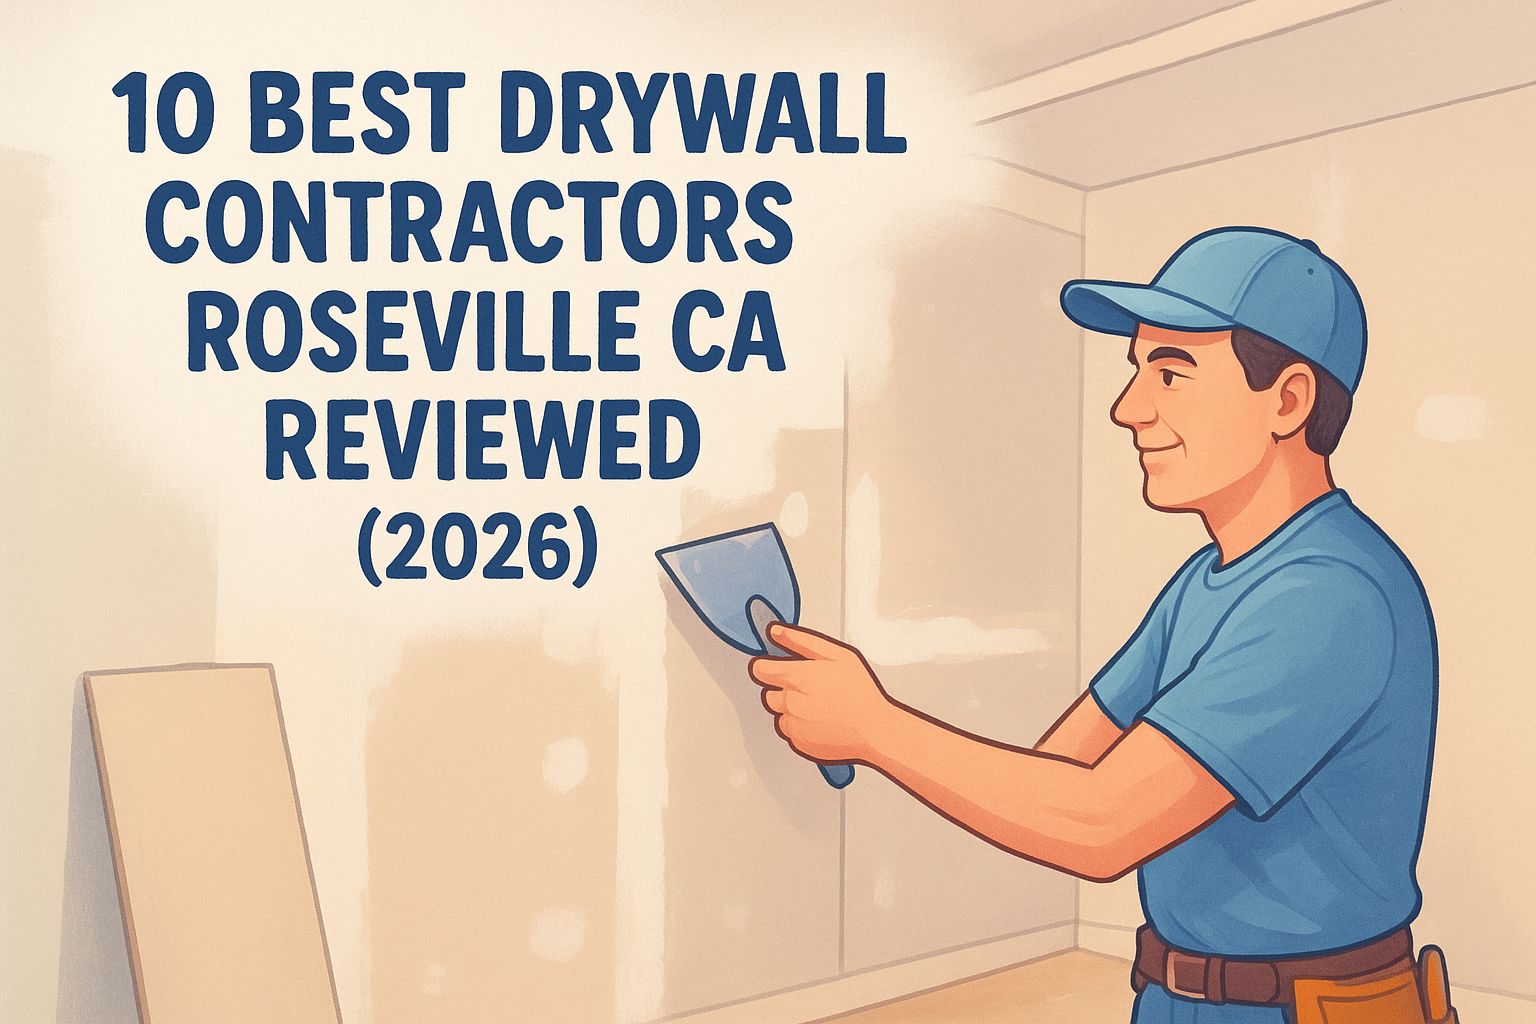
Find the best drywall contractors roseville ca for 2026. Compare 10 local experts for repairs, texturing, and ceiling removal to hire with confidence.
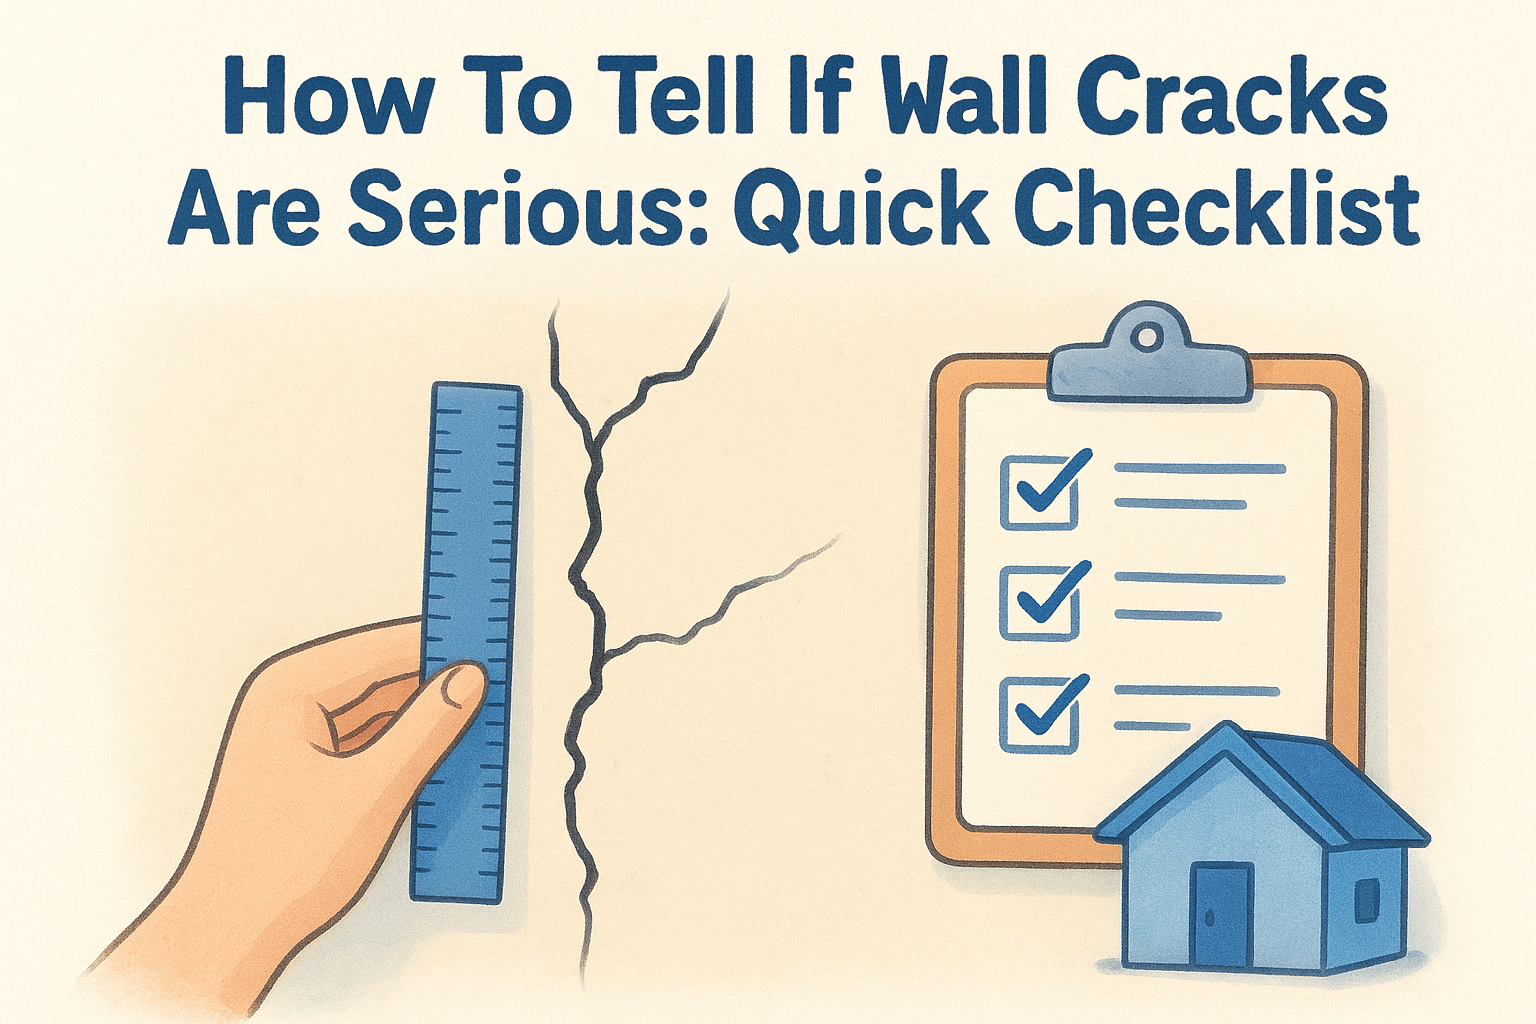
Learn how to tell if wall cracks are serious with our checklist. Identify structural risks, monitor growth, and know when to call a professional for repairs.
