
August 17, 2026
6 Tools for Drywall Repair Every DIYer Needs
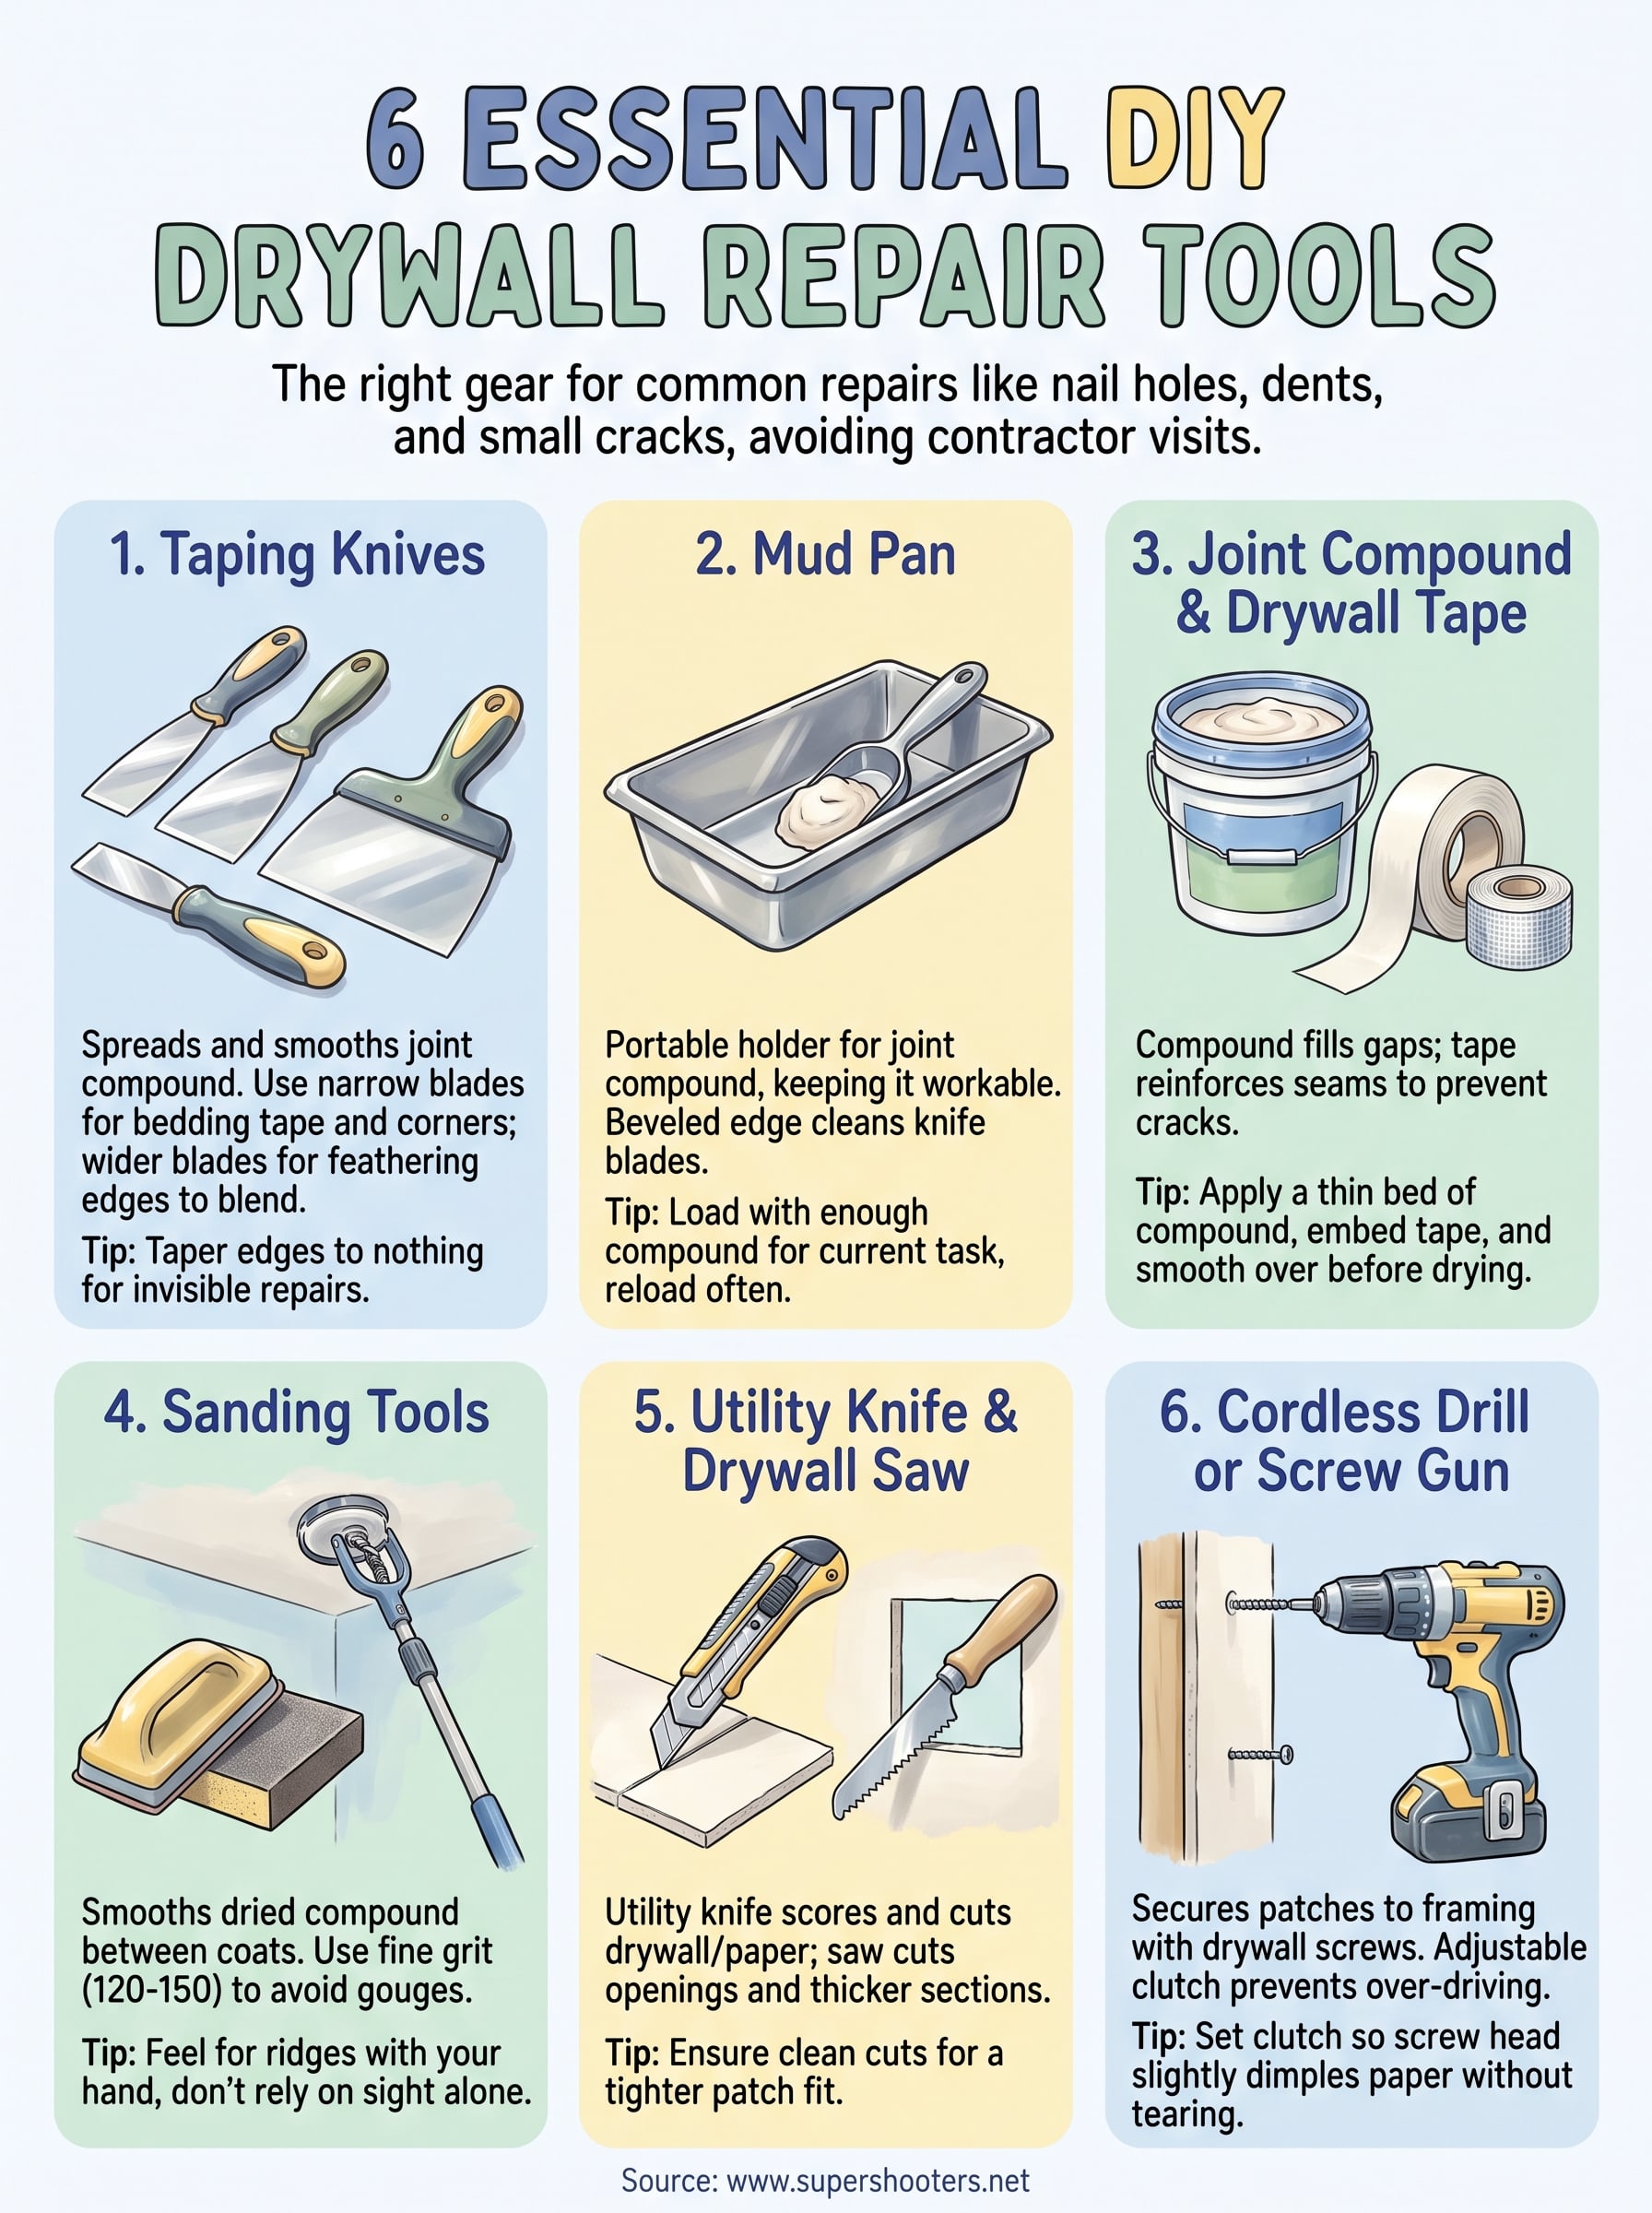
That crack above your bedroom door or the dent in the hallway drywall doesn't need a contractor visit if you have the right gear on hand. Most small drywall jobs come down to having tools for drywall repair that match the task, not a garage full of equipment you'll only use once. Skip a step or use the wrong tool, and you'll end up with a lumpy patch that shows through paint under any light.
This list covers exactly what you need and nothing you don't. We've narrowed it down to six essential tools that handle everything from small nail holes to larger settlement cracks, the kind we see constantly on jobs across the Sacramento Valley, and if you want a longer version, see our 7 must-have drywall repair tools for DIY patching. Each one earns its spot because it solves a specific problem in the patch-and-finish process.
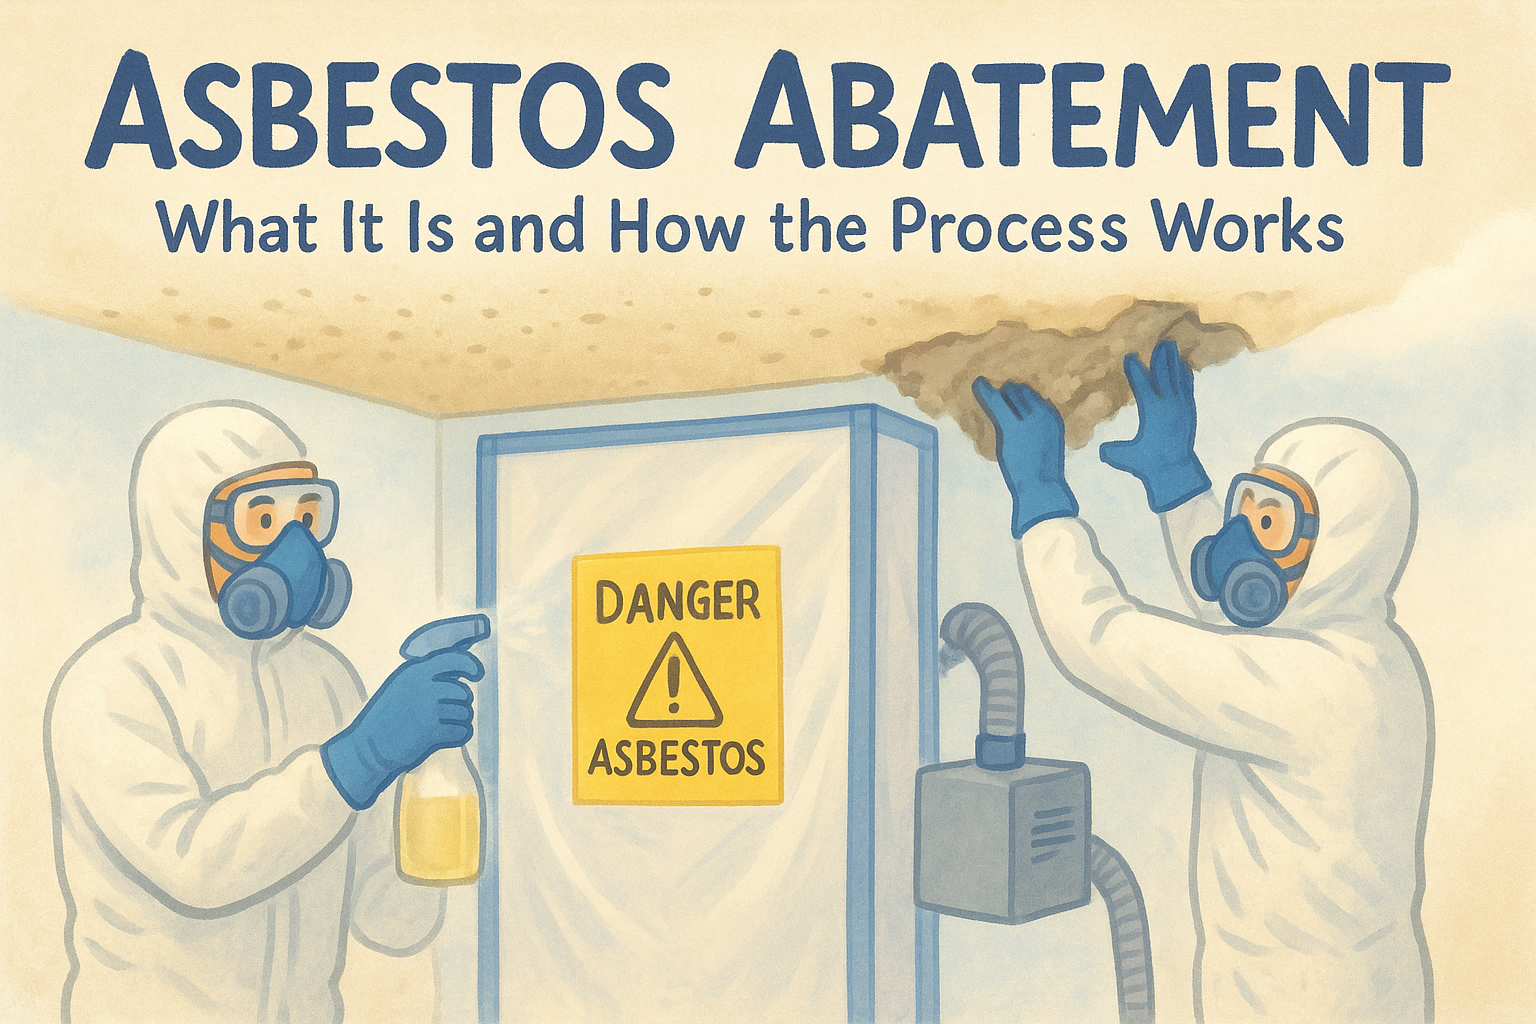
We'll walk through what each tool does, why it matters for a clean, invisible repair , and where DIY work has its limits. If a crack keeps coming back or you're dealing with a ceiling that might contain asbestos, that's your signal to call in a licensed pro instead of pushing through it yourself.
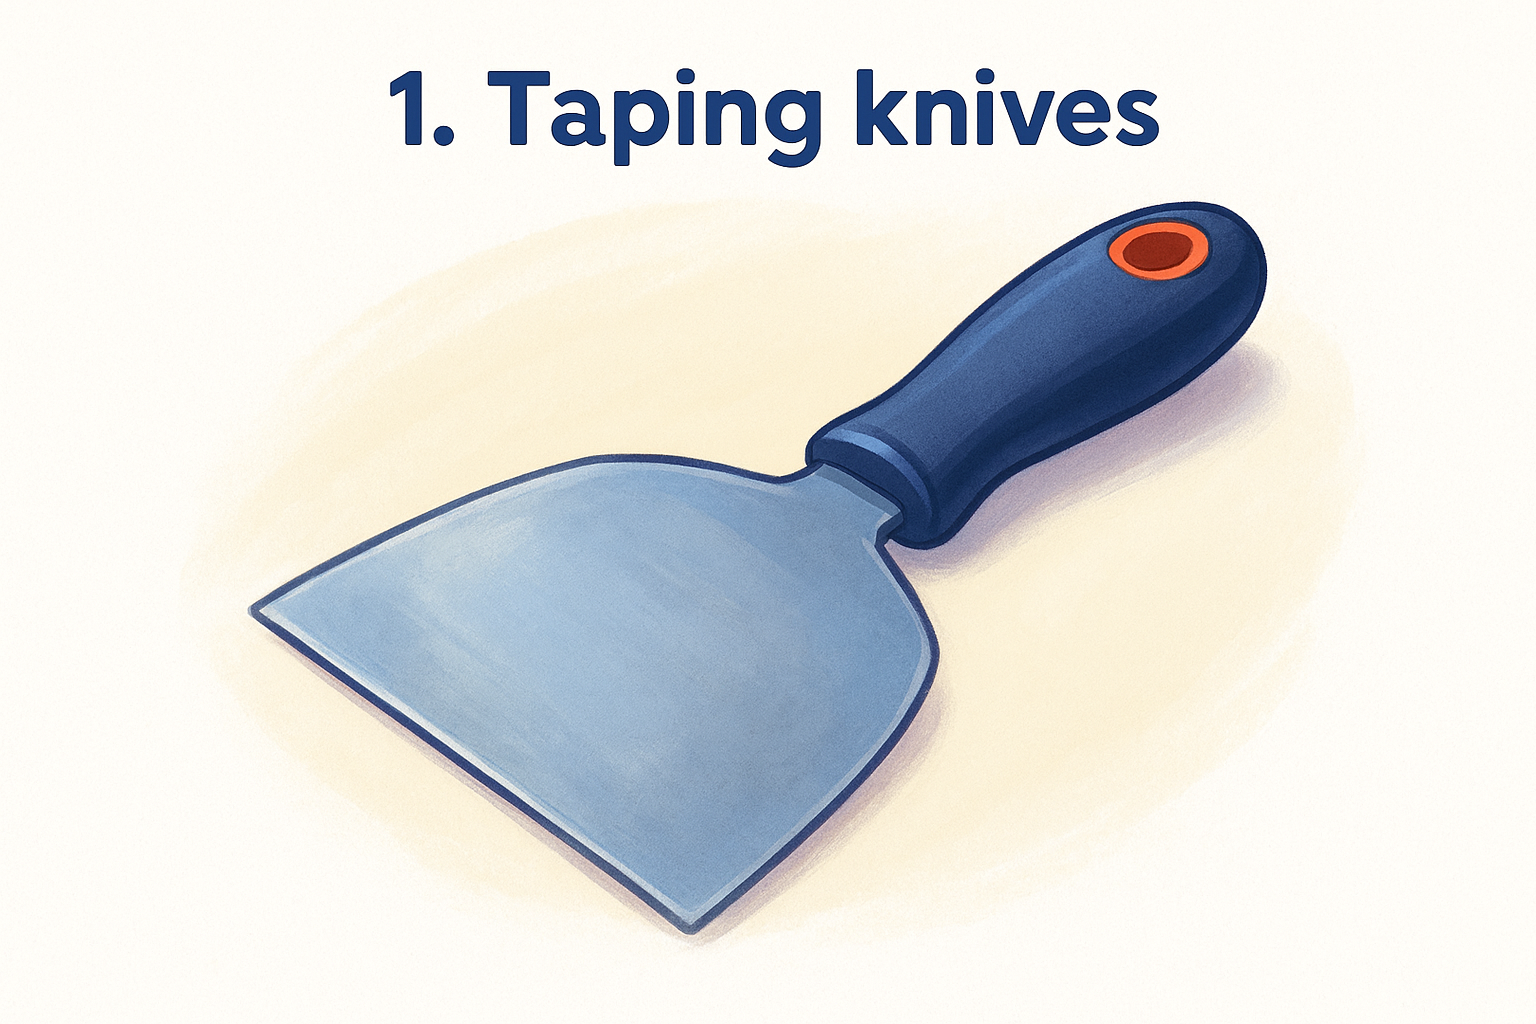
1. Taping knives
A taping knife (also called a joint knife or drywall finishing knife) is the tool you'll reach for more than any other during a repair. Nearly every step in patching drywall, from bedding tape to smoothing the final coat, runs through this one handheld blade. If you buy only one item off this list, make it a good taping knife.
What it's used for
Taping knives spread and smooth joint compound over seams, screw holes, and patched areas. Different widths handle different jobs: a narrow 4 or 6-inch blade applies the first coat and works compound into corners, while a wider 10 or 12-inch blade feathers out the edges so the repair blends into the surrounding wall. Without a set that covers a few widths, you'll struggle to get compound both into tight spots and spread thin enough to disappear once painted.
How to use it
Start with the narrower blade to apply the base coat, pressing firmly enough to force compound into the seam or hole without leaving deep knife marks, the same technique behind applying drywall mud smoothly. Hold the blade at roughly a 15-degree angle to the wall and pull it in one steady motion instead of scrubbing back and forth, which creates ridges. Once that coat dries, switch to a wider blade for each following coat, feathering the edges out further each time.
A drywall patch only looks invisible when the edges taper to nothing, and that tapering happens through your knife width, not extra sanding.
What to look for when buying
Stainless steel blades resist rust and stay sharp longer than the cheaper carbon-steel versions sold in bargain bins. Look for a flexible blade with some spring to it. A stiff blade drags and leaves gouges, while too much flex makes it hard to control pressure. A comfortable, non-slip handle matters too, since you'll be holding this tool at an angle for extended stretches.
Price range
A single 6-inch taping knife typically runs $8 to $15, while a starter set with three or four widths costs $25 to $45. Higher-end brands with stainless blades and ergonomic handles can push a set closer to $60, but for most one-off repairs, a mid-range set covers everything you need without overspending on a tool you'll use a handful of times a year.
2. Mud pan
A mud pan is the sidekick to your taping knife, giving you a portable surface to hold and load compound as you work. Trying to repair drywall straight out of the bucket wastes compound and forces you to keep walking back and forth, which slows down a job that should take an afternoon.
What it's used for
The pan holds a workable amount of joint compound within arm's reach while you tape and coat a patch, so it helps to know what drywall mud is and which type to use before you load it. Its beveled edge also doubles as a place to scrape excess mud off your knife between passes, keeping the blade clean and your coats even. For anyone assembling tools for drywall repair , a mud pan is what turns a messy process into a controlled one.
How to use it
Load the pan with a couple inches of compound rather than filling it to the rim, since mud dries out fast once exposed to air, and mix drywall mud to the right consistency before it goes in. Dip your knife at an angle, scrape off the extra against the pan's edge, and reload often instead of trying to stretch one scoop across a whole patch.
Working from a mud pan instead of the bucket keeps your compound workable and your coats consistent.
What to look for when buying
Stainless steel pans clean up easier and last longer than plastic ones, which tend to hold onto dried compound in scratches. A pan with a sharp, straight edge scrapes knives cleanly; a rounded or worn edge leaves compound clumps that show up in your finish coat.
Price range
Plastic mud pans start around $5 to $8, while stainless steel versions run $12 to $20. For occasional repairs, plastic works fine, but stainless holds up better if you plan on tackling more than one project.
3. Joint compound and drywall tape
Joint compound and drywall tape are the actual materials that fill and reinforce your repair, and no amount of skill with a taping knife makes up for the wrong product here. These two go together as a pair among drywall repair supplies , since tape without compound has nothing to hold it, and compound without tape cracks along the seam within months.
What it's used for
Compound fills gaps, covers screw heads, and builds up the layers that blend a patch into the wall. Tape bridges seams and joints so the compound has something to grip, preventing the crack from telegraphing back through the paint. Paper tape works for most flat seams, while self-adhesive mesh tape suits smaller patches where you want less mess and no need to pre-wet anything, and our breakdown of paper tape vs. mesh tape for drywall covers which belongs where.
How to use it
Apply a thin bed of compound first, press the tape into it, then smooth a second layer over the tape before it dries, which is why taping matters so much to a lasting repair. Rushing this step causes bubbles under the tape that show up later as cracks.
A repair fails at the tape, not the paint, so get that layer right before you worry about the finish coat.
What to look for when buying
Pre-mixed compound in a bucket saves time for small jobs, while powder mixes cost less for larger repairs. Mesh tape holds up better on cracks prone to movement.
Price range
A gallon of pre-mixed joint compound runs $12 to $18, and a roll of tape costs $3 to $6, covering most single-room repairs easily.
4. Sanding tools
Sanding is the step that separates a smooth, paint-ready wall from one with visible ridges under every light angle. Once your compound coats have dried, sanding tools knock down high spots and blend the patch edges into the surrounding drywall so nothing telegraphs through primer.
What it's used for
Sandpaper and sanding blocks smooth dried joint compound between coats and after the final layer. A sanding sponge works well for wet sanding, which cuts down on airborne dust, while a pole sander handles ceiling patches and large wall areas without you climbing a ladder every few minutes.
How to use it
Sand lightly between coats using a fine grit, checking your progress by running a flat hand across the patch rather than relying on sight alone. Wet sanding with a damp sponge works well indoors since it traps dust instead of spreading it through the house.
Feel for ridges with your hand before you trust your eyes, since compound hides flaws that a raking light will expose later.
What to look for when buying
Choose 120 to 150 grit sandpaper for drywall compound, since coarser grits gouge the surface. A sanding sponge with two grit levels built into opposite sides saves you from buying separate pads, and a pole sander with a swivel head reaches ceilings without strain.
Price range
Basic sanding sponges cost $3 to $6 each, sandpaper sheets run under $10 for a pack, and a pole sander with a swivel head typically costs $15 to $30. Dust-control sanding attachments that connect to a shop vac add another $20 to $40 but pay off on larger jobs.
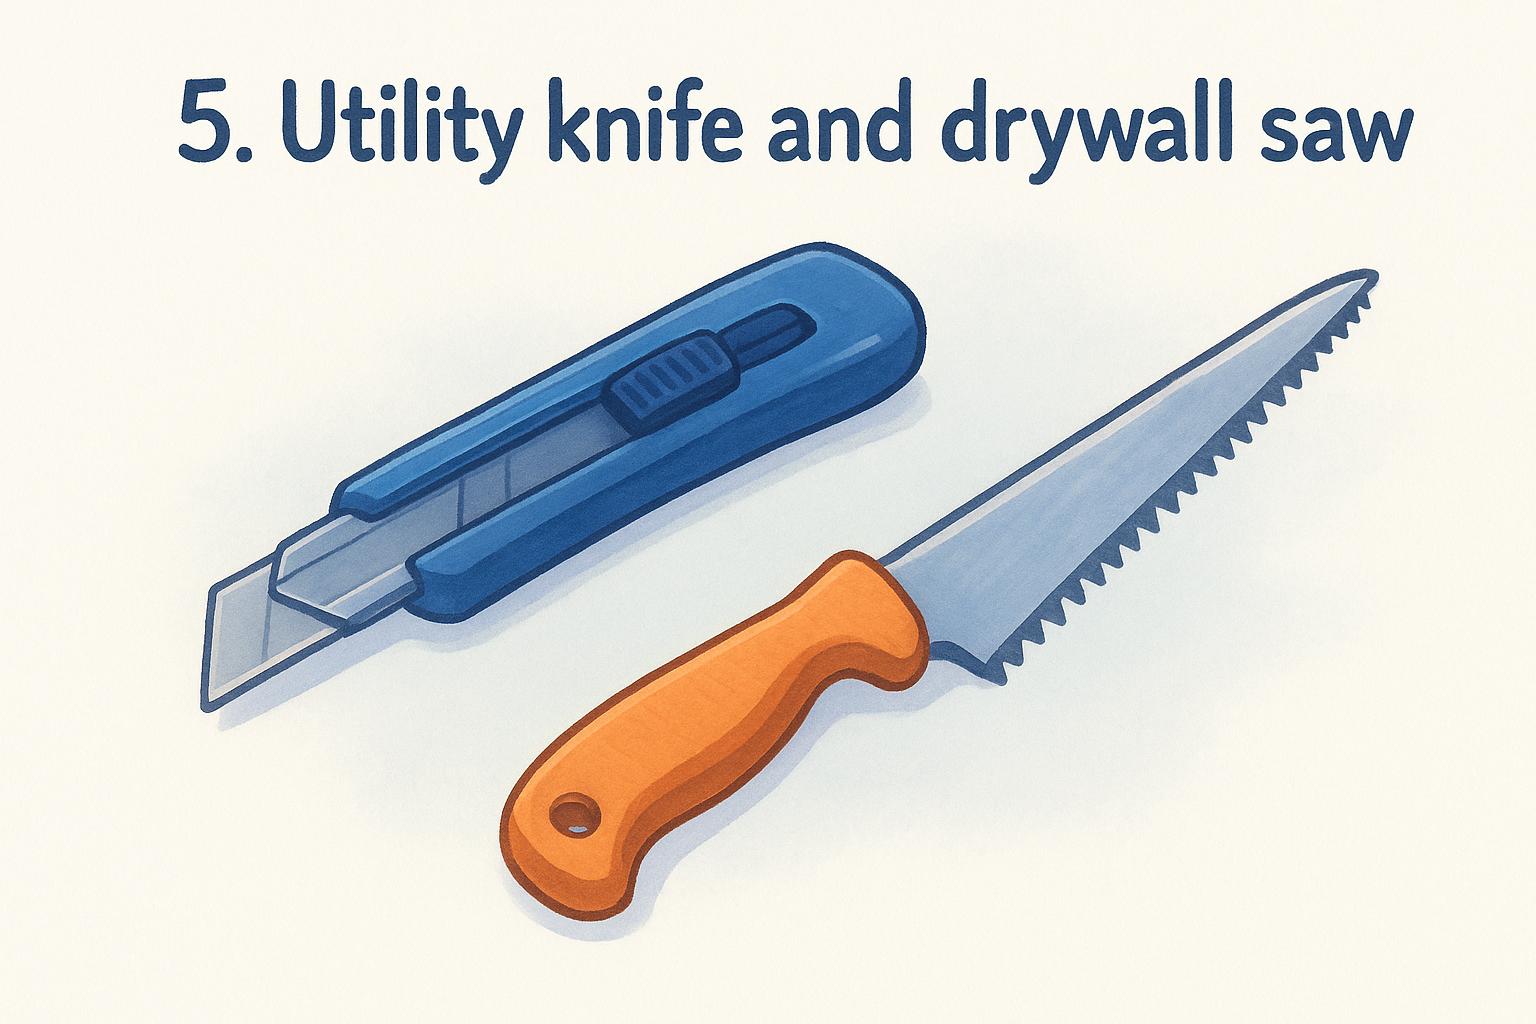
5. Utility knife and drywall saw
Before you can patch anything, you need to cut away damaged drywall and shape your repair piece to fit. A utility knife scores and cuts drywall paper and thin sheets, while a drywall saw (sometimes called a jab saw) punches through thicker sections and cuts openings for outlet boxes or larger patches.
What it's used for
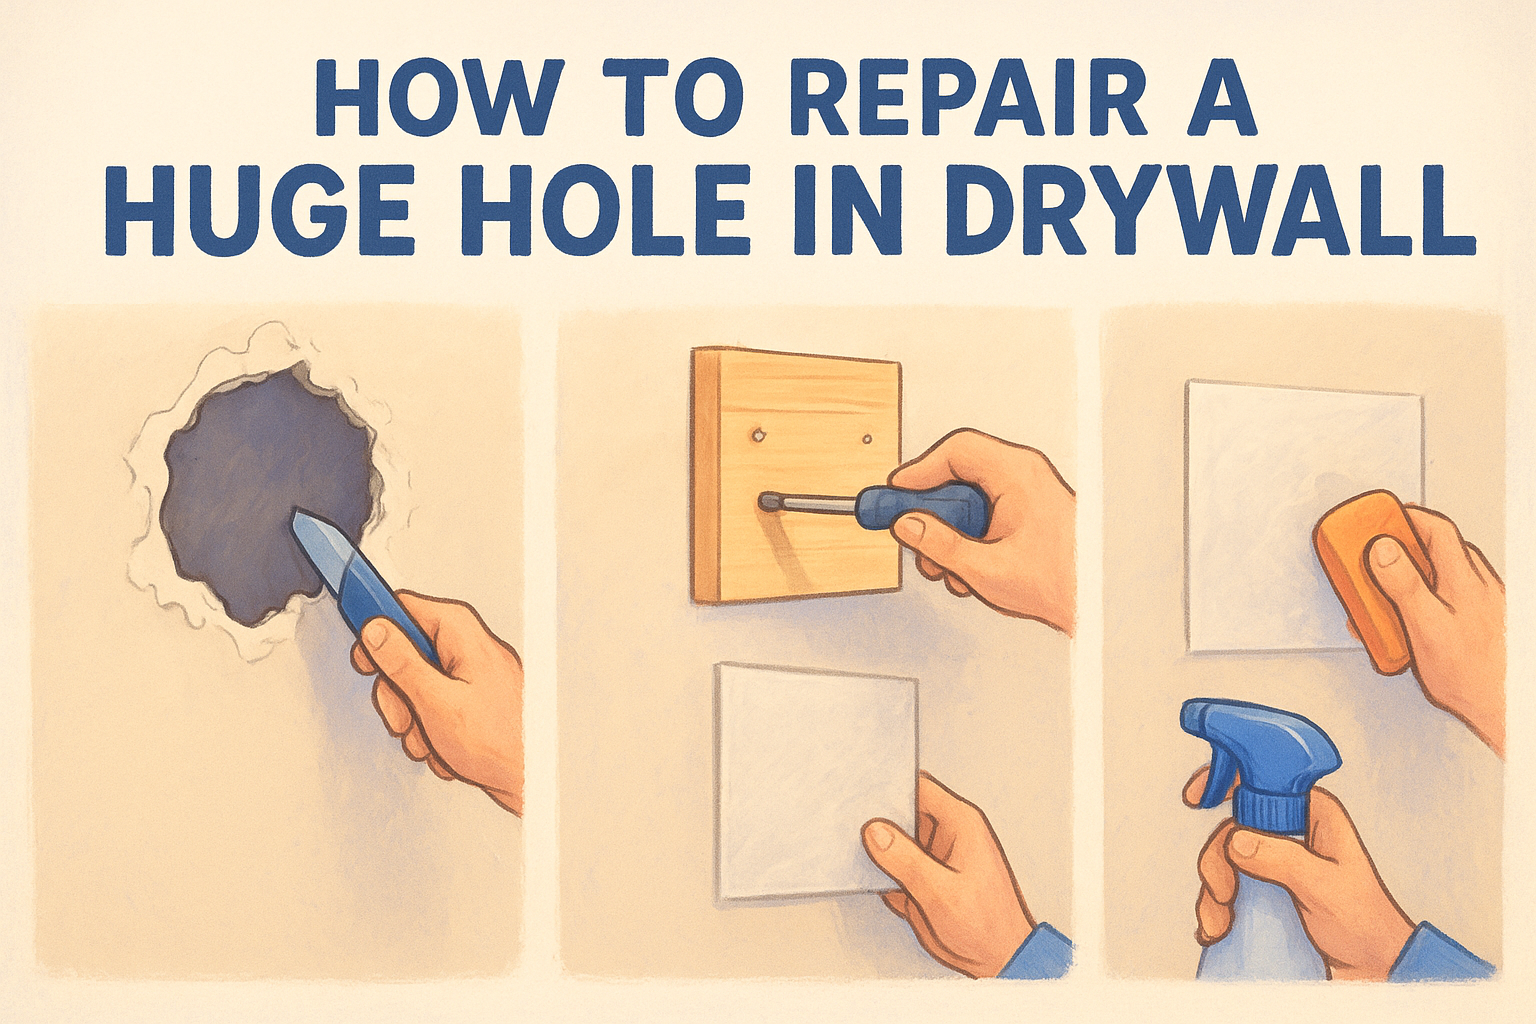
Utility knives score drywall along a straightedge so you can snap it cleanly, and they trim patch pieces to exact size. Drywall saws handle jobs a utility knife can't, like cutting square openings for repair patches or removing a damaged section down to the studs, which is where methods for patching a large drywall hole come in. Together, they cover nearly every cutting task in a DIY drywall repair.
How to use it
Score drywall with the utility knife using a straightedge, then snap the sheet along the cut and slice through the back paper to separate it. For openings, use the drywall saw's pointed tip to puncture the surface, then saw along your outline in short, controlled strokes.
A clean cut line means a tighter patch fit, which means less compound and fewer coats to hide the seam.
What to look for when buying
Look for a utility knife with a retractable blade and quick-change mechanism, since drywall dulls blades fast. For the saw, a sturdy handle grip and aggressive teeth cut faster with less wrist strain, especially through double-layer drywall.
Price range
A basic retractable utility knife costs $5 to $12, with replacement blades running a few dollars per pack. Drywall saws typically run $8 to $15, making this pairing one of the cheapest additions to your toolkit.
6. Cordless drill or screw gun
Drywall doesn't stay put on its own, and a cordless drill or dedicated screw gun is what actually secures a patch piece to the studs or backing before you touch it with a taping knife. This tool matters most when you're replacing a chunk of damaged drywall rather than just patching a small hole, since screws hold far better than nails and won't pop loose the way nail heads eventually do, and the same fastening rules apply when you install drywall from prep to paint.
What it's used for
A drill or screw gun drives drywall screws through the patch and into framing, holding the new piece flush and tight. It also works in reverse to remove screws from the damaged section you're cutting out, which saves you from prying and cracking the surrounding board.
How to use it
Set the clutch so the screw head dimples the paper slightly without tearing through it. Drive screws every 12 to 16 inches along the studs, checking that each one sits flush rather than proud or sunk too deep.
A screw that tears the paper loses its grip entirely, so stop the moment you feel the clutch bite.
What to look for when buying
A drill with an adjustable clutch gives you the control a standard drill lacks. Dedicated screw guns cost more but include a depth-setting nose piece built specifically for drywall, which beats guessing with a regular drill on repeated repairs.
Price range
A basic cordless drill with clutch settings runs $30 to $60, while a dedicated drywall screw gun starts around $80 and climbs past $150 for contractor-grade models. For occasional repairs, a mid-range cordless drill covers the job without the extra cost.
When to DIY and when to call a pro
With these six tools, you can knock out nail holes, small dents, and minor seam cracks over a weekend without hiring anyone. A taping knife, mud pan, compound and tape, sanding tools, cutting tools, and a drill cover the full range of small drywall repair work most homeowners face. Know your limits too. Cracks that keep reappearing often point to a settling foundation issue that a patch won't fix twice. Popcorn ceilings in homes built before the 1980s may contain asbestos, and cutting into that material yourself puts your health at risk, not just your finish coat. Large sections of damaged drywall, water damage that's spread into framing, or anything involving suspected asbestos calls for a licensed contractor, not a trip to the hardware store. If your project falls into that category, book professional drywall repair and patching in the Sacramento Valley for a free estimate before you start tearing into the wall.