September 19, 2026
Drywall Ceiling Repair Cost: What You Should Expect to Pay
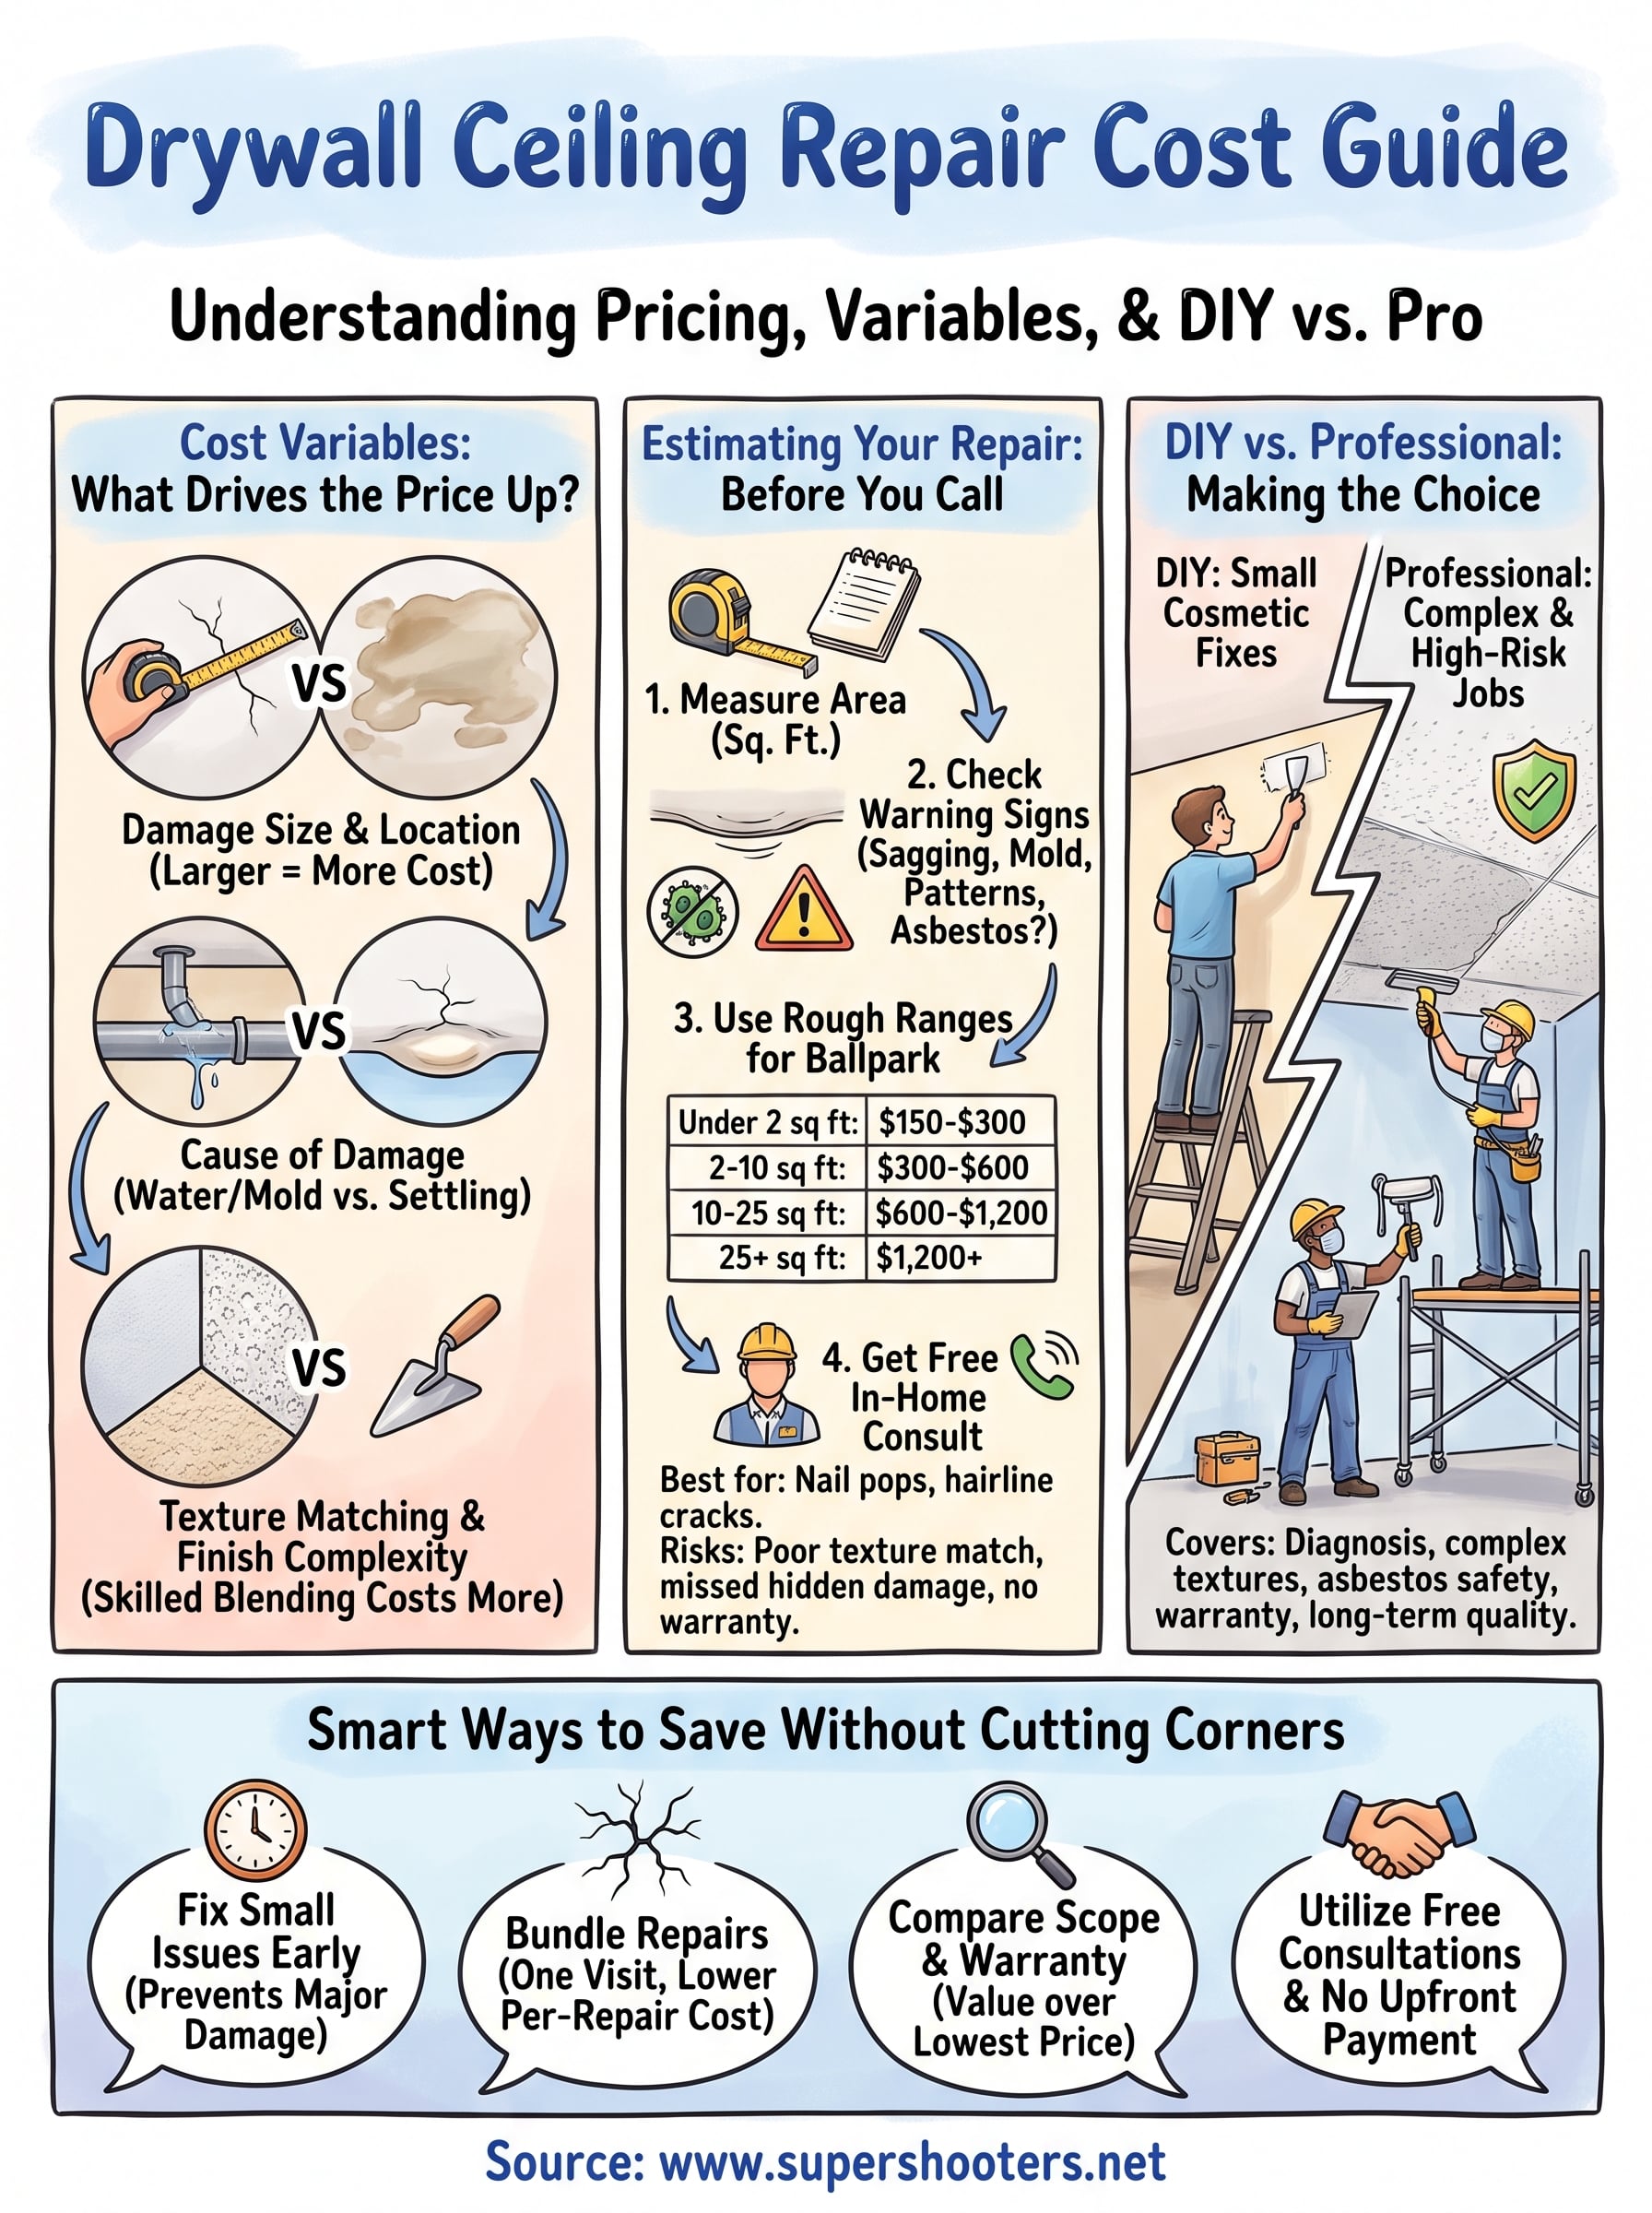
That water stain or crack spreading across your ceiling isn't going away on its own, and you need a real number before you call anyone. Drywall ceiling repair cost typically runs between $250 and $1,000 for most residential jobs, but that range hides a lot of variables that matter to your specific situation. Small nail pops and hairline cracks sit at the low end, while water damage, sagging sections, or repairs that involve matching existing texture climb toward the higher figures fast.
What you pay depends on the size of the damage, what caused it, and whether your ceiling has popcorn texture or a smooth finish that needs blending. A patch job differs completely from a full ceiling replacement , and labor costs in the Sacramento Valley reflect local market rates that homeowners in Roseville or Elk Grove should know before getting quotes.
We've spent over 30 years repairing ceilings across this region, and this guide breaks down exactly what drives your final bill. You'll get real price ranges by damage type, the cost factors contractors actually consider, and honest guidance on when a small patch makes sense versus when you're looking at a bigger project.
Why drywall ceiling repair costs vary so widely
Ask five contractors for a quote on the same ceiling and you might get five different numbers. That's not because someone's padding the bill. It's because ceiling repair pricing depends on a handful of variables that stack on top of each other, and each one can push your final cost up or down by hundreds of dollars.
Size and location of the damage
Biggest factor first: how much ceiling actually needs work. A nail pop the size of a quarter costs almost nothing to fix, sometimes under $150 for a quick visit. A water-damaged section spanning several feet, or a sagging area over a bathroom, requires cutting out drywall, replacing insulation if it got wet, and restoring the surface after a leak from scratch. Contractors typically price by square foot once damage exceeds a small patch, and that per-foot rate covers labor, drywall sheets, joint compound, tape, and fasteners.
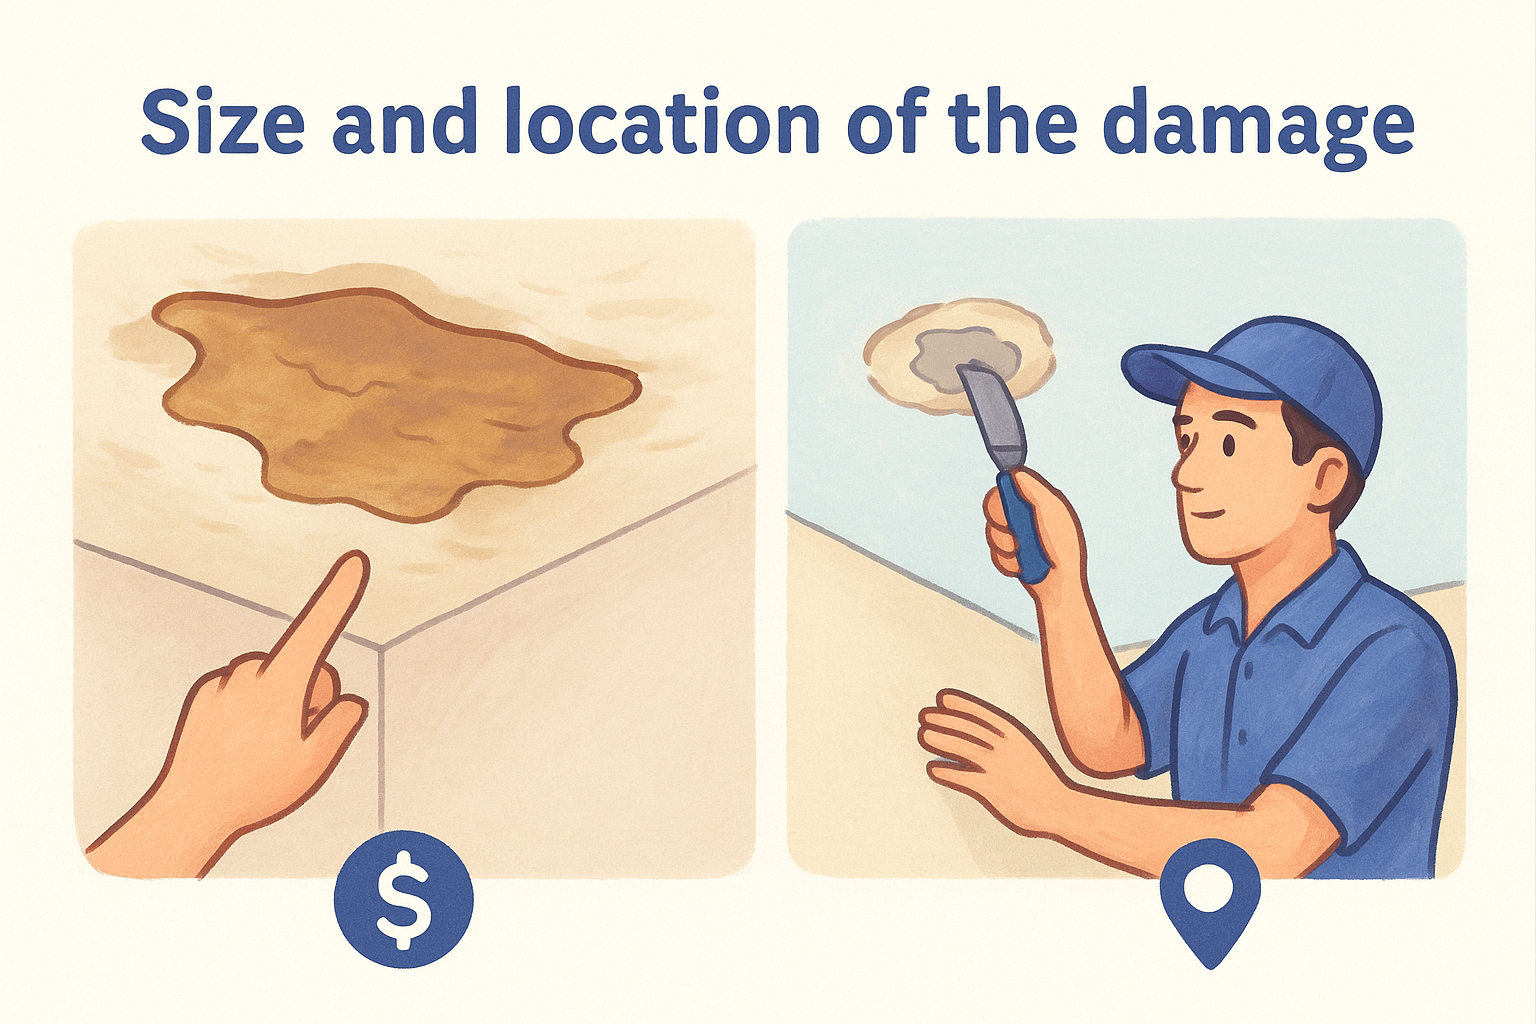
Location inside the house matters too. Repairs in a kitchen or bathroom often cost more because of moisture concerns and the need to match tile-adjacent finishes precisely. A garage ceiling or utility room repair tends to run cheaper since the finish standards are lower.
What caused the damage
Cause changes everything about scope. A settling crack from a shifting foundation under the house might just need mesh tape and a skim coat. Water damage from a roof leak or plumbing failure means you're not just patching drywall, you're addressing moisture, possibly mold, and sometimes insulation replacement before the ceiling even gets closed up again. That's why two ceilings with similar-looking holes can carry very different price tags once a contractor opens things up and sees what's underneath.
The visible crack or stain tells you almost nothing about the real repair cost until someone opens the ceiling and sees what caused it.
Texture matching and finish work
Here's where a lot of homeowners get surprised. Patching the drywall itself is often the cheap part. Matching popcorn, orange peel, or a smooth knockdown finish takes skill and adds real time to a job. A mismatched patch stands out under any light, so a contractor doing quality work will feather the texture across a wider area than the actual repair, blending old and new so the seam disappears. That extra labor and material can add $100 to $300 to a straightforward patch, depending on ceiling size and texture complexity.
Access, height, and labor rates in the Sacramento Valley
Vaulted ceilings, stairwells, and rooms with tall walls require scaffolding or extended ladders, and that added setup time gets built into the quote. A simple bedroom ceiling with 8-foot walls is far cheaper to access than a great room with a 14-foot peak.
Local labor rates also play a role. Homeowners in Sacramento, Roseville, Folsom, and Elk Grove generally see pricing that reflects regional contractor rates, which run higher than rural markets but lower than coastal California cities. Getting quotes from established local companies rather than out-of-area crews usually keeps this variable predictable.
Hidden factors: asbestos and structural damage
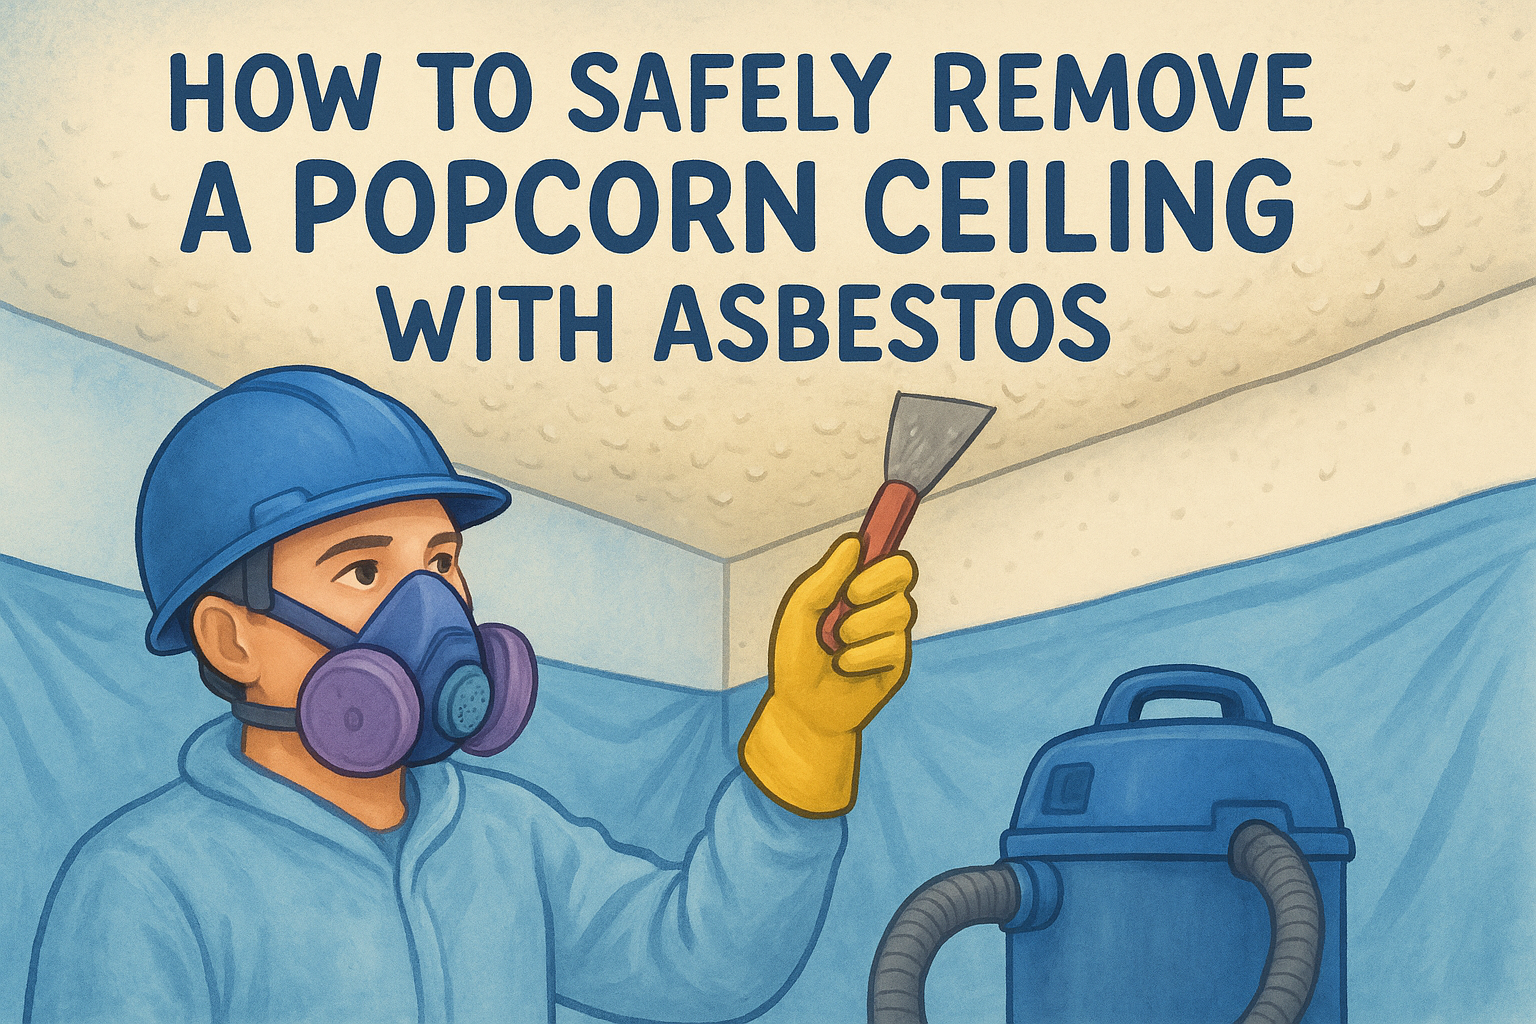
Older homes throw in another wrinkle. If your ceiling still has original popcorn texture applied before the late 1970s, there's a real chance it contains asbestos, and that changes the entire repair process. Testing and, if needed, asbestos-safe ceiling removal by professionals adds cost upfront but protects your health and keeps you compliant with California regulations. According to the EPA, disturbing asbestos-containing material without proper containment can release fibers into your home's air, so this isn't a step to skip or DIY.
Structural issues, like water-softened framing or a ceiling that's pulling away from the joists, also raise costs because the fix goes beyond drywall into carpentry work. These factors rarely show up in a phone quote. They show up when someone experienced actually looks at your ceiling in person.
How to estimate your ceiling repair cost before you call anyone
You don't need a contractor on site to get a reasonable ballpark before you start making calls. A little homework upfront helps you spot a fair quote from an inflated one, and it gives you talking points when you're comparing bids from different companies.
Measure the damaged area yourself
Grab a tape measure and get the actual square footage of the affected section, not just a guess. Ceiling repair pricing almost always scales with size once you're past a small patch, so a 2-foot by 3-foot water stain costs very differently than a full 10-foot section that needs replacement. Write down the length and width, multiply them, and you've got a number that means something when a contractor starts talking price.
Check for the warning signs that raise cost
Look closely at what you're dealing with before assuming it's a simple patch. A few things push the price up fast:
- Sagging or bulging drywall , which usually means saturated material that needs full removal
- Discoloration with a musty smell , a sign moisture has been sitting long enough to risk mold
- Cracks that run in a pattern rather than a single line, often pointing to structural movement
- Popcorn texture on a home built before 1980 , which may require asbestos testing first
Any of these signs means your repair likely costs more than a straightforward patch job, and you should mention them when requesting quotes so contractors aren't surprised on arrival.
Use rough per-square-foot ranges to build your own estimate
Once you know your square footage, apply general market ranges, or see how repair prices break down by job type, to get a working number. These aren't exact quotes, but they'll keep your expectations realistic.
| Damage size | Typical DIY-visible scope | Rough cost range |
|---|---|---|
| Under 2 sq ft | Nail pops, hairline cracks | $150–$300 |
| 2–10 sq ft | Small water stain, single crack | $300–$600 |
| 10–25 sq ft | Larger water damage, minor sag | $600–$1,200 |
| 25+ sq ft | Full section replacement | $1,200 and up |
A tape measure and a flashlight will tell you more about your real cost than any online calculator ever will.
Photograph the damage from multiple angles before you call anyone, including a wide shot showing where it sits relative to walls, light fixtures, or plumbing above. Sending these photos ahead of an in-home visit helps contractors give you a more accurate phone estimate and speeds up the actual drywall ceiling repair cost conversation once they arrive. Super Shooters offers free in-home consultations across the Sacramento Valley, and bringing your own measurements and photos to that visit makes the estimate process faster and more precise for everyone involved.
Cost breakdown by type of ceiling damage
Different kinds of ceiling damage carry different price tags, even when the visible area looks similar. Knowing which category your problem falls into helps you sanity-check any quote you receive and understand why two seemingly identical cracks can cost so differently to fix. Here's how the most common issues typically break down for drywall ceiling repair cost across the Sacramento Valley.
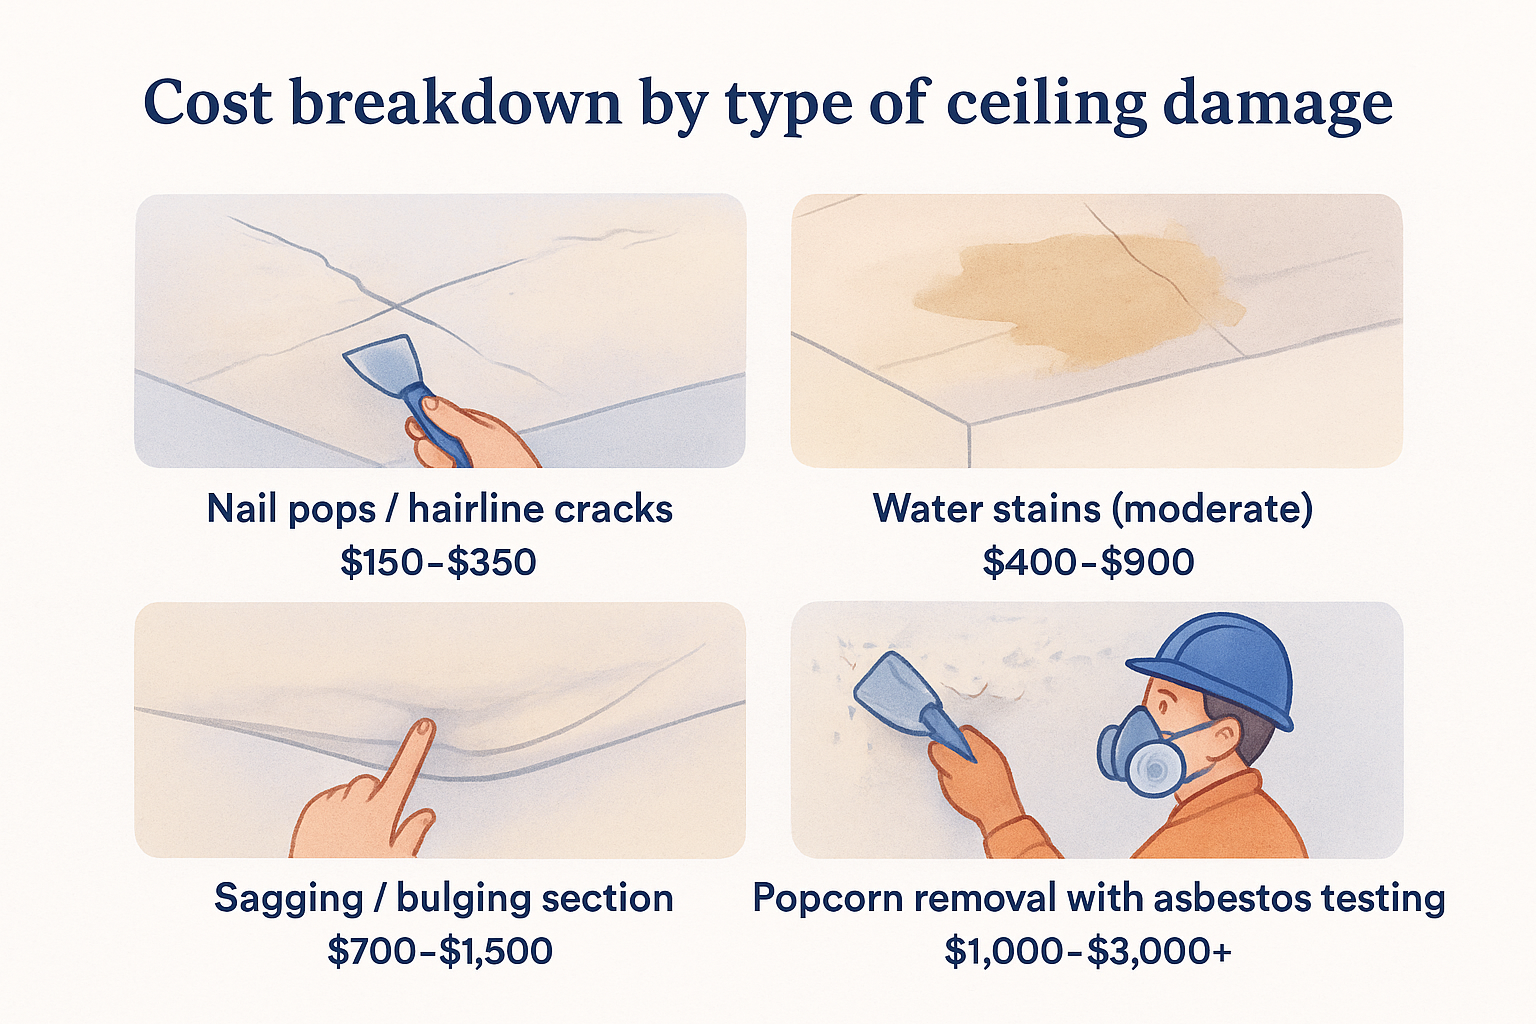
Nail pops and hairline cracks
These are the cheapest fixes you'll run into, usually caused by normal house settling rather than anything serious. A contractor sands down the raised nail head, reseats or replaces the fastener, applies joint compound, and blends the texture, the same approach that keeps hairline ceiling cracks from coming back. Most homes have a few of these somewhere, and fixing several at once during one visit often saves you money compared to calling separately for each one.
Water stains and moisture damage
Water damage repair costs more because the visible stain is rarely the whole story. A water-damaged ceiling often means the drywall paper has broken down, insulation above it is wet, and the source of the leak needs identifying before any patch makes sense. Skipping that step means paying twice, once now and again when the same stain reappears in six months.
Fixing a water stain without finding the leak is just delaying the same repair bill.
Sagging or bulging sections
Sagging drywall signals saturated material that's lost its structural integrity, and there's no patching your way around it. The damaged section has to come out entirely, insulation often needs replacing, and the new drywall has to be hung, taped, mudded, and textured to match. This is one of the more labor-intensive repairs on this list, and it's rarely a same-day job.
Popcorn ceiling removal and asbestos considerations
Homes with original popcorn ceilings built before the late 1970s add a testing step before any repair work begins. If asbestos turns up, removal requires containment, specialized equipment, and disposal that meets California regulations, which raises what asbestos ceiling removal costs well above a standard patch. Super Shooters scrapes and refinishes textured ceilings with proper safety protocols built in, so homeowners aren't left guessing about compliance.
Full ceiling replacement
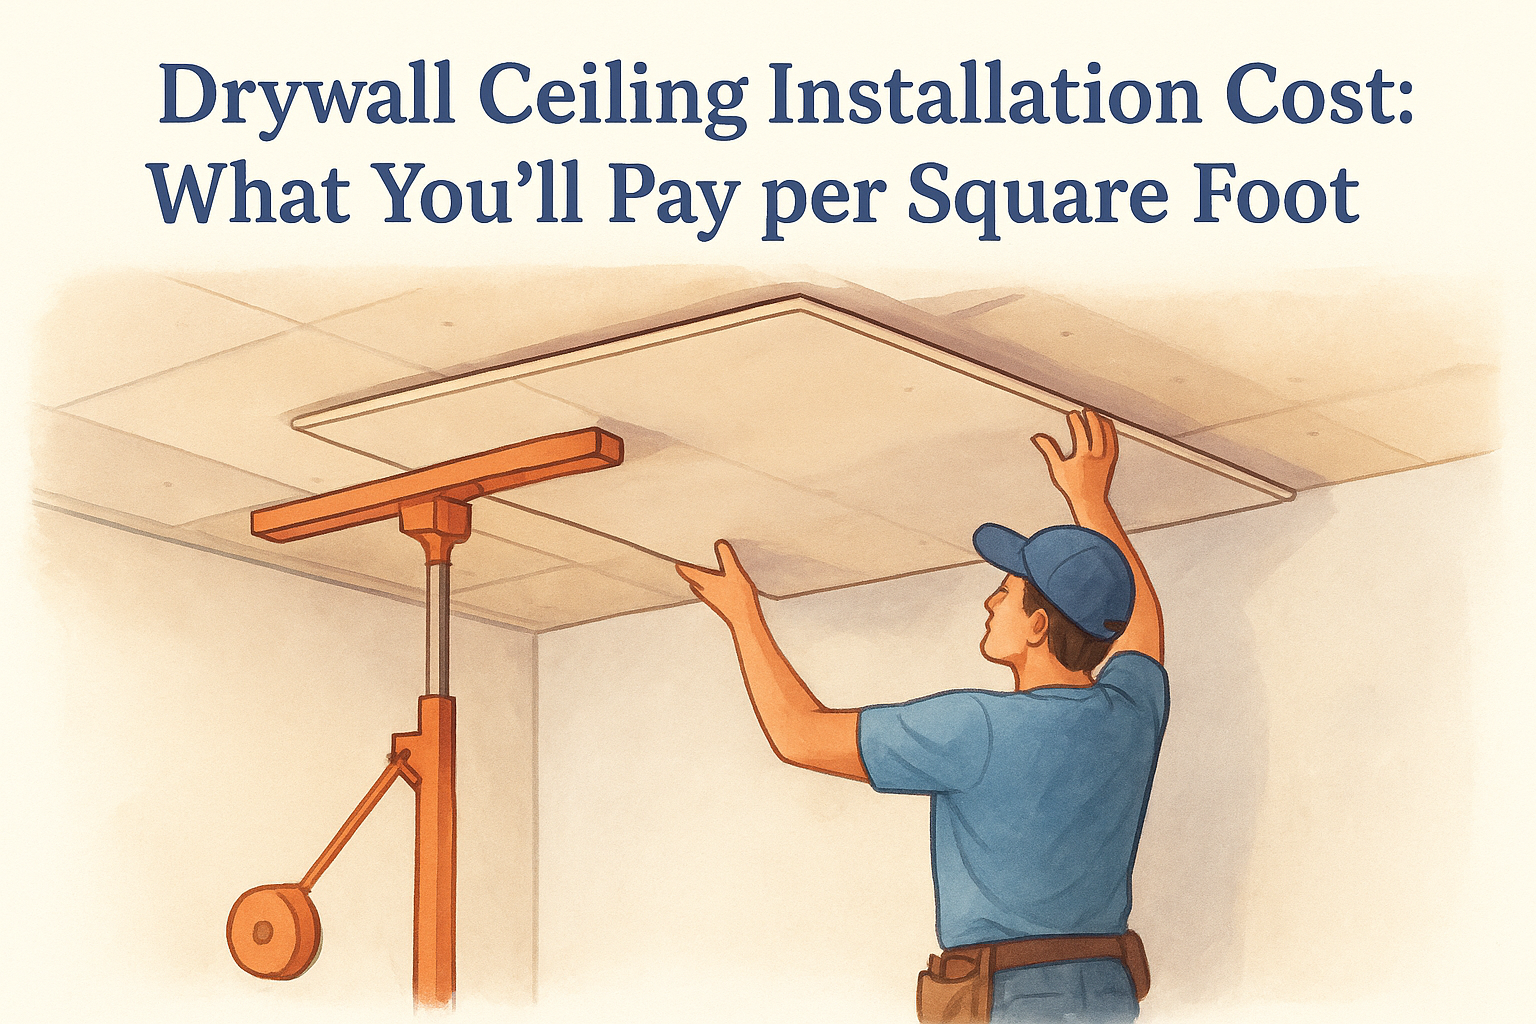
When damage spans most of a room, whether from long-term water intrusion, fire, or extensive sagging, patching stops making financial sense. A full tear-out and rebuild costs more upfront, and what a new ceiling costs per square foot buys you a uniform finish without visible seams from repeated patches.
| Damage type | Typical cost range |
|---|---|
| Nail pops / hairline cracks | $150–$350 |
| Water stains (moderate) | $400–$900 |
| Sagging / bulging section | $700–$1,500 |
| Popcorn removal with asbestos testing | $1,000–$3,000+ |
| Full ceiling replacement | $1,500 and up |
DIY repair vs hiring a professional: what changes the price
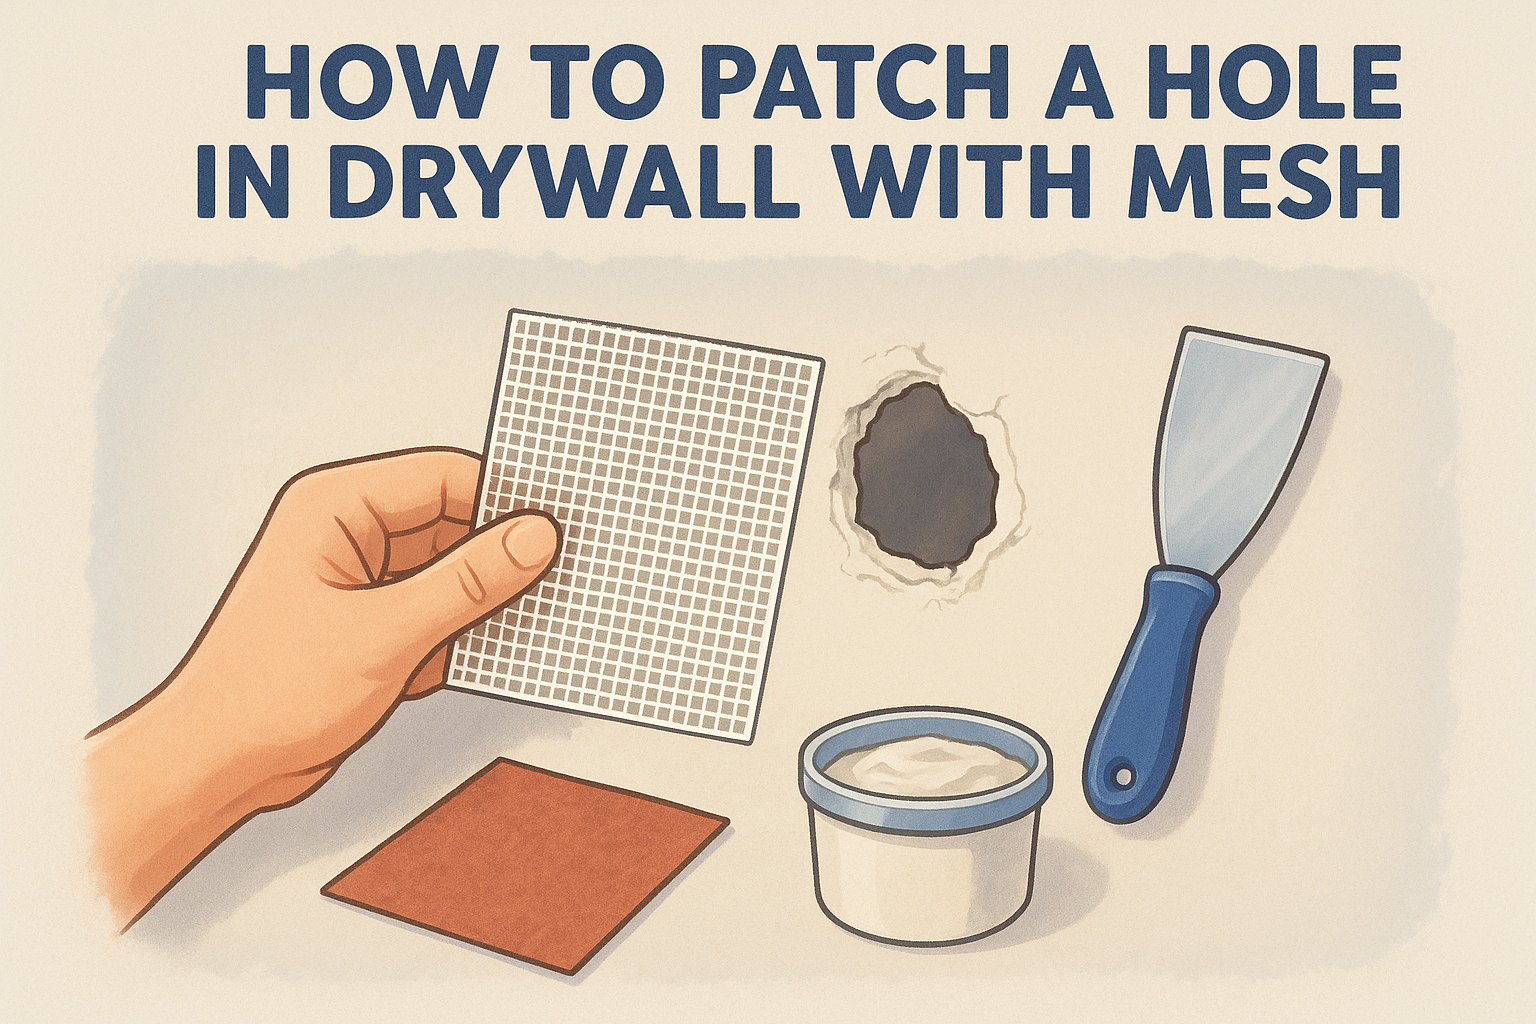
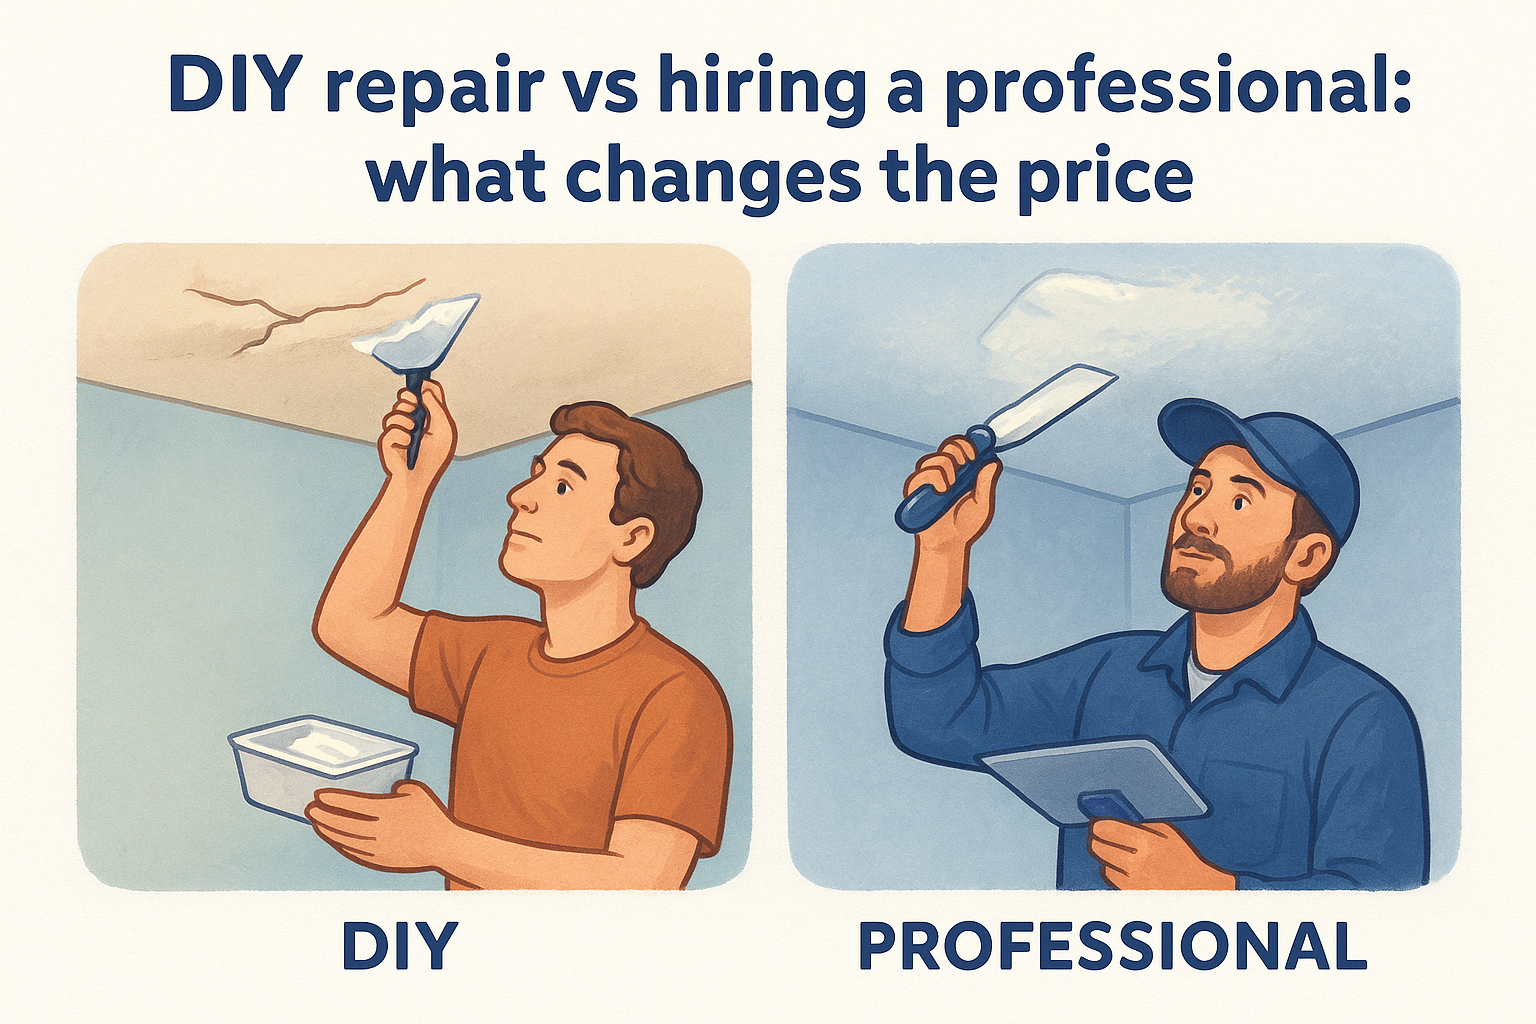
Many homeowners try patching a small ceiling crack themselves before calling a contractor, and for the smallest jobs that's a reasonable move. Materials for a basic DIY drywall patch run about $20 to $50, covering a small drywall scrap, joint compound, mesh tape, and a texture spray if you're lucky enough to match the existing finish out of a can. Compare that to a professional visit starting around $150, and the savings look tempting on paper.
Where DIY actually makes sense
Small, cosmetic repairs are the sweet spot for tackling yourself. A single nail pop, a hairline settling crack under two feet long, or a small scuff from a picture hook falling out are all reasonable weekend projects if you're comfortable on a ladder and patient with sanding. The tools worth owning for DIY patching are basic:
- Utility knife and drywall saw
- Joint compound and a 6-inch taping knife
- Mesh or paper tape
- Fine-grit sanding sponge
- Texture spray matched to your ceiling finish
These jobs don't require matching complex texture patterns or dealing with anything hidden above the surface, which is exactly why they stay cheap.
Where DIY costs you more in the long run
A botched texture match is the most expensive mistake a DIY ceiling repair can make, because fixing it means redoing work twice.
Once damage involves water, sagging, or any suspicion of asbestos, the math flips fast. Popcorn ceilings installed before the late 1970s need testing before anyone touches them, and that's not a DIY step under California regulations. Sagging drywall usually means wet insulation sitting above the surface, invisible until you cut into it, and an inexperienced repair can miss saturated material that keeps causing problems. Texture matching on anything larger than a small patch also trips up most homeowners; canned texture rarely blends seamlessly with decades-old popcorn or knockdown finishes, and a visible seam under daylight is hard to undo without professional feathering techniques.
What professional pricing actually covers
Quotes from an established contractor include more than the visible patch work. You're paying for correct identification of the damage cause, proper insulation handling, texture matching that disappears under normal lighting, and a warranty backing the work if something resurfaces. Super Shooters includes a Super Shield warranty with every project, which covers you if a repair fails, something a DIY patch simply can't offer. For anything beyond the smallest cosmetic fix, that warranty and the correct diagnosis upfront usually make hiring a professional the cheaper choice once you account for redone work, wasted materials, or a callback repair down the road.
Practical ways to keep your ceiling repair costs down
Smart timing and a few upfront decisions can shave real money off your final bill without cutting corners on quality. None of these tips involve skipping necessary work, they're about spending your repair budget where it actually matters.
Fix small problems before they become big ones
A hairline crack ignored for two years often turns into a sagging section that needs a full tear-out. Early intervention keeps a $200 patch from becoming an $800 rebuild, especially with water stains that signal an ongoing leak. Check your ceilings a few times a year, particularly under bathrooms, roof valleys, and around plumbing runs, and call for an assessment the moment you spot discoloration.
The cheapest ceiling repair is always the one you catch before it spreads.
Bundle multiple repairs into one visit
Most homes with a nail pop have two or three others hiding nearby. Combining several small fixes into a single contractor visit spreads the trip charge and setup time across more work, which lowers your per-repair cost noticeably compared to calling separately each time something new appears. Walk your whole house before scheduling anyone, and note every crack, pop, or stain you find so the contractor can quote everything together.
Get quotes that compare scope, not just the number
Cheapest doesn't always mean best value once you factor in texture matching and warranty coverage. Look for contractors who explain what's included in their price, since a cheap bid can still leave you overpaying once it skips texture blending or insulation replacement and you're paying for a redo. Ask each company these questions before comparing numbers side by side:
- Does the quote include texture matching to the surrounding ceiling?
- Is asbestos testing included if the home predates 1980?
- What warranty backs the repair if it fails later?
- Does the price cover cleanup and debris removal?
Take advantage of free consultations and no upfront payment
Homeowners often skip getting a professional opinion because they assume it costs money just to have someone look. Super Shooters offers free in-home consultations across the Sacramento Valley, so you get an accurate quote before committing to anything. Pairing that with no payment due until the project finishes protects you from paying for work that doesn't meet expectations, and it removes the financial risk of getting a second opinion before you sign off on a bigger repair.
Don't let asbestos guesswork add unnecessary cost
Guessing wrong about asbestos in an older popcorn ceiling can mean paying for unnecessary containment or, worse, skipping testing you actually needed. Proper testing upfront settles the question once, so you're not paying for extra precautions your ceiling never required or facing compliance issues later.
Putting these numbers to work for your ceiling
You now have real numbers instead of guesswork. Drywall ceiling repair cost depends on size, cause, texture matching, and whether asbestos testing enters the picture, and those factors explain why one contractor's quote looks nothing like another's. Measure your damage, watch for the warning signs that push price up, and use the cost tables here to sanity-check whatever bid lands in your inbox.
Zero in on the category your ceiling falls into, whether that's a simple nail pop or a full section needing replacement, and you'll walk into any consultation already speaking the same language as the contractor. Getting a second opinion costs you nothing but time, and it protects you from overpaying or underestimating what a repair actually involves.
Ready to get an accurate number for your specific ceiling? See our ceiling drywall repair and patching service and schedule a free in-home consultation with Super Shooters before you commit to anything.
Recent Posts