
August 9, 2026
Drywall and Ceiling Repair: A Step-by-Step DIY Guide
A sagging patch on your ceiling or a crack spreading across your drywall never fixes itself. Left alone, small problems turn into water stains, crumbling texture, or a full ceiling collapse. Drywall and ceiling repair is one of those jobs that looks intimidating until you break it down into the right steps, and this guide gives you exactly that.
If you're dealing with a small hole, a hairline crack, or a water-stained patch, you can likely handle the repair yourself over a weekend with basic tools and the right joint compound and mesh tape technique. We'll walk through cutting out damaged material, patching, taping, and matching texture so the repair blends in rather than standing out. For bigger issues like sagging sections, popcorn ceilings with suspected asbestos, or damage that keeps coming back, we'll flag when it's smarter to bring in a licensed contractor instead.
We've spent over 30 years repairing ceilings and walls across Sacramento Valley homes, so this guide reflects what actually works on real houses, not just textbook theory. By the end, you'll know which repairs are worth doing yourself and which ones deserve a professional call.
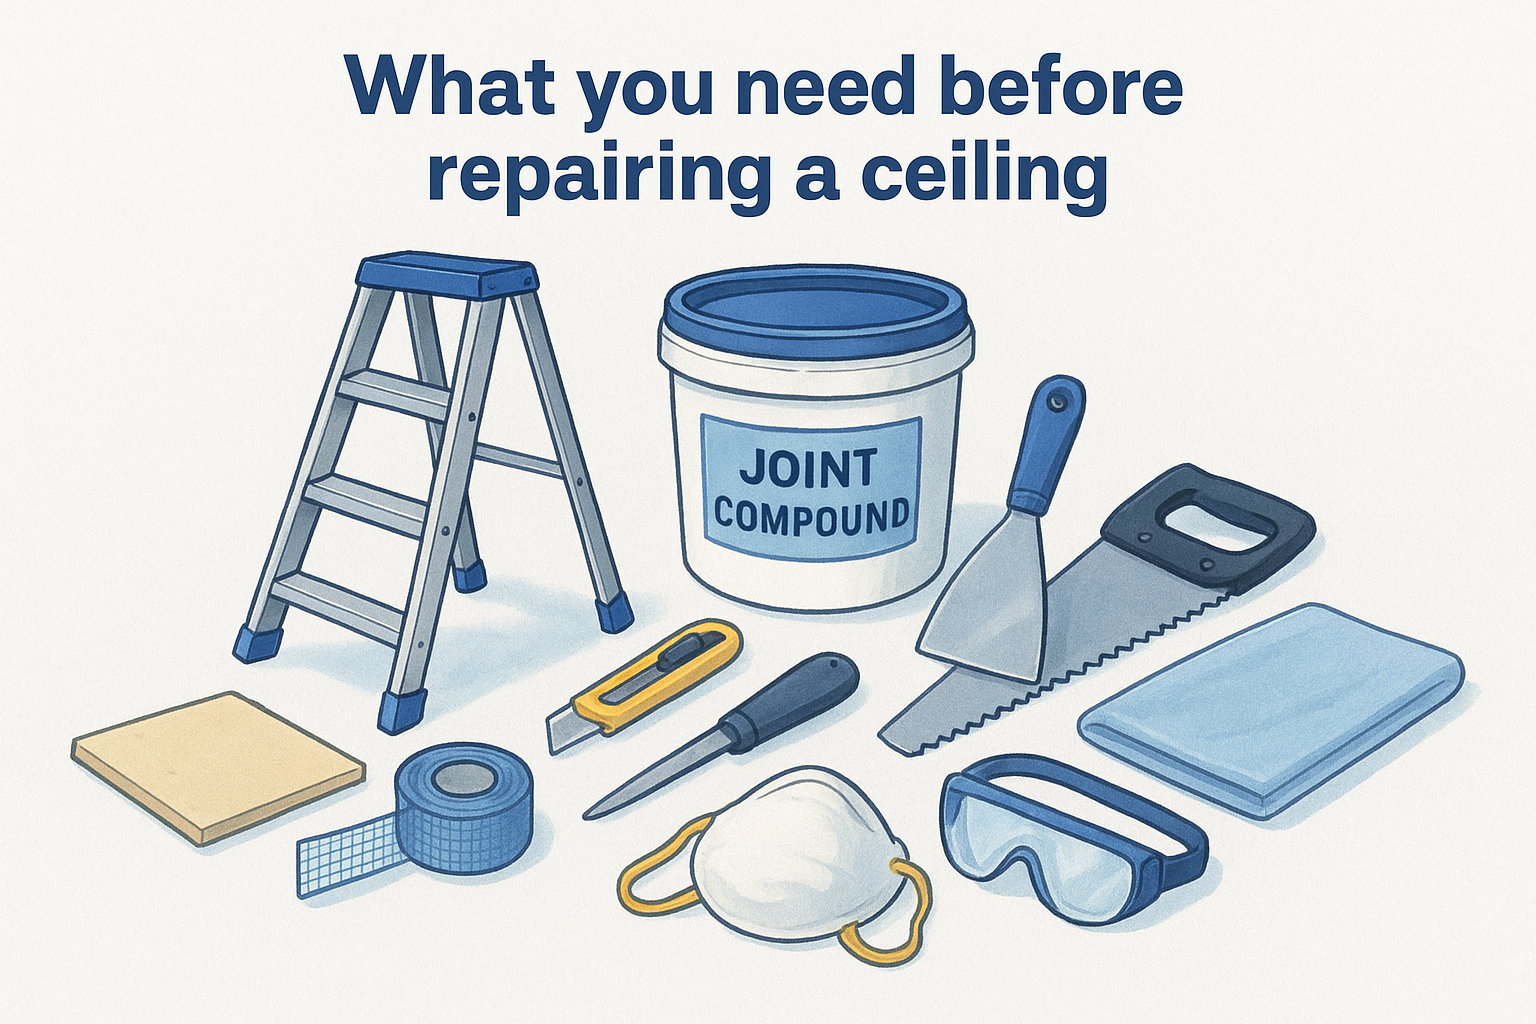
What you need before repairing a ceiling
Before you touch a putty knife, gather everything in one trip to the hardware store. Running back for a missing tool halfway through mixing joint compound wastes time and lets the mud dry out. Ceiling repair tools overlap a lot with basic drywall work, so if you've patched a wall before, you already own most of what you need.
Tools you'll actually use
A few of these get used on every single repair, others only come into play for specific damage types like water stains or larger holes.
- Utility knife and drywall saw for cutting out damaged sections
- 6-inch and 12-inch putty knives for applying joint compound
- Mesh or paper drywall tape for seams and joints
- Drywall screws and a screw gun or drill
- Sanding sponge or pole sander with 120-150 grit paper
- Stud finder to locate joists above the damaged area
- Ladder or scaffold rated for ceiling height work
- Dust mask (N95 minimum) and safety glasses
- Drop cloths or plastic sheeting for the floor and furniture
Materials that make the repair last
Skimping on materials is where most DIY ceiling patches fail within a year. Buy premixed joint compound for smaller jobs since it's more forgiving than powder mix, which sets fast and punishes hesitation. For the patch itself, pick up a scrap piece of drywall matching your ceiling's thickness, usually 1/2-inch in older Sacramento Valley homes. You'll also want ceiling texture spray or a texture sprayer if your ceiling has popcorn or orange peel finish, plus stain-blocking primer if water damage caused the original problem.
A ceiling repair only lasts as long as the materials backing it, so don't cut corners on tape, compound, or primer.
Safety gear you shouldn't skip
Ceiling work means dust and debris falling directly onto your face, which makes protective gear non-negotiable. Wear safety glasses every time you cut or sand overhead, since drywall dust and old texture flakes fall straight down into your eyes. Throw on a long-sleeve shirt too, because sanded gypsum dust sticks to skin and causes irritation over a long work session.
One critical check before you start
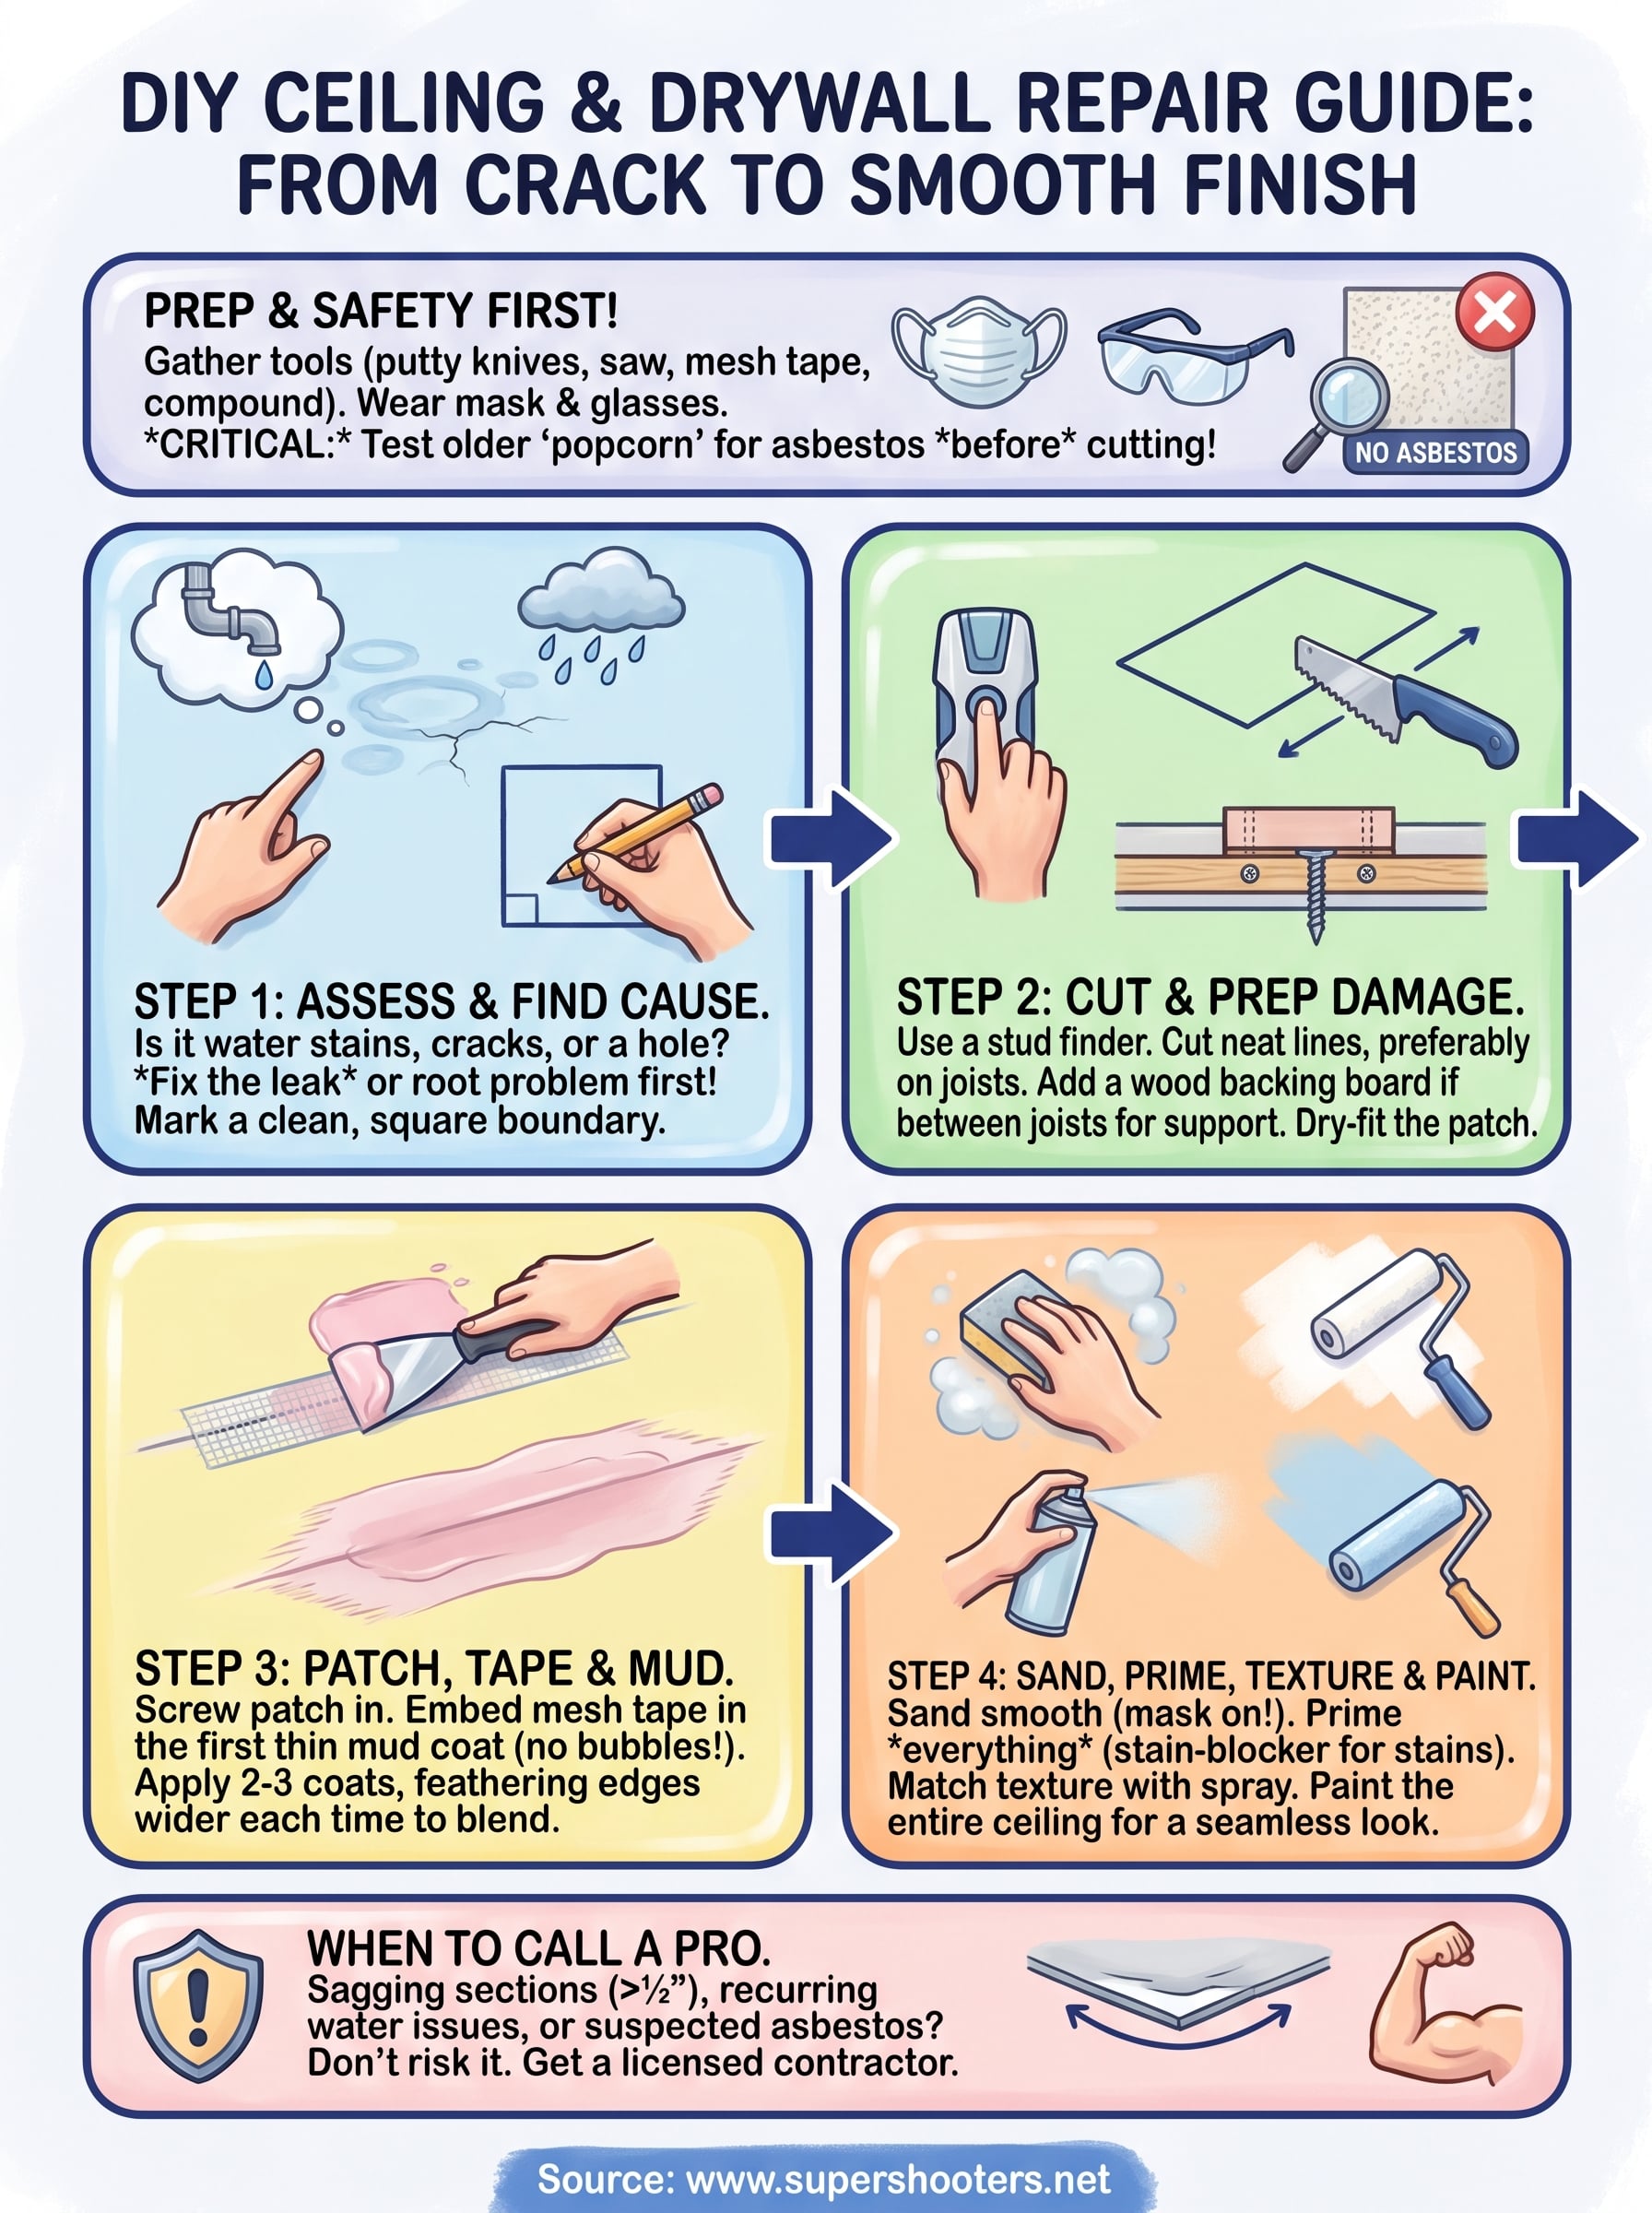
If your home was built before 1980 and has the original popcorn ceiling, stop before cutting into it. Older acoustic textures sometimes contain asbestos, and disturbing it releases fibers into the air. Test a sample or hire a licensed asbestos abatement professional before any DIY cutting begins. This single check protects your health more than any tool on this list.
Step 1. Assess the damage and find the cause
Before cutting anything, figure out why the ceiling failed in the first place. Patching over an active leak or ignoring a structural issue just means you'll be repairing the same spot again in six months. Finding the root cause takes ten extra minutes and saves you from redoing the whole job later.
Identify the type of damage
Different problems call for different fixes, so start by sorting what you're looking at:
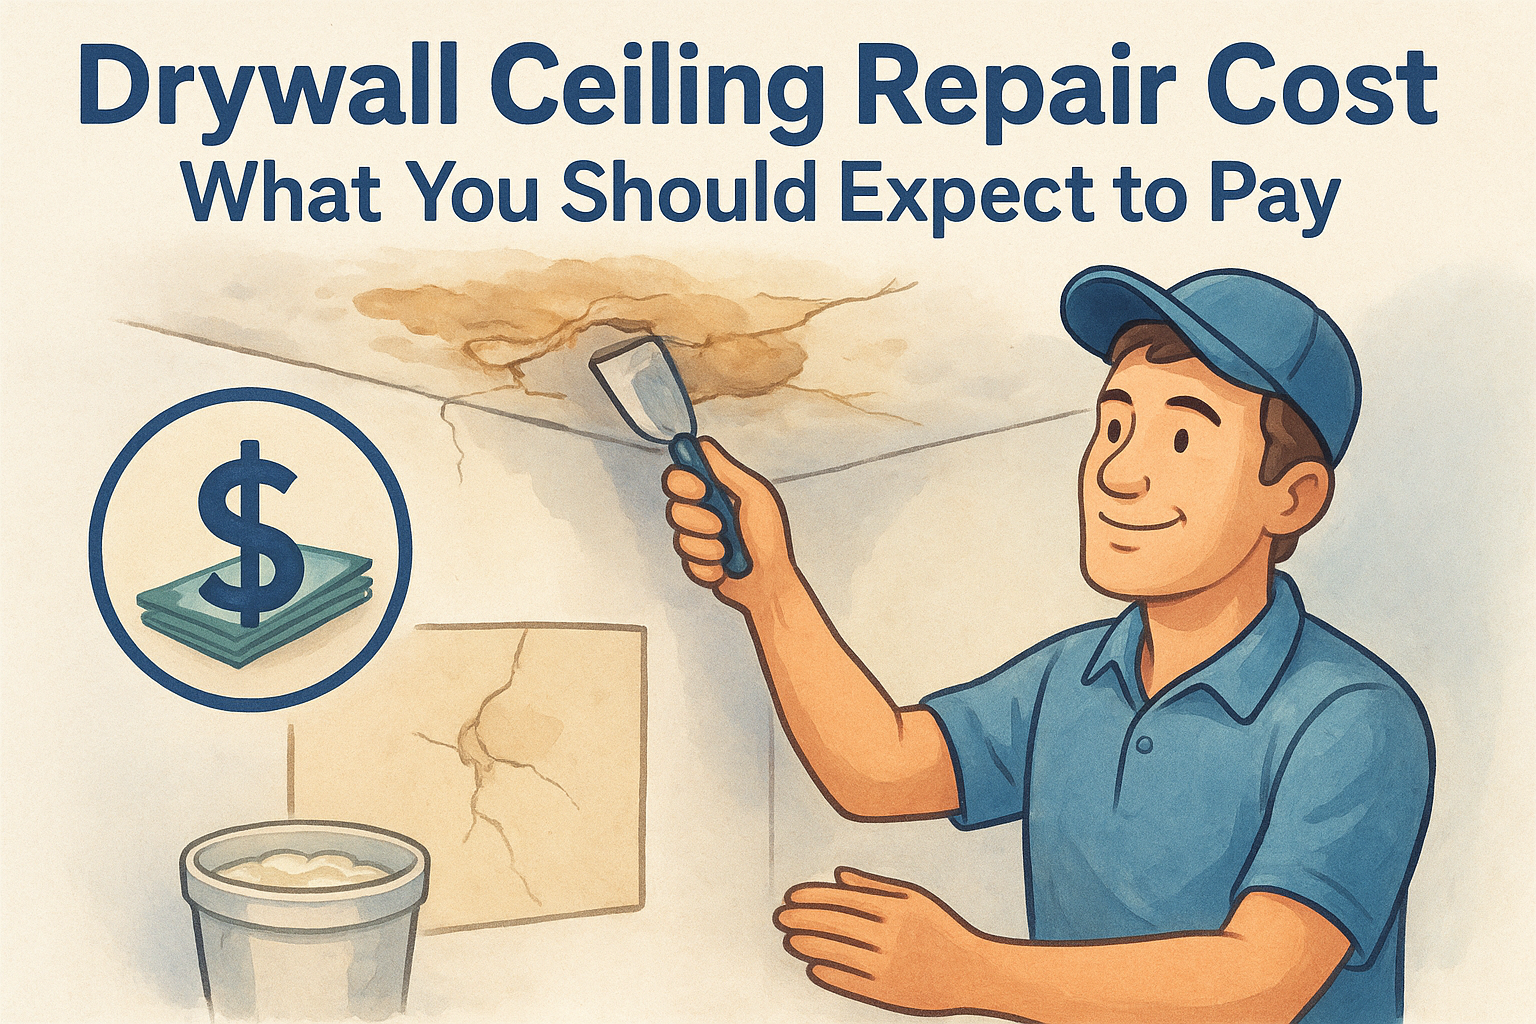
- Water stains or brown rings : usually a roof leak, plumbing leak, or condensation from poor attic ventilation
- Sagging sections : often means the drywall absorbed moisture and lost structural integrity, or the fasteners pulled loose from the joists
- Hairline cracks : typically settling or minor seasonal movement, common in older Sacramento Valley homes
- Holes or punctures : straightforward impact damage with no underlying cause to chase down
- Bubbling or peeling texture : signals moisture trapped behind the surface
Trace the source before you patch
If you see water staining, get into the attic and check directly above the damaged spot for wet insulation, daylight through the roof, or a disconnected vent pipe. For plumbing-related stains on ceilings below bathrooms or kitchens, check the pipes and fixtures directly above.
Never patch a water-damaged ceiling until you've fixed the leak causing it, or you'll be cutting the same hole twice.
Mark the repair boundaries
Once you've confirmed the cause is resolved, use a pencil to outline the full damaged area, extending a few inches past visible damage into solid material. This gives you a clean cutting line and ensures your patch has healthy drywall to attach to on every side.
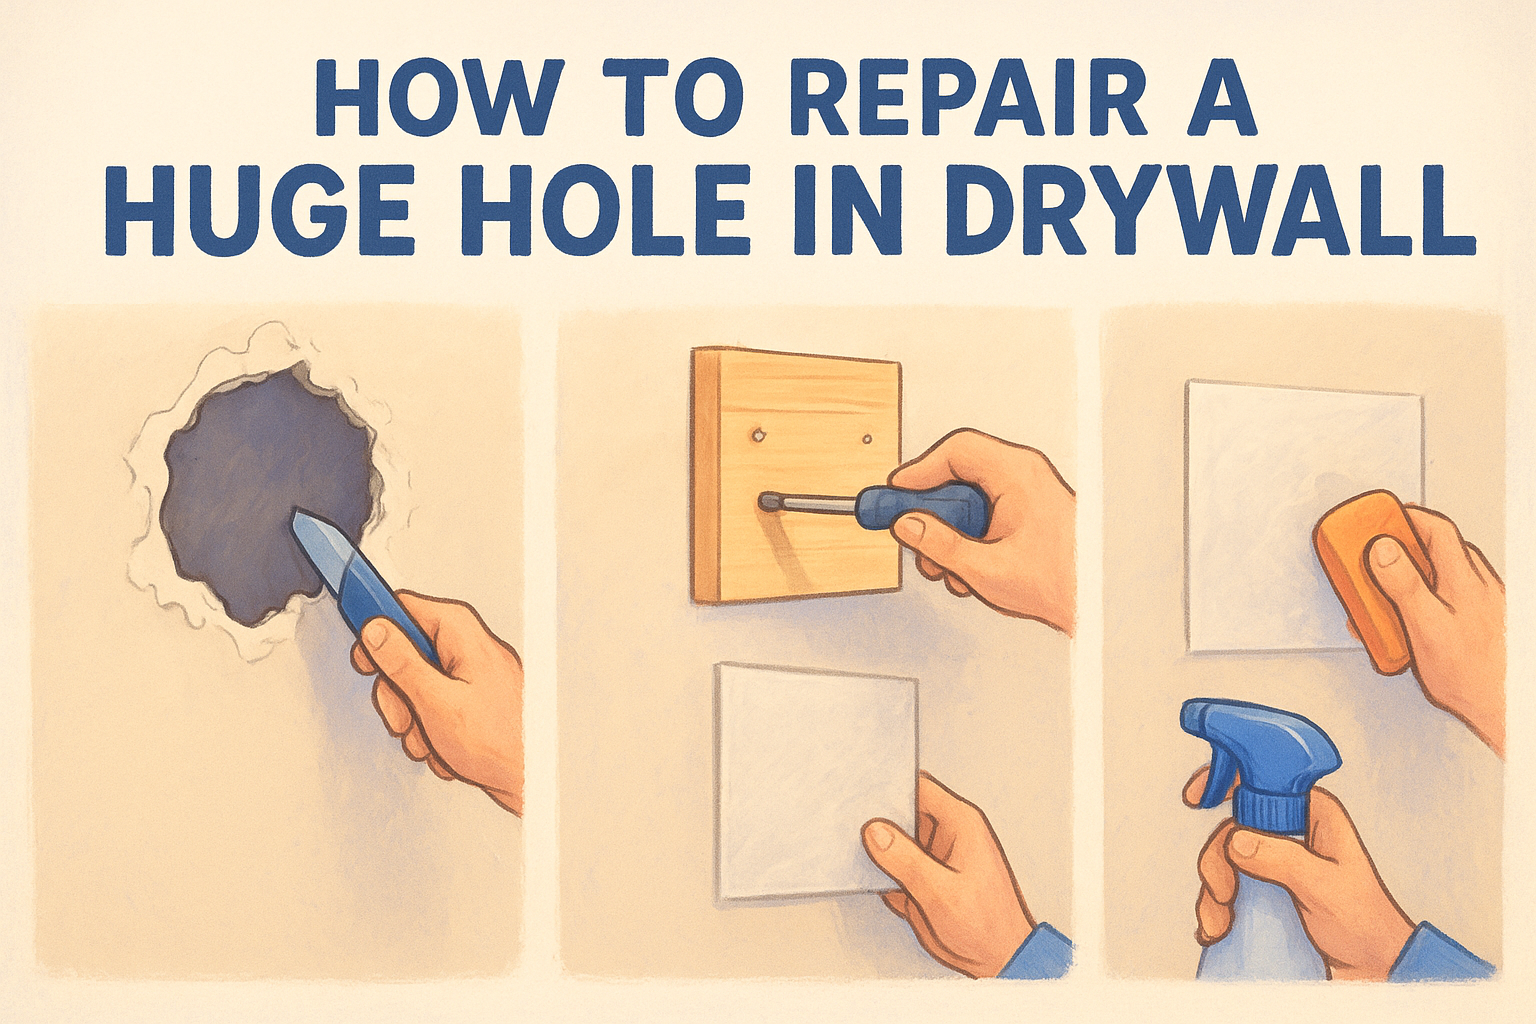
Step 2. Cut out and prep the damaged drywall
Once you've marked your repair boundaries, grab your drywall saw and cut along those lines. Cutting out damaged drywall cleanly matters more than people expect, since a jagged hole makes the patch piece harder to fit and the seams harder to hide later. Cut straight lines wherever possible, turning your repair into a simple square or rectangle rather than following the irregular shape of the actual damage.
Locate your joists first
Before you cut, run your stud finder across the ceiling to mark where the joists sit on either side of the damaged area. You want your patch edges to land on solid wood whenever possible, since screwing the new drywall into a joist holds far better than relying on tape and mud alone. If the hole falls between joists, you'll need a backing board.
A patch is only as strong as what it's screwed into, so always find your joists before you cut.
Add backing for support
For gaps between joists, cut a piece of 1x2 or 1x3 lumber a few inches longer than the hole, slide it into the opening, and screw it flush against the back of the surrounding drywall on both sides. This gives your new patch something solid to attach to instead of floating unsupported in open space.
Cut and dry-fit the patch
Measure the opening and cut your replacement drywall to match, leaving about a 1/8-inch gap on all sides for expansion. Dry-fit the piece before permanently securing it. Screw the patch into the joists or backing board, driving screws just below the surface without tearing the paper facing.
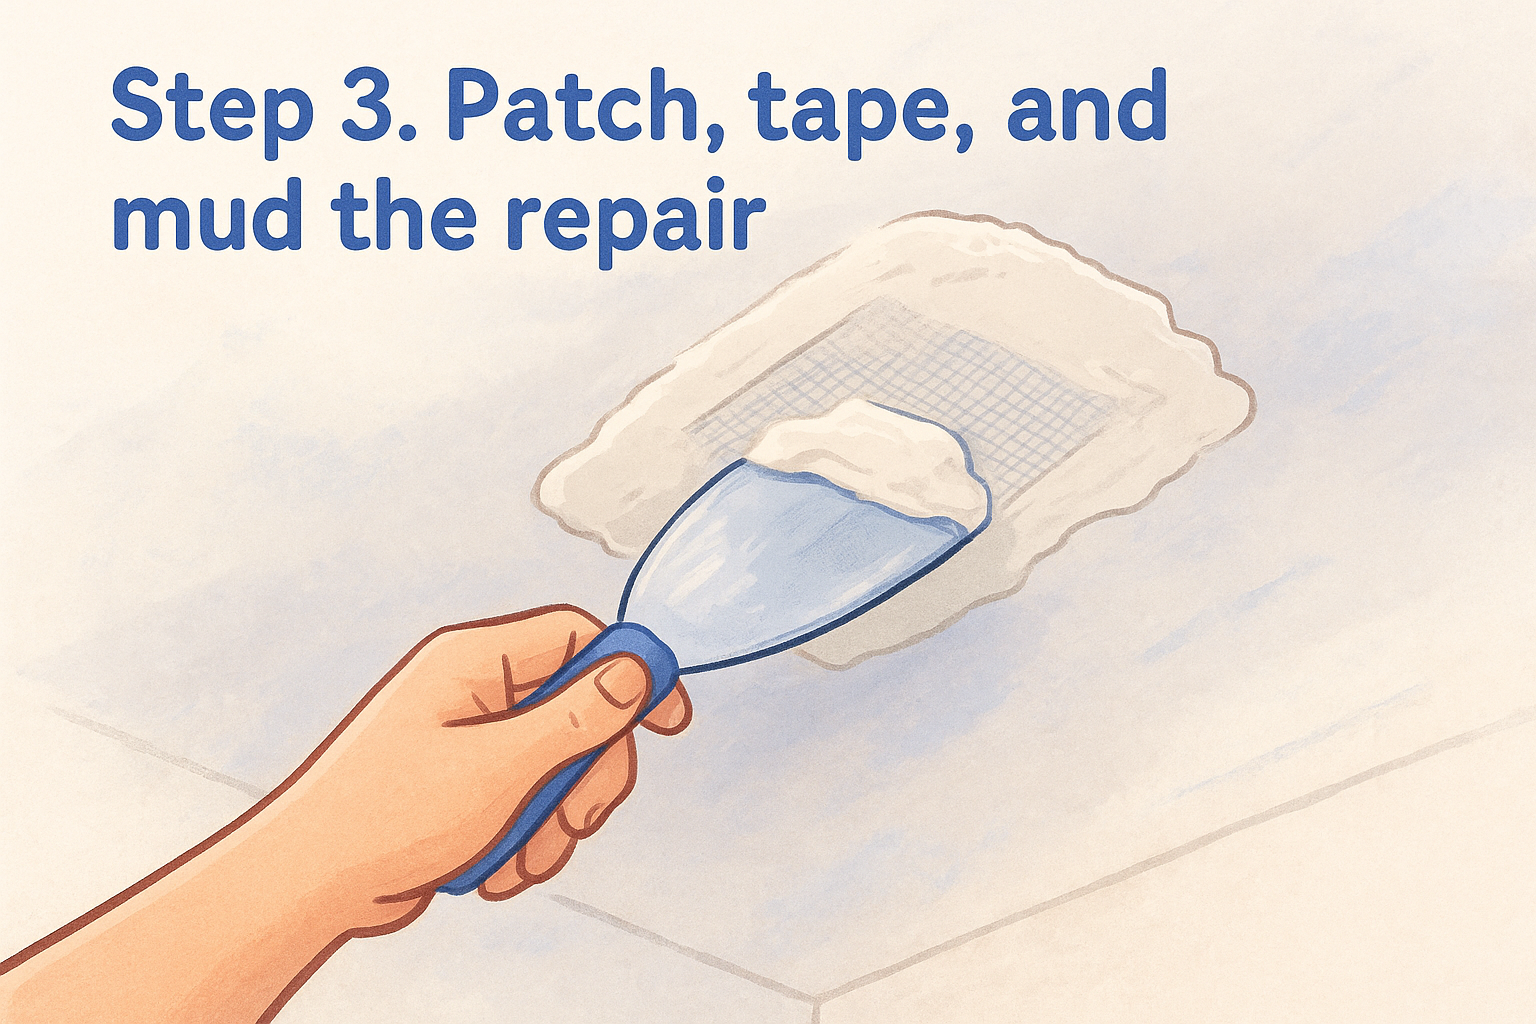
Step 3. Patch, tape, and mud the repair
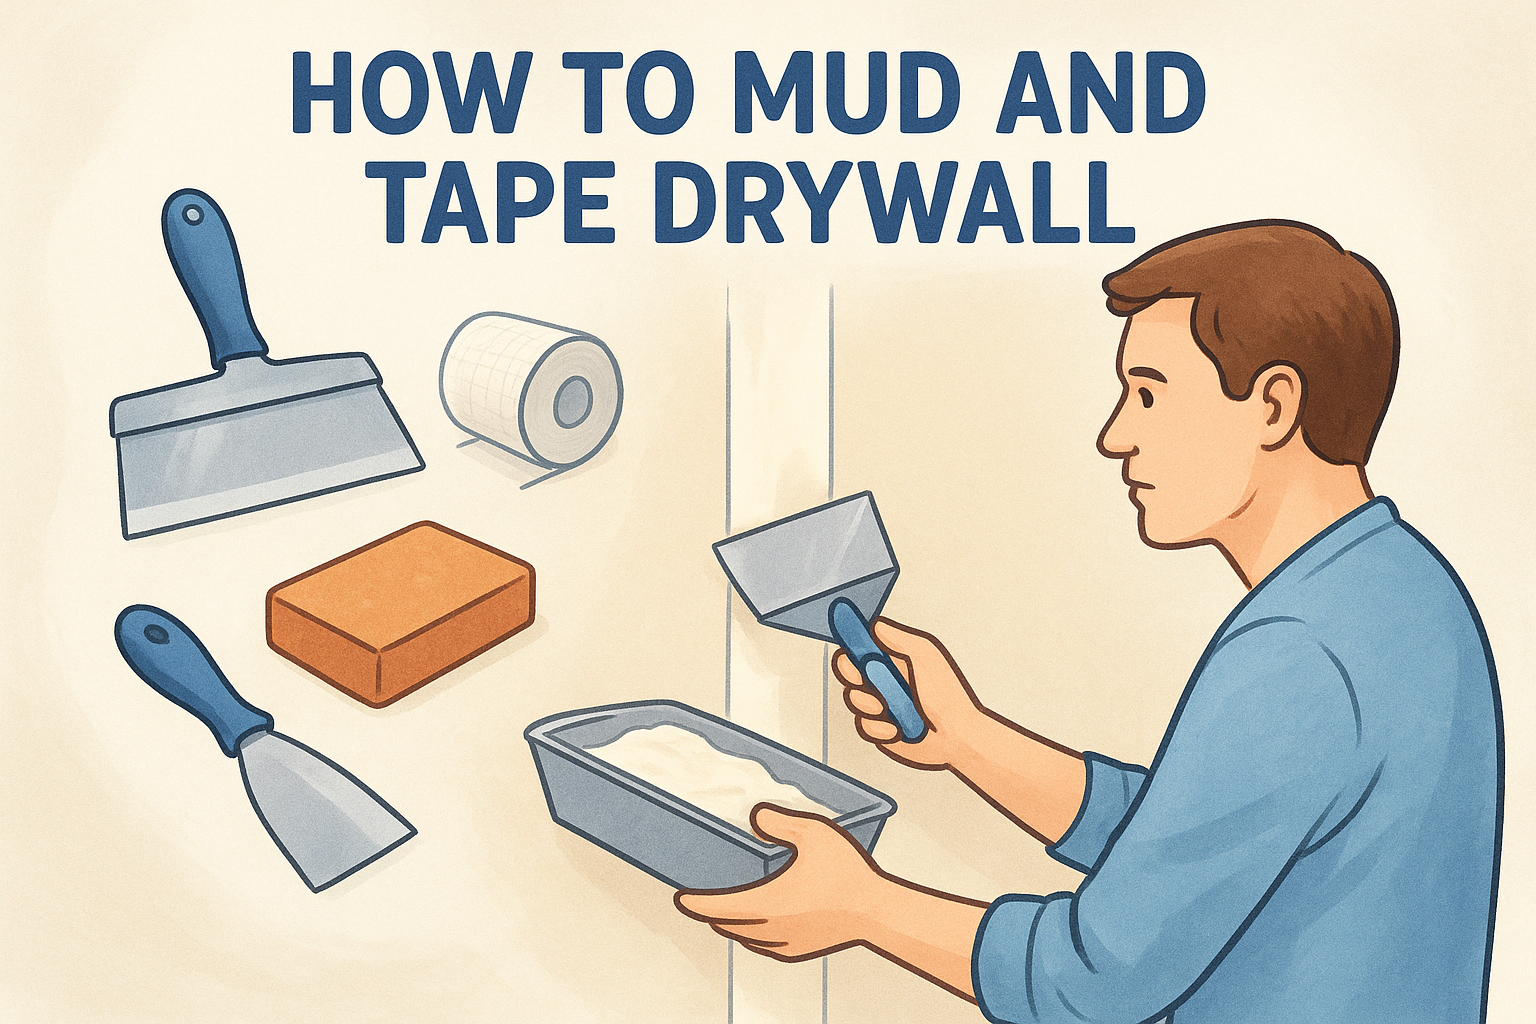
With your patch screwed in place, the next job is blending the seams so nobody can find them later. Taping and mudding drywall is where most DIY repairs either succeed or fall apart, since rushing this step leaves visible ridges or cracks that reappear within months.
Apply the first coat
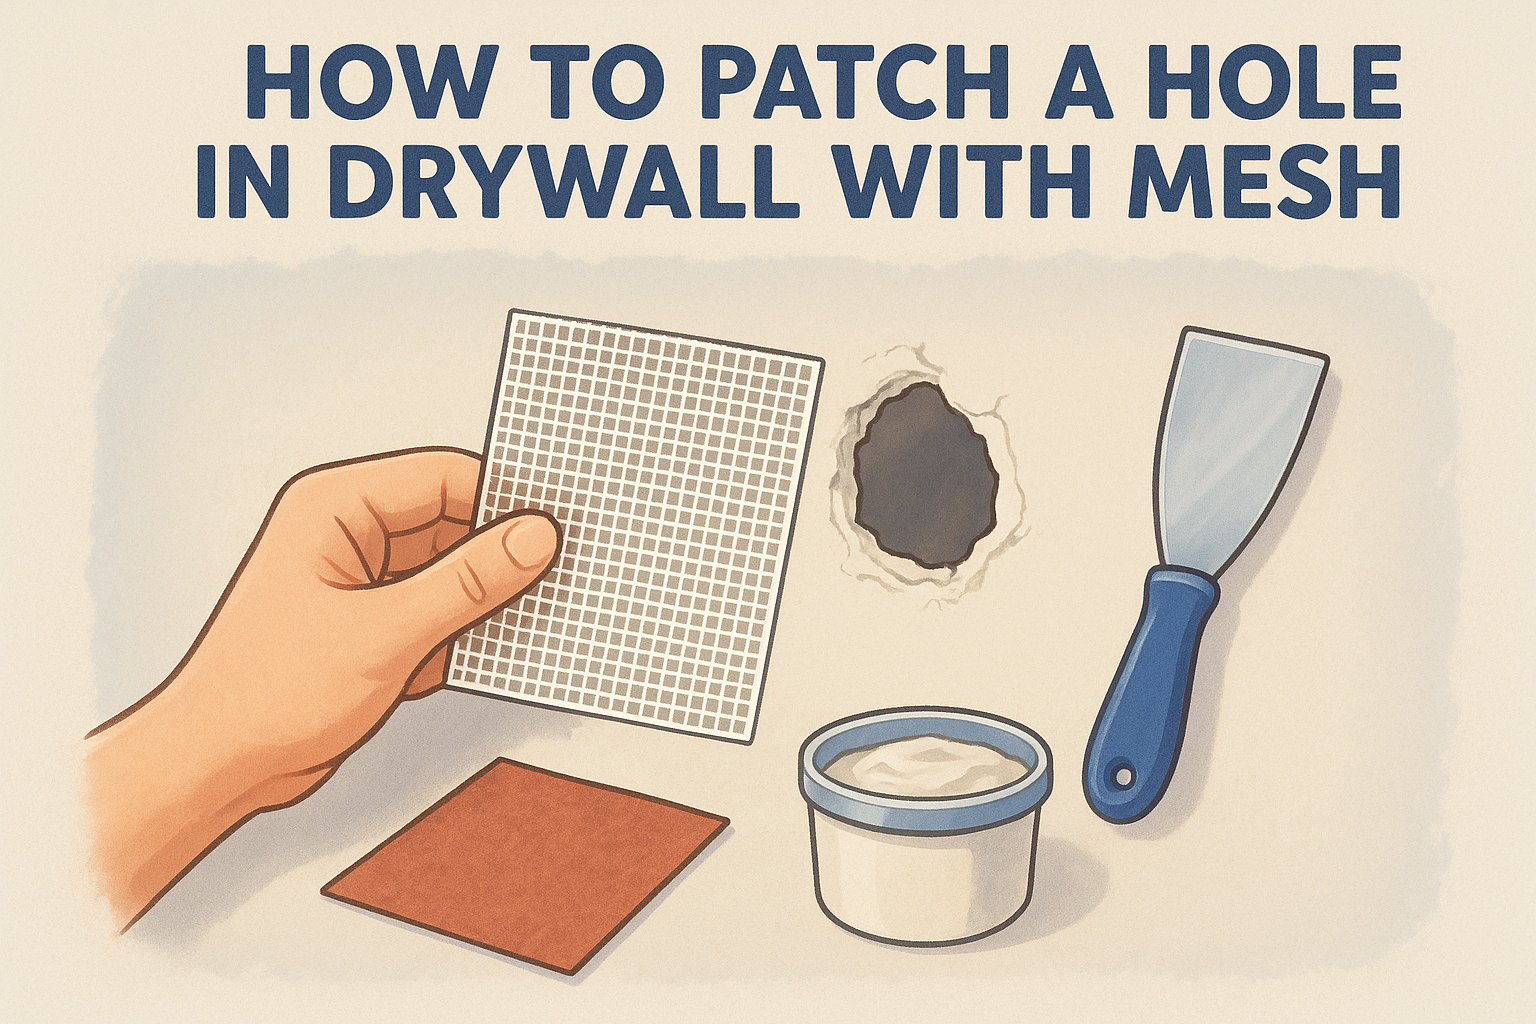
Load your 6-inch putty knife with joint compound and spread a thin layer over every seam where the patch meets the existing ceiling. Press mesh tape directly into the wet compound, smoothing it flat with the knife so no air bubbles sit underneath. For paper tape, embed it the same way, then scrape off excess mud so the tape lies flush against the surface.
Air bubbles under drywall tape are the number one reason patches crack again within a year.
Build up with additional coats
Let the first coat dry fully, usually 24 hours for premixed compound, then apply a second coat with your 12-inch knife, feathering the edges out several inches wider than the first pass. This wider spread is what makes the repair disappear into the surrounding ceiling instead of showing as a raised rectangle. Add a third coat if you still see the tape edges or screw dimples through the compound.
Check your work before moving on
Run your hand flat across the dried compound in a few directions to feel for ridges or low spots. Shine a work light at a low angle across the ceiling, since raking light reveals bumps and depressions that overhead lighting hides completely. Fix any problem areas with a thin skim coat before you move on to sanding.
Step 4. Sand, prime, texture, and paint
Once your compound has fully dried and the ridges are gone, it's time to blend the repair into the rest of the ceiling. Sanding and priming drywall properly is what separates a patch you can spot from across the room from one nobody notices unless you point it out.
Sand smooth without overdoing it
Using a sanding sponge or pole sander loaded with 120-150 grit paper, sand in circular motions across the patched area, feathering the edges into the surrounding surface. Wear your dust mask here, since dried joint compound turns into fine powder that hangs in the air longer than you'd expect. Stop sanding once you can't feel any transition between the patch and the original ceiling.
If you can feel the edge of the patch with your fingertips, keep sanding before you prime.
Prime before texture or paint
Apply a coat of drywall primer over the entire patched section, extending a few inches beyond the repair. Skipping primer causes the new compound to absorb paint differently than the surrounding ceiling, leaving a dull patch even after painting. If water staining caused the original damage, use a stain-blocking primer instead of standard primer, or the discoloration bleeds through.
Match the texture
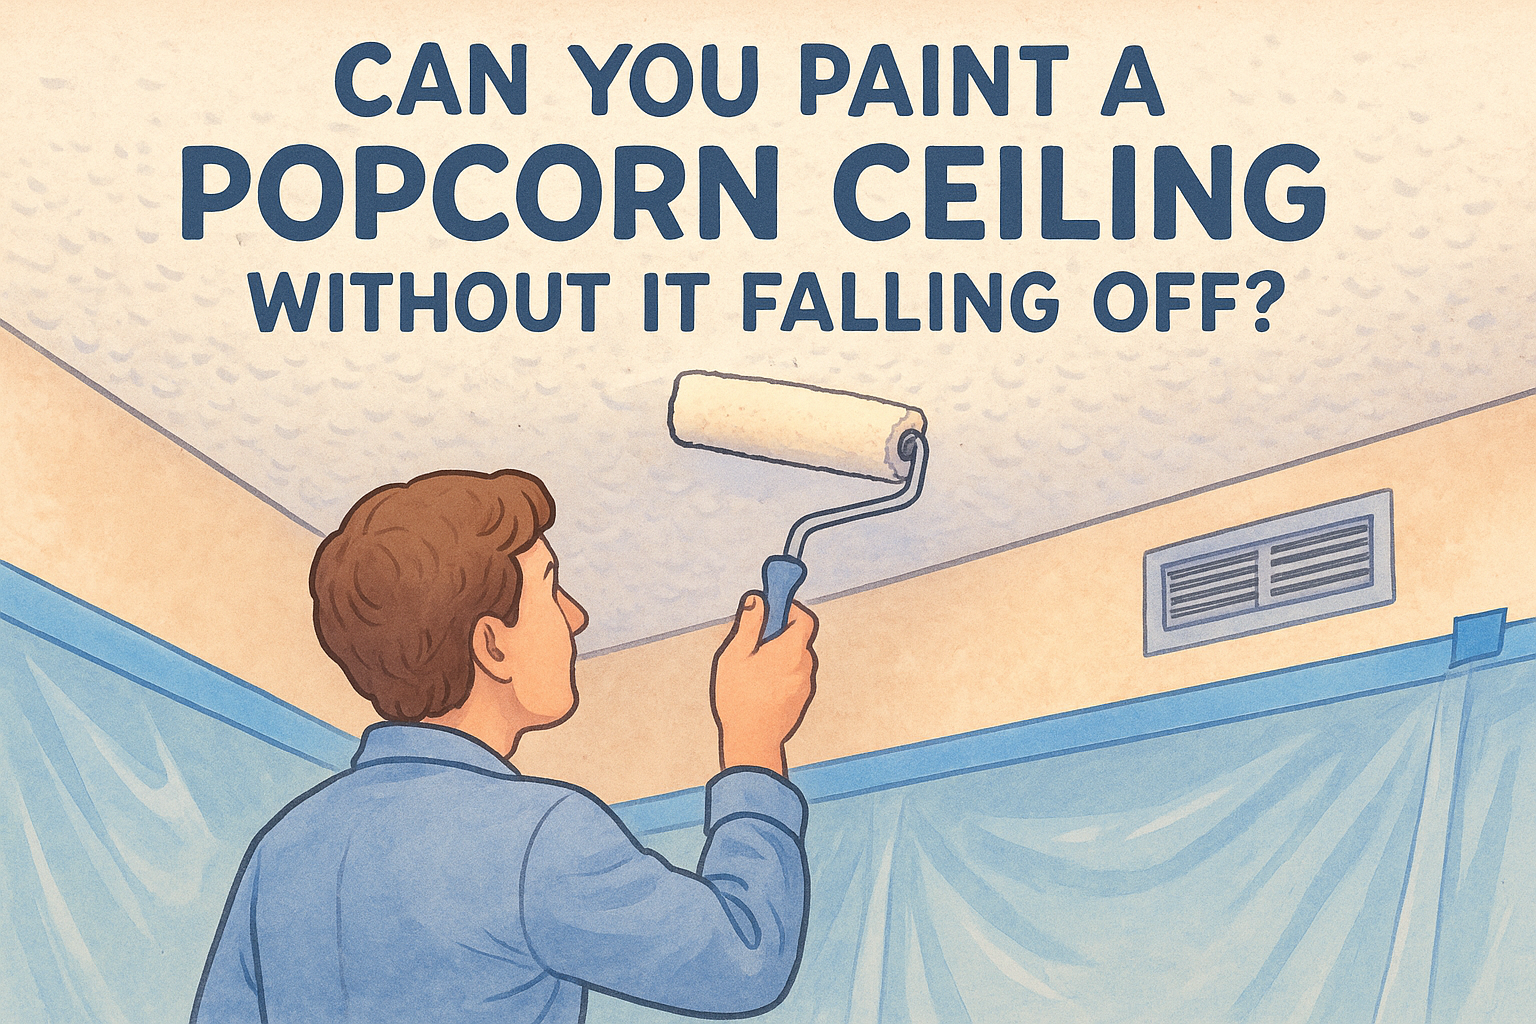
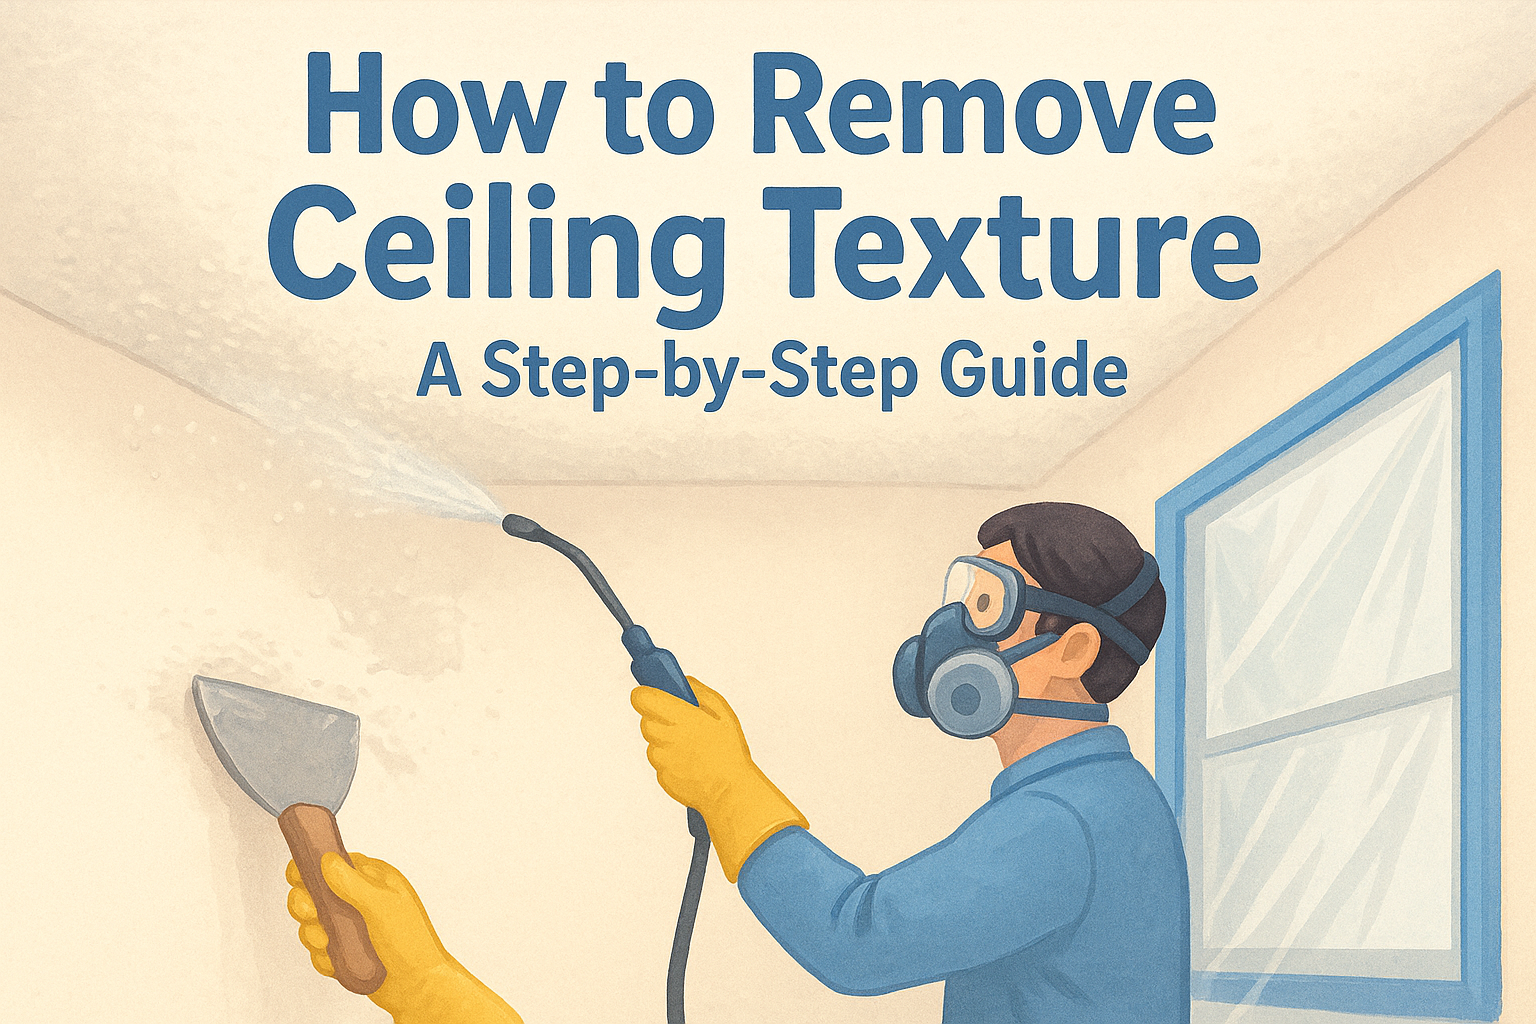
For popcorn or orange peel ceilings, use a texture sprayer or canned texture product, testing your spray pattern on cardboard first to match the surrounding density. Let the texture dry completely, usually a few hours, before painting.
Finish with paint
Paint the entire ceiling rather than just the patch whenever possible, since spot-painting almost always leaves a visible sheen difference under changing light.
When it's time to call a drywall pro
Some jobs cross the line from weekend project to safety risk. If you're staring at a ceiling sagging more than a half-inch, water damage that keeps returning after repeated patches, or a popcorn texture you suspect contains asbestos, stop and call a licensed contractor . Structural sagging often means joist damage you can't diagnose from a stepladder, and asbestos disturbance is a health risk not worth gambling on for a DIY save.
Most small holes, cracks, and stains are well within reach for a patient homeowner with the right tools and a Saturday afternoon. But when the damage points to something bigger, bringing in professional drywall repair protects your home and your health far better than a second attempt at mudding the same spot. We've handled thousands of these repairs across Sacramento Valley homes over 30 years, so if your ceiling needs more than a patch kit can fix, reach out for professional drywall repair and patching and get it done right the first time.