
August 9, 2026
Vacuum Popcorn Ceiling Removal: A Dust-Free DIY Guide
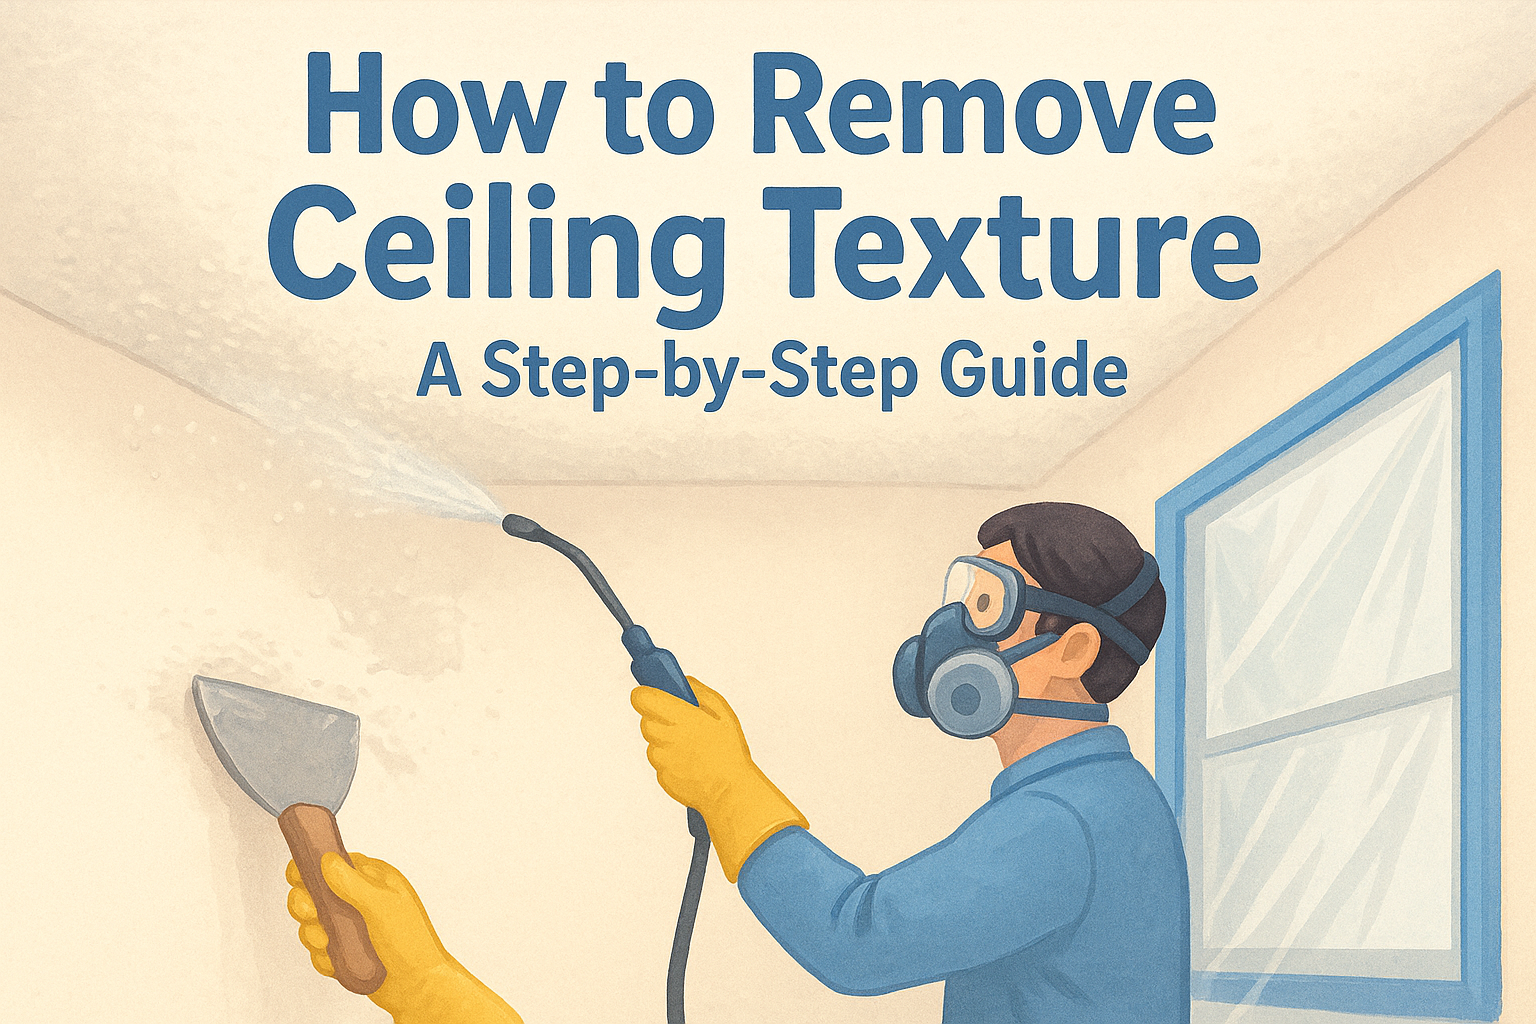
Scraping a popcorn ceiling the old way turns your house into a snow globe of white flakes for days. Every surface gets coated, your furniture needs tarps, and you're still finding dust in the closets a week later. If you're set on doing this yourself, vacuum popcorn ceiling removal is the method that keeps the mess contained while you scrape.
Here's the short answer: attaching a shop vac hose to a scraping tool captures debris the moment it leaves the ceiling instead of letting it fall onto your floors and lungs. This guide walks through the actual popcorn ceiling removal tool with vacuum setups that work, from DIY hose rigs to purpose-built attachments you can buy or build in an afternoon.
We'll cover which tools pair best with your existing shop vac, how to test for asbestos before you start cutting into anything, and the step-by-step process for scraping a ceiling with minimal cleanup. If your ceiling tests positive for asbestos or the job feels bigger than a weekend project, Super Shooters handles safe removal across the Sacramento Valley, no upfront payment required.
Why vacuum-assisted popcorn ceiling removal works
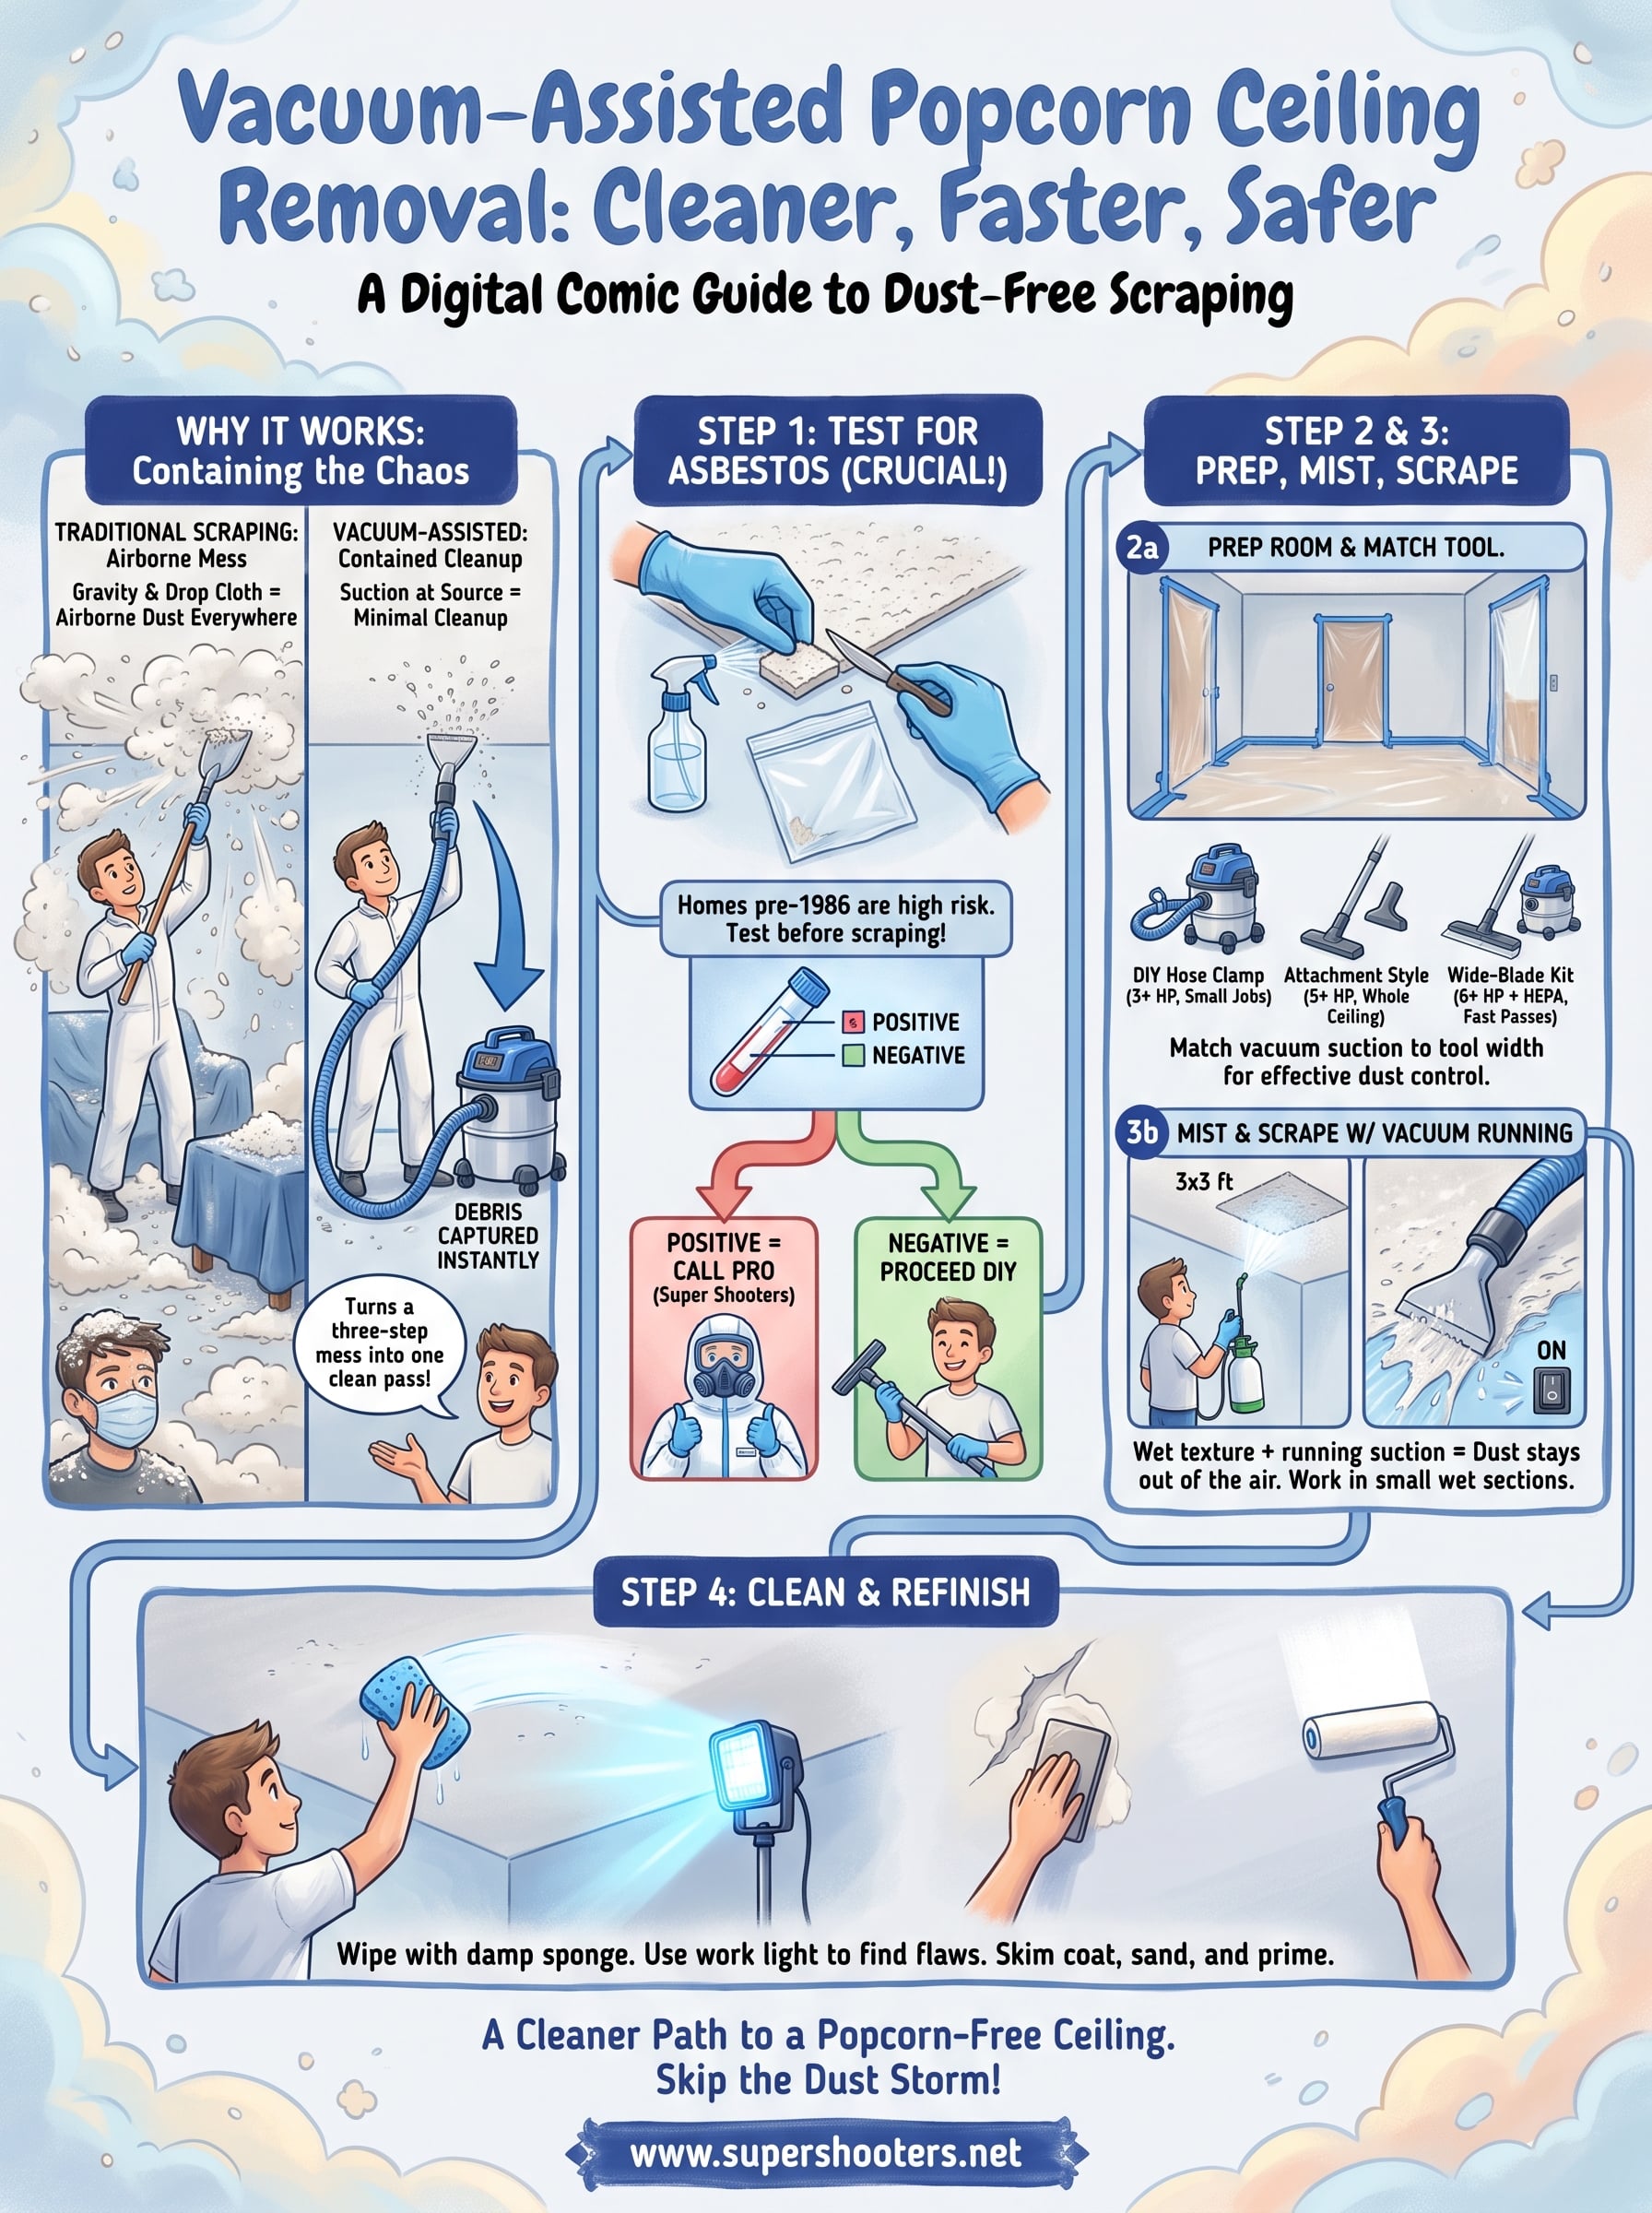
Standard scraping relies on gravity and a drop cloth, which means every flake of texture gets airborne before it settles somewhere. A popcorn ceiling removal tool with vacuum attached changes that physics entirely. The scraper blade sits right next to a hose opening, so debris gets pulled into a canister the instant it separates from the ceiling instead of drifting across your living room. You still do the physical work of scraping, but you skip the hour of cleanup that usually follows.
Think about what traditional scraping actually costs you in time. You tarp the furniture, scrape for an hour, then spend another two hours vacuuming carpets, wiping baseboards, and washing dust off every flat surface in the house. Vacuum-assisted scraping collapses those three steps into one continuous pass. Contractors who do this daily use the same principle, just with commercial-grade suction and HEPA filtration to handle volume.
Attaching suction to your scraper turns a three-step mess into one clean pass.
There's a real dust-exposure argument here too, not just a tidiness one. Popcorn texture applied before the mid-1980s can contain asbestos fibers, and even non-asbestos texture dust irritates lungs and eyes when it's flying around a closed room. The EPA's guidance on asbestos in the home makes clear that minimizing disturbed material matters more than the cleanup method you use afterward, which is exactly what vacuum capture does at the source.
Getting the setup right requires matching your vacuum's suction to the tool you're using. A shop vac rated for at least 5 peak horsepower moves enough air to keep pace with a wide scraper blade, while smaller vacuums bottleneck the airflow and let dust escape around the edges. We'll walk through those tool pairings in the next section, but first, you need to know what's actually in your ceiling.
Step 1. Test for asbestos before you start
Before you touch a scraper to that ceiling, get a sample tested for asbestos . Homes built or textured before 1986 are the highest risk, but plenty of contractors kept using asbestos-containing compound into the early 1990s until supplies ran out, so age alone doesn't clear you. Cut a small piece of ceiling texture (about a quarter-sized chunk, including some of the underlying drywall) while wearing an N95 mask and misting the spot with water first to keep fibers from becoming airborne during collection.
Never scrape a single square foot until you know what's actually in that texture.
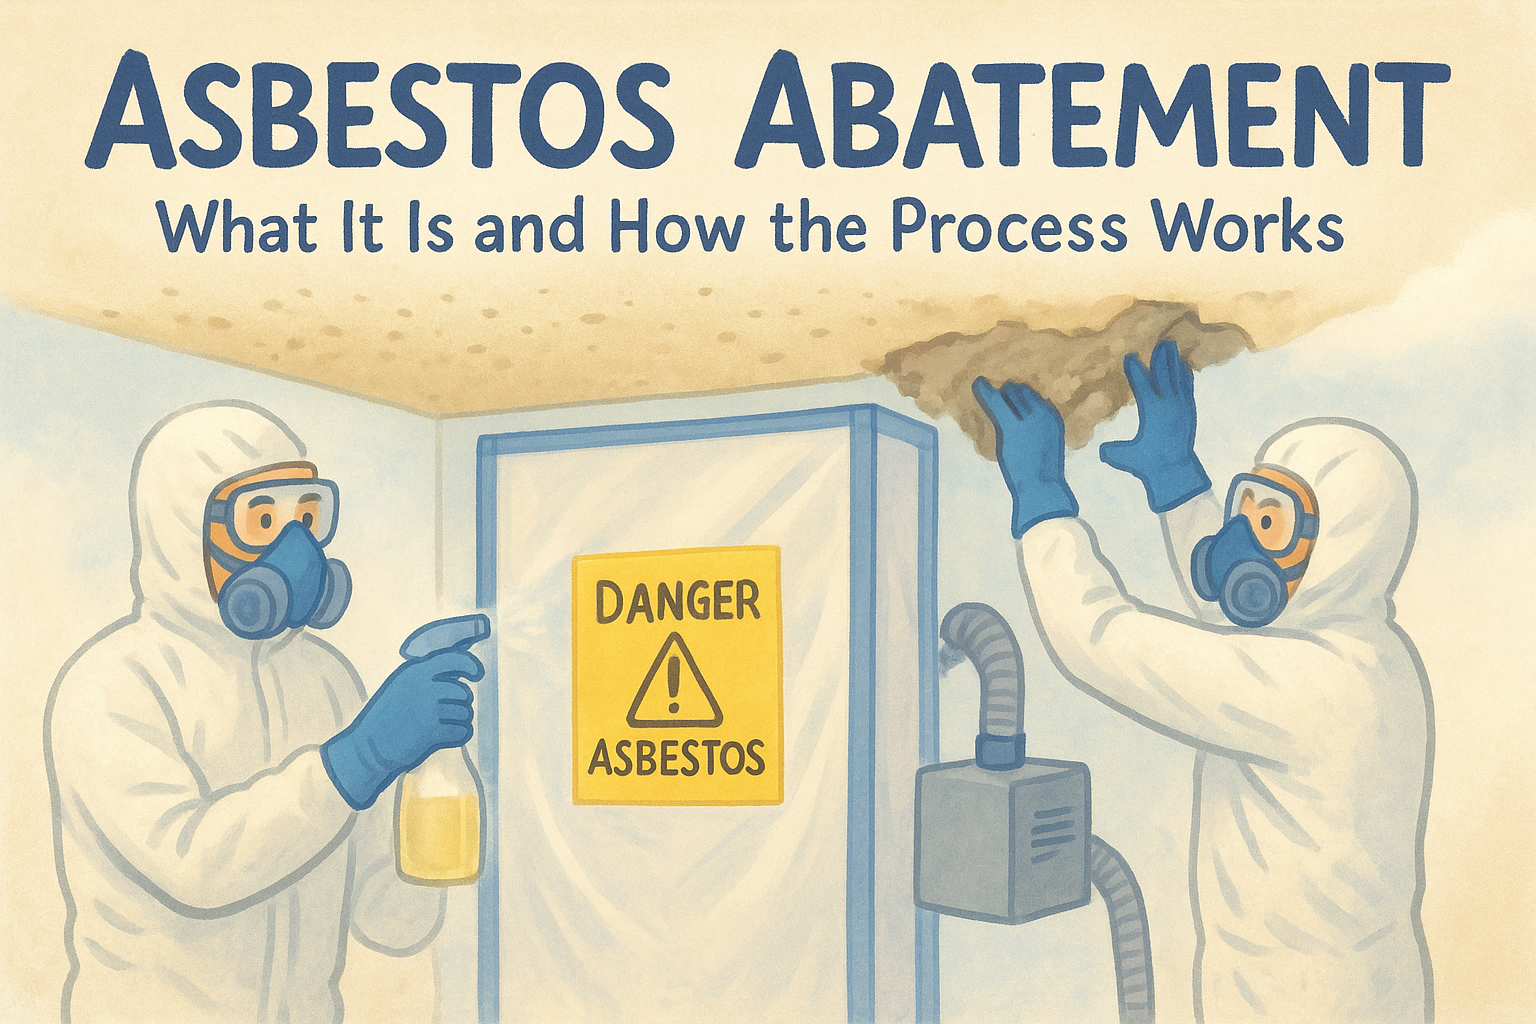
Send the sample to an accredited lab. The EPA's list of accredited asbestos testing labs will point you to one near Sacramento, and most turn results around in two to five business days for around $30 to $60. If the test comes back positive, stop the DIY plan entirely. Federal and state regulations require licensed asbestos abatement for removal, and Super Shooters handles that safe removal process across the Sacramento Valley. A negative result means you're clear to move to the next step and start setting up your vacuum tool.
Step 2. Prep the room and choose your vacuum tool
Clear and seal the room
Moving furniture out entirely beats tarping it in place, so haul out what you can and cover the rest with plastic sheeting taped at the edges. Seal doorways with plastic and painter's tape, shut off HVAC vents in that room, and lay down heavy rosin paper or plastic over the floor. Sealing the workspace matters even with a vacuum running, since some dust escapes before the hose catches it.
Match your vacuum to the right tool
Once the room's ready, pick a popcorn ceiling removal vacuum tool that matches the vacuum you already own. A basic hose-clamp rig works with almost any shop vac, while purpose-built scraper attachments need enough horsepower to keep suction strong across a wide blade.
| Tool setup | Vacuum requirement | Best for |
|---|---|---|
| DIY hose-clamp scraper | 3+ peak HP shop vac | Small rooms, tight budgets |
| Attachment-style scraper vacuum tool | 5+ peak HP shop vac | Whole-ceiling jobs |
| Wide-blade vacuum scraper kit | 6+ peak HP with HEPA filter | Larger homes, faster passes |
Undersized suction is the number one reason vacuum-assisted scraping fails to control dust.
Running a mismatched setup just recreates the mess you're trying to avoid.
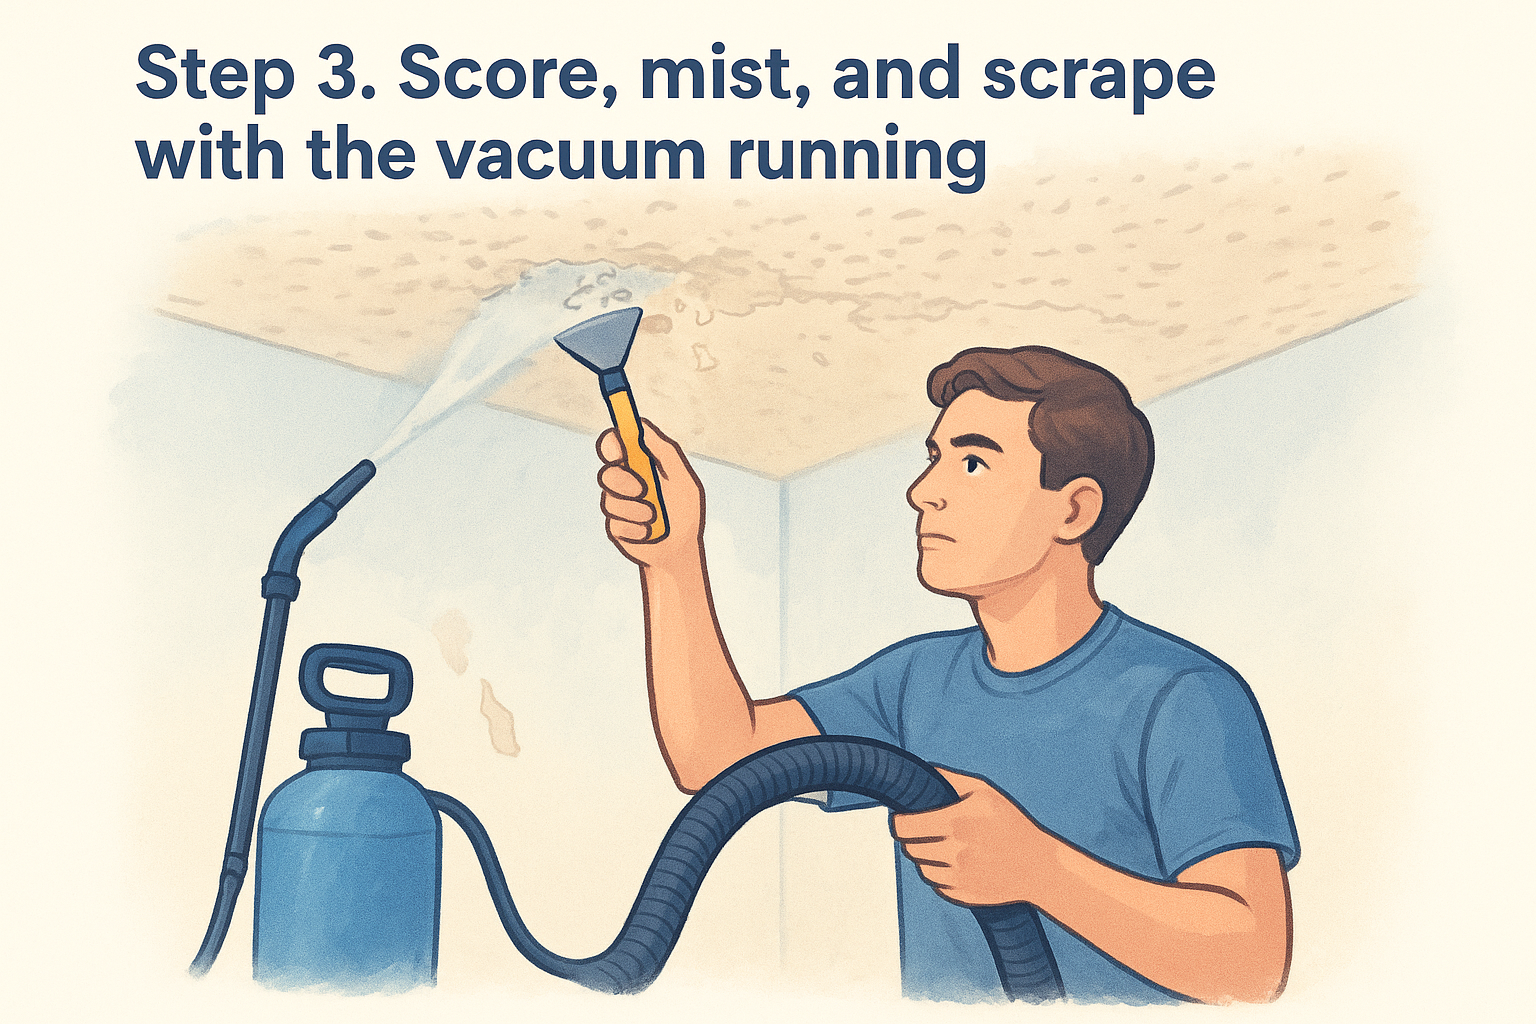
Step 3. Score, mist, and scrape with the vacuum running
Start your shop vac before the scraper ever touches the ceiling. Vacuum-assisted scraping only works if suction is already active when texture separates, so flip the switch, let it build airflow for a few seconds, then begin working. Mist a 3-by-3 foot section of ceiling with water from a garden sprayer, just enough to dampen the texture without soaking the drywall underneath. Wet texture scrapes off in sheets instead of clouds of dust, which is half the reason this method stays cleaner than dry scraping alone.
Wet texture and running suction together are what actually keep dust out of the air, not either one on its own.
Hold the scraper at a low angle, about 15 to 20 degrees, and push forward in overlapping strokes while the vacuum hose rides right behind the blade. Work in small sections rather than misting the whole ceiling at once, since water that sits too long softens the drywall paper and creates repair work you didn't plan for. Re-mist as you move to the next section, and keep the hose connection tight so suction doesn't drop mid-stroke.
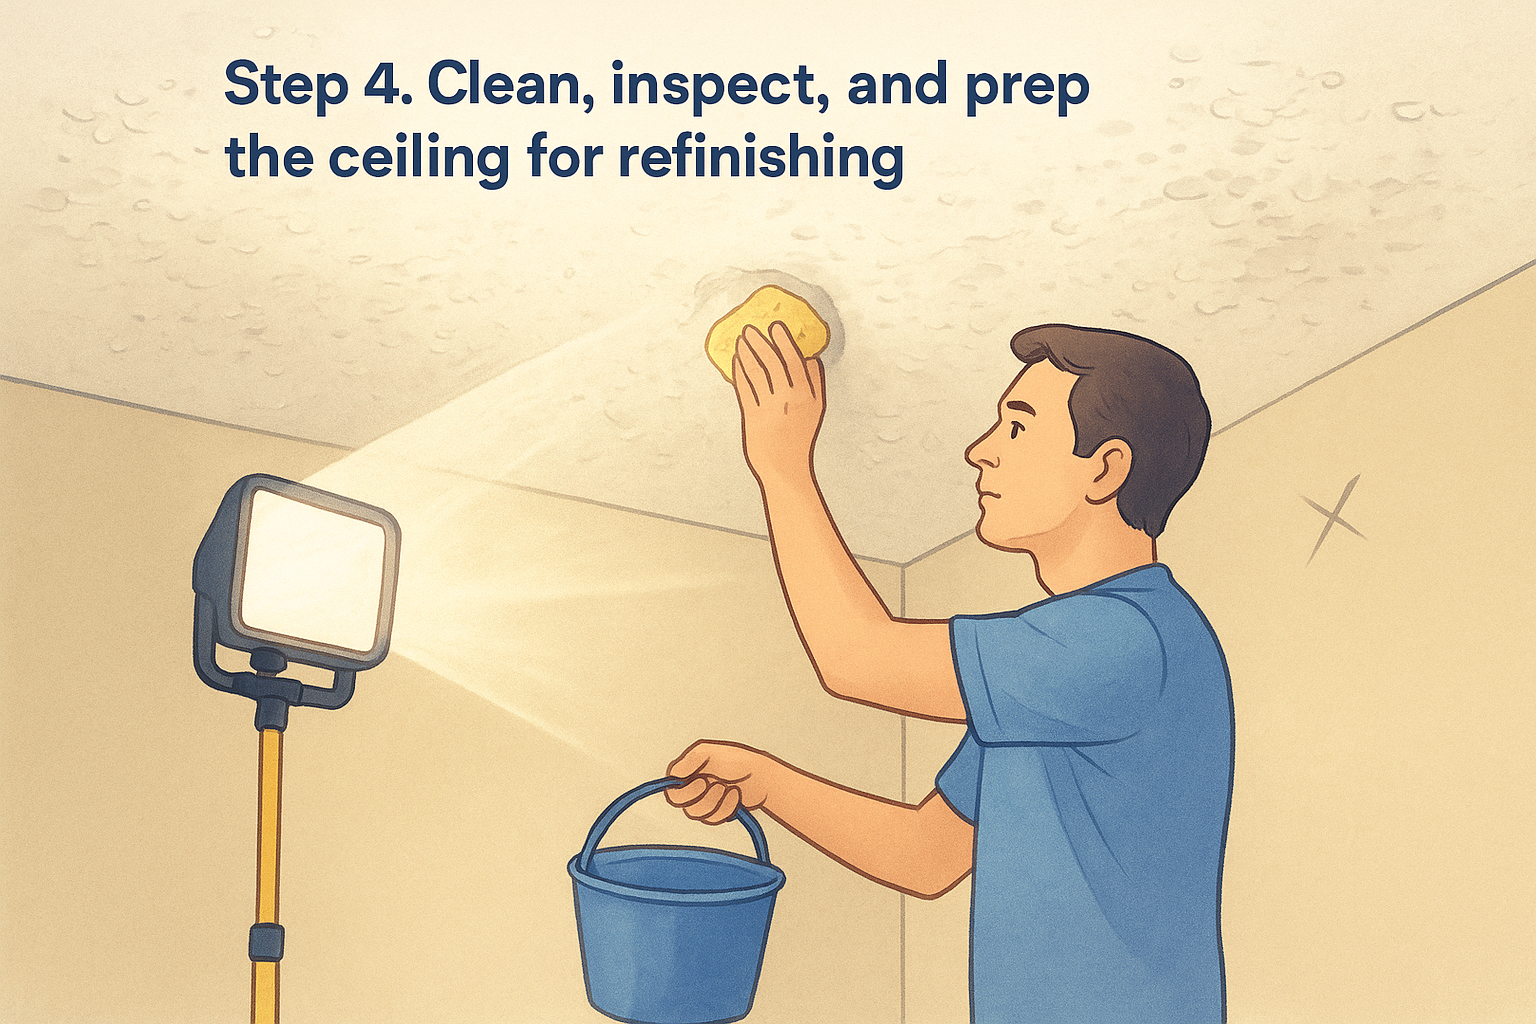
Step 4. Clean, inspect, and prep the ceiling for refinishing
Once you've scraped the whole ceiling, switch off the vacuum and let the dust settle for ten minutes before pulling down the plastic sheeting. Vacuum popcorn ceiling removal still leaves a fine residue on the drywall surface, so wipe it down with a damp sponge before you inspect anything.
Check for gouges and soft spots
Run a bright work light across the ceiling at a low angle. This catches gouges, torn paper, and leftover texture clumps that flat overhead lighting hides. Mark problem spots with a pencil so you don't lose track of them once the room brightens up again.
A ceiling that looks clean under normal light can still hide gouges a work light will expose in seconds.
Skim coat and prime
Fill gouges with joint compound, let it dry, then sand smooth. Before priming, confirm you've covered these basics:
- Wipe down dust with a damp sponge, not a dry rag
- Sand any raised compound edges flush
- Vacuum the floor sheeting one last time before removing it
- Apply a stain-blocking primer suited for new texture or paint
Prime the whole surface once it's smooth.
A cleaner path to a popcorn-free ceiling
A shop vac rigged to your scraper won't make popcorn ceiling removal effortless, but it does keep the mess contained to your bucket instead of your baseboards. Test for asbestos first, match your suction to the tool, and work in small wet sections while the vacuum runs. Skip any of those steps and you're back to shoveling dust out of carpet fibers for a week.
Getting the tool pairing wrong or finding asbestos partway through is where most DIY jobs stall out. If your test comes back positive, or the ceiling's bigger than a weekend can handle, don't push through it alone. Super Shooters has removed popcorn ceilings across the Sacramento Valley for over 30 years, with the training and equipment to handle whatever your test results turn up. Get a free estimate on popcorn ceiling removal and skip straight to the clean result.