September 11, 2026
How to Use Joint Compound for Ceiling Texture
If you're staring at a flat, boring ceiling and wondering how to add some texture without hiring a pro, joint compound for ceiling texture is where most homeowners start. It's cheap, forgiving, and already sitting in your garage from the last drywall patch job. The problem is that most people grab a bucket, thin it with too much water, and end up with a soupy mess that slides off the trowel instead of building the stipple or knockdown pattern they wanted.
Getting a clean texture comes down to two things: the right consistency and the right technique for the look you're after, whether that's orange peel, knockdown, or a heavier skip trowel finish. Mix ratio matters more than brand name here, and how you load and drag the trowel or hopper gun changes the entire outcome.
We've spent over 30 years pulling down old popcorn ceilings and refinishing them across Sacramento Valley homes, so we know exactly where DIYers get stuck. This guide walks you through choosing the right compound , mixing it to the correct thickness, and applying it step by step so your ceiling looks intentional, not accidental.
Why joint compound is the go-to material for ceiling texture
Walk into any home improvement store and you'll see specialty texture products lined up next to plain joint compound, but most contractors reach for the same white bucket every time. Joint compound is cheap, it's already formulated to stick to drywall and ceiling substrates, and it dries hard enough to hold whatever pattern you drag into it. It's also forgiving. If you don't like the first pass, you can knock it down, add water, and try again before it sets, something you can't do with a fast-drying texture spray.
Joint compound versus premixed texture products
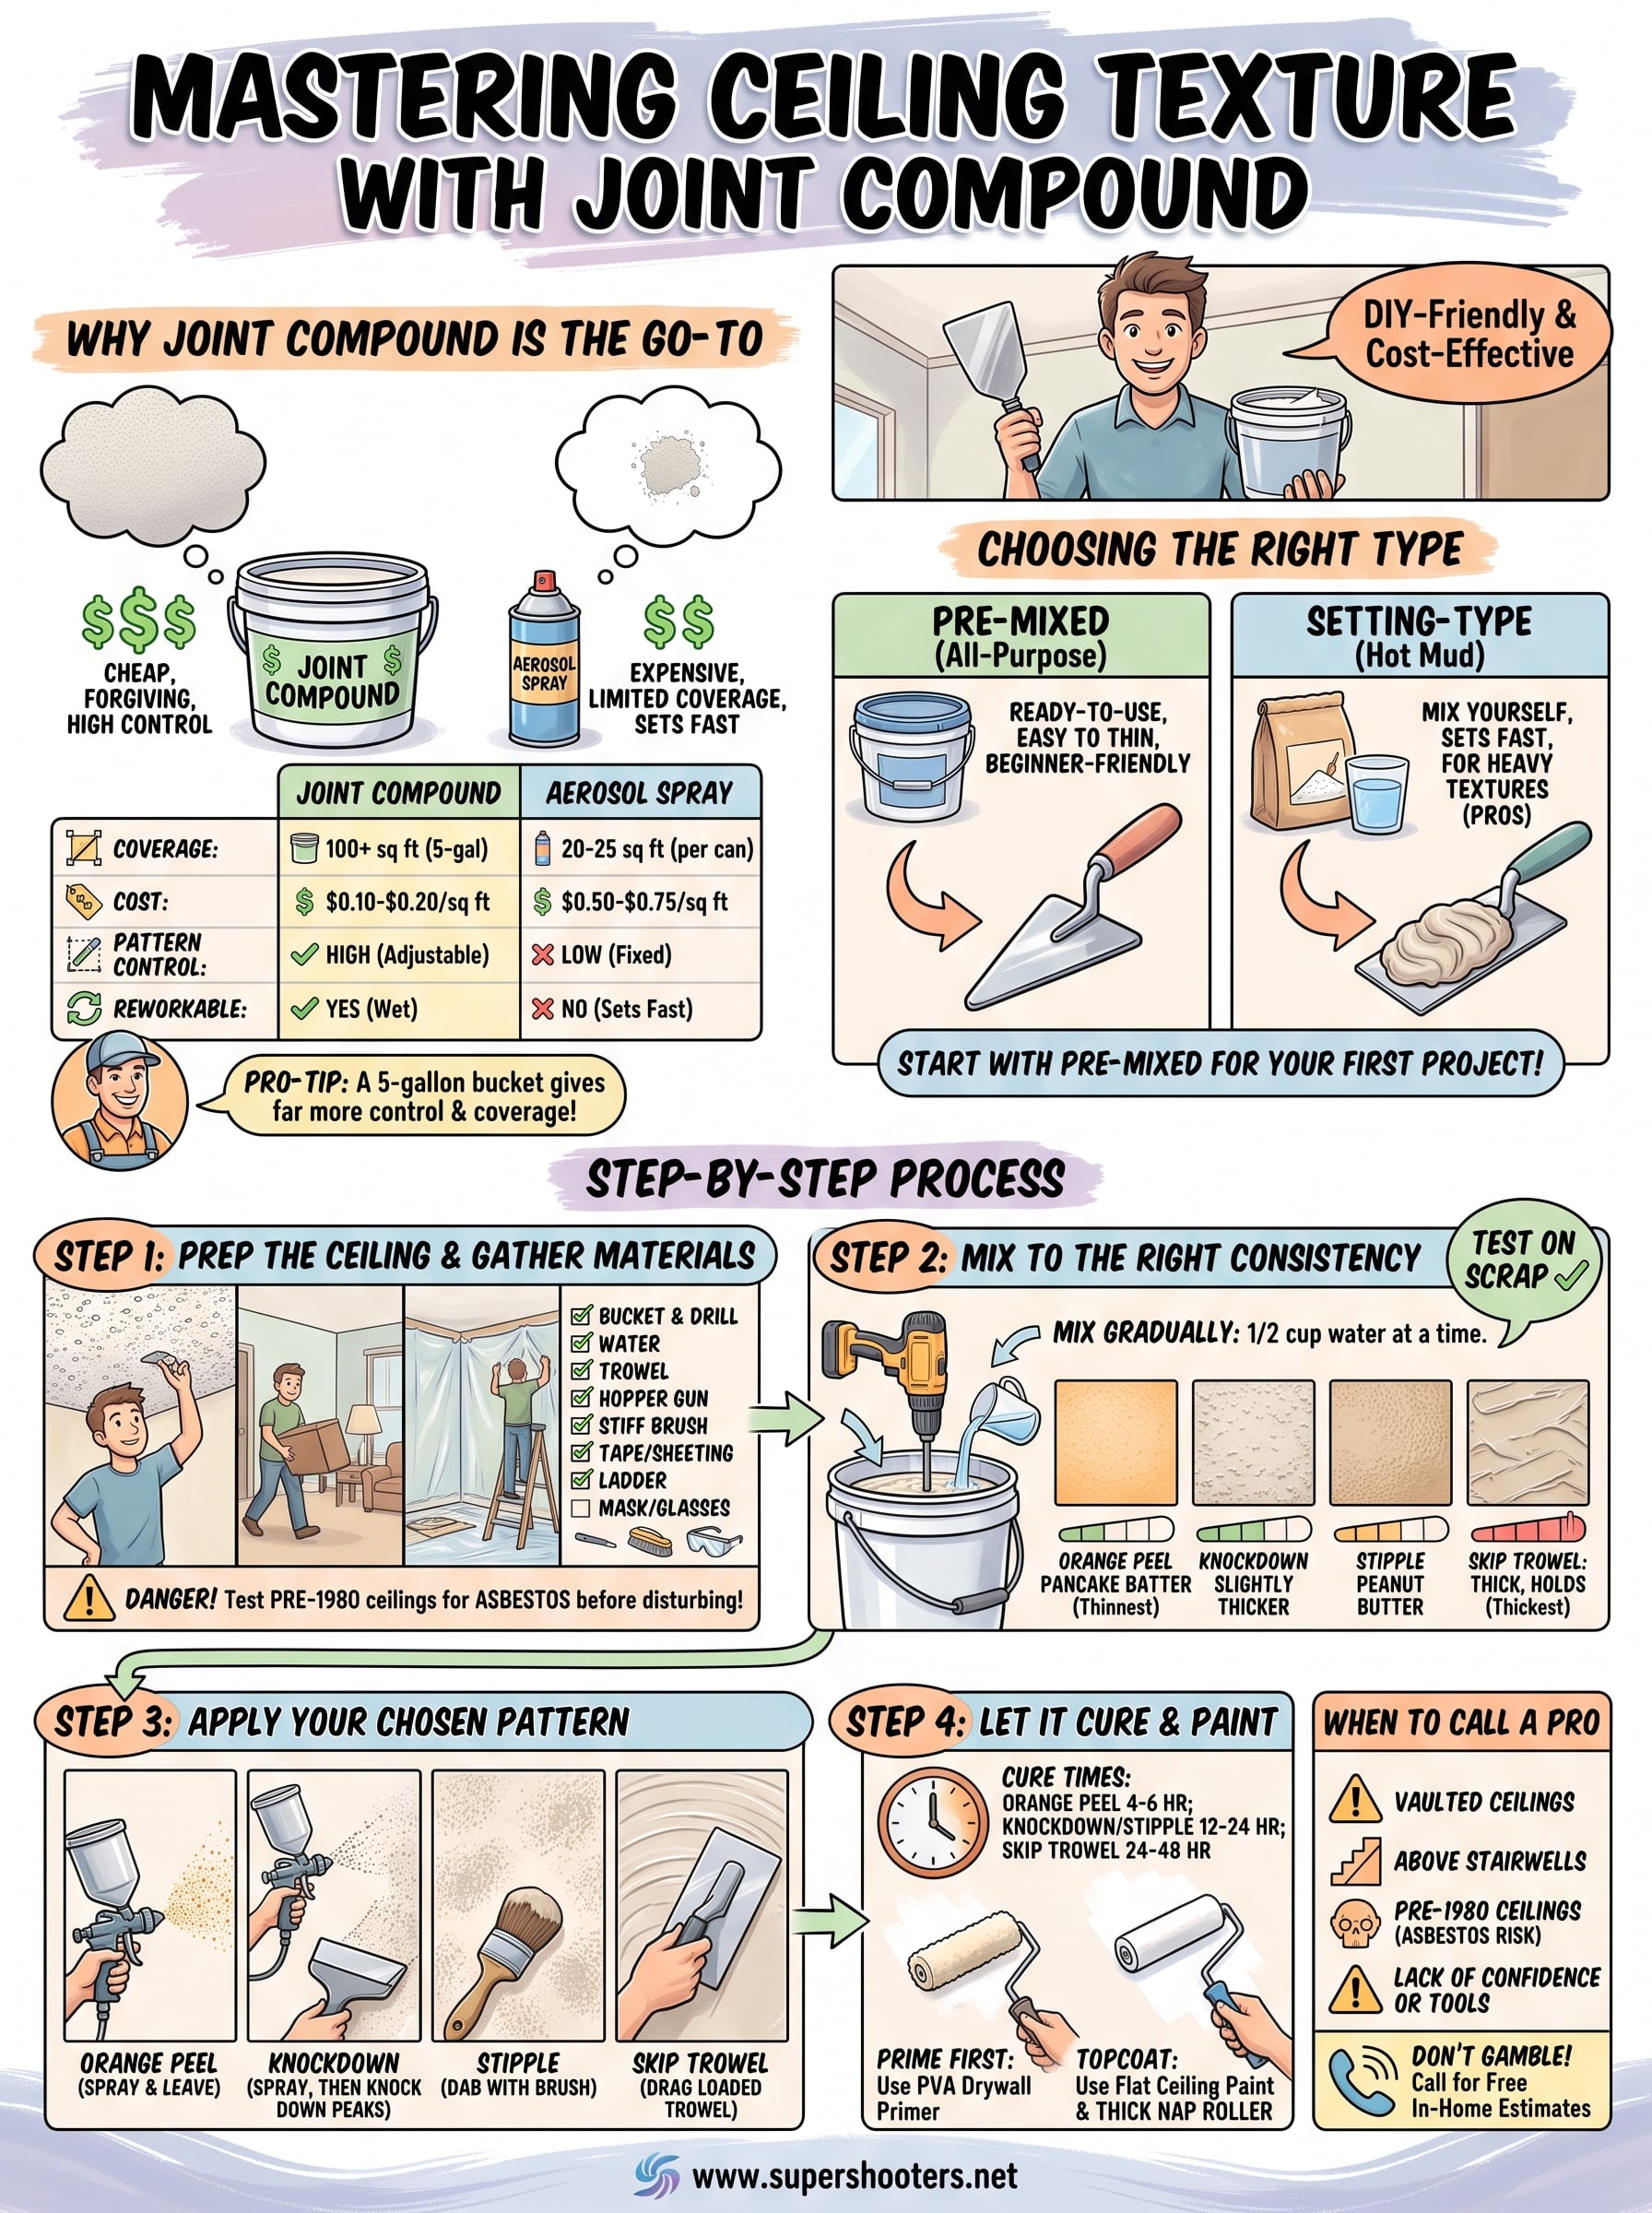
Homeowners often ask why they'd bother mixing their own joint compound for ceiling texture when a can of aerosol texture spray promises a one-step fix. The honest answer is coverage and control. A can of texture spray covers maybe 20 to 25 square feet before you're buying another one, and it only produces one or two patterns. A five-gallon bucket of joint compound covers a full ceiling in an average bedroom and lets you dial in the exact texture thickness you want, from a light orange peel to a heavy skip trowel.
| Feature | Joint Compound | Aerosol Texture Spray |
|---|---|---|
| Coverage per unit | 100+ sq ft (5-gal bucket) | 20-25 sq ft (per can) |
| Cost per sq ft | $0.10-$0.20 | $0.50-$0.75 |
| Pattern control | High (adjustable mix, tools) | Low (fixed spray pattern) |
| Dry time before rework | Reworkable while wet | Sets fast, hard to fix |
| Best for | Full ceilings, custom patterns | Small patches, quick touch-ups |
A five-gallon bucket of joint compound gives you far more control and coverage per dollar than any aerosol texture spray on the shelf.
The two types worth knowing
Joint compound comes in two forms, and picking the wrong one is where a lot of DIY texture jobs go sideways, so it helps to know what drywall mud actually is and how the types differ.
- Pre-mixed (all-purpose or topping compound): Ready to use out of the bucket, easy to thin, forgiving for beginners. This is what most homeowners should start with.
- Setting-type compound (hot mud): Comes as a powder you mix yourself, sets chemically instead of by air-drying, and hardens fast, sometimes in as little as 20 minutes. Pros use it for heavier textures like skip trowel because it holds ridges without sagging, but it's less forgiving if you're new to texturing.
For a first-time ceiling texture project, stick with pre-mixed all-purpose compound. It's what we use for the majority of acoustic ceiling removal and refinish jobs across Sacramento Valley homes, and it's the safest starting point if you're doing this yourself. Once you're comfortable with consistency and pattern work, setting-type compound opens up heavier, more dramatic finishes.
Step 1. Prep the ceiling and gather your materials
Before you crack open a bucket of joint compound, take a hard look at what you're texturing over. Older popcorn ceilings installed before the early 1980s may contain asbestos, and sanding or scraping that material releases fibers into the air. If your home was built before 1980 and still has the original acoustic ceiling, test the popcorn ceiling for asbestos the right way before you touch it. Our team handles asbestos testing and removal across Sacramento Valley homes precisely because this step gets skipped so often.
Never sand, scrape, or texture over a popcorn ceiling installed before 1980 without testing for asbestos first.
Once you've confirmed the ceiling is safe to work on, clear the room. Move furniture out or push it to the center and cover it with plastic sheeting, then tape sheeting along the walls and floor to catch drips. Ceiling prep also means patching any holes, cracks, or nail pops with a quick coat of compound and letting it dry fully, since texture won't hide structural flaws, it'll highlight them.
Gather everything before you mix, because once compound starts curing you don't want to be hunting for a trowel.
Materials checklist:
- Five-gallon bucket of all-purpose joint compound
- Mixing paddle and a corded drill (not cordless, you need sustained torque)
- Clean water and a second bucket for gradual thinning
- Wide taping knife or trowel (10-12 inch)
- Hopper gun and air compressor if spraying orange peel or knockdown
- Stiff-bristle stipple brush if going for a hand-applied texture
- Painter's tape, drop cloths, and plastic sheeting
- Ladder or scaffold rated for ceiling height work
- Dust mask and safety glasses
With the room sealed off and your tools laid out within reach, you're ready to mix.
Step 2. Mix the joint compound to the right consistency
Getting the mix right is the single biggest factor in whether your texture looks professional or patchy. Straight out of the bucket, joint compound is usually too thick to spray and slightly too stiff to stipple evenly, so you'll need to thin it with water. Pour compound into your mixing bucket first, then add water in small amounts, roughly a half cup at a time, and mix with the paddle on low speed for 30 seconds between additions, the same water-to-mud ratios that work for every coat. Rushing this step and dumping in a full cup of water at once is how most DIYers end up with soup that runs off the ceiling before it sets.
Consistency targets differ by application method , and this is where a lot of guides get vague. For hopper gun spraying, you want the compound to flow like pancake batter, thin enough to move through the nozzle but thick enough to hold a peak when you lift the paddle. For hand-applied stipple or skip trowel work, keep it closer to peanut butter, thick enough to hold ridges and stand up off the trowel without sagging.
If the compound runs off a raised paddle in a steady stream, it's too thin for texture work; it should fall in slow, thick globs.
Test your mix on a scrap board before you touch the ceiling. Load a small amount onto your trowel or into the hopper and try a few passes on a piece of drywall scrap or cardboard. If it slides or drips, add more dry compound. If it's dragging and tearing, thin it slightly.
| Texture Type | Target Consistency | Common Ratio (5-gal bucket) |
|---|---|---|
| Orange peel (sprayed) | Pancake batter | Add 1-2 cups water |
| Knockdown (sprayed) | Slightly thicker than orange peel | Add 1 cup water |
| Hand-applied stipple | Peanut butter | Add 1/2 cup water |
| Skip trowel | Thick, holds ridges | Little to no added water |
Once your test patch matches the pattern you're after, mix the full batch to that same ratio and move straight into application before it starts to set up.
Step 3. Apply your chosen texture pattern
Now that your joint compound mixture matches the pattern you're after, work in manageable sections, roughly 4x8 feet at a time, so the compound doesn't skin over before you texture it. Load your hopper gun or trowel, apply the compound in a thin, even layer, then texture it immediately while it's still wet using whichever of the drywall texturing techniques and tools matches your pattern. Waiting too long between coats and pattern work is the most common reason DIY ceilings end up blotchy instead of uniform.
Spraying orange peel or knockdown
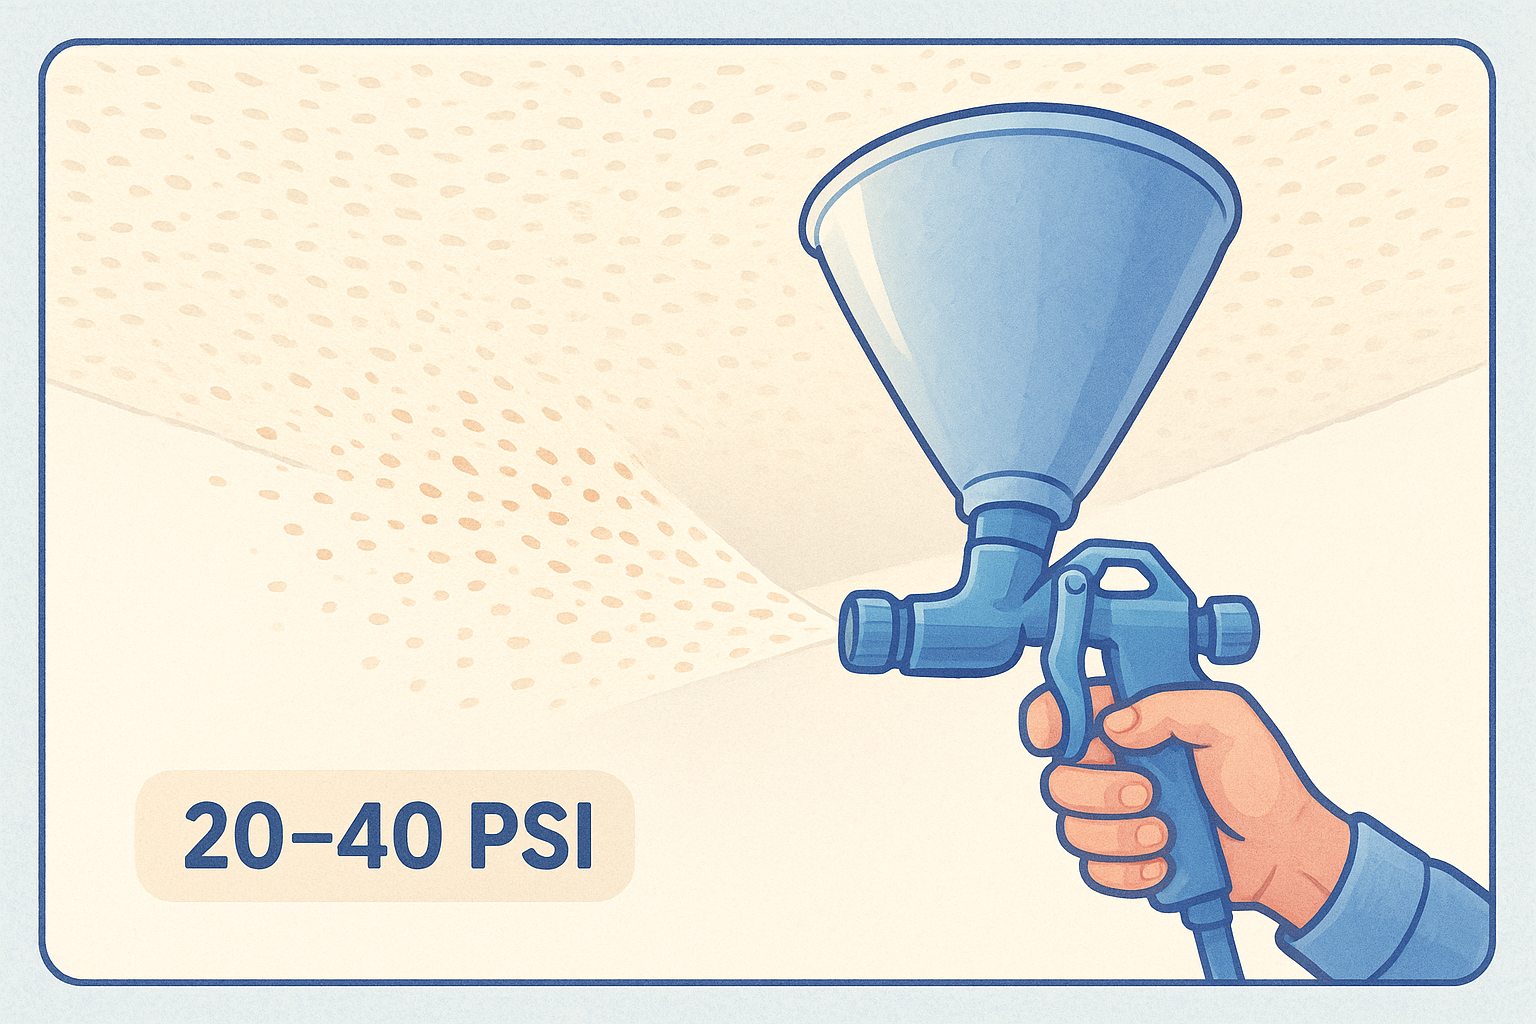
Hold the hopper gun about 18 to 24 inches from the ceiling and set your compressor between 20 and 40 PSI, adjusting until you get an even splatter without heavy clumps. For orange peel, spray in overlapping passes and leave it as-is once it dries slightly tacky, and if you're still torn between the two, compare orange peel vs knockdown texture on cost and upkeep. For knockdown, spray the same splatter pattern, wait 10 to 15 minutes until it's dull but not fully dry, then drag a wide knife lightly across the peaks to flatten them.
Knockdown texture is really just orange peel with the high points shaved off before the compound fully sets.
Hand-applying stipple or skip trowel
For a stipple finish, dab a texture brush into the compound and press it against the ceiling in a repeating pattern, lifting straight up each time to avoid smearing. For skip trowel texture , load a small amount of thicker compound onto a trowel and drag it across the ceiling at a low angle, letting the blade skip and catch so ridges form naturally instead of a smooth coat.
Quick reference for application:
- Orange peel: spray, leave as-is
- Knockdown: spray, then knock down peaks after 10-15 minutes
- Stipple: dab with brush, lift straight up
- Skip trowel: drag loaded trowel at a low angle
Work section by section across the entire ceiling until the pattern is consistent from wall to wall before you move on to drying and paint.
Step 4. Let it cure and paint the ceiling
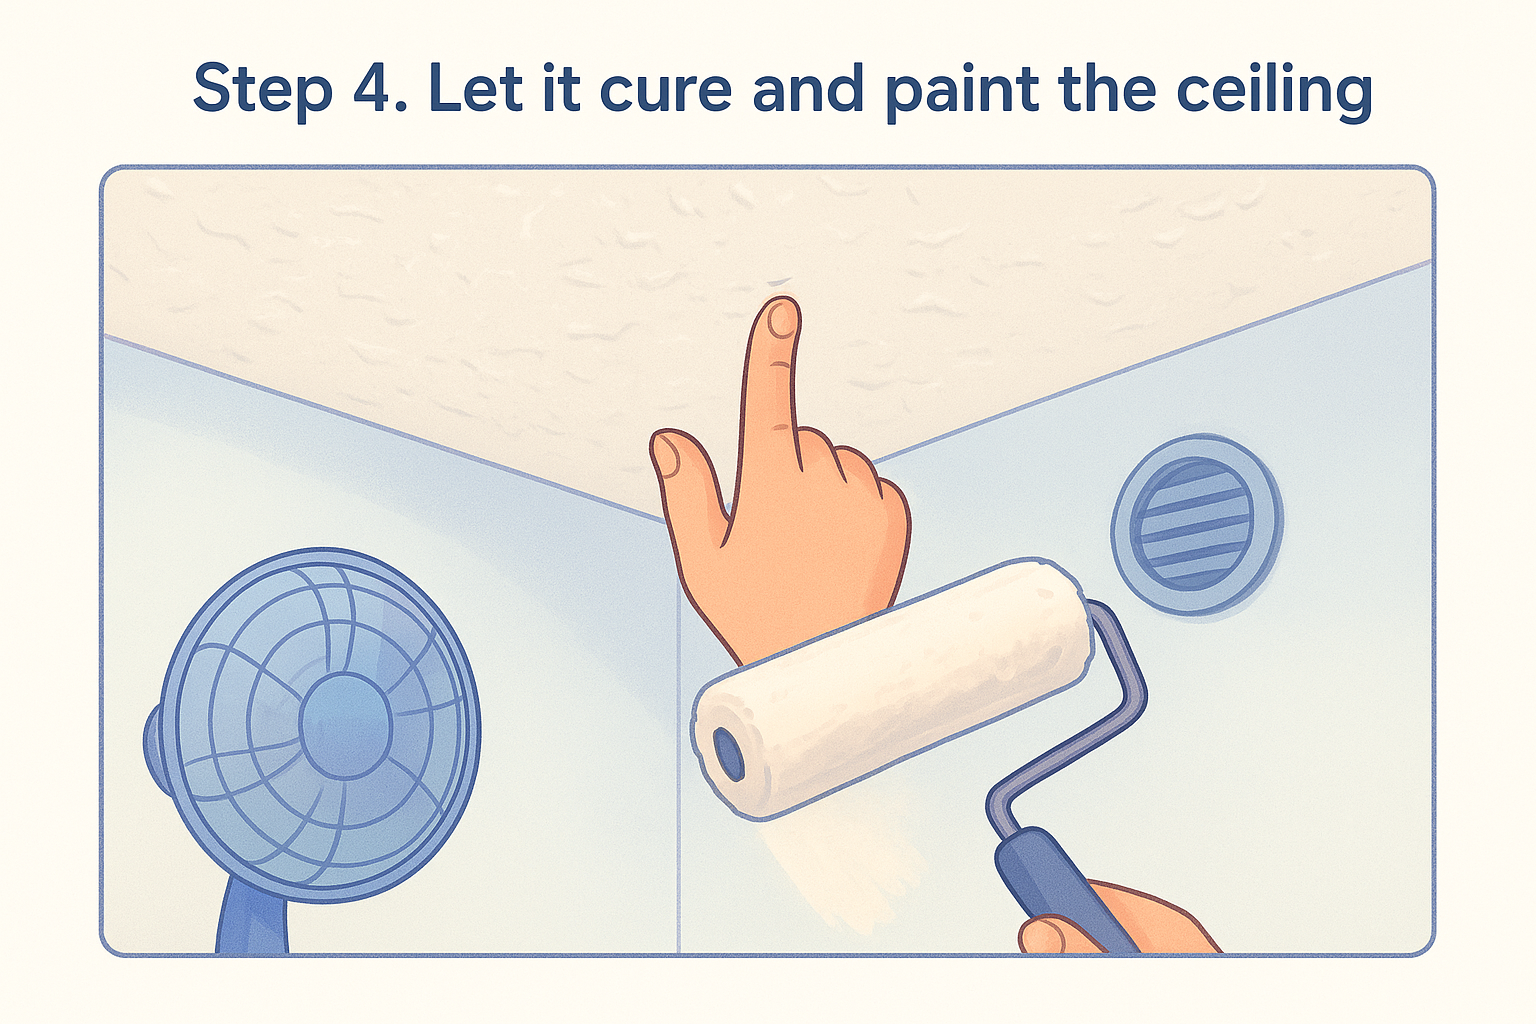
How long the compound takes to dry depends on how thick you applied it and how humid your house is. A light orange peel pass usually dries to the touch in 4 to 6 hours, but a heavier skip trowel or knockdown texture needs a full 24 hours before you touch it, and up to 48 hours in humid conditions or poorly ventilated rooms. Run a fan or crack a window if you can, since trapped moisture slows curing and can cause the compound to crack once painted.
Rushing paint onto compound that hasn't fully cured is the fastest way to trap moisture and crack your new texture within weeks.
Check for full cure before priming by pressing a fingernail into an inconspicuous spot near the wall line. If it leaves a mark or feels cool and damp, give it more time. Once it's bone dry and uniform in color, with no darker patches, you're ready to prime.
Priming and painting the finished texture
Always prime textured joint compound before painting it. Raw compound is porous and will soak up paint unevenly, leaving flat spots and shiny spots side by side once the topcoat dries. Use a PVA drywall primer, roll it on with a thick nap roller (3/4 inch or more) to work paint into the ridges, and let it dry fully per the label, usually 1 to 3 hours.
For the topcoat, ceiling paint in a flat or matte finish hides texture imperfections better than anything with sheen. Apply two coats with the same thick-nap roller, working in one direction first and then a perpendicular pass to load paint into every crevice.
| Texture Type | Minimum Cure Time | Recommended Roller Nap |
|---|---|---|
| Orange peel | 4-6 hours | 1/2 inch |
| Knockdown | 12-24 hours | 3/4 inch |
| Stipple | 12-24 hours | 3/4 inch |
| Skip trowel | 24-48 hours | 1 inch |
When to call in a texturing pro
Some ceilings just aren't DIY-friendly. Vaulted ceilings, textured surfaces above stairwells, or any job that requires scaffolding instead of a step ladder puts you at real fall risk, and that's before you factor in overhead compound splatter landing on your face. Ceilings older than 1980 add another layer of risk since testing and safe removal of asbestos-containing ceiling material takes equipment most homeowners don't own.
Getting joint compound for ceiling texture right takes practice, and a botched first attempt usually means scraping everything off and starting over, which costs more time and material than hiring it out from the start. If your ceiling still has the original popcorn finish, or you're not confident handling a hopper gun eighteen feet in the air, don't gamble on it.
We've textured thousands of Sacramento Valley ceilings over 30 years and offer free in-home estimates with no payment due until the job's done. Get a free quote on our Sacramento ceiling and wall texturing service and let us handle the texture from start to finish.