
Share this article

August 20, 2026

How to Paint a Popcorn Ceiling: Step-by-Step Guide

That popcorn ceiling in your living room doesn't have to stay yellowed and dated. If removal feels like too much work or your ceiling contains asbestos, learning how to paint a popcorn ceiling is often the smarter, cheaper fix. Done right, a fresh coat hides stains, brightens a room, and buys you years before you have to deal with the texture at all.

This guide walks you through the exact process, from the right paint sprayer setup to the prep work that prevents peeling and clumping later. You'll learn why airless sprayers beat rollers for this job, which paint type holds up on textured surfaces, and how to protect your floors and furniture from overspray and falling debris.

We've spent over 30 years handling ceilings across the Sacramento Valley, including plenty of popcorn textures that homeowners wanted to save rather than tear out. Before you grab a roller, though, there's one step you can't skip: testing for asbestos if your home was built before 1980. We'll cover that first, then move into the tools, materials, and painting technique that get you a smooth, even finish without a mess on your hands and floors.

Before you begin: what you need to know

Painting over popcorn texture works best when the ceiling is intact, the stains are cosmetic, and you're not dealing with loose or crumbling material . If chunks fall when you brush against the surface, or if there's active water damage underneath, painting is a temporary fix at best. Skipping this honest assessment is how homeowners end up repainting a peeling mess six months later.

Painting vs. removal: which makes sense

Before committing to a weekend of painting, weigh it against removal and what popcorn ceiling removal costs per square foot. Here's how the two options compare for a typical 12x12 room:

Factor Paint the ceiling Remove the popcorn
Time 1-2 days 2-4 days
Cost (DIY) $50-$150 in materials $150-$400 in tools and disposal
Skill level Moderate Higher, especially with skim coating
Best for Sound, asbestos-free or already-tested ceilings Ceilings you want smooth and modern
Reversible Yes, can still remove later No

If your popcorn ceiling is stable, painting almost always beats removal on cost and time.

What condition are you working with

Check for cracking, sagging, or discoloration before you buy a single can of paint. Water stains usually mean a roof or plumbing issue that needs fixing first, since paint alone won't stop the stain from bleeding through. Run your hand lightly over a few spots (wearing gloves) to feel for looseness. If the texture flakes off easily, you're better off looking at how to replace popcorn ceilings rather than painting over a failing surface.

When to bring in a professional

DIY painting works fine for most stable ceilings, but there are situations where hiring out makes sense: ceilings taller than a standard ladder can reach, textures showing signs of asbestos, or rooms where you can't afford mistakes, like a finished basement or a room you're prepping to sell. Super Shooters handles both acoustic ceiling removal in Sacramento and safe painting prep across the Sacramento Valley, and offers free in-home consultations if you're unsure which route fits your ceiling. Getting a second opinion before you start costs nothing and can save you from a costly redo.

Step 1. Test for asbestos and prep the room

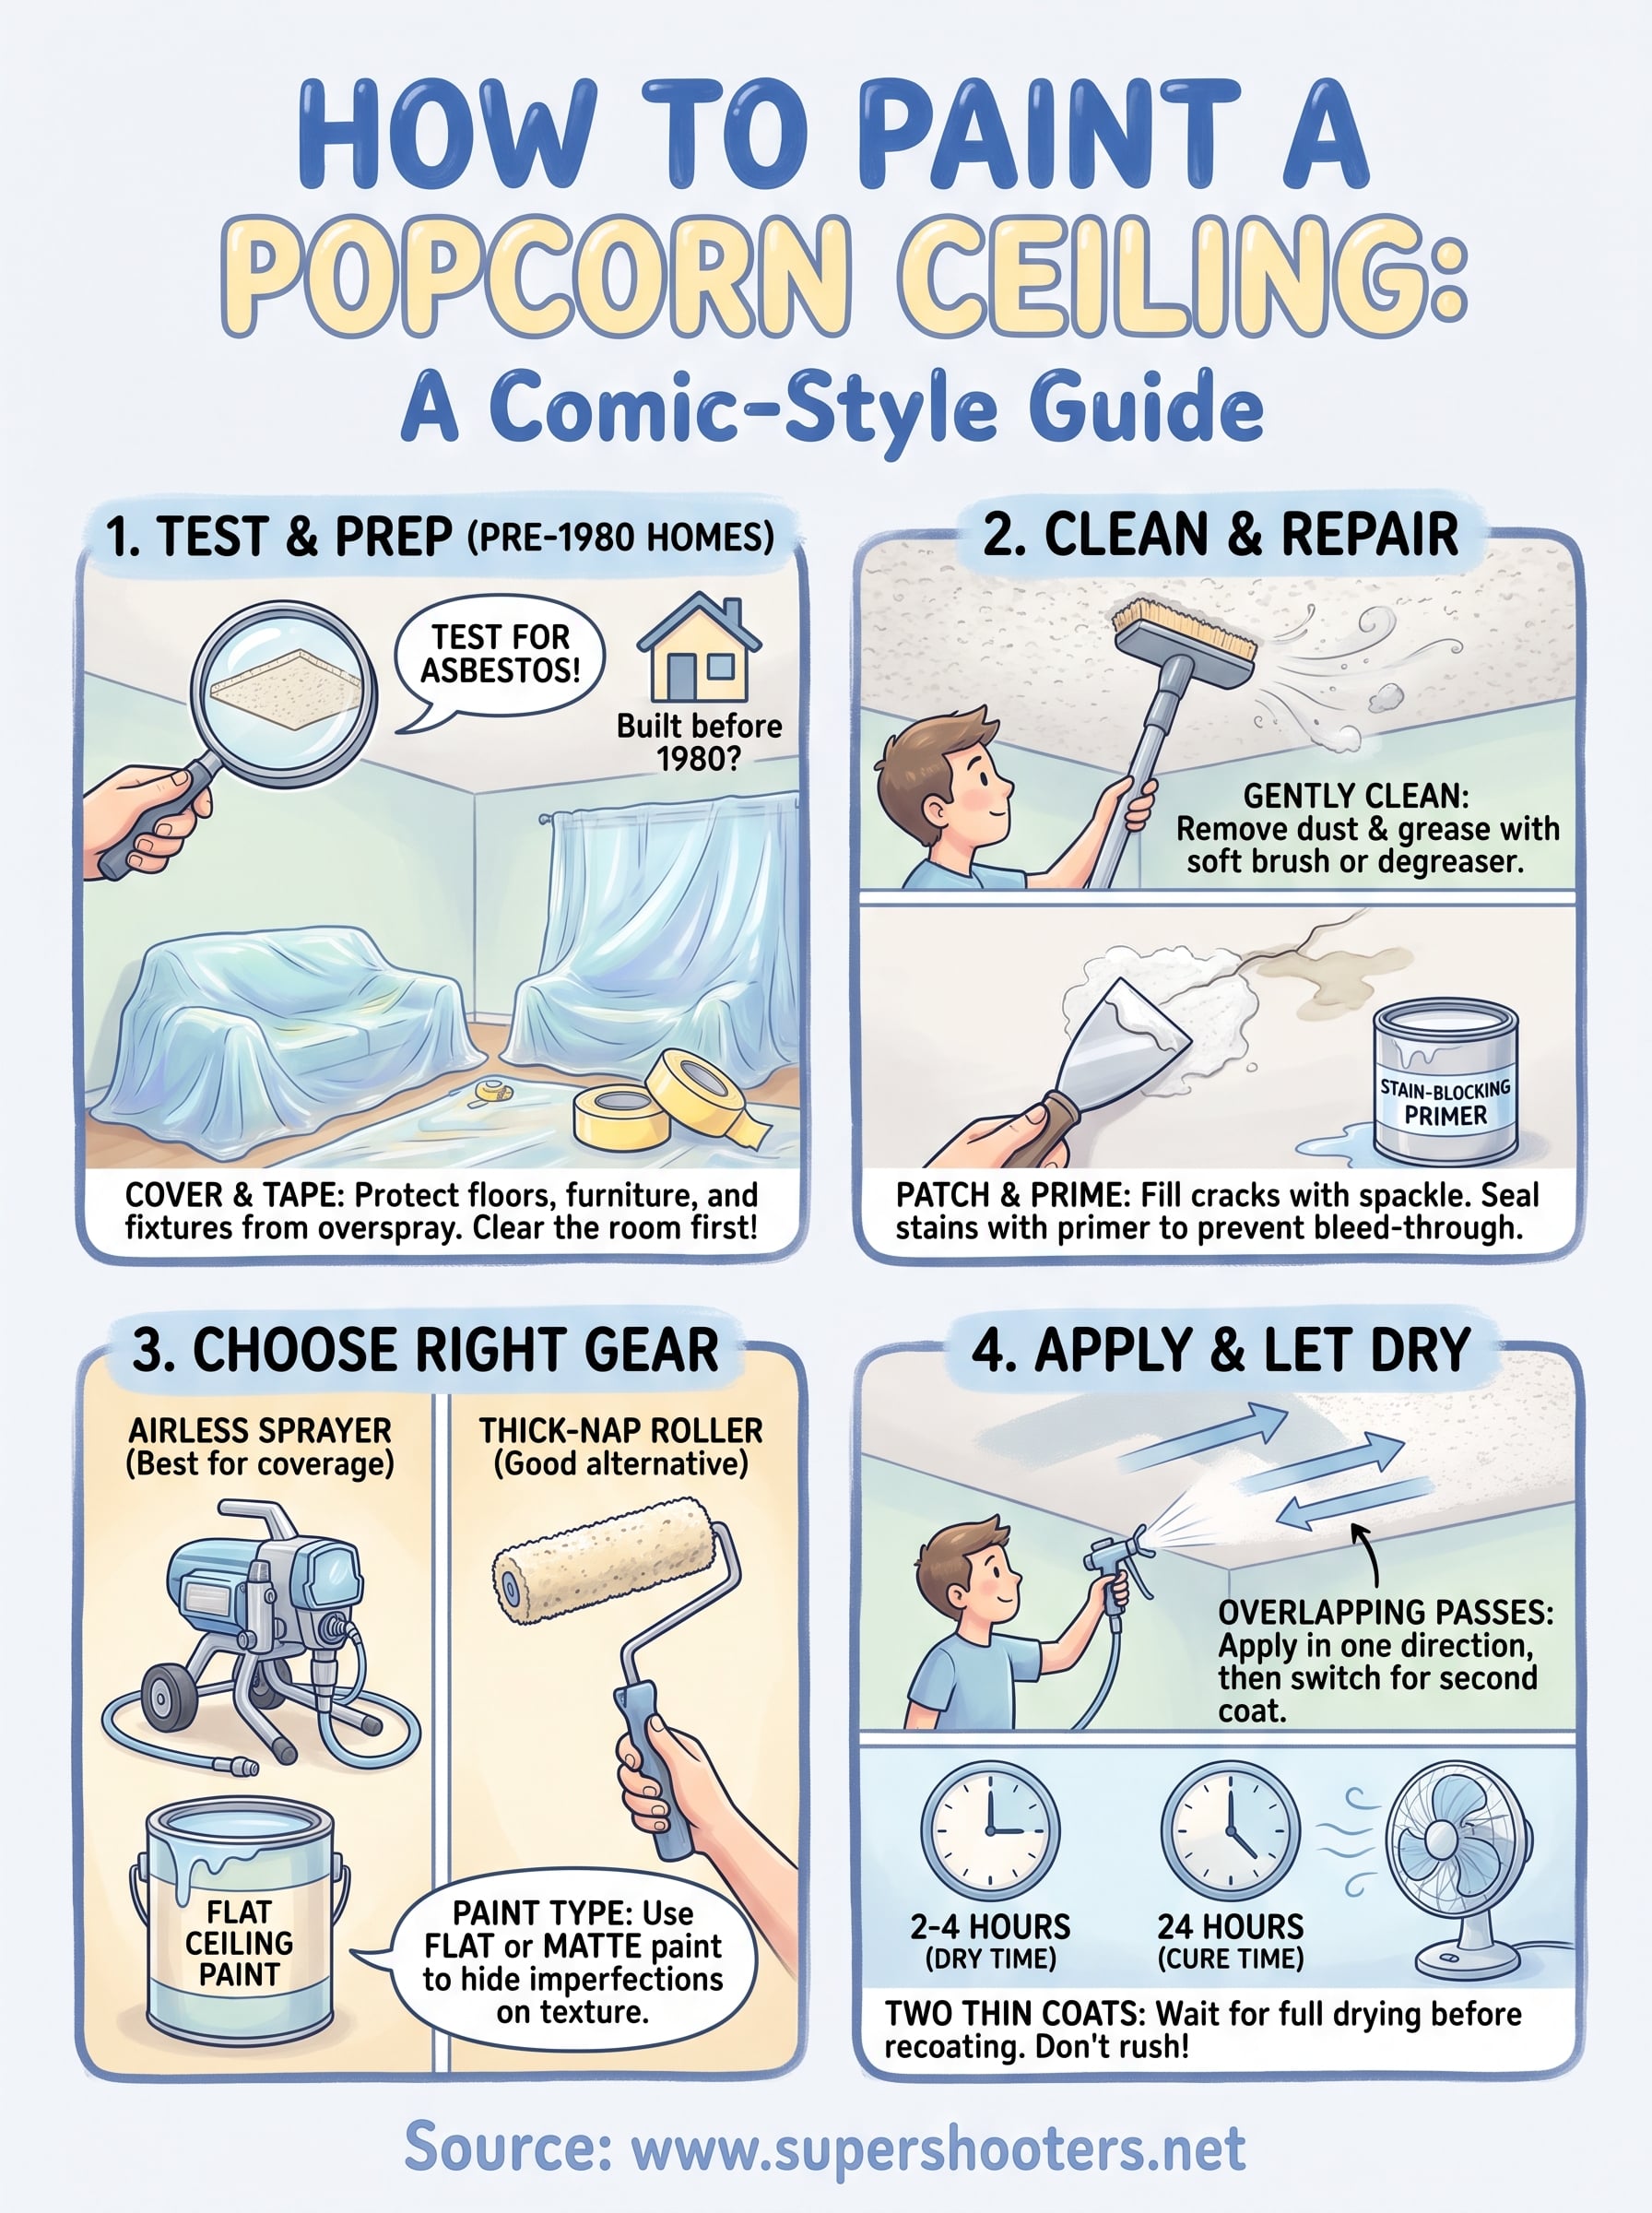
Before you touch a paintbrush, confirm what you're dealing with. Homes built before 1980 commonly used asbestos-containing texture , and disturbing it with a roller or sprayer can release fibers into the air. A lab test costs far less than a health scare, so learn how to take an asbestos sample safely and send it to an accredited lab, or hire a professional to test it for you. Super Shooters offers professional asbestos abatement services across the Sacramento Valley if your test comes back positive, and painting over confirmed asbestos texture without proper encapsulation isn't a shortcut worth taking.

Never paint a popcorn ceiling without testing it first if your home predates 1980.

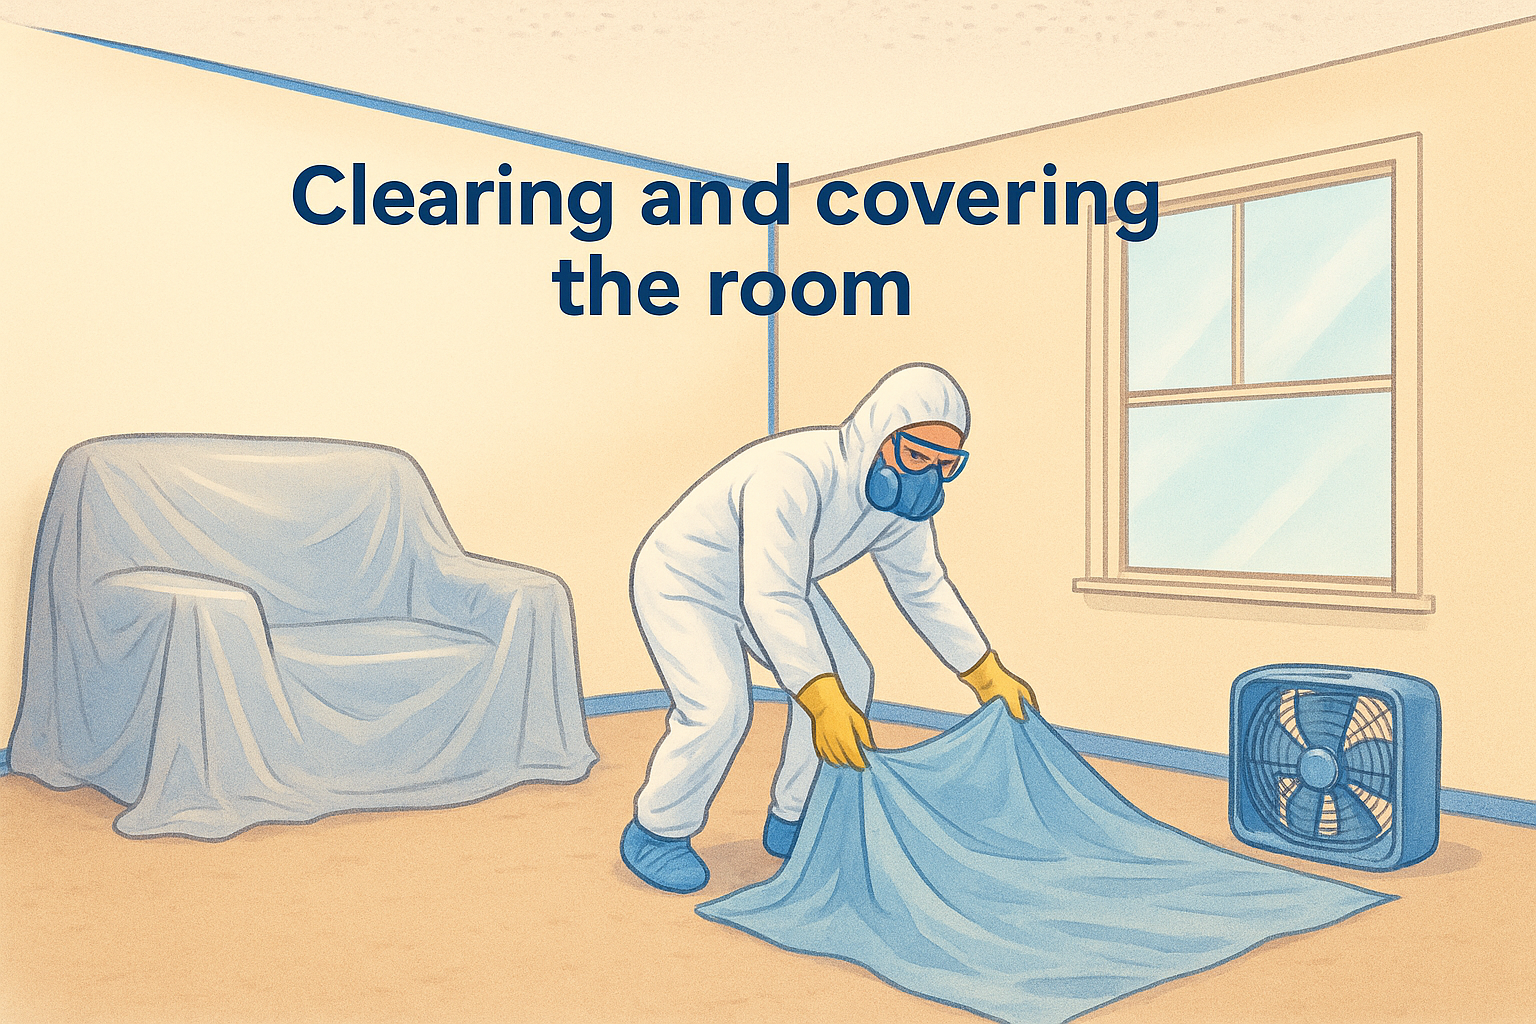
Clearing and covering the room

Once you've confirmed the ceiling is safe to work on, turn your attention to the room itself. Overspray travels further than most people expect, and popcorn texture sheds small debris even when it's stable.

  • Remove furniture or move it to the center of the room
  • Cover floors and remaining furniture with plastic sheeting, taped at the edges
  • Take down light fixtures, ceiling fans, and smoke detectors, or bag them in plastic
  • Run painter's tape along the top of walls where they meet the ceiling
  • Open windows or set up a fan for ventilation, especially if you're spraying

Gathering protective gear matters just as much as covering surfaces. Wear a respirator rated for fine particulates, safety glasses, and a disposable coverall if you're working overhead for hours. Working through a full room prep checklist for painting now saves you a cleanup headache later, and it protects the finish you're about to apply.

Step 2. Clean and repair the ceiling

A clean surface is what separates a paint job that lasts from one that peels within a year. Dust, cobwebs, and grease film sit on popcorn texture even in rooms that look tidy, and paint won't bond properly over that layer, which is why cleaning surfaces before painting matters so much. Grab a soft-bristle broom or vacuum attachment and work across the entire ceiling before you touch a patch kit or a paint can.

Removing dust and debris

Start at one corner and work in overlapping passes with a lambswool duster or a vacuum's brush attachment, since dragging a rag across popcorn texture just knocks chunks loose. Kitchens and bathrooms often need an extra pass with a degreasing cleaner diluted in water, applied with a light spray and wiped gently, to cut through cooking residue or shower steam buildup that plain dusting won't touch.

Patching cracks and water stains

Once the surface is clean, inspect it again under bright light for hairline cracks, nail pops, or stained patches. Fill small cracks with a lightweight spackling compound , feather the edges with a putty knife, and let it cure fully before sanding lightly; deeper splits need a proper ceiling crack repair with mesh tape and setting compound. Stains need a stain-blocking primer spot-treatment, not just paint, or they'll bleed through within weeks, so it helps to know how to cover ceiling water stains for good.

Skipping the patch-and-prime step is the number one reason painted popcorn ceilings show stains again within months.

Surfaces that pass this inspection are ready for paint. Ceilings with widespread sagging or repeated staining point to a bigger problem behind the drywall, one worth a professional look before you spend another weekend on a temporary fix.

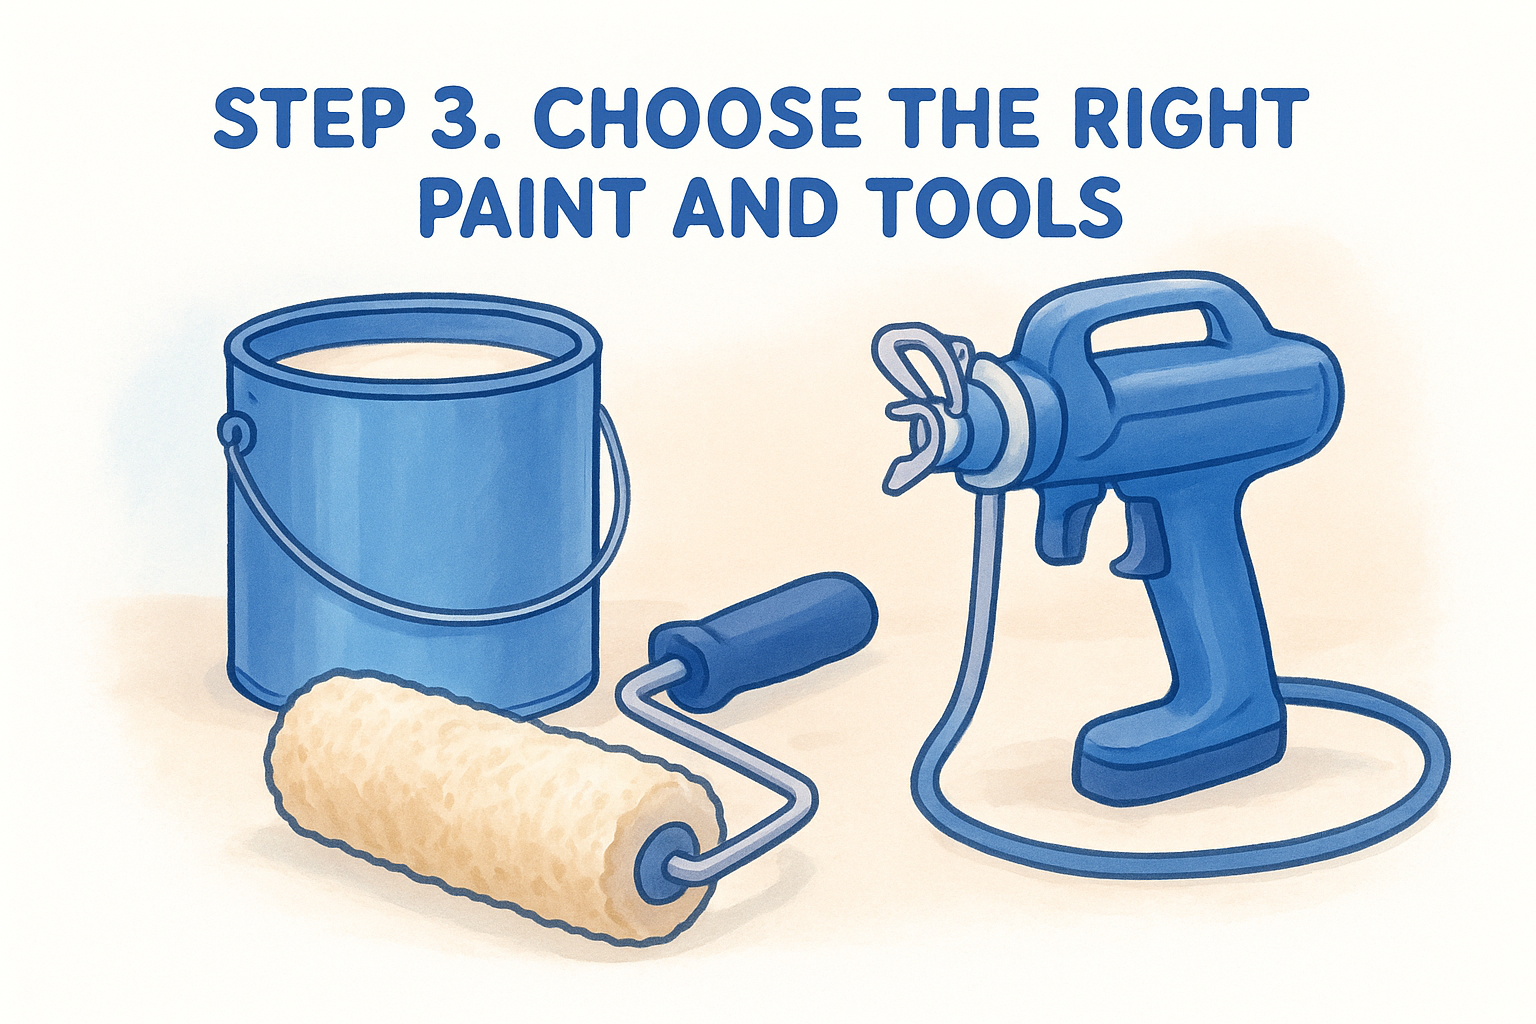
Step 3. Choose the right paint and tools

Popcorn texture eats paint. The rough surface soaks up far more product than a flat wall, so grabbing whatever gallon is on sale at the hardware store leads to a patchy, thin finish. Pick a thick-nap roller or an airless sprayer built for textured surfaces, since standard tools leave gaps between the bumps and ridges.

Picking the right paint type

Flat or matte ceiling paint hides imperfections better than anything with sheen, and a stain-blocking primer underneath keeps old water marks from bleeding through your new coat. Look for a paint labeled specifically for ceilings or textured surfaces , since these formulas are thicker and cling better to popcorn without pooling in the crevices.

A thick-nap roller or airless sprayer will always outperform a standard wall roller on popcorn texture.

Tools that make the job easier

An airless sprayer covers a room faster and reaches into every crevice of the texture, which matters more than most homeowners expect on their first attempt. Here's what to have on hand before you start:

  • Airless paint sprayer or a 3/4-inch to 1-inch nap roller
  • Ceiling-specific flat paint, one gallon per 350-400 square feet
  • Stain-blocking primer for spot repairs
  • Extension pole for roller applications
  • Angled brush for cutting in along walls and fixtures

Super Shooters uses professional-grade sprayers on every job, and if you're not ready to invest in one yourself, renting from a local hardware store beats fighting an uneven roller pass across an entire ceiling.

Step 4. Apply the paint and let it dry

With prep done, load your sprayer or roller and start in the corner farthest from the door so you're not painting yourself into a wall of wet ceiling. Work in overlapping passes , moving the sprayer or roller in one direction across the whole ceiling before switching angles for a second coat. Two thin coats always beat one thick one on popcorn texture, since a heavy coat pools in the crevices and drips onto your plastic sheeting below.

Getting even coverage

Hold a sprayer roughly 12 inches from the surface and keep it moving at a steady pace, since pausing even for a second leaves a wet blotch that dries darker than the rest. Rollers need firm, even pressure and a reload every three to four feet, or the nap starts skipping over the raised texture and leaving bare spots. Cut in along the edges with an angled brush first, then fill the middle with your sprayer or roller so the two techniques blend without a visible line.

Two thin coats of ceiling paint will always look better and last longer than one heavy coat.

Drying time and second coats

Check the paint can for recoat time , typically two to four hours for flat ceiling paint, and don't rush a second coat before the first fully sets. Humidity slows drying significantly, so run a fan or dehumidifier in bathrooms and kitchens. Once the final coat cures, usually 24 hours, pull the painter's tape and plastic sheeting before the paint has a chance to bond to them.

Giving your ceiling a lasting refresh

A well-painted popcorn ceiling can look fresh for years if you handle the prep work seriously. Testing for asbestos, cleaning thoroughly, patching cracks, and applying two thin coats with the right tools makes the difference between a ceiling that holds up and one that peels within months. Painting a popcorn ceiling isn't complicated, but it rewards patience over shortcuts, especially in the prep stages most homeowners want to skip.

Sometimes, though, a paint job just delays the inevitable. If your inspection turned up loose texture, failed asbestos testing, or damage that keeps coming back no matter how many times you patch it, painting won't fix the underlying problem. That's when it makes sense to talk to someone who handles this daily. Super Shooters has spent over 30 years working on ceilings across the Sacramento Valley, and offers free consultations to help you decide what your ceiling actually needs. If your texture tested positive or you're ready to be rid of it for good, get a free estimate to have your popcorn ceiling professionally removed before you commit to another coat of paint.

Recent Posts

By cinchweb August 24, 2026
Learn how do you repair hole in drywall with sizing tips, patching methods, texture matching, and when to call Super Shooters for tricky repairs.
By cinchweb August 21, 2026
Compare 8 top drywall patching kit picks by hole size, price, and dry time, plus when to call a pro instead of DIY.
By cinchweb August 20, 2026
Learn how to patch small hole in drywall with mesh, compound, and paint for a seamless fix, plus signs it's time to call a pro.
By cinchweb August 19, 2026
Learn joint compound drywall repair step-by-step: tools, taping, feathering, sanding tips, and when to call Super Shooters for professional help.
By cinchweb August 17, 2026
Discover the 6 essential tools for drywall repair, plus costs and tips—and learn when Sacramento Valley homeowners should call a pro instead.
By cinchweb August 16, 2026
Discover 5 must-have popcorn ceiling removal tools, from bagged scrapers to asbestos test kits, plus when to call Super Shooters instead.
By cinchweb August 15, 2026
Learn how to vet drywall repair contractors, what to expect during repairs, pricing factors, and how licensing and warranties protect your home.
By cinchweb August 14, 2026
Learn how to repair ceiling cracks for good with mesh tape, setting compound, texture matching, and expert tips on when to call a pro.
By cinchweb August 13, 2026
Learn how to set up plastic sheeting for popcorn ceiling removal, seal vents and fixtures, and contain debris safely. Free Sacramento Valley estimates.
Show More