Share this article

August 19, 2026

How to Repair Drywall With Joint Compound: Step-by-Step

That nail hole, hairline crack, or dinged corner in your wall is not a reason to call a contractor. Joint compound drywall repair is one of the most forgiving home repairs you can tackle yourself, as long as you follow the right order of steps and let each layer dry properly before moving on.

This guide walks you through exactly how to fix drywall damage using joint compound, from prepping the hole to feathering the final coat so it disappears into the wall. You will learn which drywall repair joint compound works best for small dings versus larger holes, how many coats you actually need, and the sanding technique that keeps dust to a minimum while still leaving a smooth, paint-ready surface.

We put this guide together from what we see every week on job sites across the Sacramento Valley. Homeowners often start a small patch themselves and end up with a bigger mess once cracks reappear or texture does not match. If your damage turns out to be more than a simple patch, such as water staining, sagging, or a crack tied to foundation settlement in your walls, our team at Super Shooters can step in with a free estimate and finish it right.

What you need before repairing drywall with joint compound

Grabbing the wrong bucket of mud is the fastest way to turn a ten-minute patch into a weekend project. Before you cut into that hole or crack, gather everything on hand so you're not running to the hardware store mid-repair with wet compound already drying on your knife. Drywall repair joint compound comes in a few different formulas, and picking the right one for your specific damage matters more than most DIYers realize.

Tools you'll need

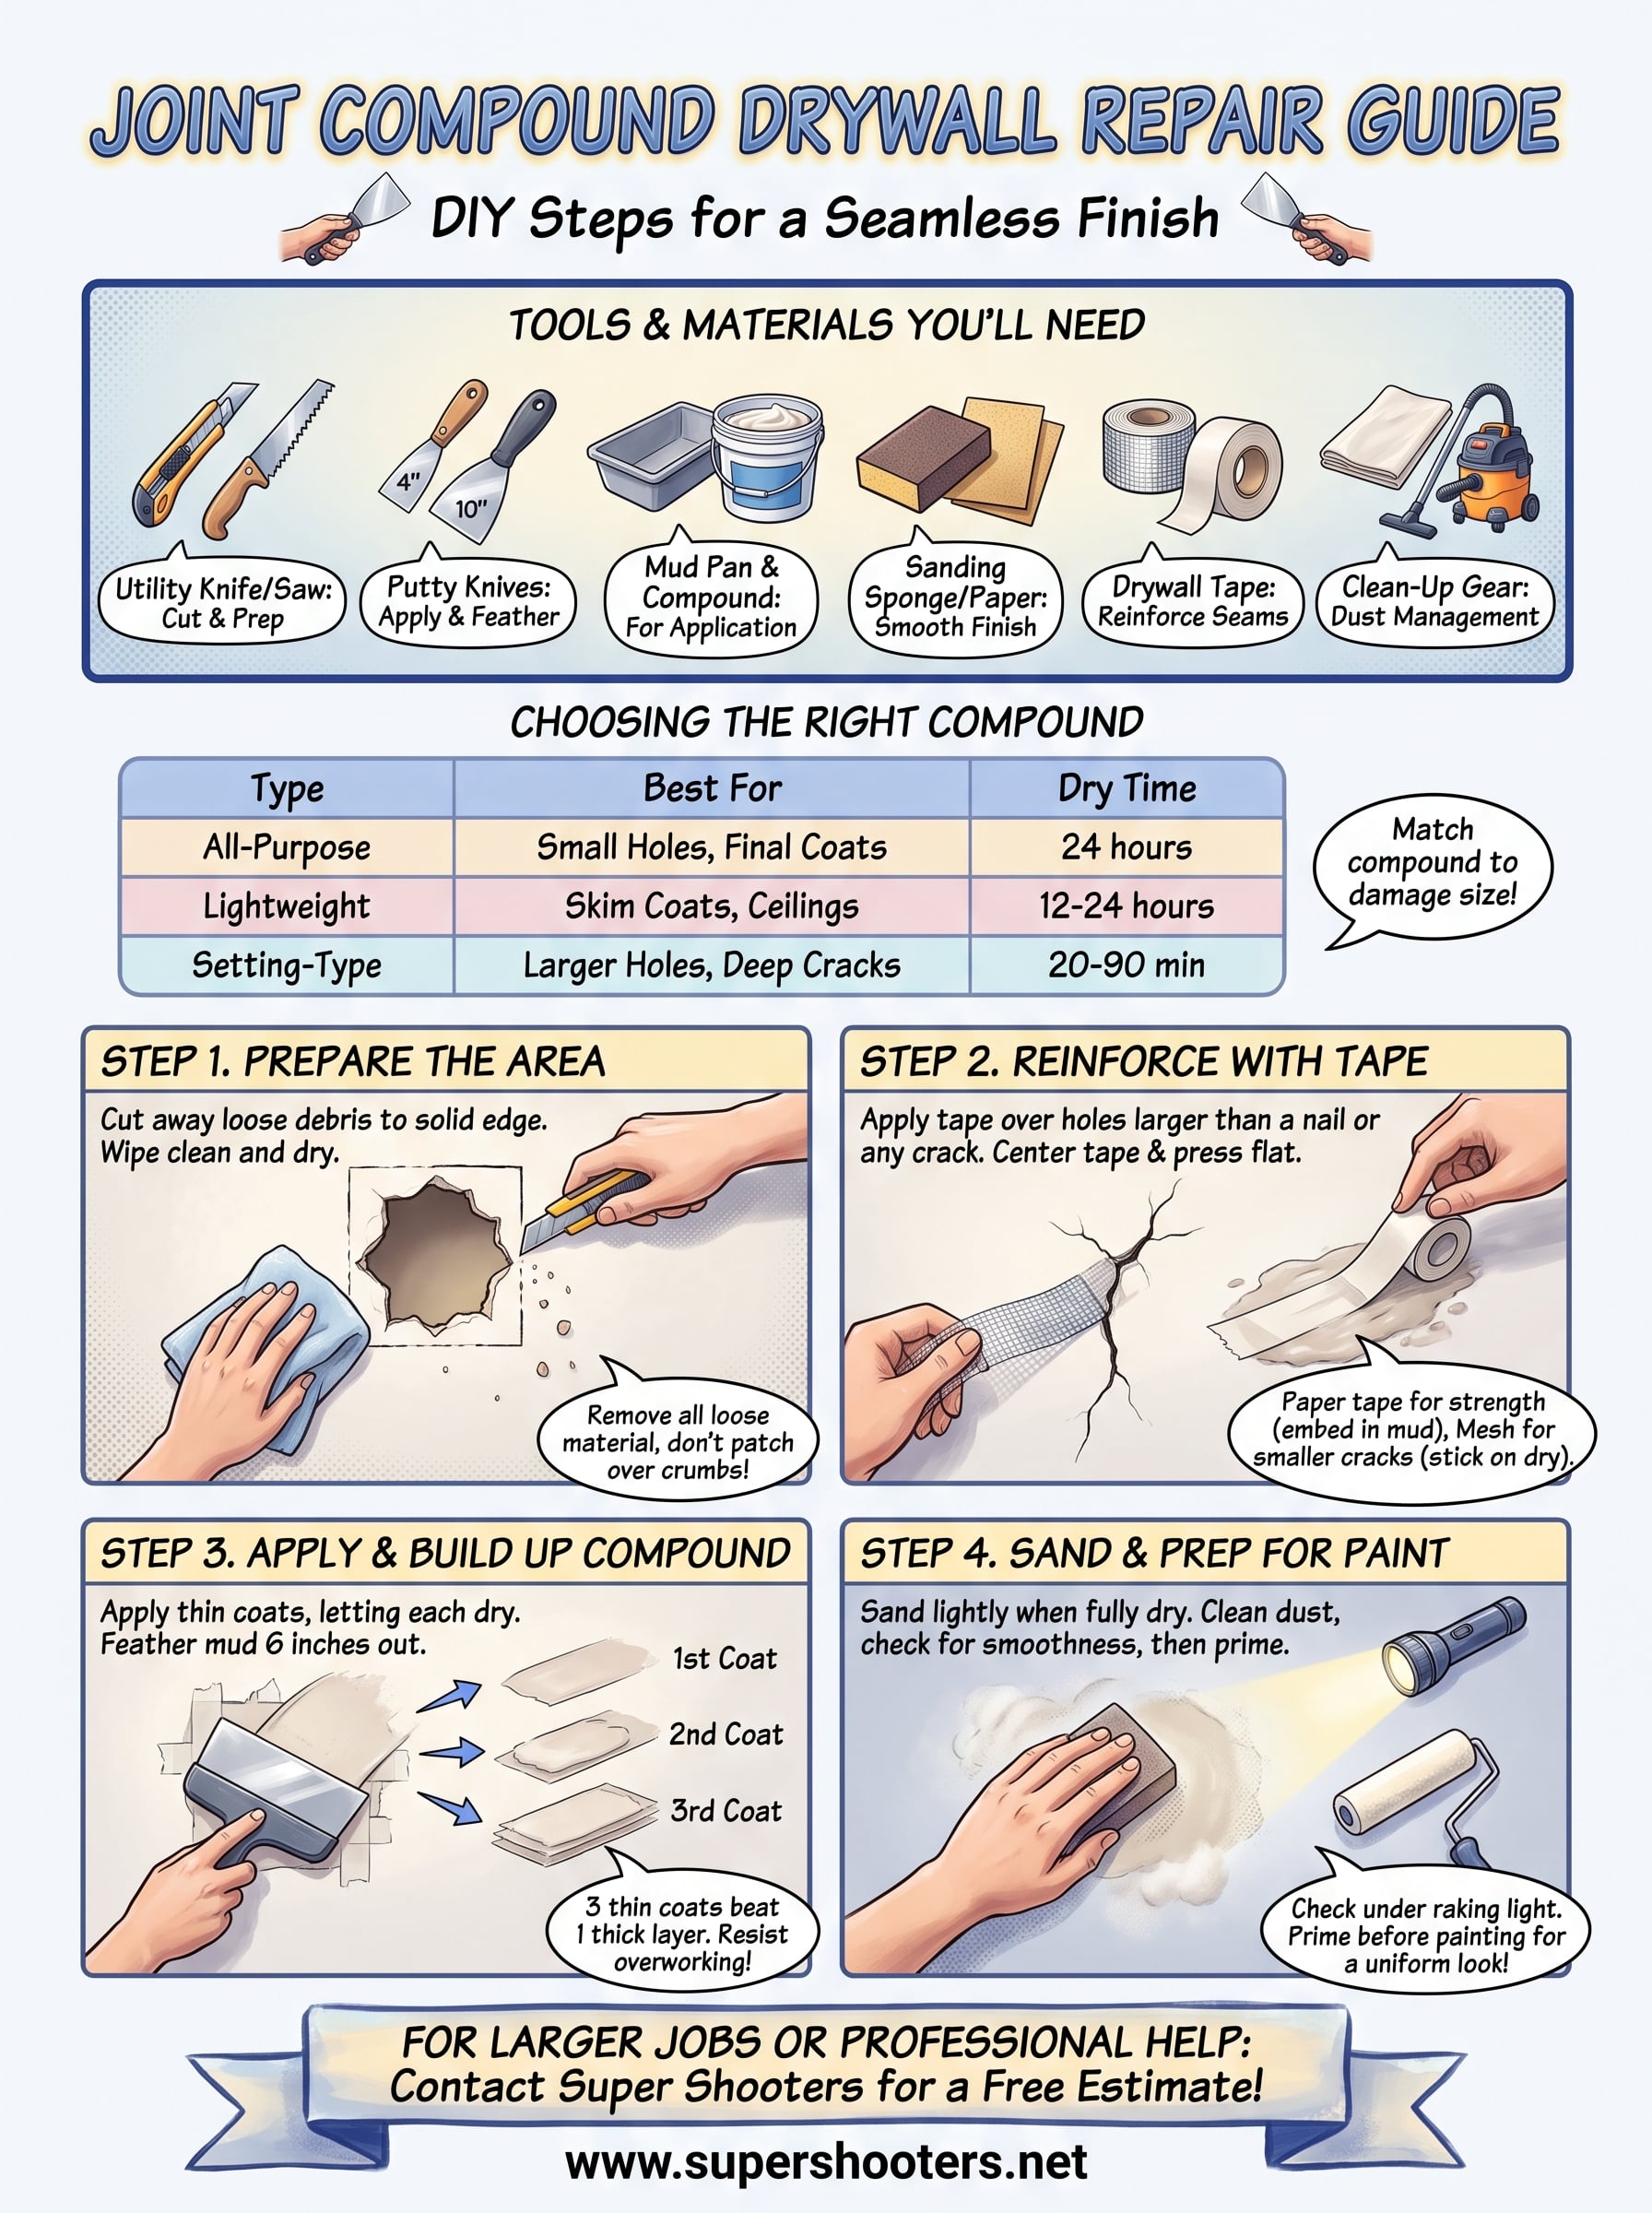
You don't need a contractor's truck full of gear for most residential patches, just the essential drywall repair tools for DIY patching. Here's what covers 90% of the repairs we see across Sacramento Valley homes:

  • Utility knife or drywall saw for cutting out damaged material
  • 4-inch and 6-inch putty knives (a 10-inch or 12-inch knife helps for larger patches)
  • Mud pan or a scrap piece of drywall to hold compound
  • Sanding sponge or 120-150 grit sandpaper
  • Drywall tape (paper or self-adhesive mesh)
  • Drop cloth or old sheet to catch dust and debris
  • Shop vacuum or damp microfiber cloth for cleanup
  • Painter's tape to protect trim and baseboards

Choosing the right joint compound

Not every repair calls for the same product, and choosing joint compound by hole size and location is one of the biggest reasons patches crack again within a few months when you get it wrong. Joint compound drywall repair works best when the compound matches the size and depth of the damage.

Compound Type Best For Dry Time
All-purpose (ready-mix) Small nail holes, hairline cracks, final coats 24 hours
Lightweight Skim coats, easier sanding, ceiling repairs 12-24 hours
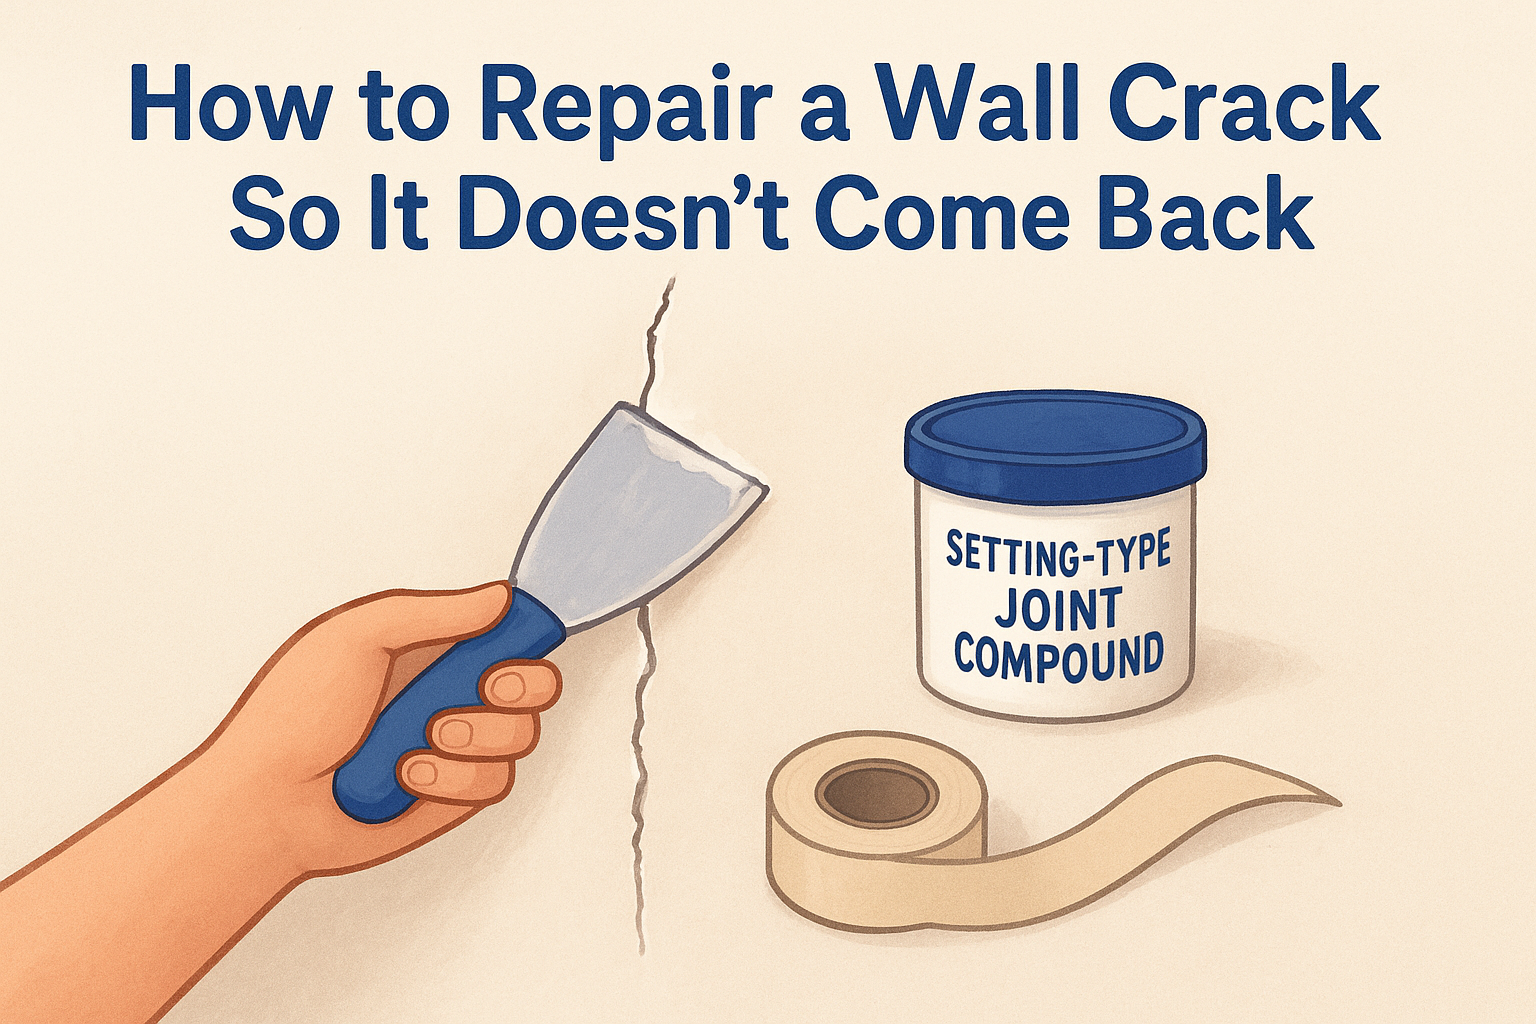
Setting-type (powder) Larger holes, deep cracks, same-day repairs 20-90 minutes

Matching your joint compound to the size of the damage prevents the cracking and shrinkage that force homeowners to redo the same patch twice.

Setting-type compound hardens through a chemical reaction rather than air-drying, which makes it the right call for anything bigger than a golf ball. All-purpose drywall mud is easier for beginners to work with on small holes since it stays workable longer and sands down smoothly.

Once you have your materials lined up, take five minutes to clear the work area. Move furniture at least three feet back, lay down your drop cloth, and set out a headlamp or work light if you're patching in a closet or low-light corner. Good lighting matters more than people expect. It's the only way you'll catch ridges or low spots before the paint goes on and shows every flaw under a window's afternoon glare.

Step 1. Prepare the damaged area

Before any joint compound drywall repair goes on the wall, you need a clean, stable opening to work with. Cutting away loose or crumbling drywall now saves you from mud that won't hold later. Grab your utility knife and trim the damaged edges into a clean shape, whether that's a small square around a nail hole or a wider opening around a doorknob dent.

Remove loose debris and damaged material

Carefully knock away any crumbling gypsum with your putty knife until you hit solid material on all sides of the hole. Loose paper facing or soft, water-swollen drywall needs to go, even if that means the hole gets slightly bigger. Patching over compromised drywall is the number one reason repairs fail within weeks.

A patch is only as strong as the drywall underneath it, so cut back to solid material before you mud anything.

Check for hidden issues before you patch

Gently press around the damaged area to feel for soft spots that signal deeper water damage or a wiring issue behind the wall. If you notice discoloration, a musty smell, or wood framing that feels damp, stop and call a professional for water damage wall repair in Sacramento instead of sealing moisture inside the wall cavity.

  • Vacuum dust and loose particles from inside and around the hole
  • Wipe the area with a slightly damp cloth to remove remaining grit
  • Let the surface dry fully, at least 15 minutes, before applying tape or mud

Moving straight from a wet wipe-down to mudding traps moisture under the patch, which shows up later as bubbling or a soft spot that never quite hardens right.

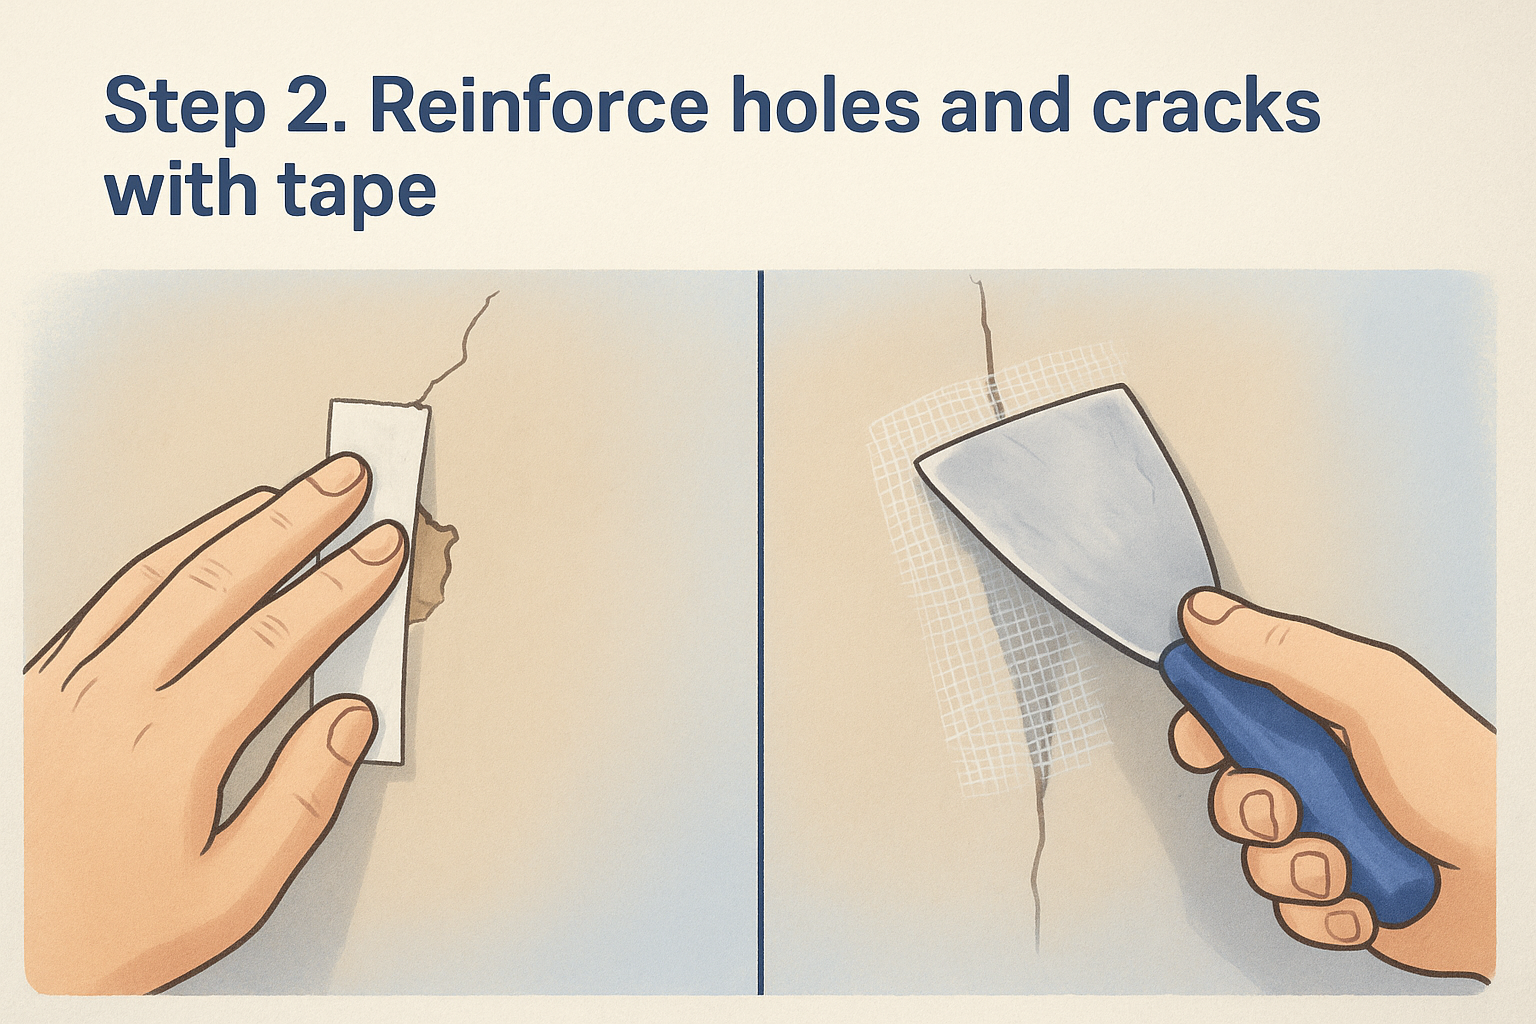
Step 2. Reinforce holes and cracks with tape

Skipping tape on anything wider than a nail hole is the second most common mistake we see in DIY joint compound drywall repair . Tape bridges the gap and gives the compound something to grip, spreading stress across the patch instead of letting it concentrate at the edges where cracks reappear first. For hairline cracks and holes larger than about two inches, tape isn't optional if you want the repair to last past the next season of humidity swings.

Paper tape versus self-adhesive mesh

Paper tape bonds better for larger patches because it embeds directly into a layer of wet compound, but it requires more skill to keep wrinkle-free. Self-adhesive mesh tape sticks right to the wall and works well for smaller cracks, though it needs setting-type compound rather than all-purpose mud since mesh alone won't bridge a gap the way paper does once bedded in mud.

Tape doesn't fill the hole, it holds the patch together, so choose the type that matches your compound and the size of the damage.

Applying the tape correctly

Center the tape directly over the crack or seam, pressing it flat with your fingers before you touch it with a putty knife. Overlapping the edges of the damage by at least an inch on each side keeps the tape from lifting once you start layering drywall repair joint compound on top.

  • Cut tape a few inches longer than the crack or hole on each end
  • Press mesh tape directly onto the dry wall surface
  • Bed paper tape into a thin layer of compound, smoothing from the center outward
  • Wipe away excess compound so no ridges form under the tape

Once the tape sits flat with no bubbles or loose corners, you're ready to build up the first coat of mud.

Step 3. Apply and build up the joint compound

Now comes the part most homeowners rush, and rushing here is exactly what causes visible ridges under paint. Load a thin layer of joint compound drywall repair mud onto your putty knife and spread it over the taped area, feathering the mud out about six inches beyond the damage so the patch blends into the surrounding wall instead of sitting on top of it like a bandage.

Build thin coats instead of one thick layer

A single thick application of mud almost always cracks as it dries, since the outer surface hardens before the inside does. Three thin coats beat one thick coat every time, and each pass should be barely thicker than a coat of paint.

  1. Apply the first coat, covering the tape completely, and let it dry fully (check the label, since setting-type compound dries in under an hour while all-purpose needs a full day)
  2. Lightly knock down any ridges with your putty knife, no sanding needed yet
  3. Apply a second, slightly wider coat, feathering the edges further out
  4. Let it dry, then apply a third coat only if you still see a depression or seam line

Three thin coats of joint compound beat one thick coat because thin layers dry evenly and resist cracking.

Watch for common buildup mistakes

Check your work under a raking light, meaning a work light held at an angle across the wall, since this reveals high spots and shadowed low spots that overhead room lighting hides completely. If you spot a ridge, run your clean putty knife over it at a low angle while the compound is still workable rather than waiting until it hardens. Wipe your knife clean between passes so dried crumbs don't drag new gouges through wet mud, and resist the urge to smooth the same spot more than two or three times, since overworking fresh compound pulls it away from the wall instead of leveling it.

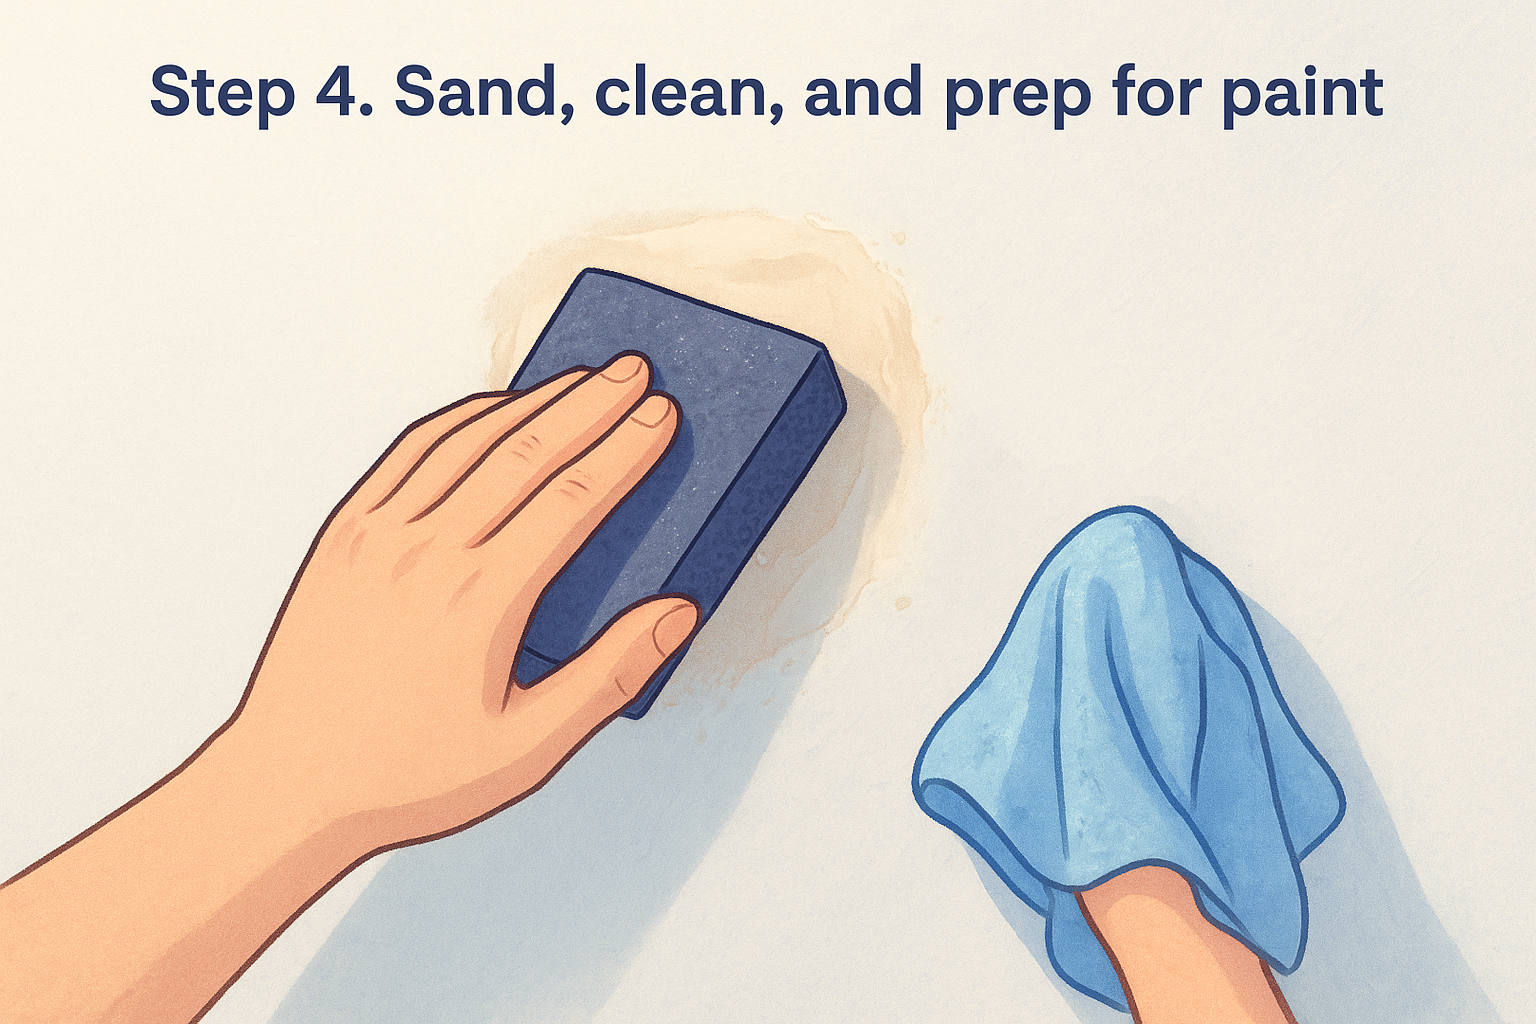
Step 4. Sand, clean, and prep for paint

Once your final coat of joint compound drywall repair mud has dried completely, which usually means waiting overnight before painting a patch with all-purpose compound, it's time to smooth everything down. Sanding too early is a common shortcut that ruins an otherwise solid patch, since soft compound clogs your sandpaper and leaves gouges instead of a flat surface. Press a fingernail into the center of the patch first. If it leaves a mark, give it more time before you touch it with sandpaper.

Sand in stages to avoid damage

Start with a sanding sponge or 150-grit paper and work in small circles, checking your progress often rather than sanding one long pass. Pushing too hard at this stage can gouge back into the compound or, worse, sand straight through the paper facing of the surrounding drywall, which creates a whole new repair. Keep a hand on the wall next to the patch as you sand so you can feel for a smooth transition instead of relying on your eyes alone.

A light touch with fine-grit sandpaper protects the patch, while heavy pressure just creates a new problem to fix.

Clean up and check for smoothness

Wipe the area with a barely damp microfiber cloth to pull off sanding dust, then let it dry fully before you prep the room for painting. Dust left behind interferes with primer adhesion and shows up as a slightly gritty texture once the topcoat goes on.

  • Run your hand flat across the patch, feeling for any dips or ridges
  • Hold a work light at an angle to catch shadows from imperfections
  • Vacuum the floor and surrounding trim for stray dust
  • Apply a coat of drywall primer before painting to seal the patch evenly

Finishing touches for a flawless wall

Get through these four steps and you'll have a wall that looks like nothing ever happened there, no ridges, no shadow lines, no crack creeping back after the first humid week. Joint compound drywall repair rewards patience more than skill. Thin coats, full dry times, and a light hand with sandpaper matter more than any fancy tool you could buy.

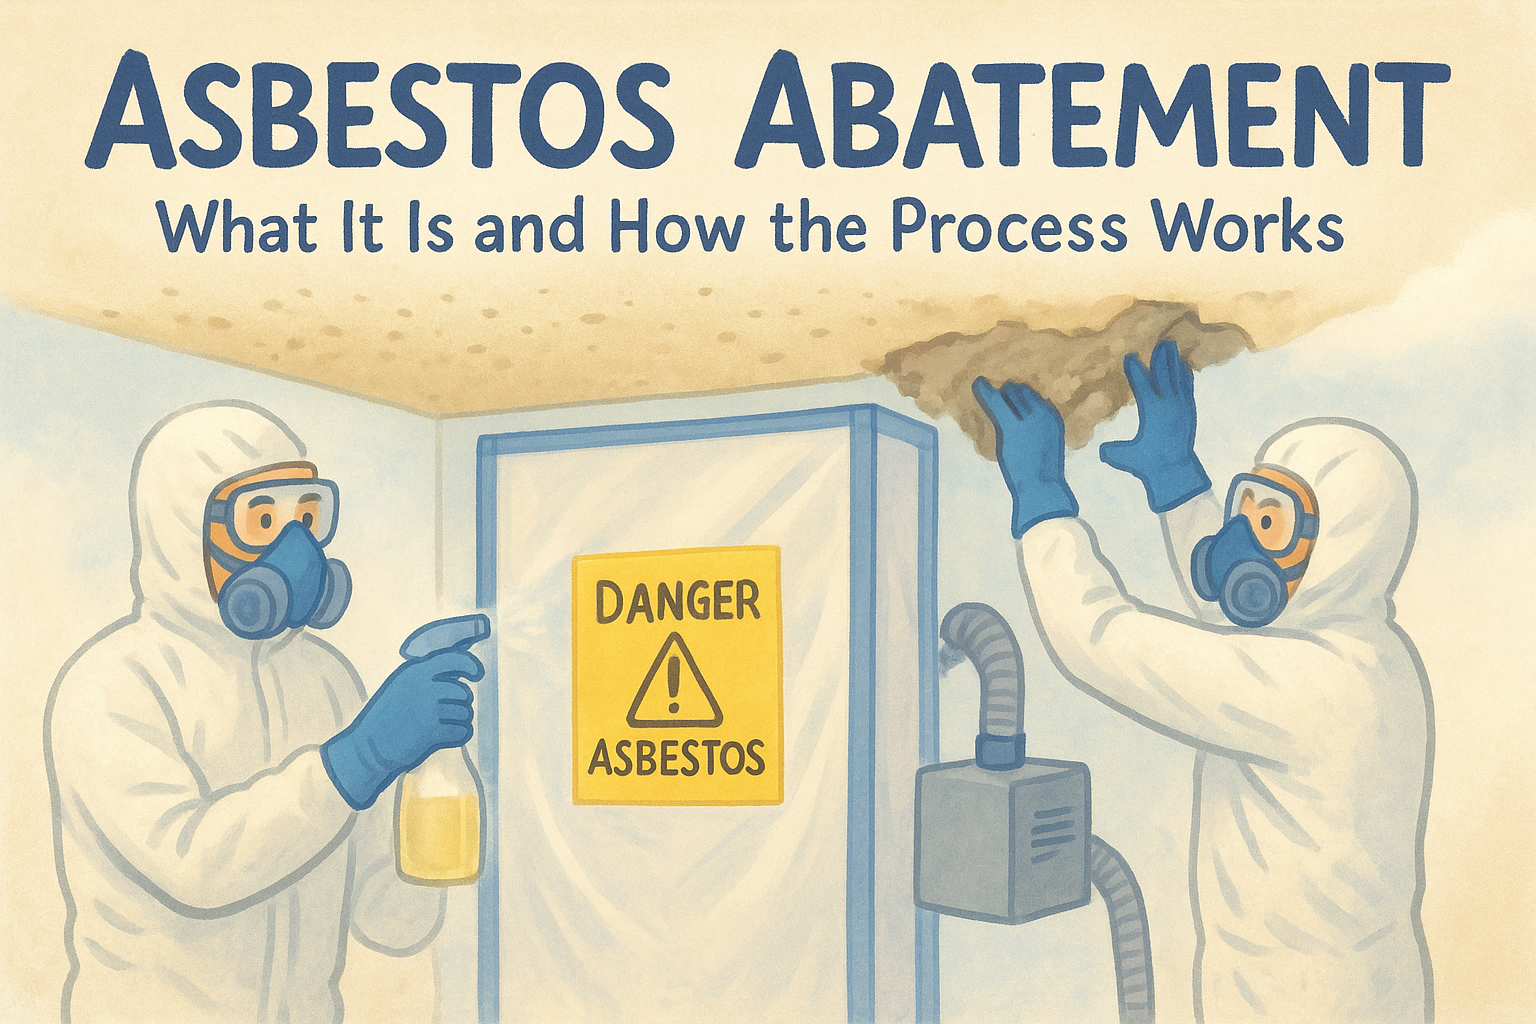
Still, some jobs go past what a putty knife and a Saturday afternoon can fix. Cracks that keep returning along the same line, sagging ceilings, or damage tied to old popcorn texture often point to something structural or something involving asbestos in older Sacramento Valley homes built before the 1980s. That's not a DIY call.

If your patch job turns into a bigger project, or you'd rather skip the mess altogether, ask our drywall patching crew for a free estimate and we'll take it from there.

Recent Posts

By cinchweb August 17, 2026
Discover the 6 essential tools for drywall repair, plus costs and tips—and learn when Sacramento Valley homeowners should call a pro instead.
By cinchweb August 16, 2026
Discover 5 must-have popcorn ceiling removal tools, from bagged scrapers to asbestos test kits, plus when to call Super Shooters instead.
By cinchweb August 15, 2026
Learn how to vet drywall repair contractors, what to expect during repairs, pricing factors, and how licensing and warranties protect your home.
By cinchweb August 14, 2026
Learn how to repair ceiling cracks for good with mesh tape, setting compound, texture matching, and expert tips on when to call a pro.
By cinchweb August 13, 2026
Learn how to set up plastic sheeting for popcorn ceiling removal, seal vents and fixtures, and contain debris safely. Free Sacramento Valley estimates.
By cinchweb August 13, 2026
Learn how to vet a drywall repair contractor: licensing, insurance, warranties, pricing, and reviews before hiring in Sacramento Valley.
By cinchweb August 12, 2026
Discover the 7 must-have drywall repair tools, prices, and tips for DIY patching—plus when to call Sacramento Valley pros instead.
By cinchweb August 11, 2026
Learn how to choose joint compound for drywall repair by hole size, humidity, and location, plus mixing, application, and sanding steps.
By cinchweb August 11, 2026
Learn safe DIY steps for asbestos testing popcorn ceiling surfaces, from sampling to lab results, plus when Sacramento homeowners need pro abatement.
Show More