May 19, 2026
Popcorn Ceiling Makeover: How To Replace Popcorn Ceilings
That bumpy, textured ceiling staring down at you every morning? It was probably sprayed on decades ago and has been collecting dust, yellowing, and dating your home ever since. If you've been researching how to replace popcorn ceilings , you already know the payoff: a cleaner look, better lighting reflection, and a home that actually feels like it belongs in this century. The good news is that this is one of the most impactful upgrades you can make without gutting an entire room.
But before you grab a scraper and start going at it, there are a few things you need to sort out first. Homes built before the mid-1980s may have asbestos fibers mixed into the ceiling texture , which turns a weekend project into a serious health concern. You also need to decide whether scraping is your best route or if covering the texture with new material , like drywall, planks, or decorative panels, makes more sense for your situation and budget.
At Super Shooters, we've removed and replaced popcorn ceilings on over 10,000 homes across the Sacramento Valley over the past 30+ years. We've seen every version of this project, the straightforward ones and the ones that go sideways. This guide walks you through every method, step by step, so you can decide what's realistic as a DIY job and what's worth handing off to a pro.
What "replace popcorn ceilings" really means
When most people search for how to replace popcorn ceilings , they picture themselves scraping texture off and painting a smooth, flat surface. That's one version of the job. But "replace" in this context is a loose term that actually covers three distinct approaches , each with a different process, cost, and level of effort. Understanding the difference before you buy supplies will save you from being halfway through a project only to realize you picked the wrong method.
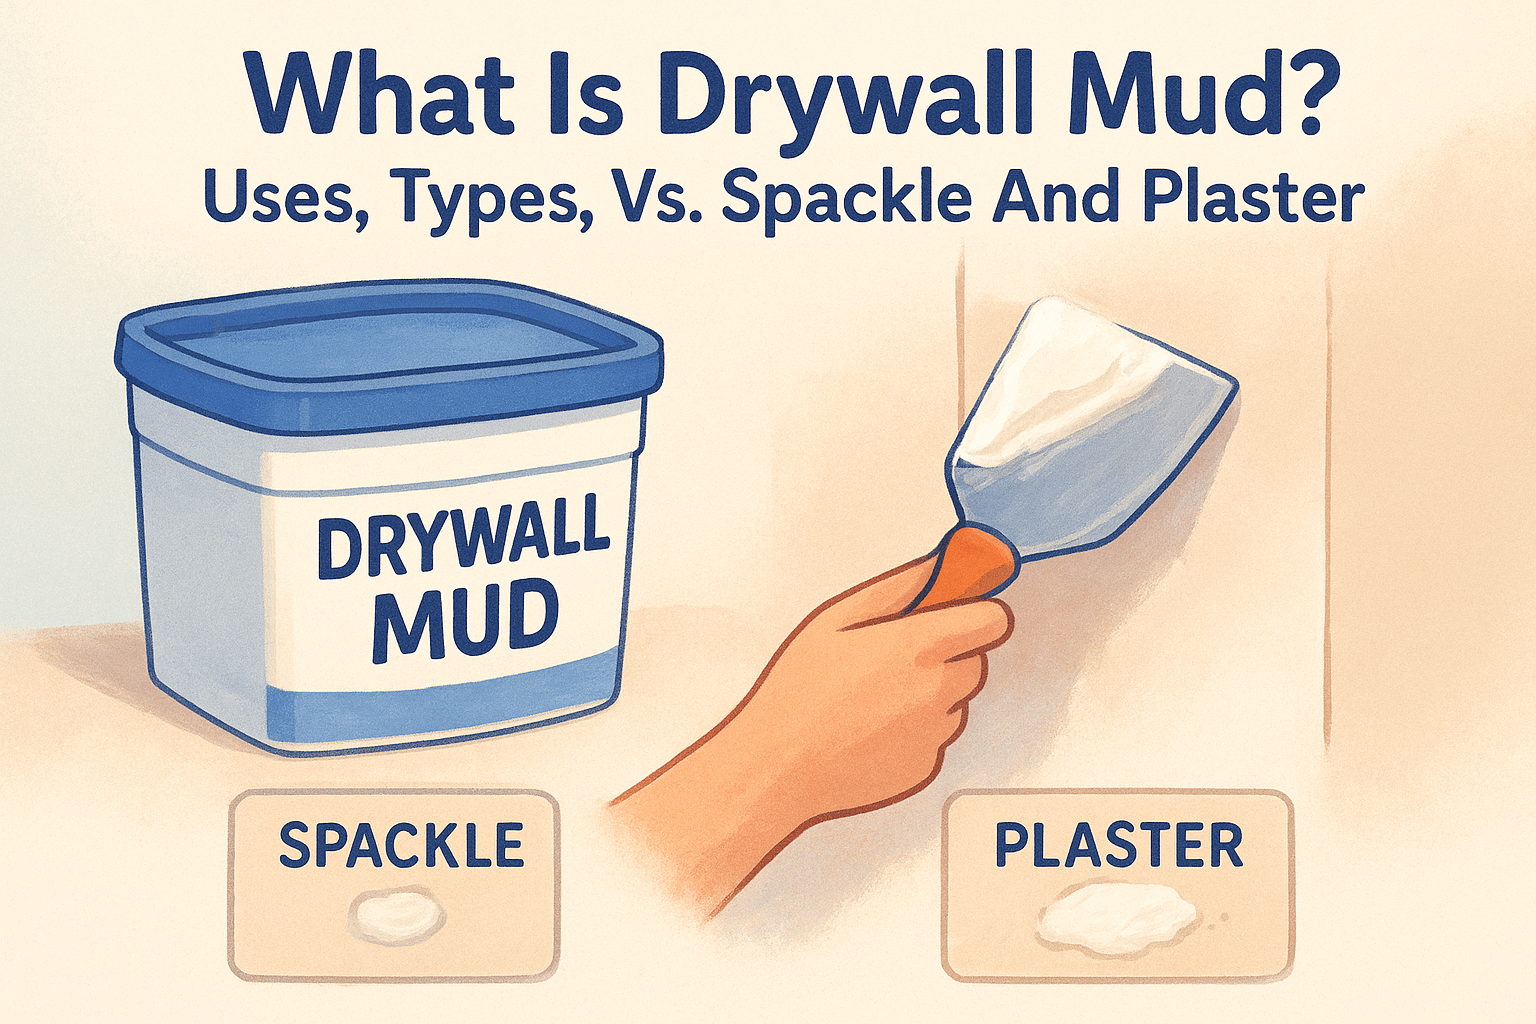
The original popcorn texture, also called acoustic texture or stipple, was applied by spraying a mixture that often included vermiculite or polystyrene and, in homes built before the mid-1980s, asbestos fibers . Contractors used it because it was cheap, fast to apply, and it hid surface imperfections underneath. Today, it's mostly associated with dated interiors and awkward renovation projects. What you're trying to do when you "replace" it is get rid of the visual texture entirely and arrive at a surface you actually want to look at.
The method you choose affects not just the final look, but also your timeline, your budget, and whether you need a professional involved at any point.
Removal: scraping the texture off completely
Removal means physically taking the texture off the existing drywall or plaster substrate below it. You wet the surface, let the texture absorb the moisture, and scrape it away with a wide, flexible blade. Done correctly, you're left with the original ceiling base. Done incorrectly, you're left with gouges and torn drywall paper facing that need significant repair before the surface is paintable.
This approach works well when your existing ceiling is in solid condition and the texture was never painted over . Paint seals the texture and locks it to the surface, making it much harder to wet-scrape cleanly. If anyone painted your popcorn ceiling at any point in the last few decades, expect removal to require considerably more effort and patching.
Covering: adding new material over the top
Covering the existing texture means you leave the popcorn in place and install new material directly over it . The most common approach is screwing up a fresh layer of thin drywall, typically 3/8-inch thickness, across the entire ceiling. This adds weight to your ceiling joists, raises the ceiling height slightly, and means you'll need to extend any light fixtures or ceiling fans, but it completely skips the mess and risk of scraping .
Other covering options include tongue-and-groove wood planks, drop ceiling grid systems, or decorative tiles. Each of these attaches to the existing structure and hides the popcorn underneath a new surface entirely. Covering tends to be faster than removal in older homes where the texture has been painted multiple times and would be nearly impossible to scrape clean without damaging the drywall underneath.
Skim coating: smoothing over the texture
Skim coating sits between the other two methods. Instead of removing the texture or covering it with a separate material, you apply multiple thin layers of joint compound directly over the bumpy surface to fill in the peaks and valleys until the ceiling looks flat. You're essentially burying the texture rather than eliminating it.
This method can produce one of the cleanest final results, but it demands real skill with a drywall knife and patience through multiple drying cycles. Most first-timers underestimate how many coats it takes to fully flatten a heavily textured ceiling. Each coat must dry completely before you sand it lightly and apply the next one, and the learning curve on reading how the compound lays is steep. A professional skim coater can finish a ceiling in a fraction of the time it takes someone doing it for the first time, because they adjust their technique as they work rather than discovering problems after the compound has dried.
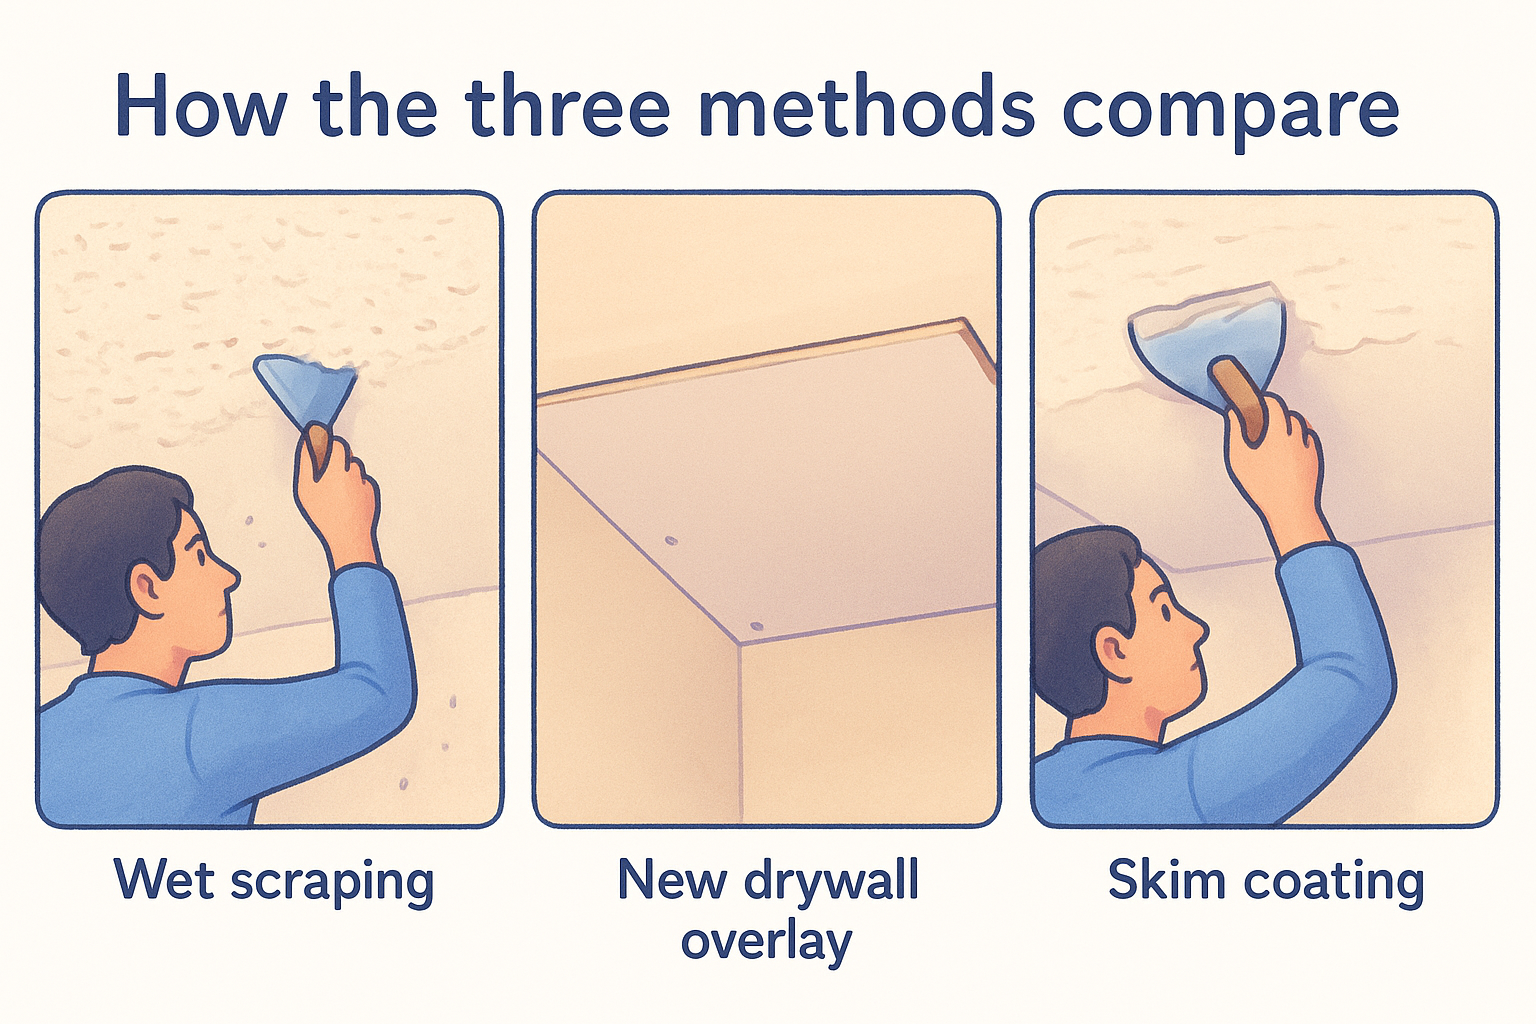
How the three methods compare
Here's a quick reference so you can see how the approaches stack up before you commit to one:
| Method | Removes texture? | Skill level | Mess level | Best for |
|---|---|---|---|---|
| Wet scraping | Yes | Moderate | High | Uncoated texture, good substrate |
| New drywall overlay | No | Moderate | Low | Painted texture, faster finish |
| Skim coating | No (buries it) | High | Medium | Smooth finish without added weight |
| Planks or tiles | No | Low to moderate | Low | Decorative look, rental properties |
No single method is the right answer for every ceiling. Your specific situation , including the age of your home, the condition of the current ceiling, and your comfort with finishing work, determines which one makes the most sense.
Decide: remove, skim coat, or cover
Picking the right method before you start is the most important decision in the entire project. The wrong choice wastes money, creates extra work, and can leave you with a ceiling that looks worse than the popcorn you started with. If you're figuring out how to replace popcorn ceilings, spend ten minutes on this decision and you'll avoid the most common mistakes down the road.
Check what you're actually working with
Your ceiling's current condition narrows the options immediately. Run your hand along the texture and look for any areas where it flakes, crumbles, or feels soft. If the popcorn has never been painted, it will feel gritty and slightly loose under your fingers. If someone has painted over it, you'll feel a harder, more uniform surface. Painted texture dramatically increases scraping difficulty because the paint seals the texture to the substrate and water can't penetrate easily enough to soften it.
Pull out a bright work light and hold it at an angle close to the ceiling surface. Raking light reveals damaged drywall, old water stains, and uneven spots that would become visible problems the moment you remove the texture above them. If you see extensive damage underneath, scraping down to that surface only gives you a bigger repair job to complete before you can paint.
A single coat of paint on your popcorn ceiling can double the time and effort it takes to scrape it clean.
Use this checklist to choose your method
Answer each question honestly before you buy a single tool or material. Your answers will point you toward one method over the others:
- Has the texture been painted at least once? Yes = lean toward covering or skim coating. No = wet scraping is viable.
- Do you see water stains or soft spots? Yes = investigate and repair the source before choosing any method.
- Is your ceiling height already low (under 8 feet)? Yes = avoid a drywall overlay. No = covering is a reasonable option.
- Do you want a completely smooth, flat result? Yes = skim coating or scraping plus finishing. No = planks or tiles work fine.
- Are you comfortable with drywall finishing tools? No = covering with planks or decorative tiles is your safest path forward.
Match the method to your situation
If your texture is uncoated and your substrate is sound, wet scraping is the most direct route and leaves you with the original ceiling to finish. If the texture has been painted at least once, adding a drywall overlay saves time and avoids fighting a sealed surface that won't release cleanly. Skim coating is worth considering only if you have some finishing experience or plan to practice on a small, low-visibility area first. Pick the method that fits your actual skill level, not just the outcome you want.
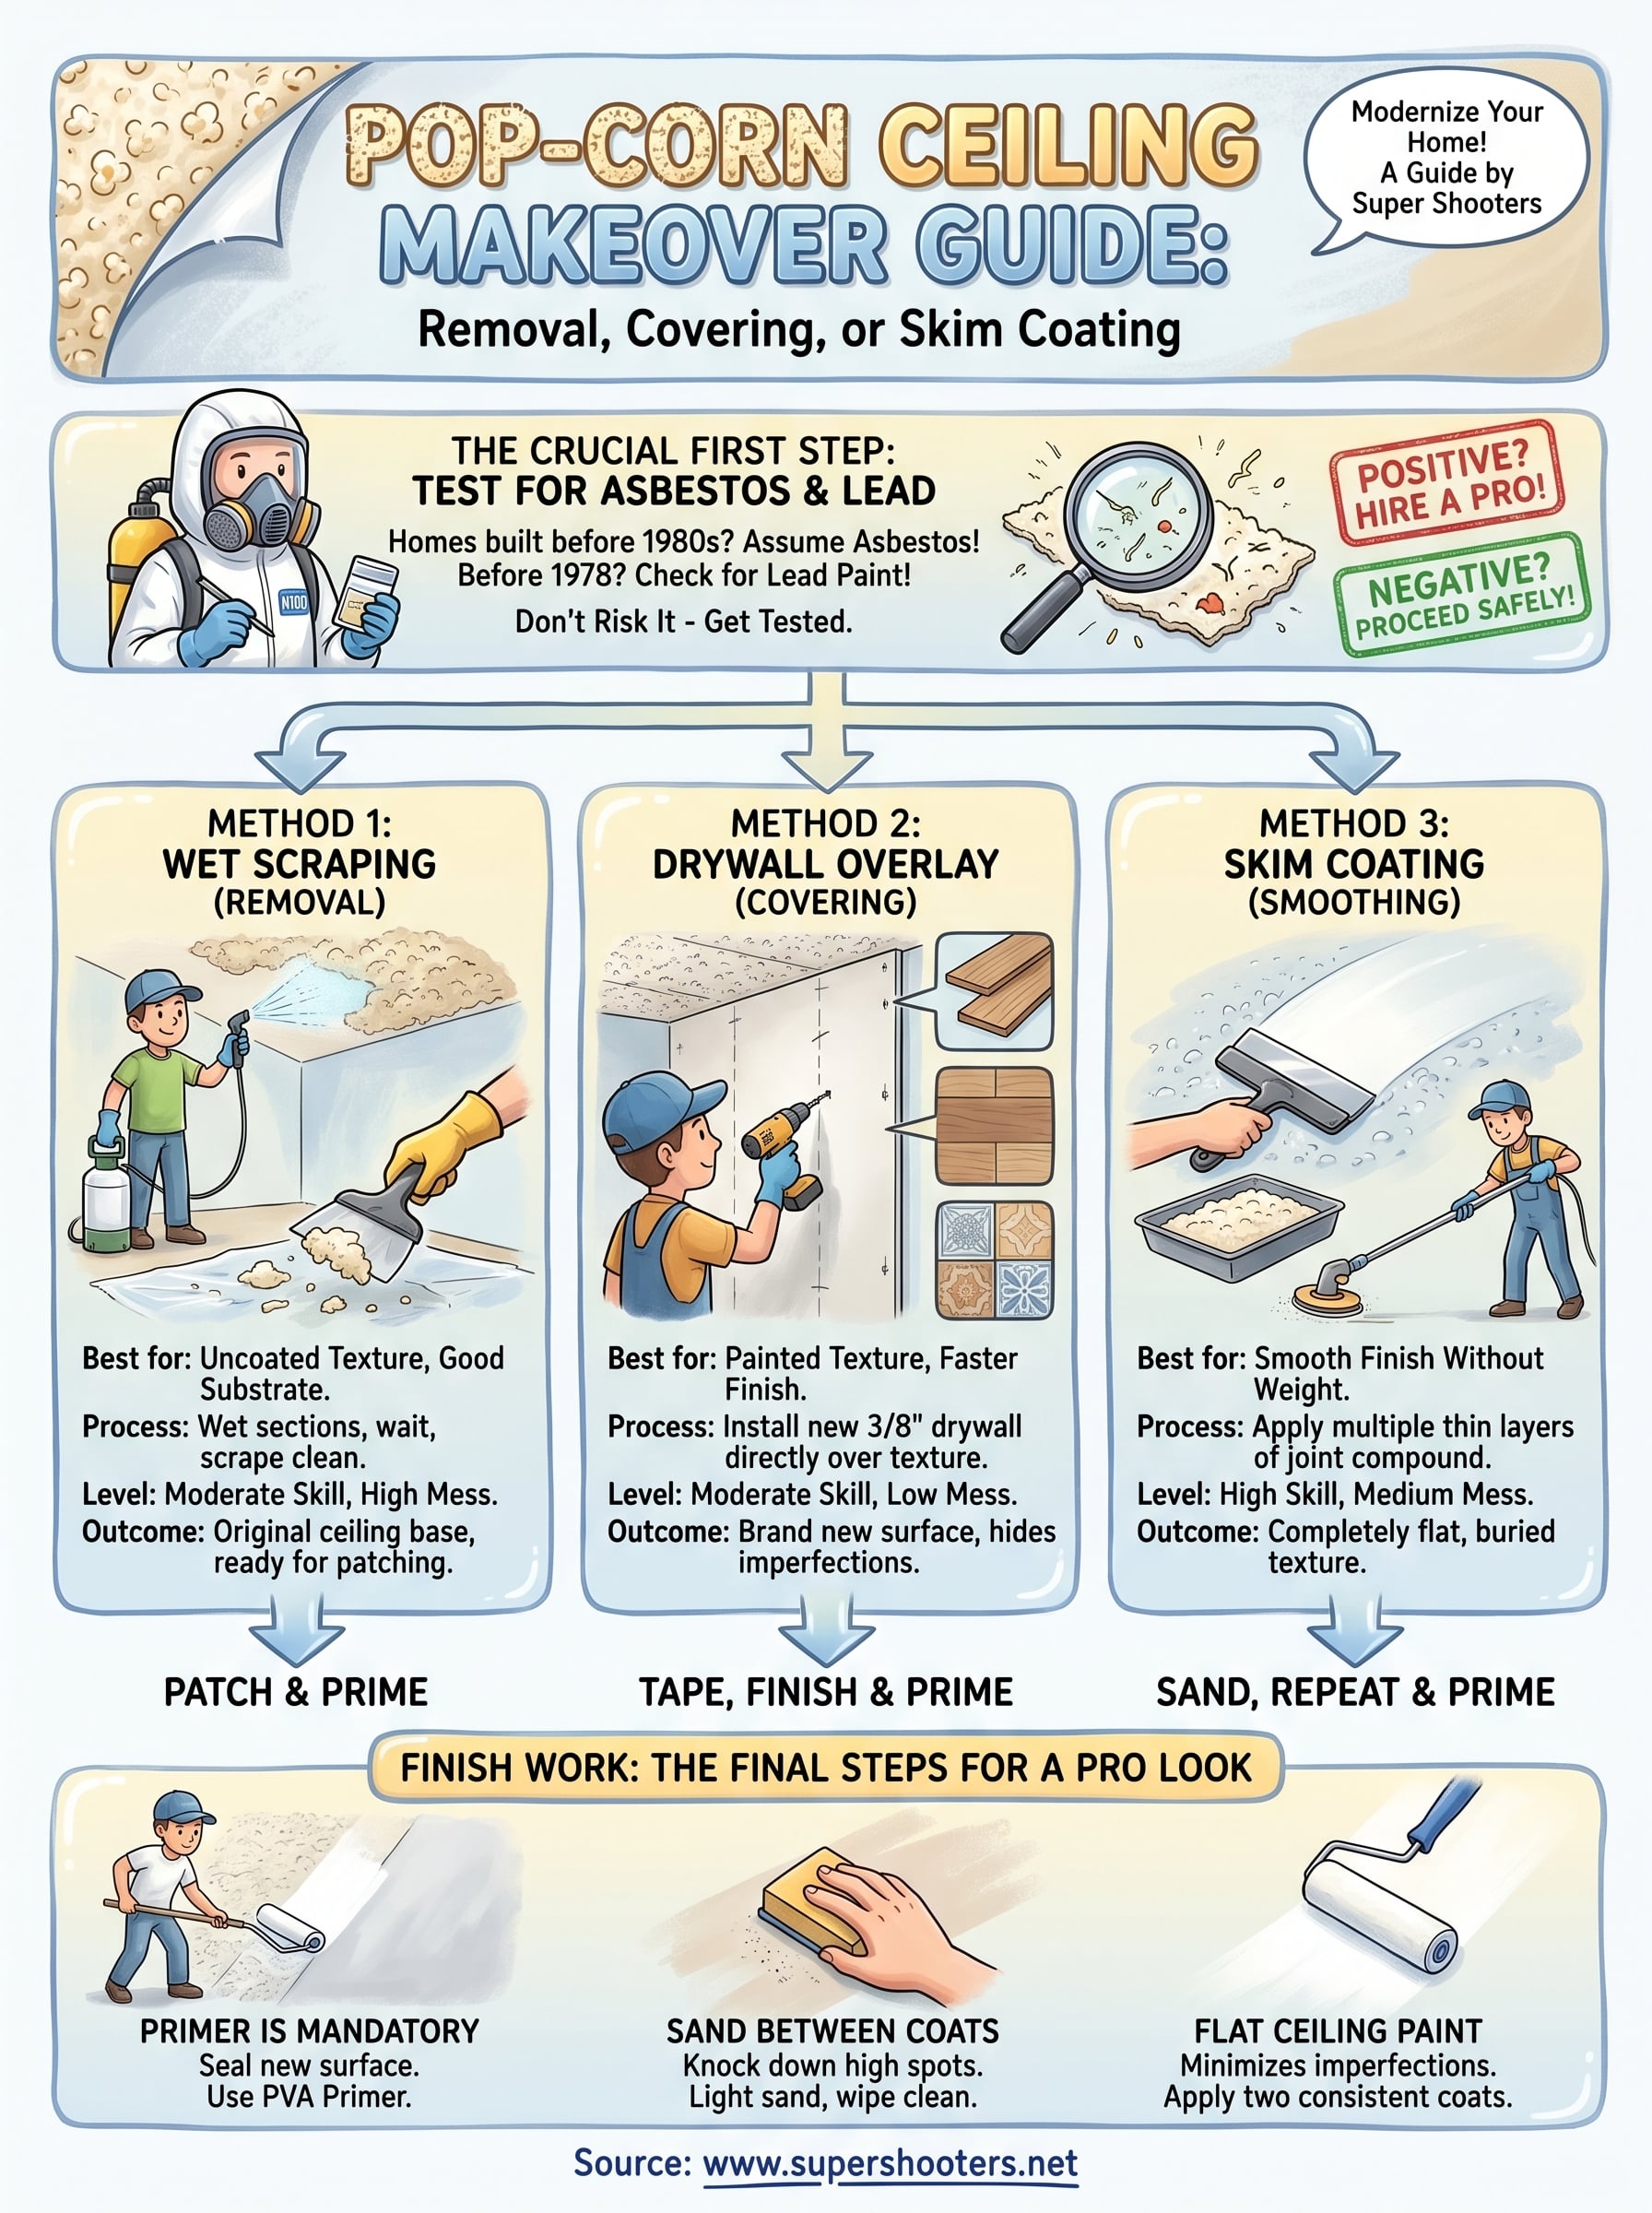
Test for asbestos and lead before you start
Before you start any scraping or cutting, you need to know what's in your ceiling texture. Homes built before 1980 frequently contain asbestos in the popcorn texture, and homes built before 1978 may also have lead-based paint layered on top of that texture . Disturbing either material without proper precautions releases hazardous particles into the air and puts everyone in your household at risk. This step adds a day or two to your timeline, but skipping it is not worth the consequences.
Why this step can't be skipped
Asbestos fibers are microscopic and can't be seen or smelled . You won't know you've disturbed them until a test tells you otherwise. If your home was built before 1980, assume the texture contains asbestos until a certified lab says differently. The Sacramento Valley has a large stock of homes from this era , which means this issue comes up regularly on popcorn ceiling projects. A test kit costs around $30 to $50 and sends your sample to a certified lab, which is cheap compared to the cost of full abatement after the fact.
If your test comes back positive for asbestos, stop the project immediately and contact a licensed abatement contractor before doing anything else.
How to collect a sample
You need to collect a small sample of the ceiling texture and send it to a certified lab for analysis. Here's how to do it safely:
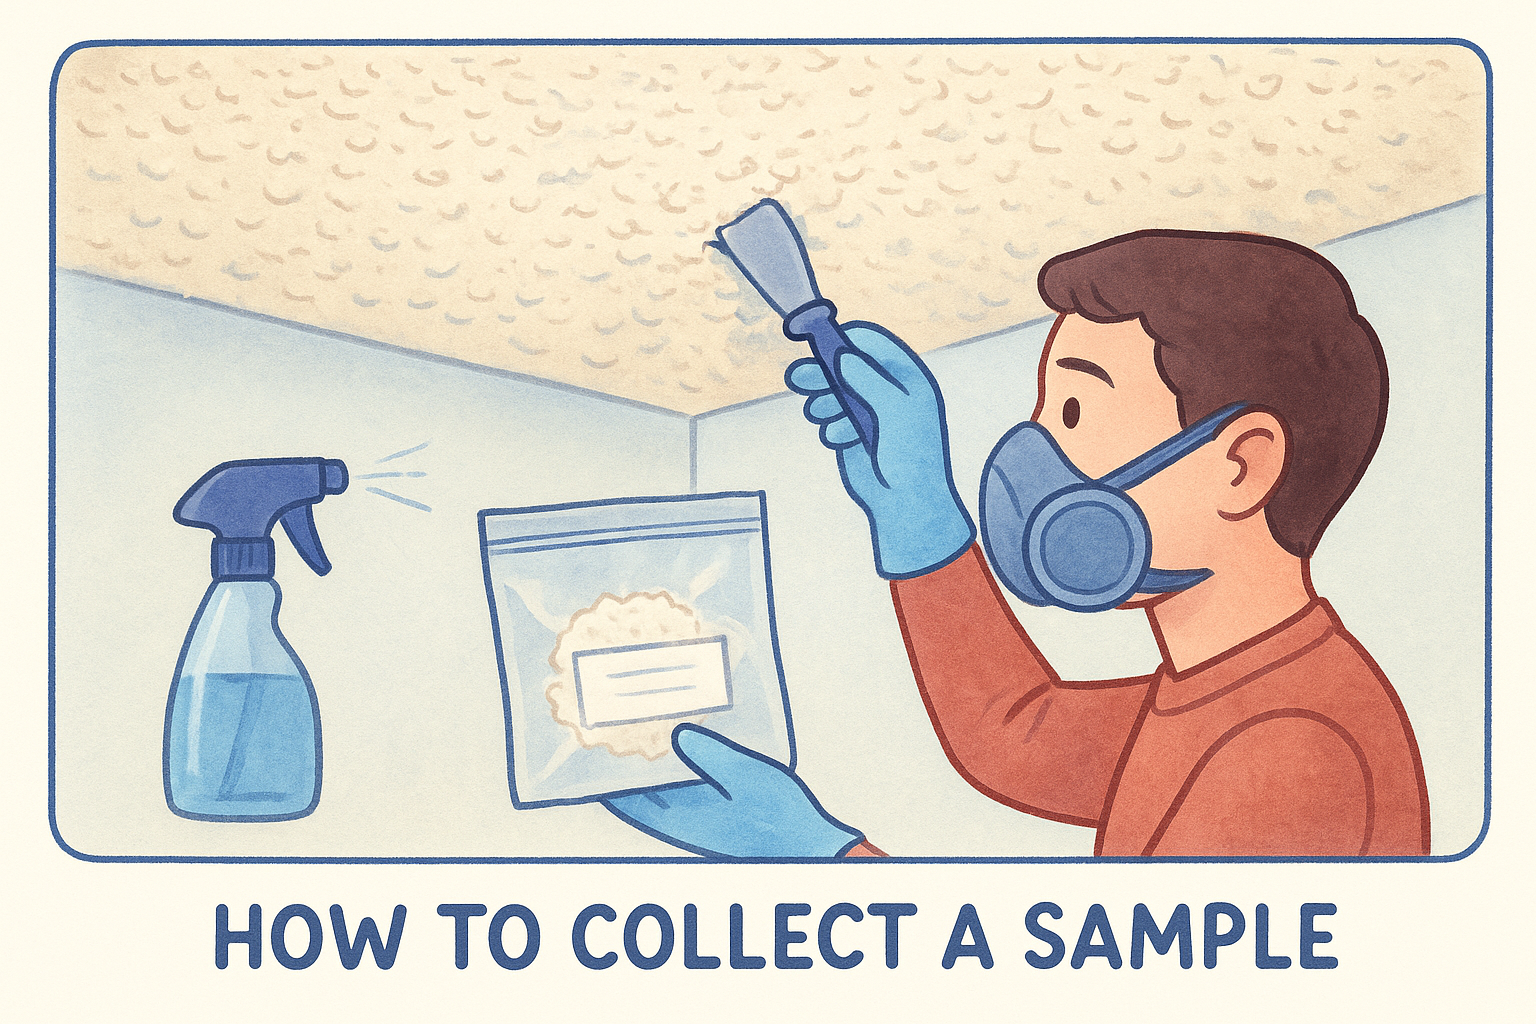
- Put on an N100 respirator and disposable gloves before touching the ceiling.
- Mist the area lightly with water to keep any fibers from becoming airborne.
- Use a clean, stiff knife to collect roughly one tablespoon of texture material from a small, inconspicuous spot.
- Seal the sample in a zip-lock bag immediately and label it with the room location.
- Follow the kit instructions to mail the sample to the included certified lab.
Most labs return results within two to five business days . You can find EPA-accredited labs through the National Lead Laboratory Accreditation Program or your state environmental agency. For asbestos specifically, look for labs certified under the National Voluntary Laboratory Accreditation Program (NVLAP).
What to do with your results
If both tests come back negative, you can move forward with whichever method you chose for how to replace popcorn ceilings. If asbestos is present, you need a licensed abatement contractor to remove or encapsulate the material before any other work happens. If only lead paint is detected, you can often proceed with proper containment using an N100 respirator, a HEPA vacuum, and full plastic sheeting over all floors and furniture to capture dust. Check your local regulations either way, because some jurisdictions require a certified contractor for lead work above a certain threshold.
Plan the job: tools, materials, and prep
Good planning separates a clean project from one that drags on for days. Whether you're scraping, skim coating, or covering, having the right tools and materials on hand before you start will save you significant time. Before you start figuring out how to replace popcorn ceilings in your specific room, walk through this checklist so you're not making three trips to the hardware store mid-project.
Rushing the prep stage is the most common reason DIY ceiling projects take twice as long as expected.
Tools for the job
Your tool list changes slightly based on the method you chose, but several items are non-negotiable regardless of your approach. At minimum, you need a 6-inch and 10-inch drywall knife , a pump garden sprayer for wetting the texture, a HEPA shop vacuum, and a sturdy stepladder or scaffold plank across two ladders. For skim coating, add a 12-inch finishing knife and a mud pan. For drywall overlay work, add a screw gun and a T-square.
Here's a method-by-method breakdown:
| Tool | Wet Scraping | Skim Coating | Drywall Overlay |
|---|---|---|---|
| 6-inch drywall knife | Required | Required | Optional |
| 10-inch drywall knife | Required | Required | Not needed |
| 12-inch finishing knife | Optional | Required | Not needed |
| Pump garden sprayer | Required | Not needed | Not needed |
| Screw gun | Not needed | Not needed | Required |
| HEPA shop vacuum | Required | Required | Required |
| Mud pan | Optional | Required | Required |
Materials and quantities
Before you buy anything, measure your room's square footage (length times width) so you know exactly how much material to purchase. For skim coating, plan on at least two 4.5-gallon buckets of pre-mixed all-purpose joint compound per 200 square feet of ceiling on your first attempt, since beginners use more compound than experienced finishers. For a drywall overlay, you need 3/8-inch drywall sheets, drywall screws rated for ceiling work, joint tape, and compound for the seams.
Prep the room properly
Remove all furniture, or push it to the center and cover it with plastic sheeting. Tape 4-mil plastic sheeting to the floor at the base of every wall and run it up the wall about 12 inches before securing it. Turn off the HVAC system and seal any vents with tape and plastic to keep dust out of your ductwork. Cap or cover every light fixture and ceiling fan by turning off the circuit breaker for that room and removing the fixture canopy so you have clear, unobstructed access to the entire ceiling surface.
Remove popcorn by wet scraping
Wet scraping is the most direct method for how to replace popcorn ceilings when the texture has never been painted. The concept is simple: you saturate the texture with water , let it soften for a few minutes, and then push it off the ceiling with a wide, flexible blade. In practice, the difference between a clean scrape and a gouged, torn-up substrate comes down to how well you manage the moisture and how much pressure you apply to the knife.
Getting the moisture level right is the single most important variable in the entire scraping process.
Wet the ceiling in sections
Work in manageable sections of about four to six square feet at a time rather than wetting the entire ceiling at once. If you over-wet a large area, the compound soaks through to the drywall paper facing below, softens the facing itself, and gives you a damaged substrate to patch later. Use a pump garden sprayer set to a fine mist , and apply two or three light passes over each section before you start scraping.
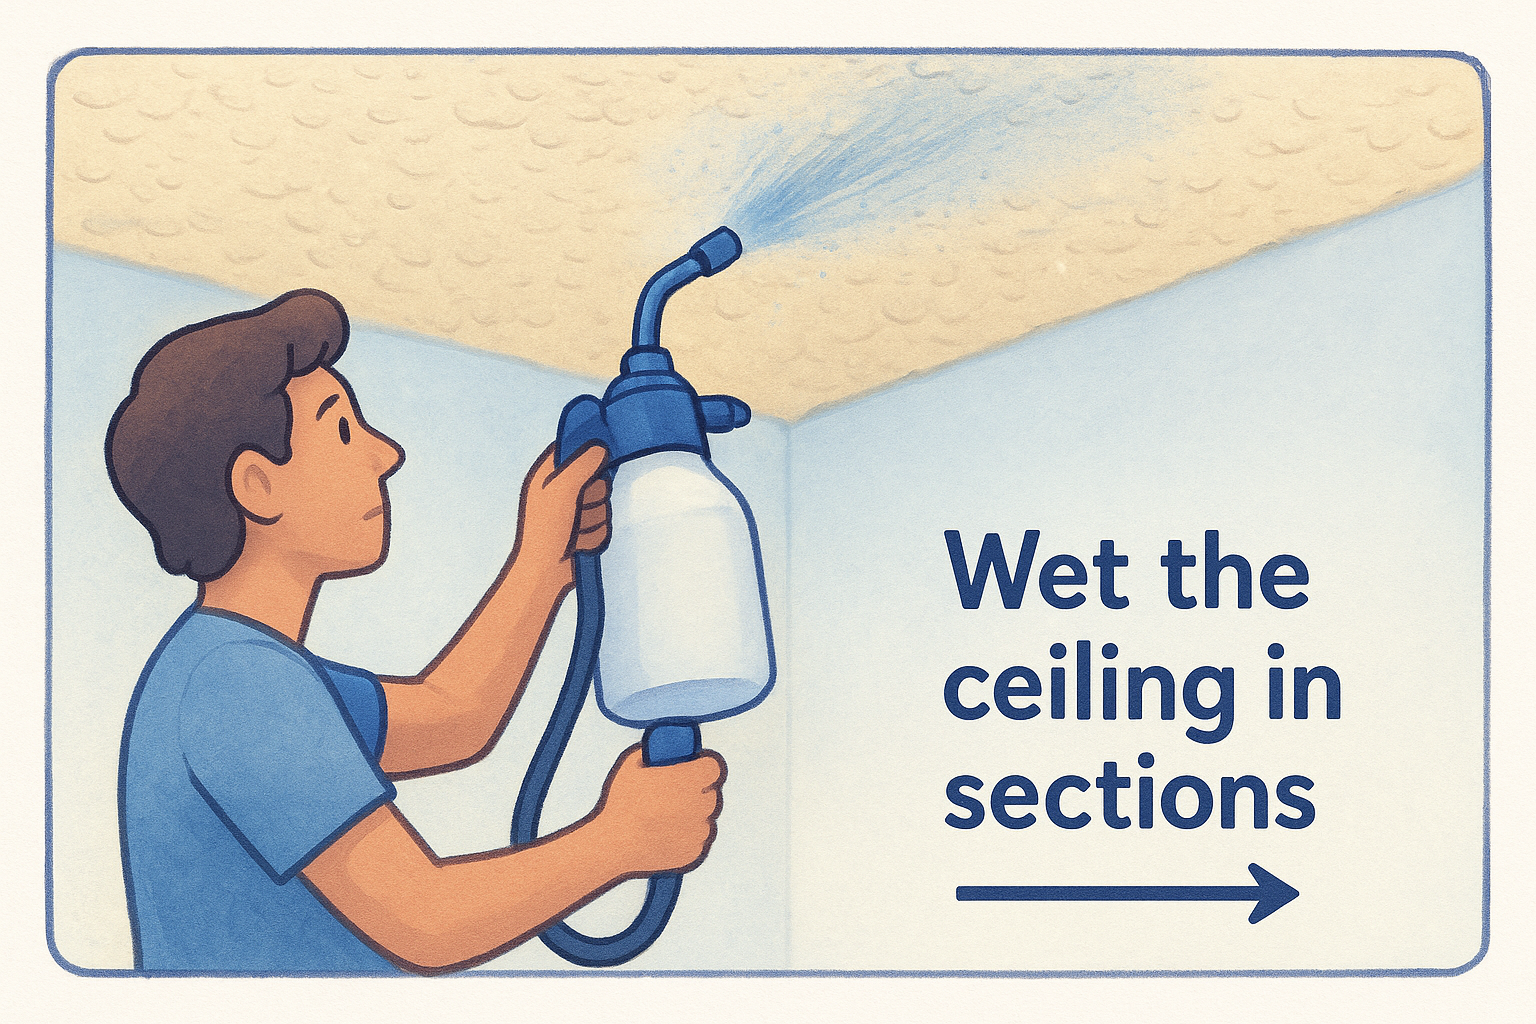
Wait two to three minutes after misting before you touch the blade to the surface. You want the texture to feel soft and slightly pasty under your finger, not wet to the point of dripping. Here's the basic sequence to follow for each section:
- Mist the section lightly with two to three passes of the sprayer.
- Wait two minutes, then press gently on the texture with one finger.
- If it feels soft and gives slightly, start scraping. If it still feels firm, mist once more and wait another minute.
- Hold your 6-inch or 10-inch knife at a low angle, roughly 20 to 30 degrees , and push forward with light, consistent pressure.
- Let the blade glide rather than dig. If you feel resistance, stop and add more water.
- Drop the scraped material directly onto plastic sheeting on the floor and keep the work area clear.
Scrape and clean up as you go
Once you've scraped a section clean , inspect the substrate immediately under your work light before moving on. Look for any torn paper facing, which shows up as a fuzzy or shredded texture on the drywall surface. Mark those spots with a pencil so you know where to apply setting-type compound later during your finishing work.
Keep a damp cloth or sponge nearby to wipe your blade after each pass. Dried compound builds up on the edge quickly and makes the blade drag rather than glide. A clean blade produces a much smoother scrape and reduces the chance of catching and tearing the paper facing below the texture.
Smooth the ceiling with skim coating
Skim coating is the method you use when you want a completely flat ceiling without adding weight or height to the room. Instead of removing the texture or covering it with a new layer of drywall, you bury the peaks and valleys under thin, successive coats of joint compound until the surface reads as flat under any lighting condition. This is one of the more demanding approaches to how to replace popcorn ceilings, but the finished result is hard to beat.
Skim coating rewards patience more than raw skill. Rushing the drying time between coats is the fastest way to crack your finish.
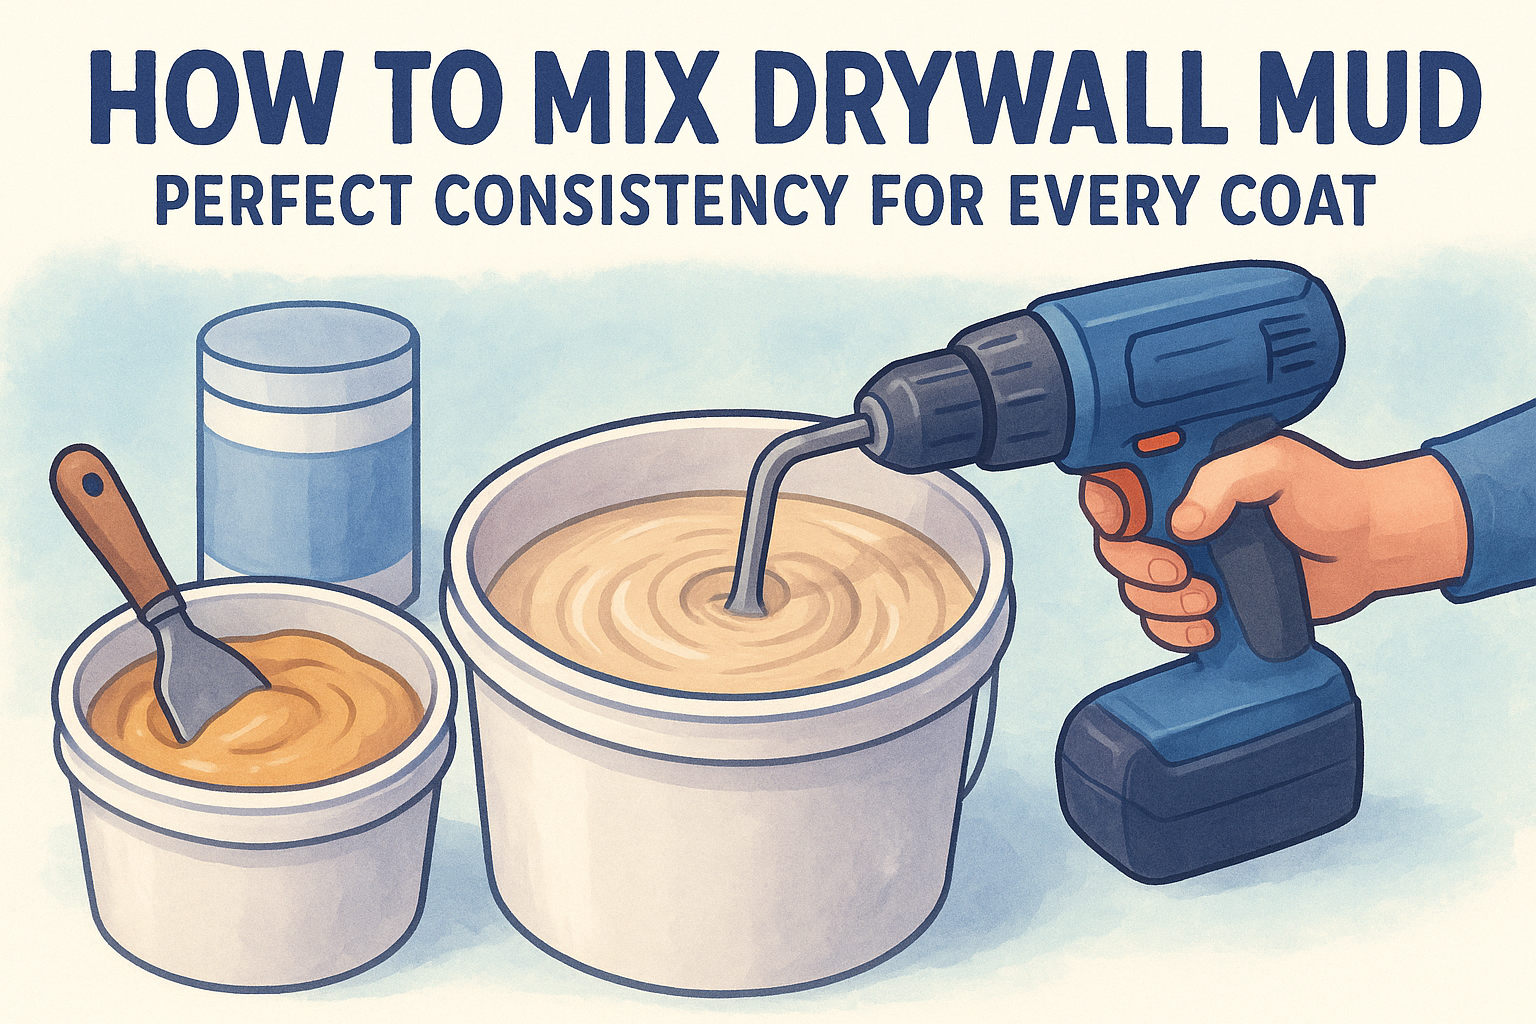
Mix your compound to the right consistency
Your joint compound needs to be thin enough to spread easily but thick enough to stay on the ceiling without sagging. Pre-mixed all-purpose compound straight from the bucket is usually too stiff for a first skim coat. Add water in small amounts and mix thoroughly until the compound reaches the consistency of thick yogurt or sour cream . If it slides off your knife without holding its shape, it's too thin. Add small amounts of dry compound to correct it.
Use a clean five-gallon bucket and a paddle mixer attached to a drill to blend your compound without trapping air bubbles. Air bubbles show up as small craters after the compound dries, which means extra sanding and another coat to fill them.
Apply the first coat
Load your 12-inch finishing knife with a generous amount of compound from your mud pan. Press the blade flat against the ceiling at a low angle and pull it toward you with firm, even pressure. Your goal on the first coat is to fill in the low spots between the texture peaks rather than to achieve a perfectly flat surface right away. Don't try to smooth everything out on pass one. Cover the section completely, then move to the next.
Work in four-foot sections and overlap each pass slightly to avoid ridges at the edges of your strokes.
Sand, repeat, and finish
Once the first coat dries completely, which typically takes four to six hours depending on humidity , sand lightly with 120-grit sandpaper on a pole sander. You're knocking down high spots, not removing the coat. Wipe the dust with a barely damp cloth and apply a second coat in the opposite direction from your first passes. Most ceilings need two to three coats before the surface is genuinely flat.
After your final coat dries and you've done a light finish sand with 150-grit paper , prime the ceiling before painting. New compound is porous and will absorb paint unevenly without a sealer primer coat underneath.
Cover popcorn with new drywall
Adding a layer of new drywall over your existing texture is one of the most reliable methods for how to replace popcorn ceilings , especially when the texture has been painted multiple times and would tear up the substrate if scraped. You install 3/8-inch drywall panels directly over the popcorn surface, screw them into the ceiling joists, and finish the seams just like any standard drywall installation. The texture stays buried underneath, and you get a brand new surface to work with.
This method adds roughly 3/8 of an inch to your ceiling height, so check your light fixture junction boxes and ceiling fan brackets before you start. Most boxes need extension rings to bring them flush with the new surface.
Locate your joists and mark the layout
Before you bring a single sheet of drywall into the room, find every ceiling joist and mark its location on the wall just below the ceiling line. Use a stud finder and mark the center of each joist with a pencil line running from wall to wall. Standard joist spacing is 16 inches or 24 inches on center , but older homes sometimes vary, so measure between each one rather than assuming. Your drywall screws need to land in solid framing, not between joists.
Lay out your sheets so that the long edges run perpendicular to the joists and the end joints fall on joist centers. Stagger the end joints between rows by at least 48 inches so no two seams line up across the ceiling.
Attach the drywall panels
This step goes much faster with two people. One person holds the panel tight against the ceiling while the other drives screws, or you can rent a drywall lift to hold panels in position while you work solo.
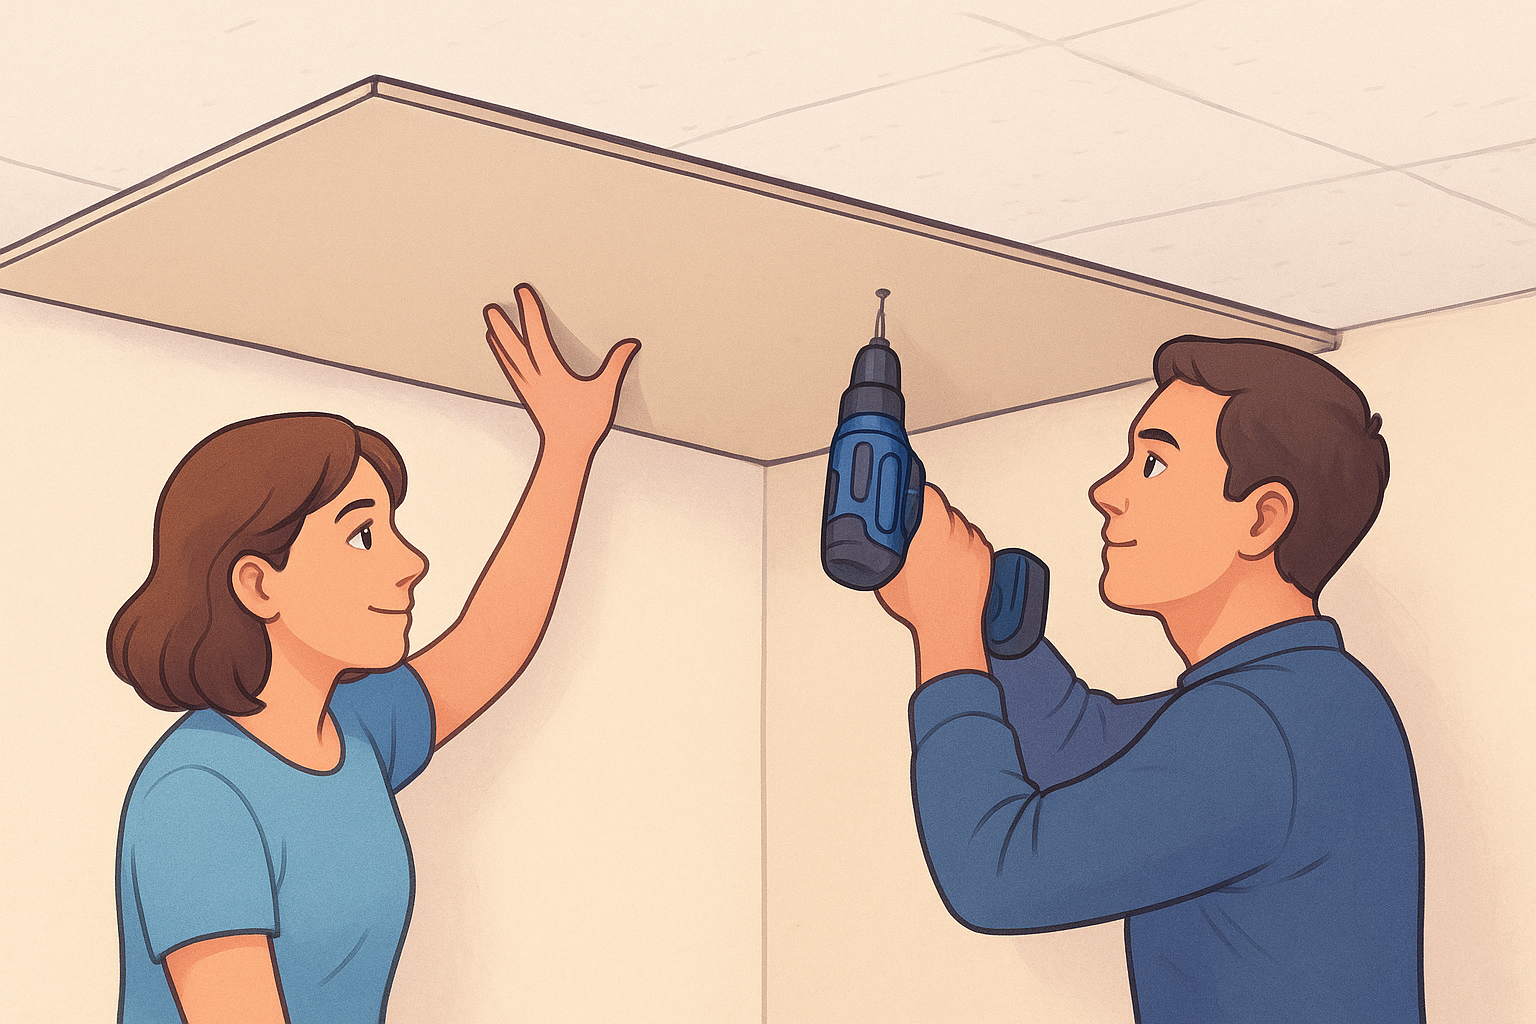
Follow this sequence for each panel:
- Position the sheet against the ceiling with the factory tapered edges facing down toward the room.
- Drive a 1-5/8-inch coarse-thread drywall screw every 12 inches along each joist the panel crosses.
- Set each screw slightly below the surface without breaking the paper facing. A dimple, not a hole.
- Keep screws at least 3/8 inch from the panel edge to prevent crumbling.
Tape, finish, and prime the seams
Once all panels are up, apply paper tape and three coats of all-purpose joint compound over every seam and screw dimple, following the same process you would on a wall. Feather the compound out 8 to 10 inches on each side of the seam so the transition disappears under paint. Sand lightly between coats with 120-grit paper, then finish with 150-grit before you prime. Apply a PVA drywall primer before painting to seal the new surface evenly and prevent paint from absorbing into the compound at different rates.
Other ways to cover without removal
New drywall is not your only option when you want to hide existing texture. If you want a different aesthetic or want to skip the seam-finishing work entirely, wood planks, decorative tiles, and drop ceiling systems each give you a way to hide the popcorn without any scraping. These options work especially well when you're figuring out how to replace popcorn ceilings in a room where adding a full drywall layer feels like too much work or too much added weight.
Tongue-and-groove wood planks
Wood planks attach directly to your existing ceiling joists through the popcorn texture without requiring any prep to the texture itself. Most planks are 1/4-inch to 3/8-inch thick and come in tongue-and-groove profiles that interlock side by side. Fasten each plank with finish nails driven at an angle into the tongue edge , which hides the fastener under the next plank. The result is a clean, continuous surface with no visible nail holes to fill.
Measure your ceiling carefully before ordering planks, since most come in fixed lengths and you want to minimize waste and avoid short, awkward cuts at one end of the room.
For a standard 12-by-12-foot ceiling, plan on purchasing 10 to 15 percent more material than your square footage to account for end cuts and any planks with defects. Install a starter strip along one wall , align the groove edge against it, and work row by row toward the opposite wall.
Glue-up decorative ceiling tiles
Decorative ceiling tiles made from polystyrene or PVC glue directly onto the existing texture using standard construction adhesive. These tiles come in 2-foot-by-2-foot squares and are available in dozens of patterns, from simple geometric designs to pressed-tin reproductions. They require almost no tools beyond a utility knife, a straight edge, and a caulking gun , which makes this one of the lowest-barrier options on this list.
Find the center of your ceiling by snapping chalk lines from the midpoints of opposite walls. Start your first tile at the center intersection and work outward toward the walls so any cut tiles at the perimeter stay equal in size on all sides. Press each tile firmly for about 30 seconds to let the adhesive grip before moving to the next one.
Drop ceiling grid systems
Drop ceiling systems suspend a metal grid from your existing joists using wire hangers, and ceiling tiles rest inside the grid without any adhesive. This approach works well in basements or utility spaces where you also need access to pipes or wiring above the ceiling.
Standard grid systems use 2-foot-by-4-foot or 2-foot-by-2-foot tiles , and the installation hardware is widely available at home improvement stores. The main tradeoff is ceiling height: a drop ceiling typically lowers your finished surface by 3 to 4 inches , so measure your current ceiling height before committing to this method in any room where headroom is already tight.
Finish work and common troubleshooting
Once your ceiling surface is ready, whether you scraped, skim coated, or covered it, the finish work determines how good the final result actually looks . This stage is where most DIYers rush and end up with a ceiling that shows problems under certain lighting. Take your time through these final steps and you'll get a result worth the effort you put into learning how to replace popcorn ceilings.
Prime and paint the finished ceiling
Priming is not optional , no matter which method you used. New joint compound, fresh drywall, and skim coat surfaces are all highly porous and will absorb paint unevenly if you skip this step. Use a PVA primer or a high-build drywall primer and apply it with a 3/4-inch nap roller for textured surfaces or a 3/8-inch nap roller for smooth ones. Let the primer dry fully before you evaluate the surface under raking light.
Check the primed ceiling with a work light held at a low angle before you open a single can of paint. The primer coat reveals surface imperfections that bare joint compound hides completely.
After the primer dries, look for any ridges, craters, or areas where the surface still looks uneven. Sand those spots lightly with 150-grit paper , apply a thin skim of compound, let it dry, sand again, and re-prime those areas before painting. Finish with a flat ceiling paint to minimize the appearance of any minor surface variation. Two coats applied with a 3/8-inch or 1/2-inch nap roller will give you consistent, even coverage across the entire surface.
Fix common problems before they become permanent
Catching problems while your compound is still workable saves you from extensive sanding and patching later. Here are the most frequent issues and the direct fix for each:
| Problem | Likely cause | Fix |
|---|---|---|
| Bubbles or craters in dried compound | Air trapped during mixing | Sand flat, apply a thin fill coat |
| Torn drywall paper after scraping | Too much water or blade pressure | Apply setting compound, sand smooth |
| Visible seams through paint | Insufficient feathering at edges | Sand edges, apply a wider finish coat |
| Compound cracking after drying | Coat applied too thick at once | Sand out cracks, apply two thinner coats |
| Uneven paint sheen across ceiling | Missed or thin primer coat | Sand lightly, re-prime, repaint |
Torn paper facing on your substrate is the most urgent problem to address before any finish coats go on. Apply a thin layer of setting-type compound (not pre-mixed all-purpose) directly over the torn area, let it harden completely, sand it smooth, and then apply PVA primer over that spot before any additional compound or paint touches the surface. Skipping the spot primer on a repaired tear will almost always show up as a dull patch through your final paint coat.
Next steps for your ceiling makeover
You now have everything you need to tackle how to replace popcorn ceilings, from testing for asbestos to applying your final paint coat. Choose your method based on your ceiling's actual condition , not just what sounds easiest. If the texture has never been painted, wet scraping is your most direct route . If paint has sealed the texture to the substrate, a drywall overlay or a covering option will save you significant time and frustration.
Some ceiling projects are genuinely manageable as DIY work. Others involve asbestos, extensive water damage, or finishing skills that take real practice to develop. If your asbestos test comes back positive , or your ceiling has underlying structural damage, bring in a licensed professional rather than pushing through a job that could become a costly mistake.
Sacramento Valley homeowners can schedule a free in-home estimate with no upfront payment required by contacting Super Shooters Acoustic Removal & Drywall directly.
Recent Posts