Share this article

August 6, 2026

How to Remove a Stucco Ceiling: Step-by-Step DIY Guide

That bumpy, dated ceiling texture has to go, and you're wondering if you can pull it off yourself over a weekend. Learning how to remove a stucco ceiling isn't complicated in theory, but it's messy, physical work that gets a lot harder if your home was built before 1980, when many of these textures contained asbestos. Before you grab a scraper, you need to know what you're actually dealing with.

This guide walks you through the real process: testing your ceiling first, gathering the right tools, wetting and scraping the texture safely, and patching the ceiling afterward so it's ready for paint. We'll also cover realistic costs for doing it yourself versus hiring it out, and the situations where DIY removal stops making sense.

We've spent over 30 years pulling down acoustic and stucco ceilings across Sacramento Valley homes, so we've seen every shortcut that backfires and every corner that shouldn't get cut. If your ceiling tests positive for asbestos, or the job turns out bigger than you bargained for, that's exactly where professional removal and a free in-home estimate save you time, mess, and risk.

Before you start: safety checks and prep

Removing a popcorn ceiling texture yourself starts long before you touch a scraper. This is demolition work happening directly over your head, in a room you probably still use every day, so the prep matters as much as the technique. Rushing this stage is how homeowners end up with asbestos dust settled into their carpets or a collapsed section of ceiling they weren't ready for.

Know your home's build date

Check your property records or ask your county assessor's office for the year your house was built. If construction happened before 1980, treat the ceiling as a potential asbestos hazard until testing proves otherwise. The EPA's guidance on asbestos in the home confirms that acoustic and stucco ceiling textures were commonly manufactured with asbestos fibers well into the late 1970s, and disturbing them without testing puts your household at real risk.

Never scrape a textured ceiling in a pre-1980 home without testing it first.

Clear out and seal off the room

Empty the room as much as you can. Furniture, rugs, and electronics don't belong anywhere near wet plaster debris. For anything too heavy to move, cover it completely with plastic sheeting and tape the edges down.

  • Remove or cover all furniture and floor coverings
  • Turn off HVAC vents in the room and seal them with plastic and tape
  • Cover doorways with plastic sheeting to stop dust from spreading to the rest of the house
  • Shut off ceiling fixtures at the breaker, not just the switch
  • Lay down heavy-duty plastic drop cloths across the entire floor

Check the ceiling itself

Walk the room and look up carefully. Water stains, sagging spots, or visible cracks in the drywall or plaster substrate underneath the texture are warning signs. A ceiling with existing water damage can crumble in sheets once you start scraping, which turns a simple texture job into a full ceiling replacement. If you spot heavy staining or soft spots when you press gently on the surface, stop and get a professional opinion before proceeding, since that damage often points to a leak that needs fixing first anyway.

Step 1. Test for asbestos and lead paint

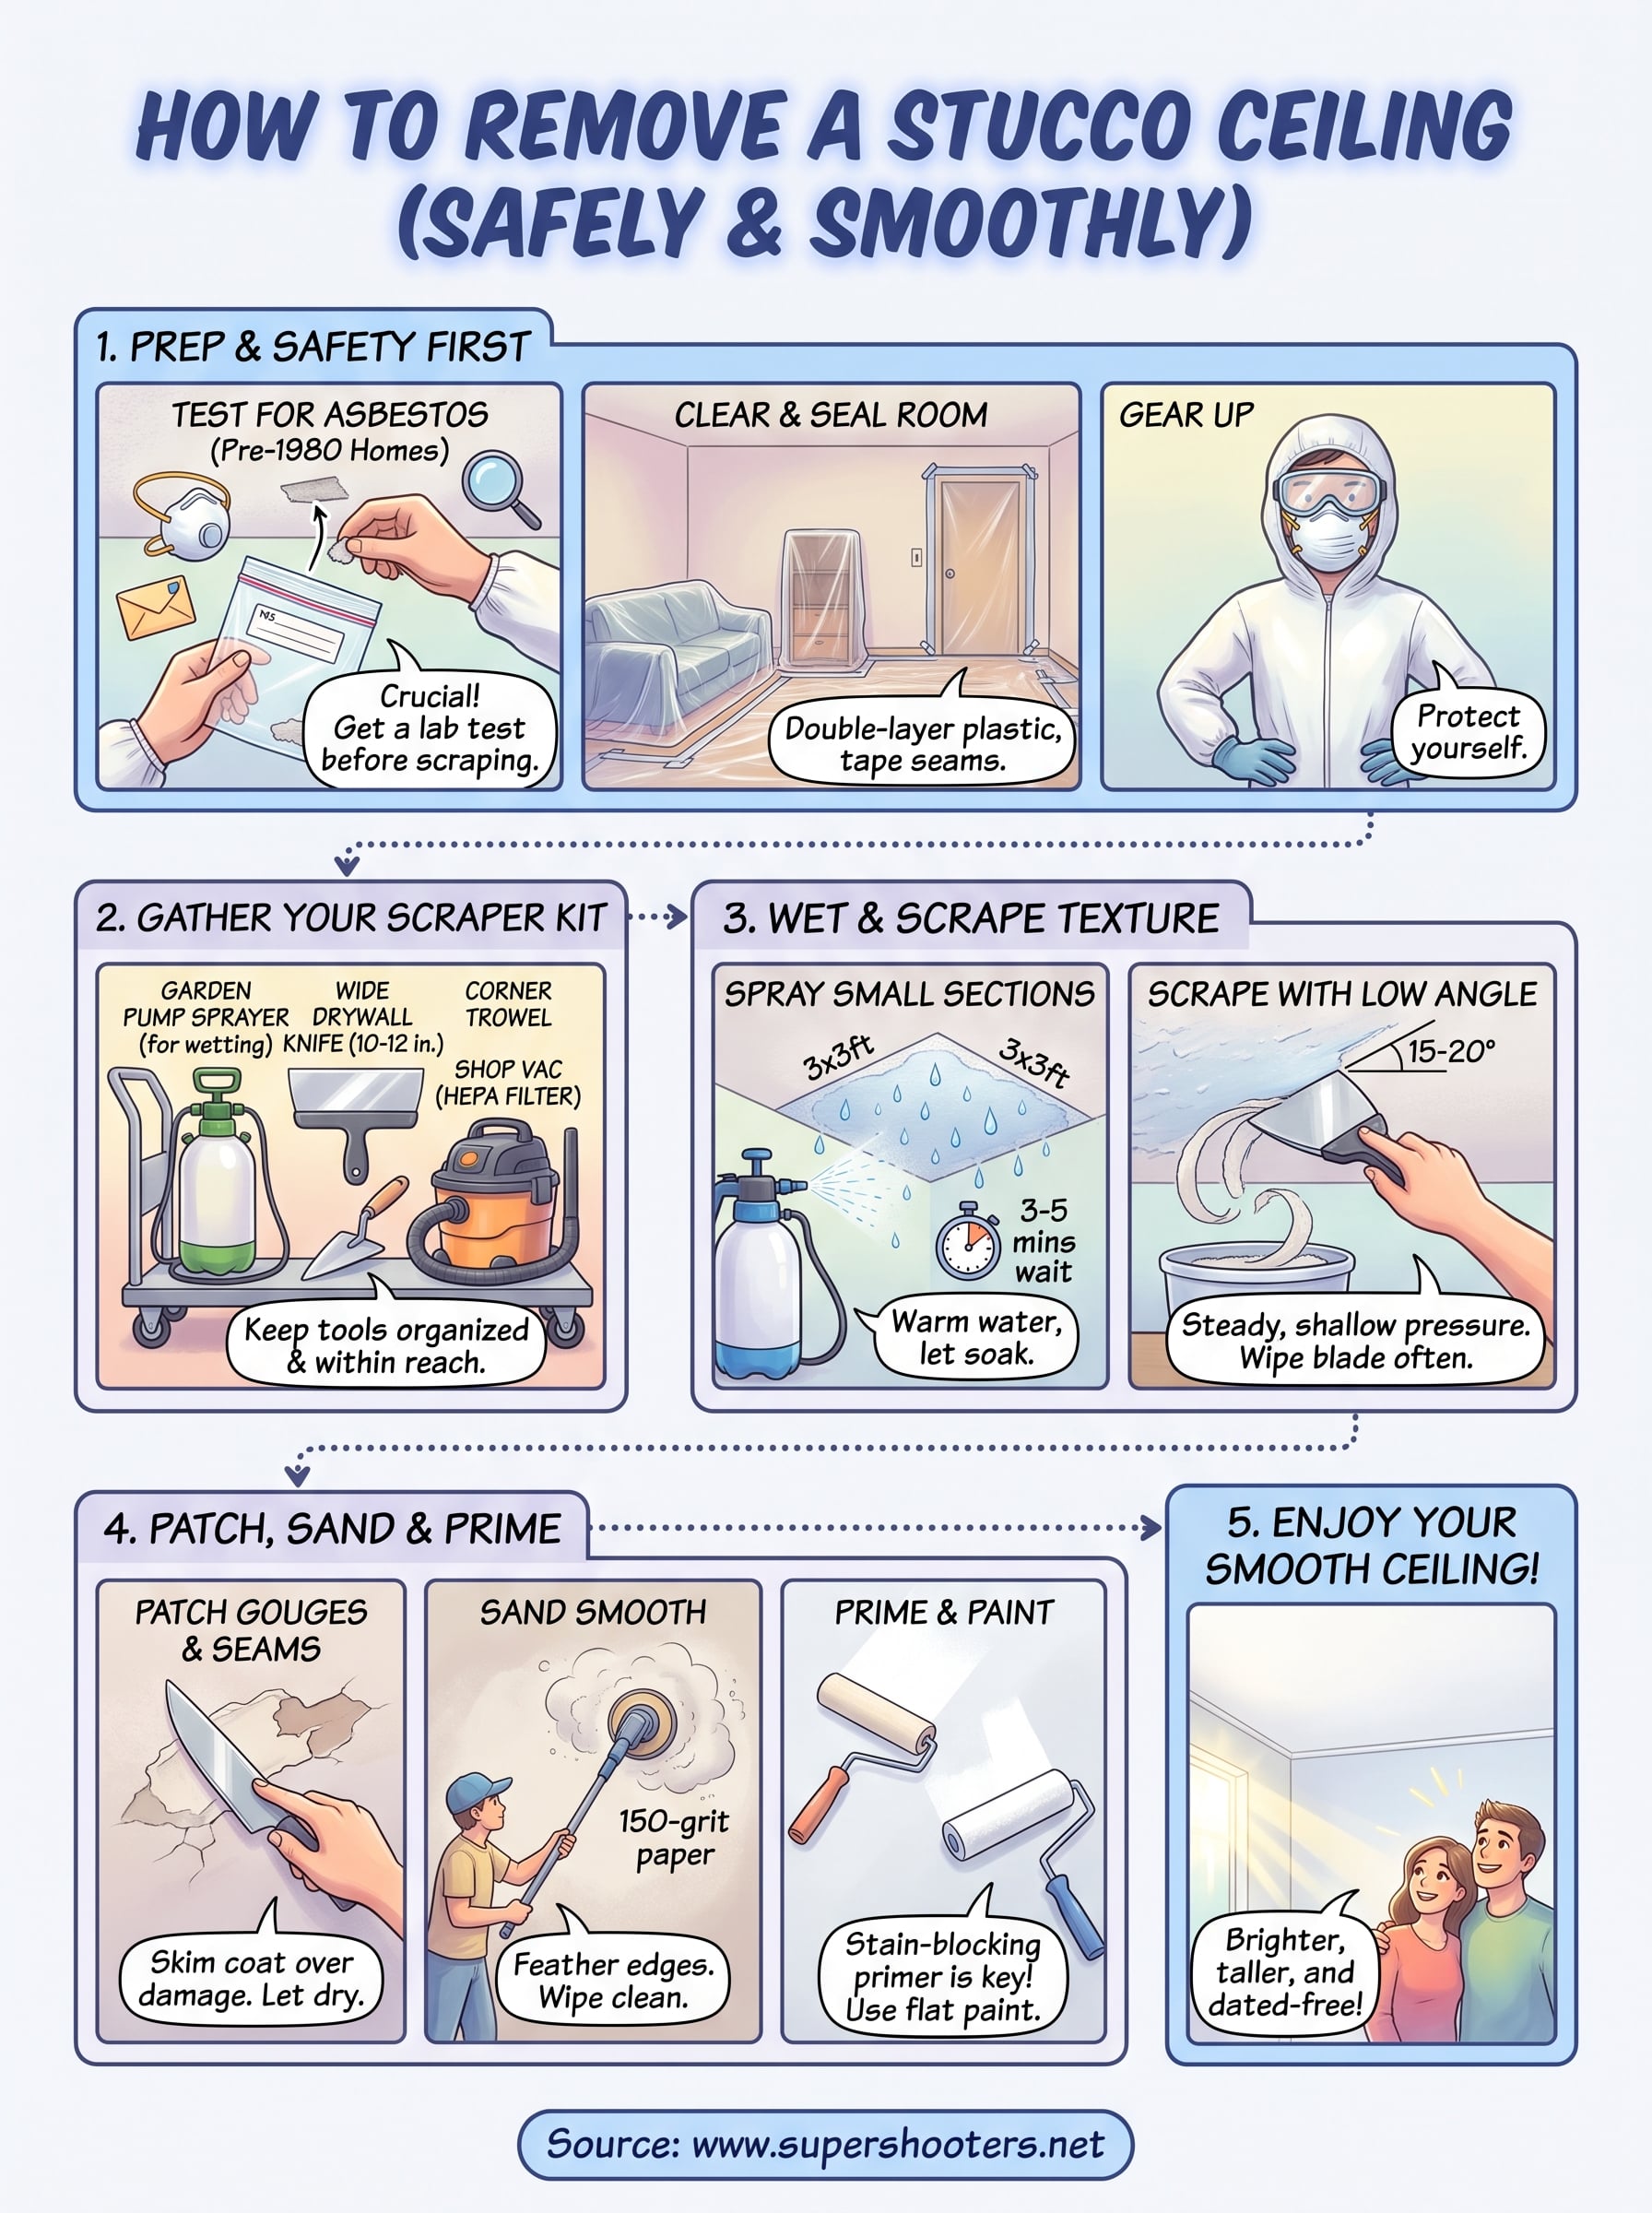
Before you do anything else, confirm what's actually in that texture. Asbestos testing is the one step you can't skip if your home predates 1980, and it's cheap insurance against a serious health hazard. A home lab test kit runs $30 to $60 and gives you answers within a week, which is far less than the cost of a medical scare or an emergency abatement bill.

Collect a sample the right way

Wear an N95 respirator and safety glasses before touching the ceiling. Lightly mist a small section with water to keep dust down, then use a utility knife to cut a quarter-sized sample that includes texture and the layer underneath it.

  • Mist the sample spot with water first
  • Cut a small, full-depth sample into a sealable plastic bag
  • Label the bag with the room and date
  • Mail it to an accredited lab (check the EPA's list of certified asbestos labs)
  • Wait for results before doing any further scraping

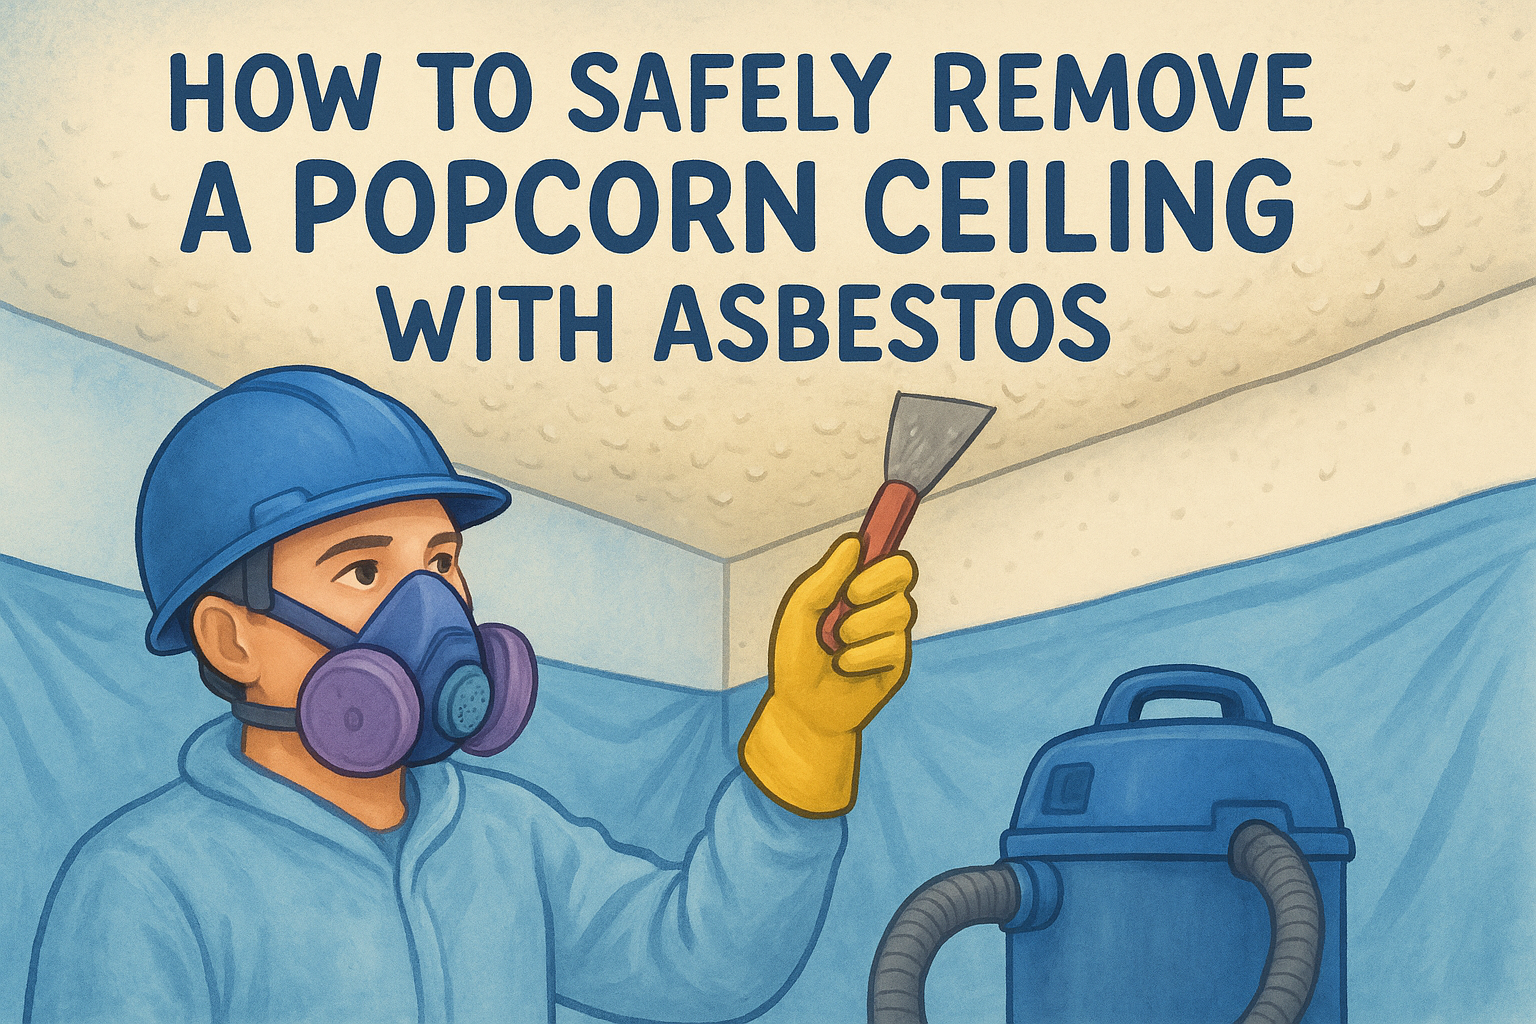
If your ceiling tests positive for asbestos, stop the DIY project immediately and call a licensed abatement contractor.

Don't forget lead paint

If your home was built before 1978, the paint layered over that textured ceiling may contain lead. The EPA's renovation guidance explains how sanding or scraping lead paint releases toxic dust, so test the paint alongside the texture itself using a similar swab or lab-sample approach before you move forward.

Step 2. Protect the room and gather your tools

Gathering the right gear before you climb a ladder saves you two or three trips to the hardware store mid-project, and it keeps the mess contained to one room instead of your whole house. Think of this step as building a containment zone rather than just covering furniture, since wet plaster debris travels farther than you'd expect once you start scraping overhead.

Build a dust barrier that actually holds

Double up your plastic sheeting on the floor, taping seams so water can't seep through to the subfloor underneath. Staple or tape a second layer of plastic over doorways, leaving one flap you can duck through without letting debris drift into hallways.

  • 6-mil plastic sheeting for floors and doorways
  • Painter's tape rated for delicate surfaces
  • A sturdy step ladder or scaffold plank for tall ceilings
  • N95 or P100 respirator, safety goggles, and disposable coveralls

A contained room is what turns a messy job into a manageable one.

Assemble your scraper kit

Having every tool within reach before you wet the first section of ceiling keeps you from tracking plaster dust across the house looking for a missing sprayer.

Tool Purpose Typical Cost
Garden pump sprayer Wets texture before scraping $15-$25
Wide drywall knife (10-12 in.) Scrapes softened texture $10-$20
Corner trowel Reaches edges and corners $8-$15
Shop vac with HEPA filter Cleanup of settled dust $80-$150

Keeping this ceiling texture removal kit organized on a rolling cart means you're not climbing down every few minutes to grab another tool.

Step 3. Wet and scrape the stucco texture

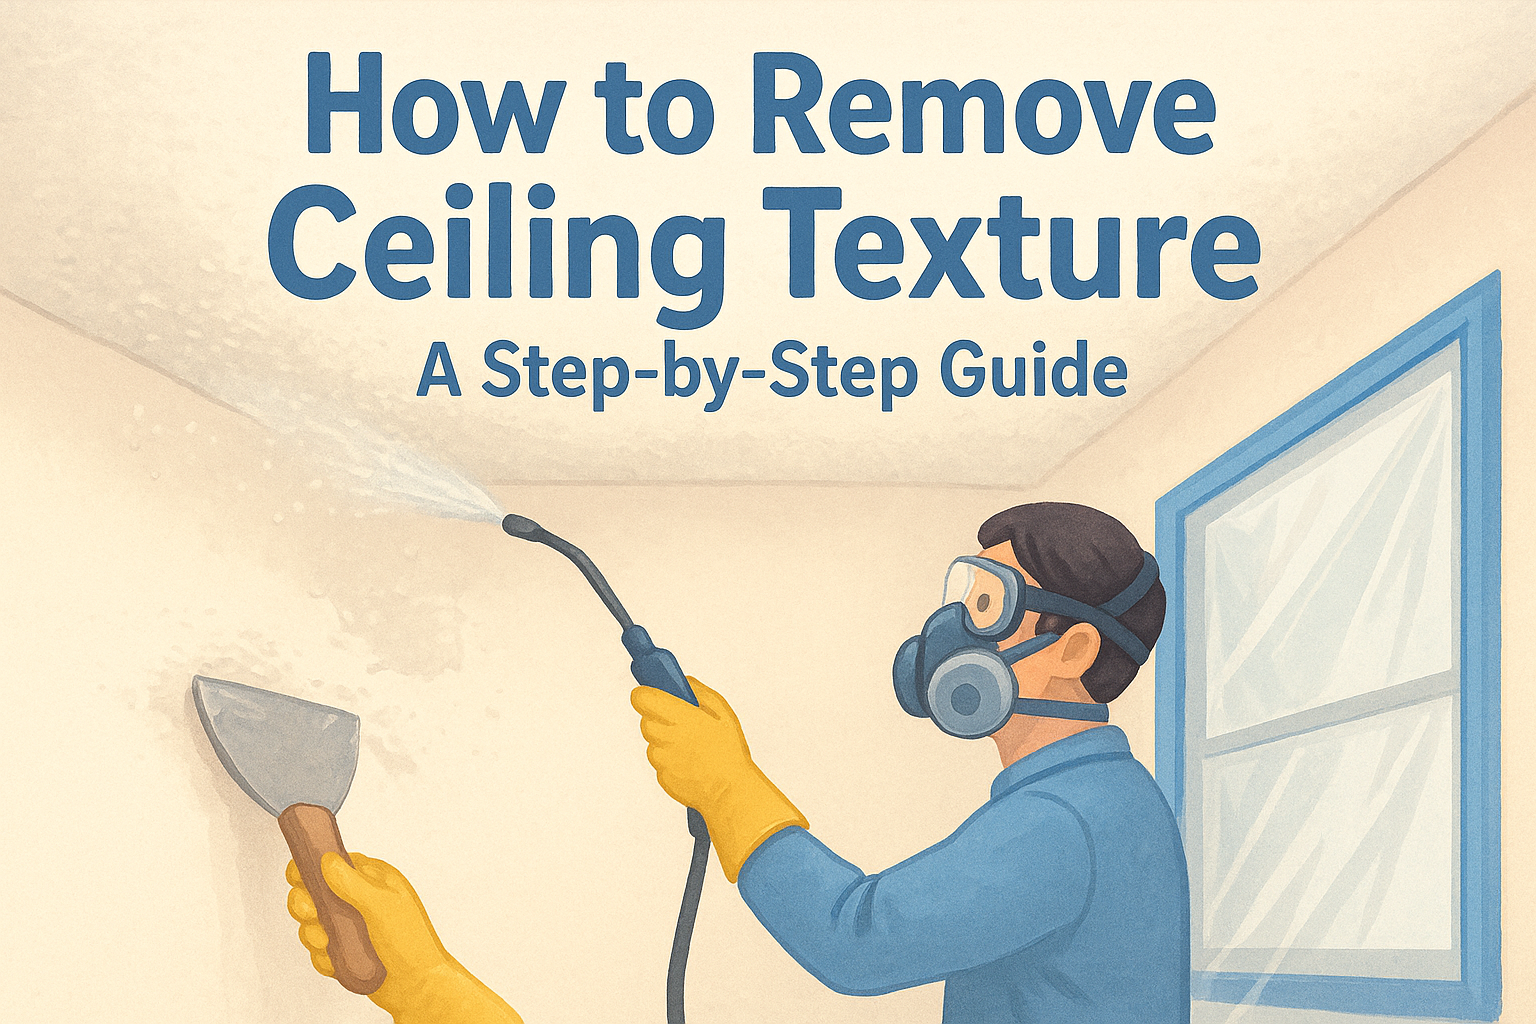
Once your ceiling has passed testing and the room is sealed off, the actual scraping goes faster than most homeowners expect. Wetting the texture before you touch a blade is the whole trick here, since dry scraping throws dust everywhere and dulls your tools in minutes.

Spray in small sections

Fill your garden pump sprayer with warm water and mist a 3x3-foot section of ceiling until it looks wet, not dripping. Wait three to five minutes for the water to soak into the texture and loosen its grip on the substrate underneath.

Give the water time to work before you scrape, and the texture comes off in sheets instead of clouds of dust.

Scrape with steady, low-angle pressure

Hold your wide drywall knife at a shallow angle against the ceiling and push forward in long strokes, letting the softened texture curl off in strips. Pushing too steep gouges the drywall paper underneath, which means extra patching work later.

  • Spray one section at a time, never the whole ceiling at once
  • Hold the blade at roughly 15 to 20 degrees
  • Use the corner trowel for edges near light fixtures and walls
  • Wipe your blade clean every few passes so debris doesn't scratch the surface
  • Re-wet any dry patches that resist scraping

Move methodically across the room in a grid pattern rather than jumping around, so you always know which sections you've already softened and cleared. Expect this stucco removal stage to take four to eight hours for an average 12x12 room, depending on how many texture layers were applied over the years.

Step 4. Patch, sand, prime, and paint

With the texture gone, your ceiling probably looks worse before it looks better. Scraping always reveals gouges, seams, and rough patches where the drywall paper tore or joint tape lifted, and that's normal. This is the stage that separates a smooth, paintable ceiling from one that still looks like a demo site.

Patch and sand in stages

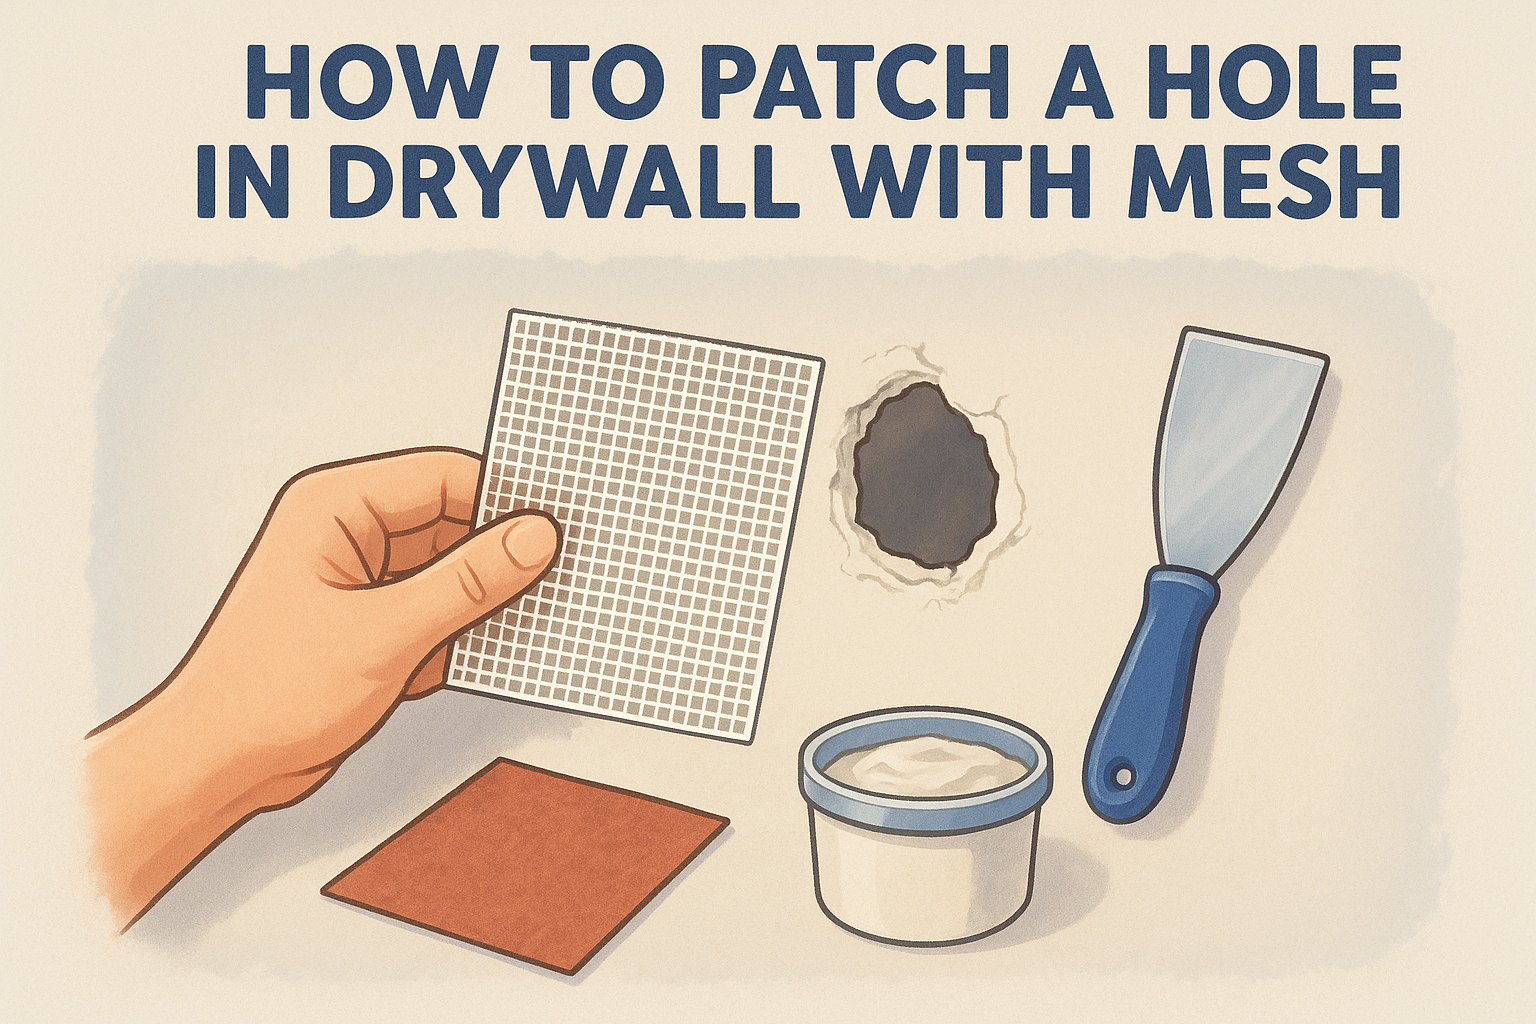
Mix a batch of joint compound and skim it over any gouges, torn paper, or exposed seams using a 12-inch drywall knife. Let it dry fully, usually overnight, before sanding with a pole sander fitted with 150-grit paper.

  • Apply a thin skim coat over damaged areas, not the whole ceiling
  • Let each coat dry completely before sanding
  • Feather the edges so patches blend into surrounding drywall
  • Wipe down the ceiling with a damp cloth to remove sanding dust

A ceiling only looks smooth if the patchwork underneath disappears completely under primer.

Prime before you paint

Skipping primer is the most common mistake here. Bare drywall patches soak up paint differently than the surrounding surface, so without primer you'll see flat, blotchy spots once the ceiling paint goes on. Roll on a high-quality stain-blocking primer and let it cure fully, usually four hours, before your topcoat.

Choose the right finish

Flat white ceiling paint hides imperfections better than anything with sheen. Use a thick nap roller (3/8 to 1/2 inch) to get even coverage in one or two coats. Cut in around the edges with a brush first, then roll the field of the ceiling in overlapping W-shaped strokes for consistent texture and coverage across the whole surface.

Living with your newly smooth ceiling

Stand back and look up. That flat, clean ceiling changes how the whole room feels, brighter, taller, and finally out of the 1970s. You've earned that by testing carefully, containing the mess, and taking your time with the patchwork instead of rushing to paint. Smooth ceilings hold light differently than textured ones, so don't be surprised if the room looks bigger once the paint dries.

Keep an eye on your work over the next few months. Hairline cracks sometimes show up along old seams as the ceiling settles, and touching those up early keeps them from spreading. If your test came back positive for asbestos, or the scraping revealed more damage than a weekend project should involve, don't push through it alone. Our team has handled this exact job across the Sacramento Valley for over 30 years, and a free in-home estimate tells you exactly what you're dealing with before you touch a scraper.

Recent Posts

By cinchweb August 5, 2026
Learn how to patch and repair drywall step-by-step, from sizing damage to matching texture and paint—plus signs it's time to call a pro.
By cinchweb August 4, 2026
Learn when drywall tool repair beats replacement, common fixes for knives and bazookas, and DIY vs pro tips—plus a free Sacramento Valley estimate.
By cinchweb August 3, 2026
Learn how to patch screw hole in drywall step-by-step—from filling and sanding to priming and painting for a seamless, professional finish.
By cinchweb August 3, 2026
Learn how to repair hole.in drywall with our step-by-step guide: tools, patch sizing, compound coats, and finishing tips for seamless results.
By cinchweb August 1, 2026
Learn what causes cracks in walls, from Sacramento Valley soil shifts to foundation issues, plus how to spot cosmetic vs. structural damage.
By cinchweb July 31, 2026
Learn how to install drywall in a bathroom: pick moisture-resistant panels, hang and tape correctly, then finish with mold-resistant paint.
By cinchweb July 31, 2026
How common is asbestos in popcorn ceilings by build year? See risk timelines, testing steps, and safe Sacramento removal options.
Illustration of taping drywall seams with joint compound, tape, and knives for a smooth wall.
By cinchweb July 29, 2026
Learn how to tape drywall seams step-by-step, from mudding tools to feathering coats, plus when to call Sacramento Valley pros instead.
Illustration of a masked worker testing a popcorn ceiling for asbestos with a spray bottle and sample bags
By cinchweb July 28, 2026
Learn how to test popcorn ceiling for asbestos safely with a step-by-step DIY sampling guide, plus when to call Sacramento Valley abatement pros.
Show More