June 6, 2026
11 Popcorn Ceiling Replacement Options That Look Modern
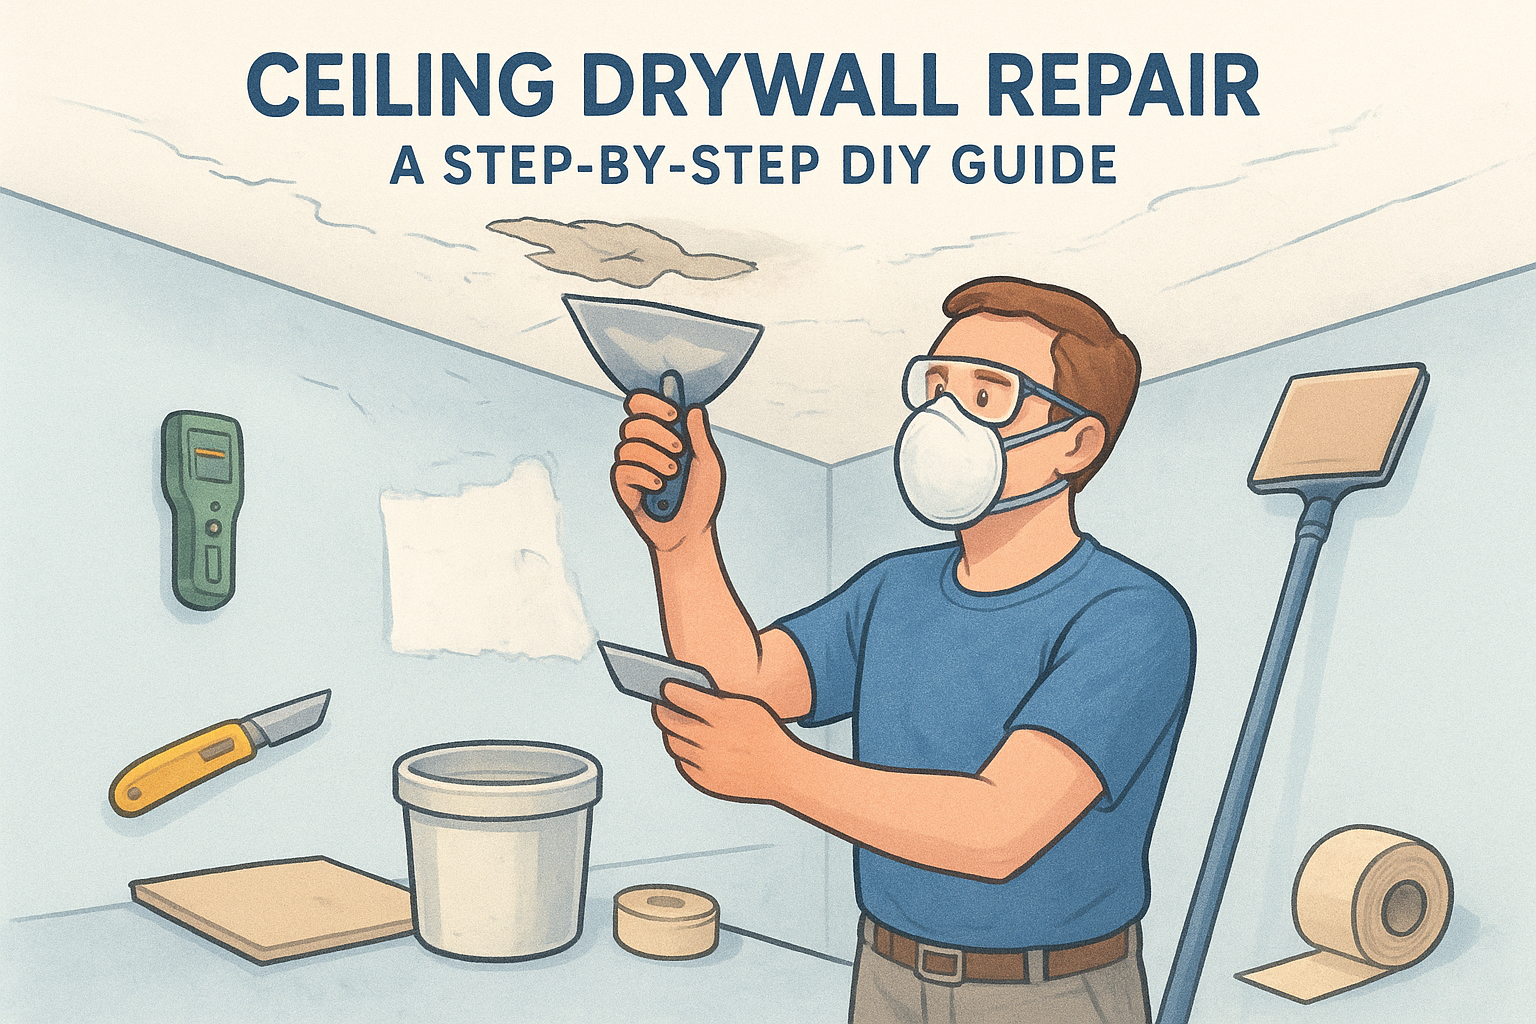
That bumpy popcorn ceiling isn't just an eyesore, it can drag down the entire feel of a room, no matter how much you invest in new paint, furniture, or flooring. The good news? Scraping it off isn't your only move. There are plenty of popcorn ceiling replacement options that give your home a clean, modern finish, and some of them let you skip the mess of traditional removal entirely.
Whether you're looking at wood planks, skim coating, tin tiles, or beadboard, each method comes with its own cost, difficulty level, and visual payoff. Some are solid DIY weekend projects. Others call for a pro, especially if your ceiling was installed before the mid-1980s and might contain asbestos , which requires safe, licensed handling before any work begins.
At Super Shooters, we've spent over 30 years removing and replacing popcorn ceilings across the Sacramento Valley. With more than 10,000 projects behind us, we've seen every version of this problem and helped homeowners find the right solution for their space and budget. Below, we break down 11 options worth considering, so you can pick the one that actually fits your home.
1. Professional popcorn removal and retexture
Among all the popcorn ceiling replacement options available, professional removal and retexture is the most complete solution. You get rid of the old texture entirely and replace it with something cleaner, whether that's a smooth finish, knockdown, or orange peel , so the ceiling actually looks like it belongs with the rest of the room.
What it looks like when finished
The final result depends on the texture your contractor applies after removal. Smooth ceilings give a high-end, modern appearance and make rooms feel taller and brighter. Popular finish choices include:
- Smooth : best for contemporary and minimalist spaces
- Knockdown : subtle, slightly textured look that hides minor imperfections
- Orange peel : fine, consistent texture with a clean, updated appearance
How the process works
A contractor wets the popcorn surface, scrapes it off in sections, and repairs any damage to the underlying drywall before applying new texture. Proper surface prep is what separates a clean finish from one that bubbles or peels within a few years. After texture application, the ceiling gets primed and painted to complete the job.
Best fit for this option
This approach works well for homeowners who want a permanent, high-quality result and aren't interested in layering over the old texture. It's also the right call when your ceilings are in good condition underneath and don't have significant damage that would make a cover-up method more practical.
If you want a result that adds real, lasting value to your home, professional removal and retexture is the most direct path to get there.
Cost and timeline expectations
Expect to pay $1.50 to $3.50 per square foot for professional removal and retexture, depending on your region and ceiling condition. Most single-room projects wrap up in one to two days , while whole-house jobs typically run three to five days.
Common pitfalls and safety concerns
The biggest risk is asbestos . Homes built before 1978 may have popcorn ceilings that contain it, and scraping without testing first puts everyone in the home at risk. Always hire a licensed contractor who can test the material and, if needed, handle asbestos abatement safely before any removal work begins.
2. Cover with new drywall
If you want to skip scraping altogether, hanging new drywall directly over your existing ceiling is one of the most practical popcorn ceiling replacement options on this list. It creates a flat, finished surface without disturbing what's underneath, which matters a lot if your home was built before 1978.
What it looks like when finished
The end result looks like any modern, smooth drywall ceiling . Once the seams are taped, mudded, and painted, there's no sign of the texture underneath. You get a clean, contemporary surface that pairs well with any room style.
How the process works
A contractor screws new 1/4-inch or 3/8-inch drywall panels directly into the ceiling joists over the existing surface. The seams get taped and mudded, then the whole surface is sanded, primed, and painted. This method adds roughly a half-inch of thickness to the ceiling.
Because the original ceiling stays completely intact, this approach is often the safest route when you suspect asbestos in the existing texture.
Best fit for this option
This option works best when your existing ceiling is structurally solid and you want to avoid disturbing older materials. It's a strong choice for rooms with standard ceiling heights where losing a small amount of headroom won't create a problem.
Cost and timeline expectations
Expect to pay $2.00 to $4.00 per square foot for materials and labor. Most single-room projects take one to two days to complete.
Common pitfalls and safety concerns
The main concern is added weight on your joists . Always confirm your framing can support the load, and make sure drywall screws hit solid backing so panels don't sag over time.
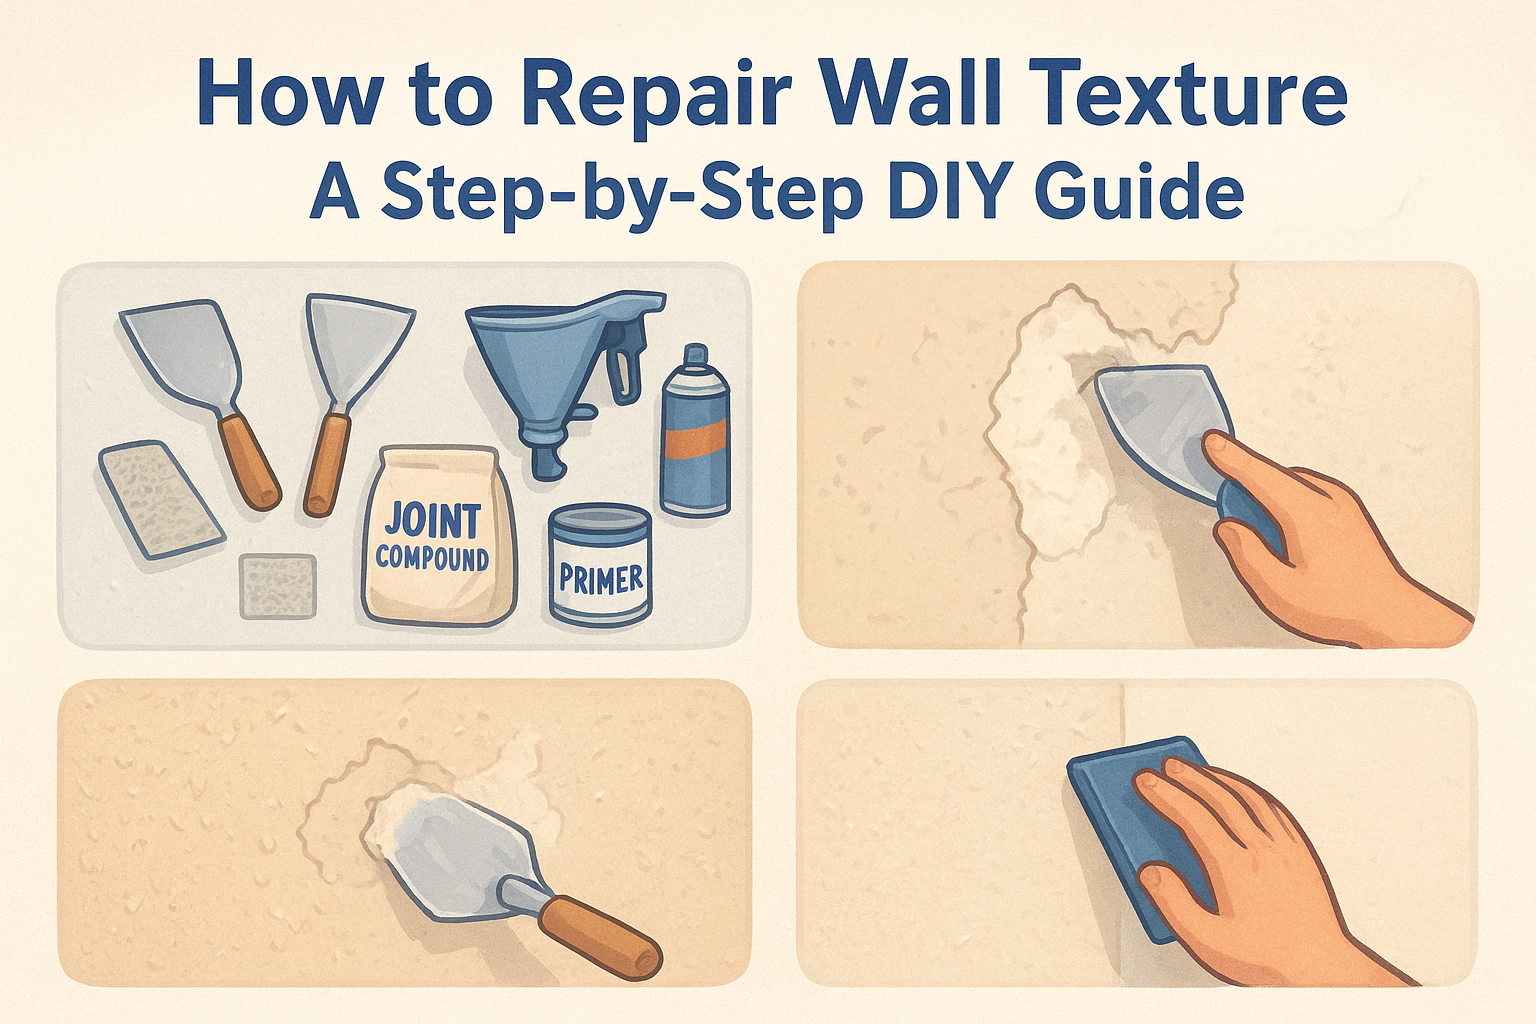
3. Skim coat to a smooth ceiling
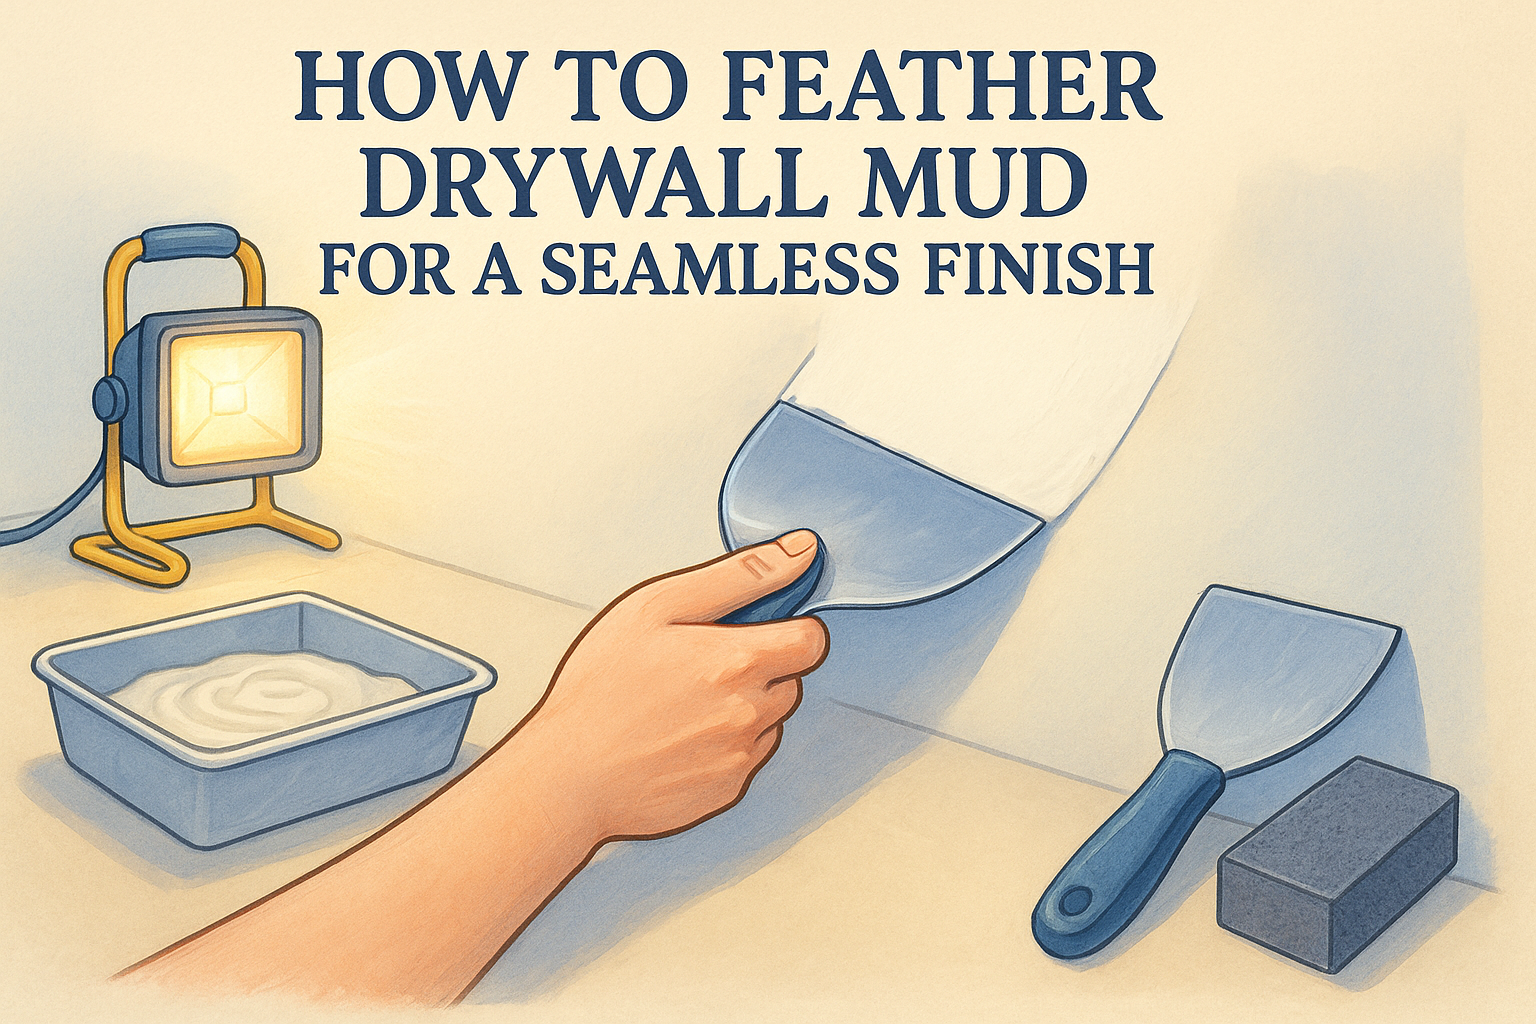
Skim coating is one of the more labor-intensive popcorn ceiling replacement options , but it delivers a result that's hard to beat. Instead of adding new material over the existing surface or scraping it all off, a contractor applies thin layers of joint compound directly over the texture to create a flat, smooth finish.
What it looks like when finished
The finished ceiling looks genuinely smooth and modern , similar to what you'd get from new drywall without the added thickness. Rooms feel cleaner and more open, and the surface takes paint evenly without the shadow lines that bumpy texture creates under certain lighting.
How the process works
A contractor applies two to three thin coats of joint compound over the existing popcorn texture, allowing each coat to dry before adding the next. Each layer gets sanded lightly to build toward a flat surface. The ceiling is then primed and painted to complete the finish.
Skim coating works best when the popcorn texture is firmly bonded to the ceiling, since loose or flaking texture will cause the compound to crack or peel.
Best fit for this option
This method suits homeowners who want a smooth, high-end finish without adding weight or thickness to the ceiling. It works well in rooms where the existing texture is stable and well-adhered to the surface underneath.
Cost and timeline expectations
Expect to pay $1.00 to $3.00 per square foot for professional skim coating. Most rooms take two to three days to complete because each coat needs drying time between applications.
Common pitfalls and safety concerns
Moisture control is the biggest challenge. If the underlying ceiling has water damage or the compound is applied too thick, cracking becomes a real problem. Always confirm the ceiling is dry and structurally sound before a contractor begins.
4. Wood planks and shiplap
Wood planks and shiplap are among the most visually striking popcorn ceiling replacement options available. Instead of covering up what's there with more drywall or compound, you're adding natural texture and warmth that draws the eye in a completely different direction.
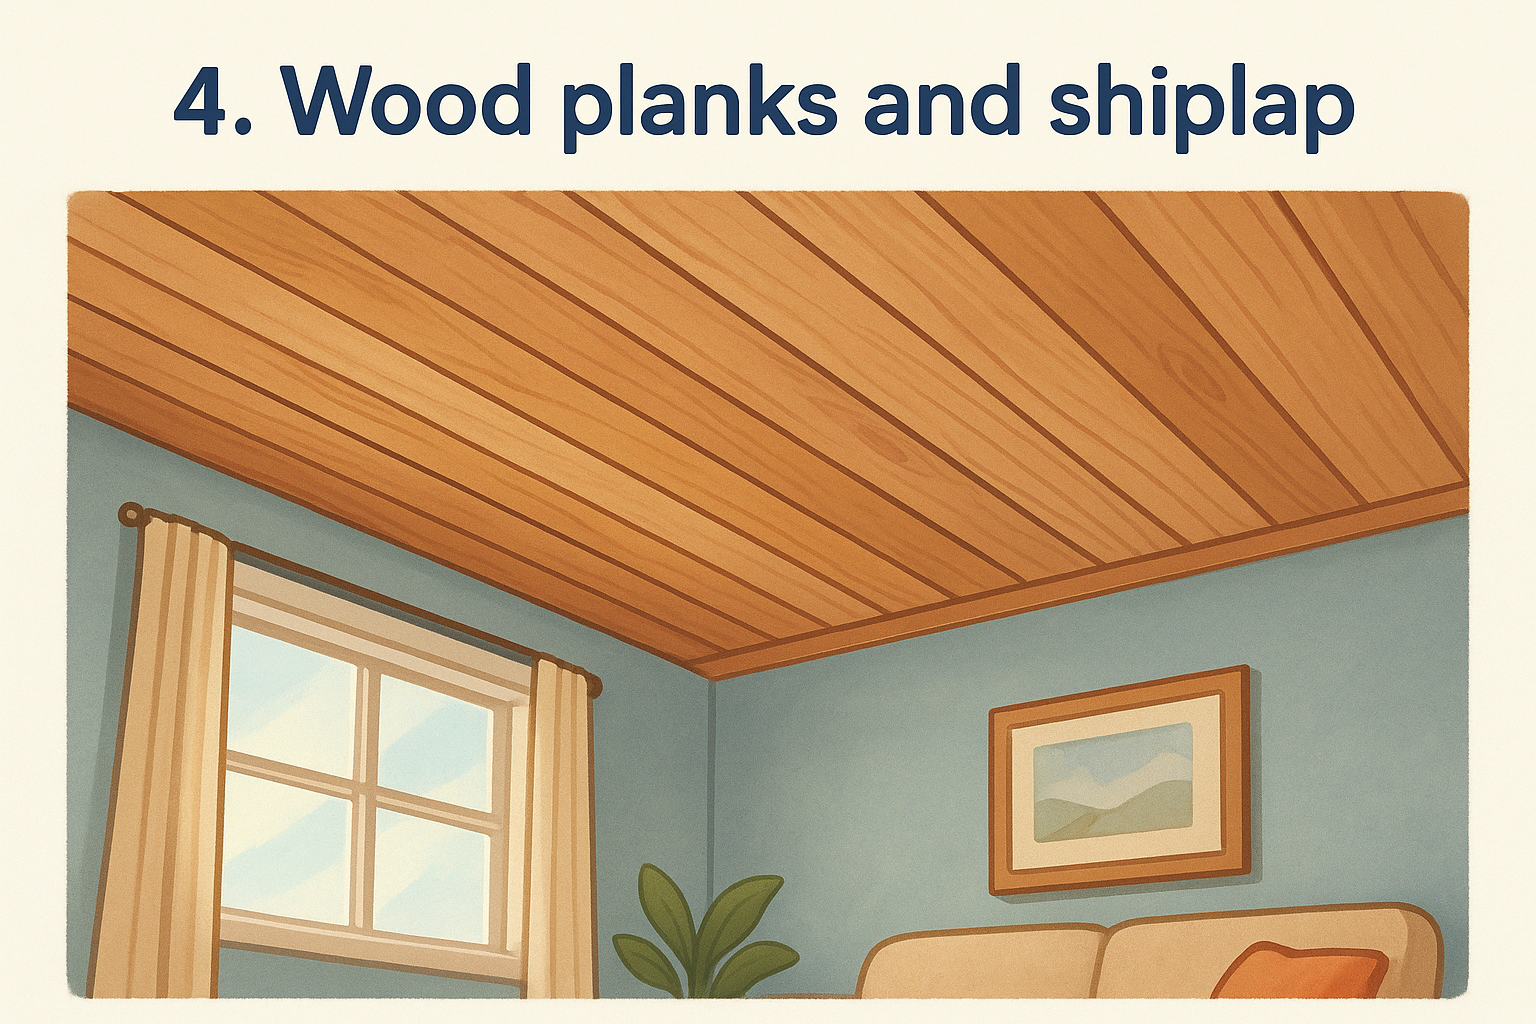
What it looks like when finished
The finished ceiling looks like a feature element rather than a repair. Shiplap gives you clean, horizontal lines with tight seams, while wider planks create a more rustic or farmhouse feel. Both options transform a flat overhead surface into something that anchors the room's style.
How the process works
Planks attach directly to the ceiling joists or to furring strips fastened over the existing popcorn texture . You don't need to remove the old ceiling first, which makes this one of the cleaner installation processes on this list. Boards get nailed or screwed in place, finished with paint or stain, and caulked at edges and transitions for a tight, polished result.
Best fit for this option
This approach works well in living rooms, bedrooms, and covered porches where the warmth of wood fits the overall design. It pairs naturally with exposed beams, open layouts, and casual or farmhouse-inspired interiors.
Cost and timeline expectations
Expect to spend $3.00 to $7.00 per square foot installed, depending on wood species and finish. Most rooms take two to three days to complete.
Common pitfalls and safety concerns
Wood is sensitive to moisture , so avoid this option in bathrooms or spaces with humidity issues. Make sure fasteners hit solid joist backing to prevent sagging over time.
5. Beadboard ceiling panels
Beadboard is one of the more classic-looking popcorn ceiling replacement options on this list, but it works surprisingly well in modern interiors too. The vertical groove pattern adds subtle visual interest overhead without feeling heavy or overdone.
What it looks like when finished
The finished ceiling has evenly spaced, narrow ridges running across the surface, giving the room a clean, cottage-inspired look. Painted white or off-white, beadboard reads as crisp and intentional rather than decorative clutter, which is why it works in both traditional and contemporary spaces.
How the process works
Beadboard panels attach to ceiling joists or furring strips fastened over the existing texture, so you skip the mess of removing the old surface. Panels interlock or butt together at seams, which get caulked for a tight finish. The whole ceiling is then painted to pull everything together .
Because the installation goes directly over the existing ceiling, beadboard is one of the better low-disruption options when you want to avoid disturbing older materials.
Best fit for this option
This approach fits kitchens, sunrooms, porches, and bathrooms particularly well. The style aligns naturally with farmhouse, coastal, and cottage design themes.
Cost and timeline expectations
Expect to spend $2.50 to $5.00 per square foot installed. Most rooms wrap up in one to two days depending on size.
Common pitfalls and safety concerns
Beadboard can trap moisture in humid rooms, so seal all edges thoroughly. Also confirm fasteners reach solid joist backing to prevent any panel movement over time.
6. Faux tin ceiling tiles
Faux tin ceiling tiles are one of the more distinctive popcorn ceiling replacement options on this list. They bring an old-world industrial or vintage look overhead without the cost or weight of actual metal, and they install directly over your existing texture without any scraping required.
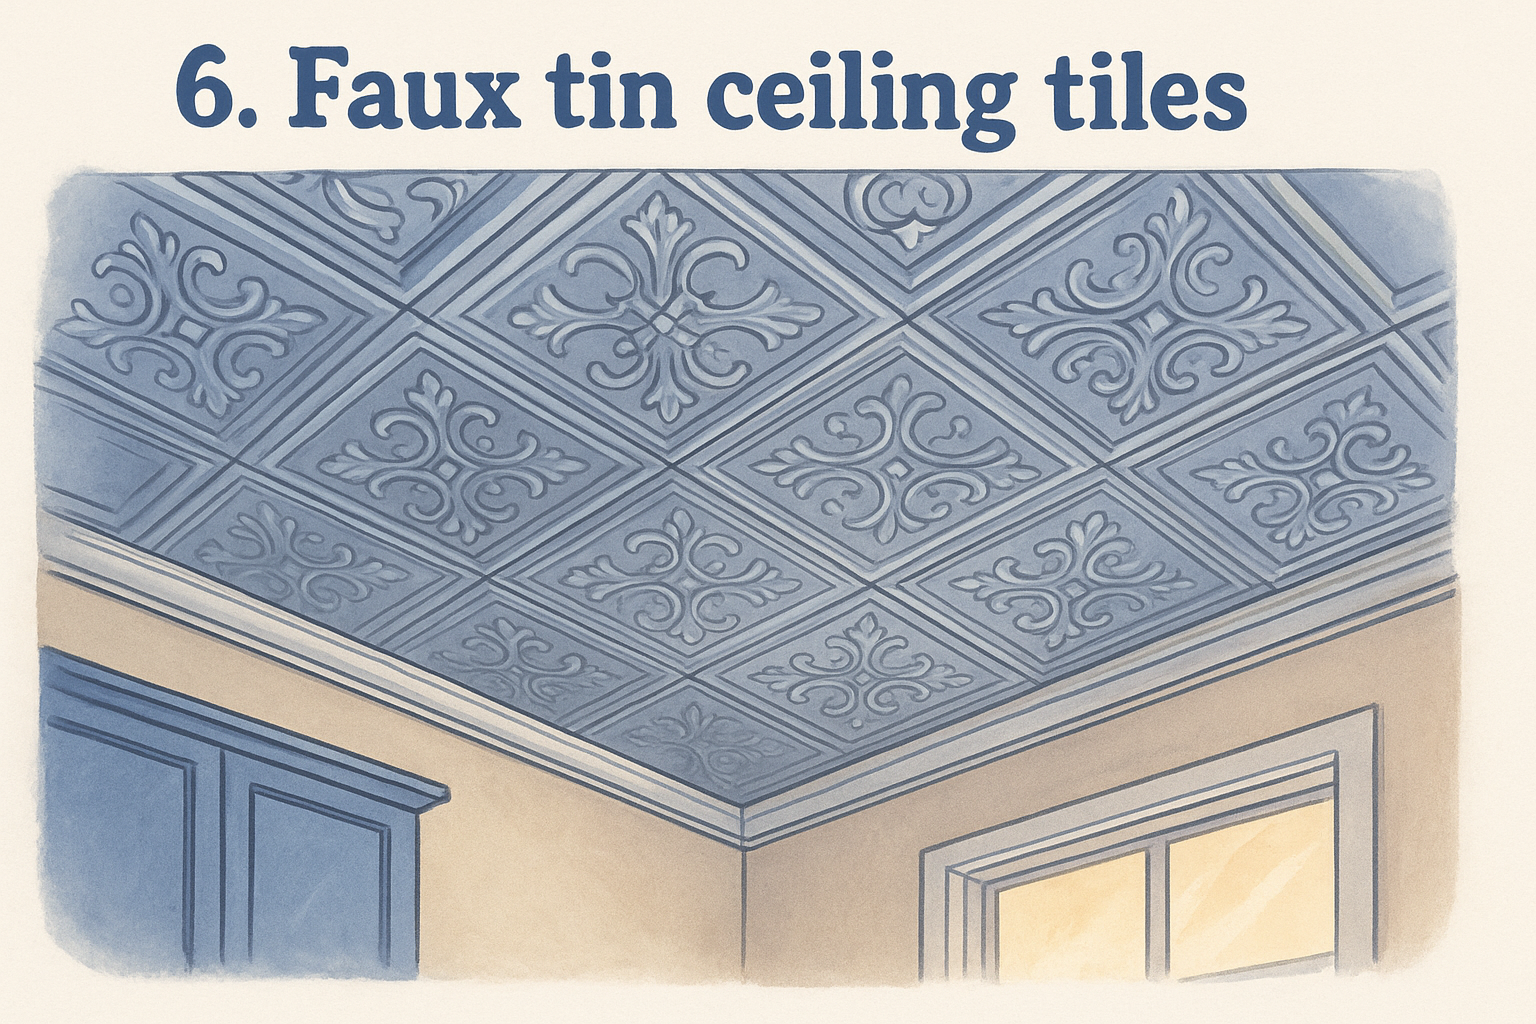
What it looks like when finished
The finished ceiling features raised geometric or floral patterns pressed into lightweight PVC or polystyrene panels. Painted in metallic silver, bronze, or white, the tiles create a decorative focal point that works in kitchens, dining rooms, and commercial-style spaces. The look reads as intentional and layered rather than patched over.
How the process works
Tiles glue or nail directly to the existing ceiling surface , including over popcorn texture. Most panels come in 24-inch by 24-inch squares that interlock or butt together, with edge trim pieces that finish the perimeter cleanly. You paint or leave them as-is depending on the finish you want.
Because nothing gets scraped or disturbed, this option is one of the safer choices when your existing ceiling may contain older materials.
Best fit for this option
This approach suits kitchens, bars, dining rooms, and accent spaces where a decorative ceiling fits the overall style. It works well in homes with eclectic, industrial, or vintage-inspired interiors .
Cost and timeline expectations
Expect to spend $2.00 to $5.00 per square foot depending on tile style and finish. Most rooms wrap up in one day .
Common pitfalls and safety concerns
Tiles can pop loose over time if adhesive is applied unevenly. Make sure the existing ceiling surface is clean and dry before installation so tiles bond properly.
7. Surface-mount ceiling grid systems
Surface-mount grid systems are a practical set of popcorn ceiling replacement options that borrow the look of a suspended ceiling without dropping your room height by several inches. The grid attaches flush against the existing ceiling surface , and lightweight panels drop into the frame from below.
What it looks like when finished
The finished ceiling features a clean grid pattern with smooth or lightly textured tiles sitting inside each opening. Painted white, the system reads as intentional and architectural rather than temporary, and it hides everything above it completely.
How the process works
Thin metal or PVC track pieces screw directly into the ceiling joists over the existing texture. Panels then clip or drop into the grid without any adhesive. The installation requires no scraping or demolition , which keeps the job fast and clean.
Because nothing gets disturbed beneath the grid, this option is a smart choice when you suspect older materials in your existing ceiling.
Best fit for this option
This system fits basements, laundry rooms, and utility spaces where access to pipes or wiring above the ceiling matters. It also works in home offices and rec rooms where a clean finish is the priority.
Cost and timeline expectations
Expect to spend $2.00 to $5.00 per square foot installed. Most rooms finish in one day .
Common pitfalls and safety concerns
Make sure the grid track hits solid joist backing at every fastener point. Panels that sit in a poorly leveled grid will catch light unevenly and look crooked across the room .
8. Plywood panels with batten seams
Plywood panels with batten seams give you one of the more architectural-looking popcorn ceiling replacement options on this list. Thin plywood sheets go up over the existing ceiling, and narrow wood strips called battens cover every seam between panels, turning a practical joint into a deliberate design feature.
What it looks like when finished
The finished ceiling has a grid-like pattern of flat panels divided by clean, raised seams. Painted a single color, the result reads as intentional and modern. Stained natural wood versions feel warmer and more rustic, while painted versions suit contemporary or transitional spaces equally well.
How the process works
Plywood sheets fasten directly to ceiling joists or furring strips installed over the existing texture. Narrow batten strips then nail over every seam to create the signature look. You caulk the edges and transitions , then prime and paint to finish.
Because this method installs entirely over the old ceiling surface, nothing underneath gets disturbed during the process.
Best fit for this option
This approach works well in living rooms, bedrooms, and home offices where a clean architectural detail adds character. It pairs naturally with modern, industrial, and Scandinavian interior styles.
Cost and timeline expectations
Expect to spend $3.00 to $6.00 per square foot installed. Most single rooms finish in two to three days depending on size and ceiling condition.
Common pitfalls and safety concerns
Plywood responds to humidity shifts , so avoid this option in bathrooms or damp spaces. Confirm every fastener hits solid joist backing to prevent panels from warping or pulling away from the ceiling over time.
9. Ceiling wallpaper and peel-and-stick
Ceiling wallpaper and peel-and-stick panels sit among the lowest-commitment popcorn ceiling replacement options on this list. You apply them directly over the existing texture, and most options come down without damaging anything underneath if you change your mind later.
What it looks like when finished
The finished ceiling carries pattern, color, or subtle texture depending on the wallpaper you choose. Geometric prints, botanical designs, and simple linen-look textures all work well overhead and give the room a strong, finished feel without any structural work involved.
How the process works
You apply pre-pasted or peel-and-stick panels directly to the existing ceiling surface, smoothing each section flat as you go. Most products work best when the underlying texture is lightly sanded smooth first, since heavy popcorn bumps can cause edges to lift over time.
If your existing texture is particularly coarse, a light skim coat before applying wallpaper will give you a cleaner, longer-lasting bond.
Best fit for this option
This approach suits bedrooms, nurseries, and accent spaces where a bold overhead detail fits the room's character. It works best for renters or homeowners who want a low-cost update they can reverse without major repairs.
Cost and timeline expectations
Expect to spend $0.50 to $3.00 per square foot depending on material quality. Most rooms finish in a single afternoon .
Common pitfalls and safety concerns
Edges lift in humid or high-traffic areas , so avoid kitchens and bathrooms. Always use ceiling-rated adhesive products rather than standard wall versions to reduce sagging.
10. Coffered ceiling with box beams
Coffered ceilings with box beams sit at the premium end of popcorn ceiling replacement options , but the visual result justifies the investment. You're not just covering up old texture. You're adding a structural-looking design feature that completely transforms the feel of a room overhead.
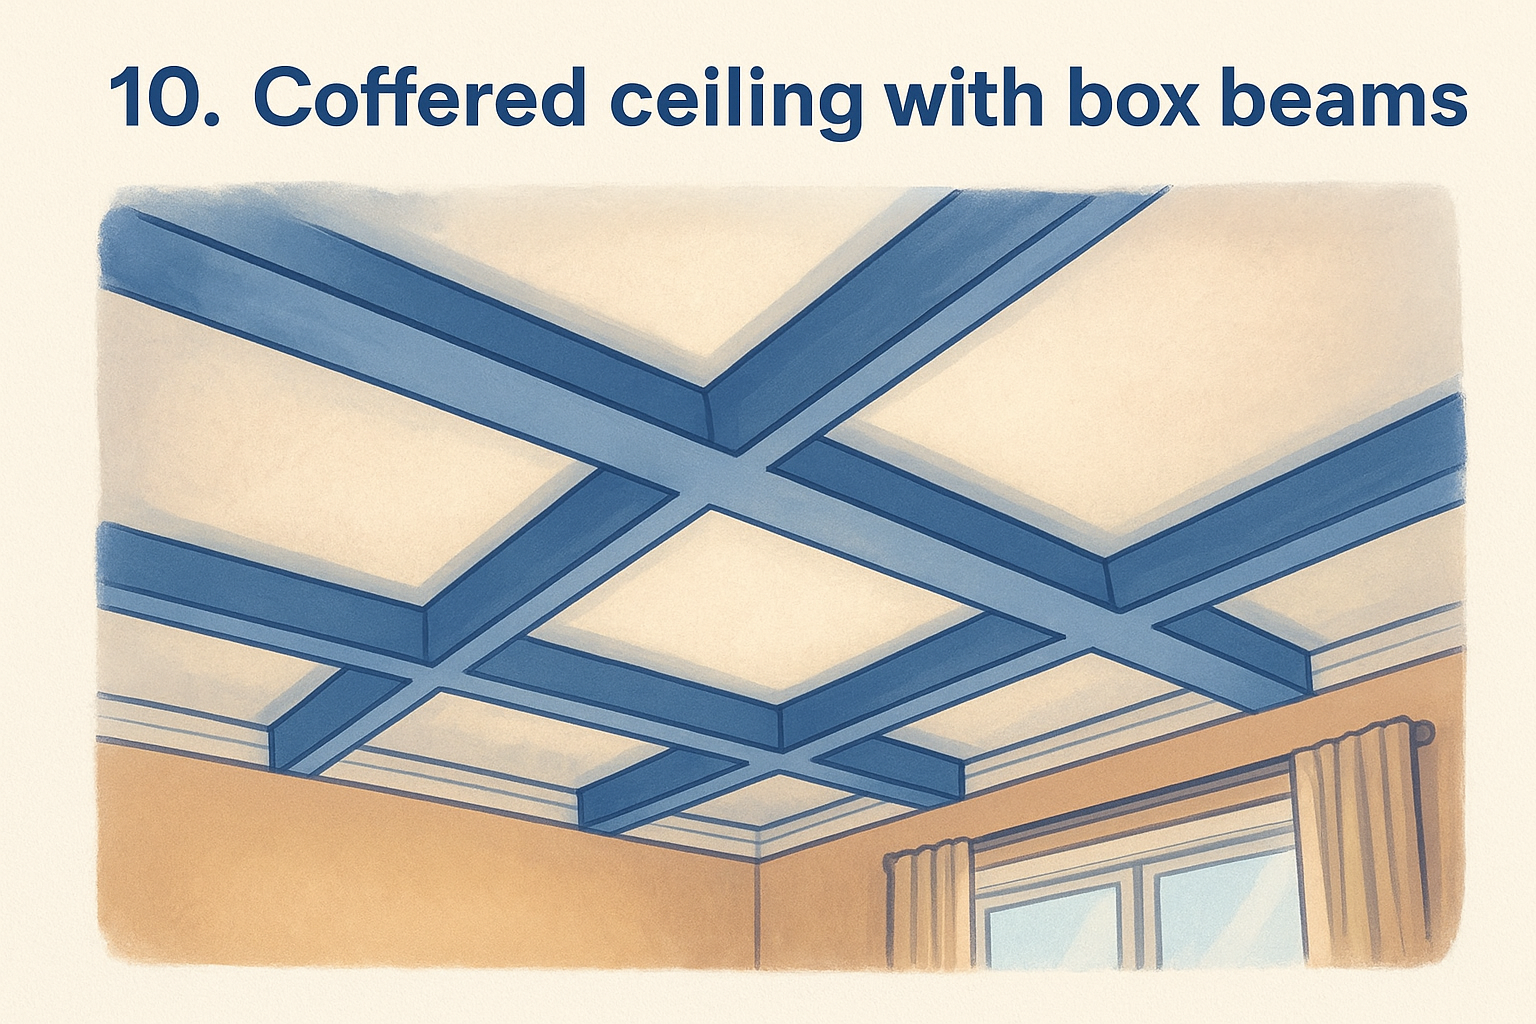
What it looks like when finished
The finished ceiling features a grid of recessed panels framed by thick box beams , creating real depth and dimension. Painted in a single color or a two-tone scheme, the result reads as formal and architectural, the kind of detail you'd expect in a high-end custom renovation.
How the process works
Lightweight MDF or hollow wood box beams fasten directly to the existing ceiling surface over the popcorn texture, so nothing underneath gets disturbed. The beams anchor into ceiling joists through the existing surface, forming the grid pattern you plan before installation begins . Panels inside each grid section can be left flat or finished with a contrasting paint color to add depth.
Because the entire system mounts over your existing ceiling, this option avoids any need to disturb older materials underneath.
Best fit for this option
This approach suits formal dining rooms, primary bedrooms, and living rooms where a high-end architectural detail fits the design. It pairs best with traditional, transitional, and classic interior styles .
Cost and timeline expectations
Expect to spend $10.00 to $25.00 per square foot installed. Most rooms take three to five days to complete.
Common pitfalls and safety concerns
Box beams add real weight to the ceiling , so confirm your joists can handle the load before work starts. Poorly anchored beams will sag or separate from the surface over time, so proper fastening into solid backing is non-negotiable.
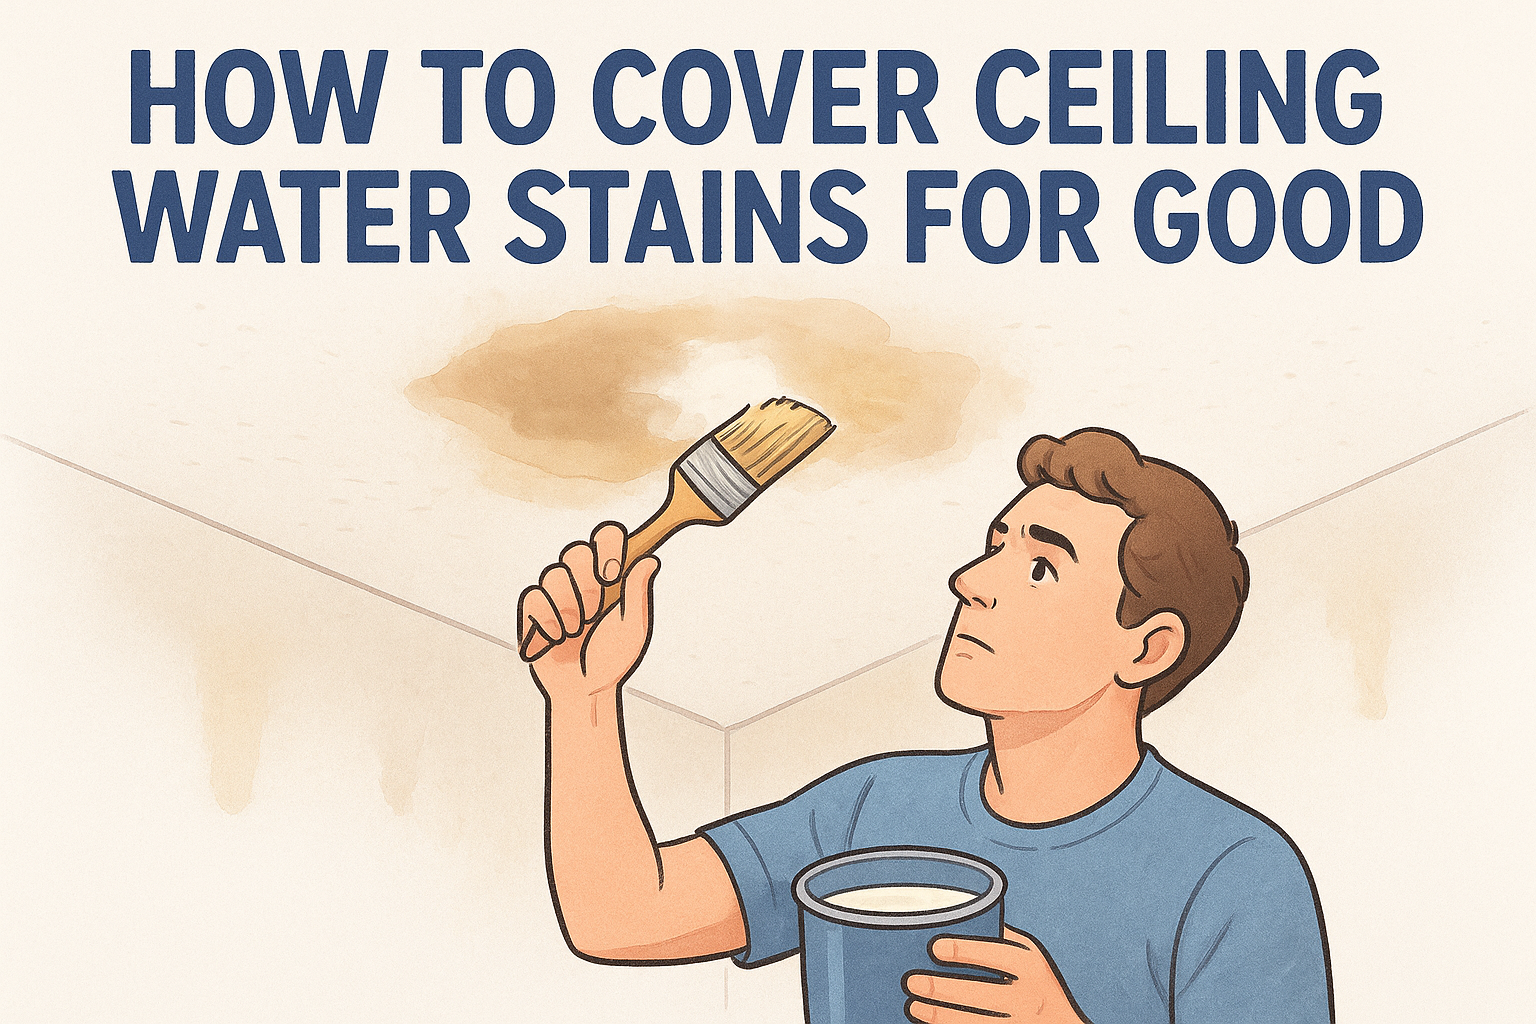
11. Paint and lighting to play it down
Not every popcorn ceiling replacement option involves covering or removing anything. Sometimes the smartest move is to work with what you have and use paint color and light placement to make the texture nearly invisible.
What it looks like when finished
The ceiling stays textured, but strategic color choices and lighting angles reduce how much the bumps catch the eye. A flat-finish paint in a color that matches or closely blends with the walls makes the ceiling visually recede , so it reads as background rather than a focal point.
How the process works
You apply flat or matte ceiling paint directly over the existing texture. Flat finishes scatter light instead of reflecting it, which softens the appearance of the bumps. Pairing this with recessed lighting or indirect fixtures that push light along the walls rather than straight up at the ceiling reduces shadow contrast dramatically.
Angled or directional lighting pointed away from the ceiling is the single fastest way to make popcorn texture stop drawing attention.
Best fit for this option
This approach works best for rentals or homes you plan to sell soon where a full renovation doesn't make financial sense. It suits any room where budget is the primary constraint .
Cost and timeline expectations
Expect to spend $0.25 to $0.75 per square foot on paint and supplies. Most rooms finish in a single day .
Common pitfalls and safety concerns
Glossy or semi-gloss paints make the problem worse by increasing light reflection off every bump. Stick with flat or matte formulas rated specifically for ceilings.
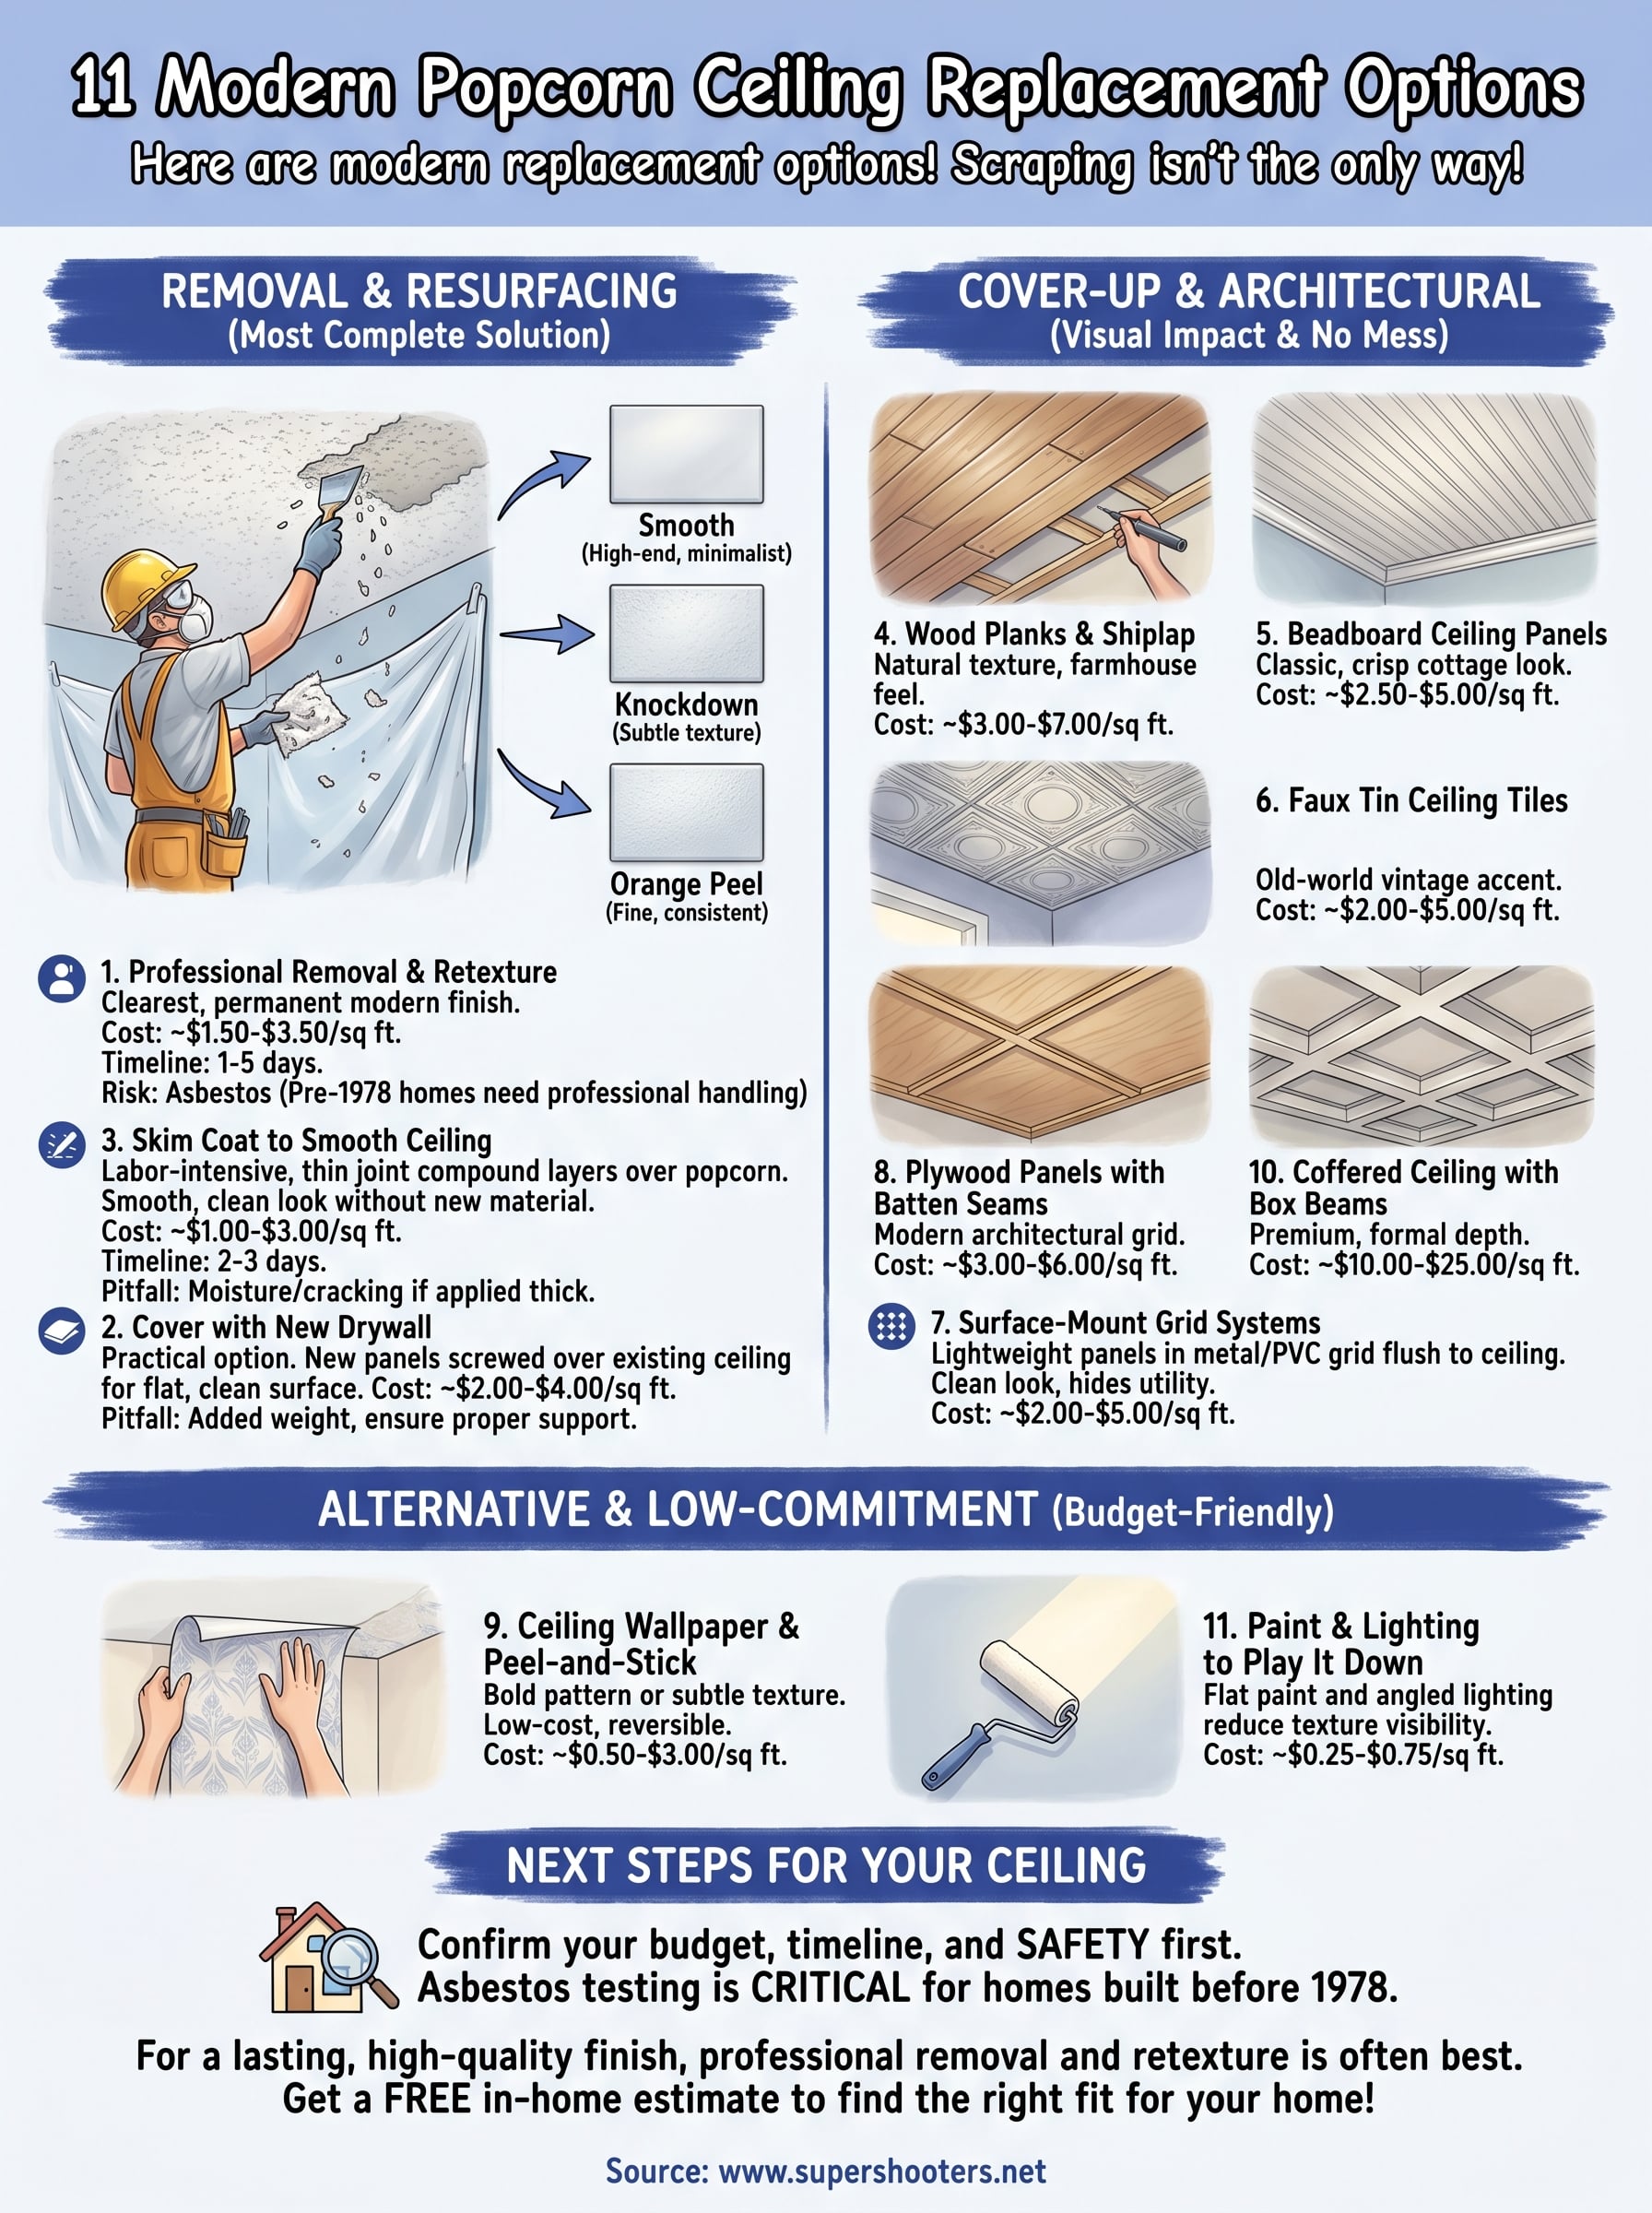
Next steps for your ceiling
You now have a clear picture of the 11 popcorn ceiling replacement options available, from full professional removal to a simple coat of flat paint. The right choice depends on your budget, your timeline, and whether your existing ceiling contains older materials that need careful handling before any work begins. If your home was built before 1978, asbestos testing should be your first step , not an afterthought.
For most Sacramento Valley homeowners, professional removal and retexture delivers the cleanest, most lasting result. It eliminates the old texture completely and gives you a surface that holds up for decades. If you're ready to get a firm number and a clear plan, the best next step is a free in-home estimate . Super Shooters has completed over 10,000 ceiling projects across the region, and our team can walk you through exactly what your ceiling needs. Schedule your free popcorn ceiling estimate today and get started.
Recent Posts