Share this article

August 26, 2026

How to Repair a Hole in Drywall (Any Size)

A doorknob dent, a moving mishap, a kid's toy thrown too hard. Whatever caused it, you're now staring at a hole in your wall and wondering if this is a job you can actually pull off yourself. Good news: how to repair a hole in drywall comes down to matching the fix to the size of the damage, and most homeowners can handle it with a weekend and about $30 in supplies.

This guide walks you through repairing drywall holes from tiny nail pops to those frustrating fist-sized gaps, including the specific technique for how to patch a 4x4 hole in drywall using a self-adhesive patch or a scrap-and-mud method. We'll cover what tools and materials you need for each size category, so you're not guessing whether spackle will cut it or if you need mesh tape and joint compound.

We've spent over 30 years patching walls across the Sacramento Valley, and we've seen just about every kind of hole homeowners can make. If your damage turns out bigger than expected, or you'd rather skip the sanding dust altogether, that's exactly the kind of wall repair work our crews handle daily with a clean, blended finish.

Assess the damage and gather your supplies

Before you buy a single tube of spackle, get an honest measurement of what you're dealing with. The size of the hole determines everything else: which materials you need, how long the job takes, and whether a quick fix will actually hold. Grab a tape measure and check the width of the damage, because guessing leads to buying the wrong supplies and making two trips to the hardware store.

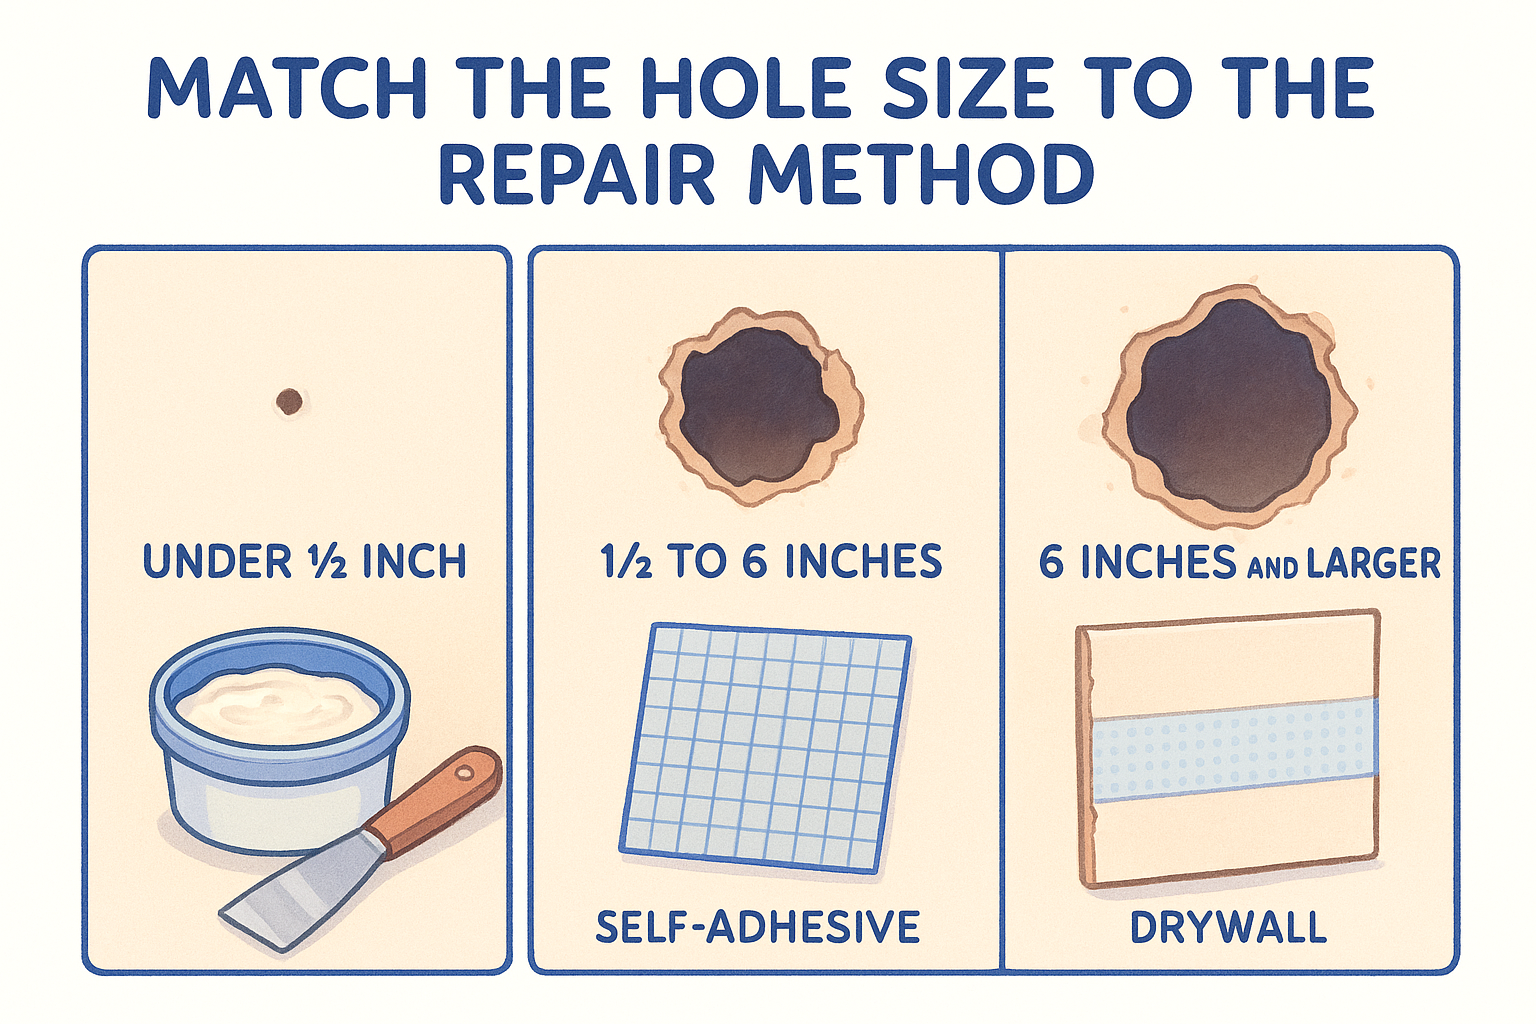
Match the hole size to the repair method

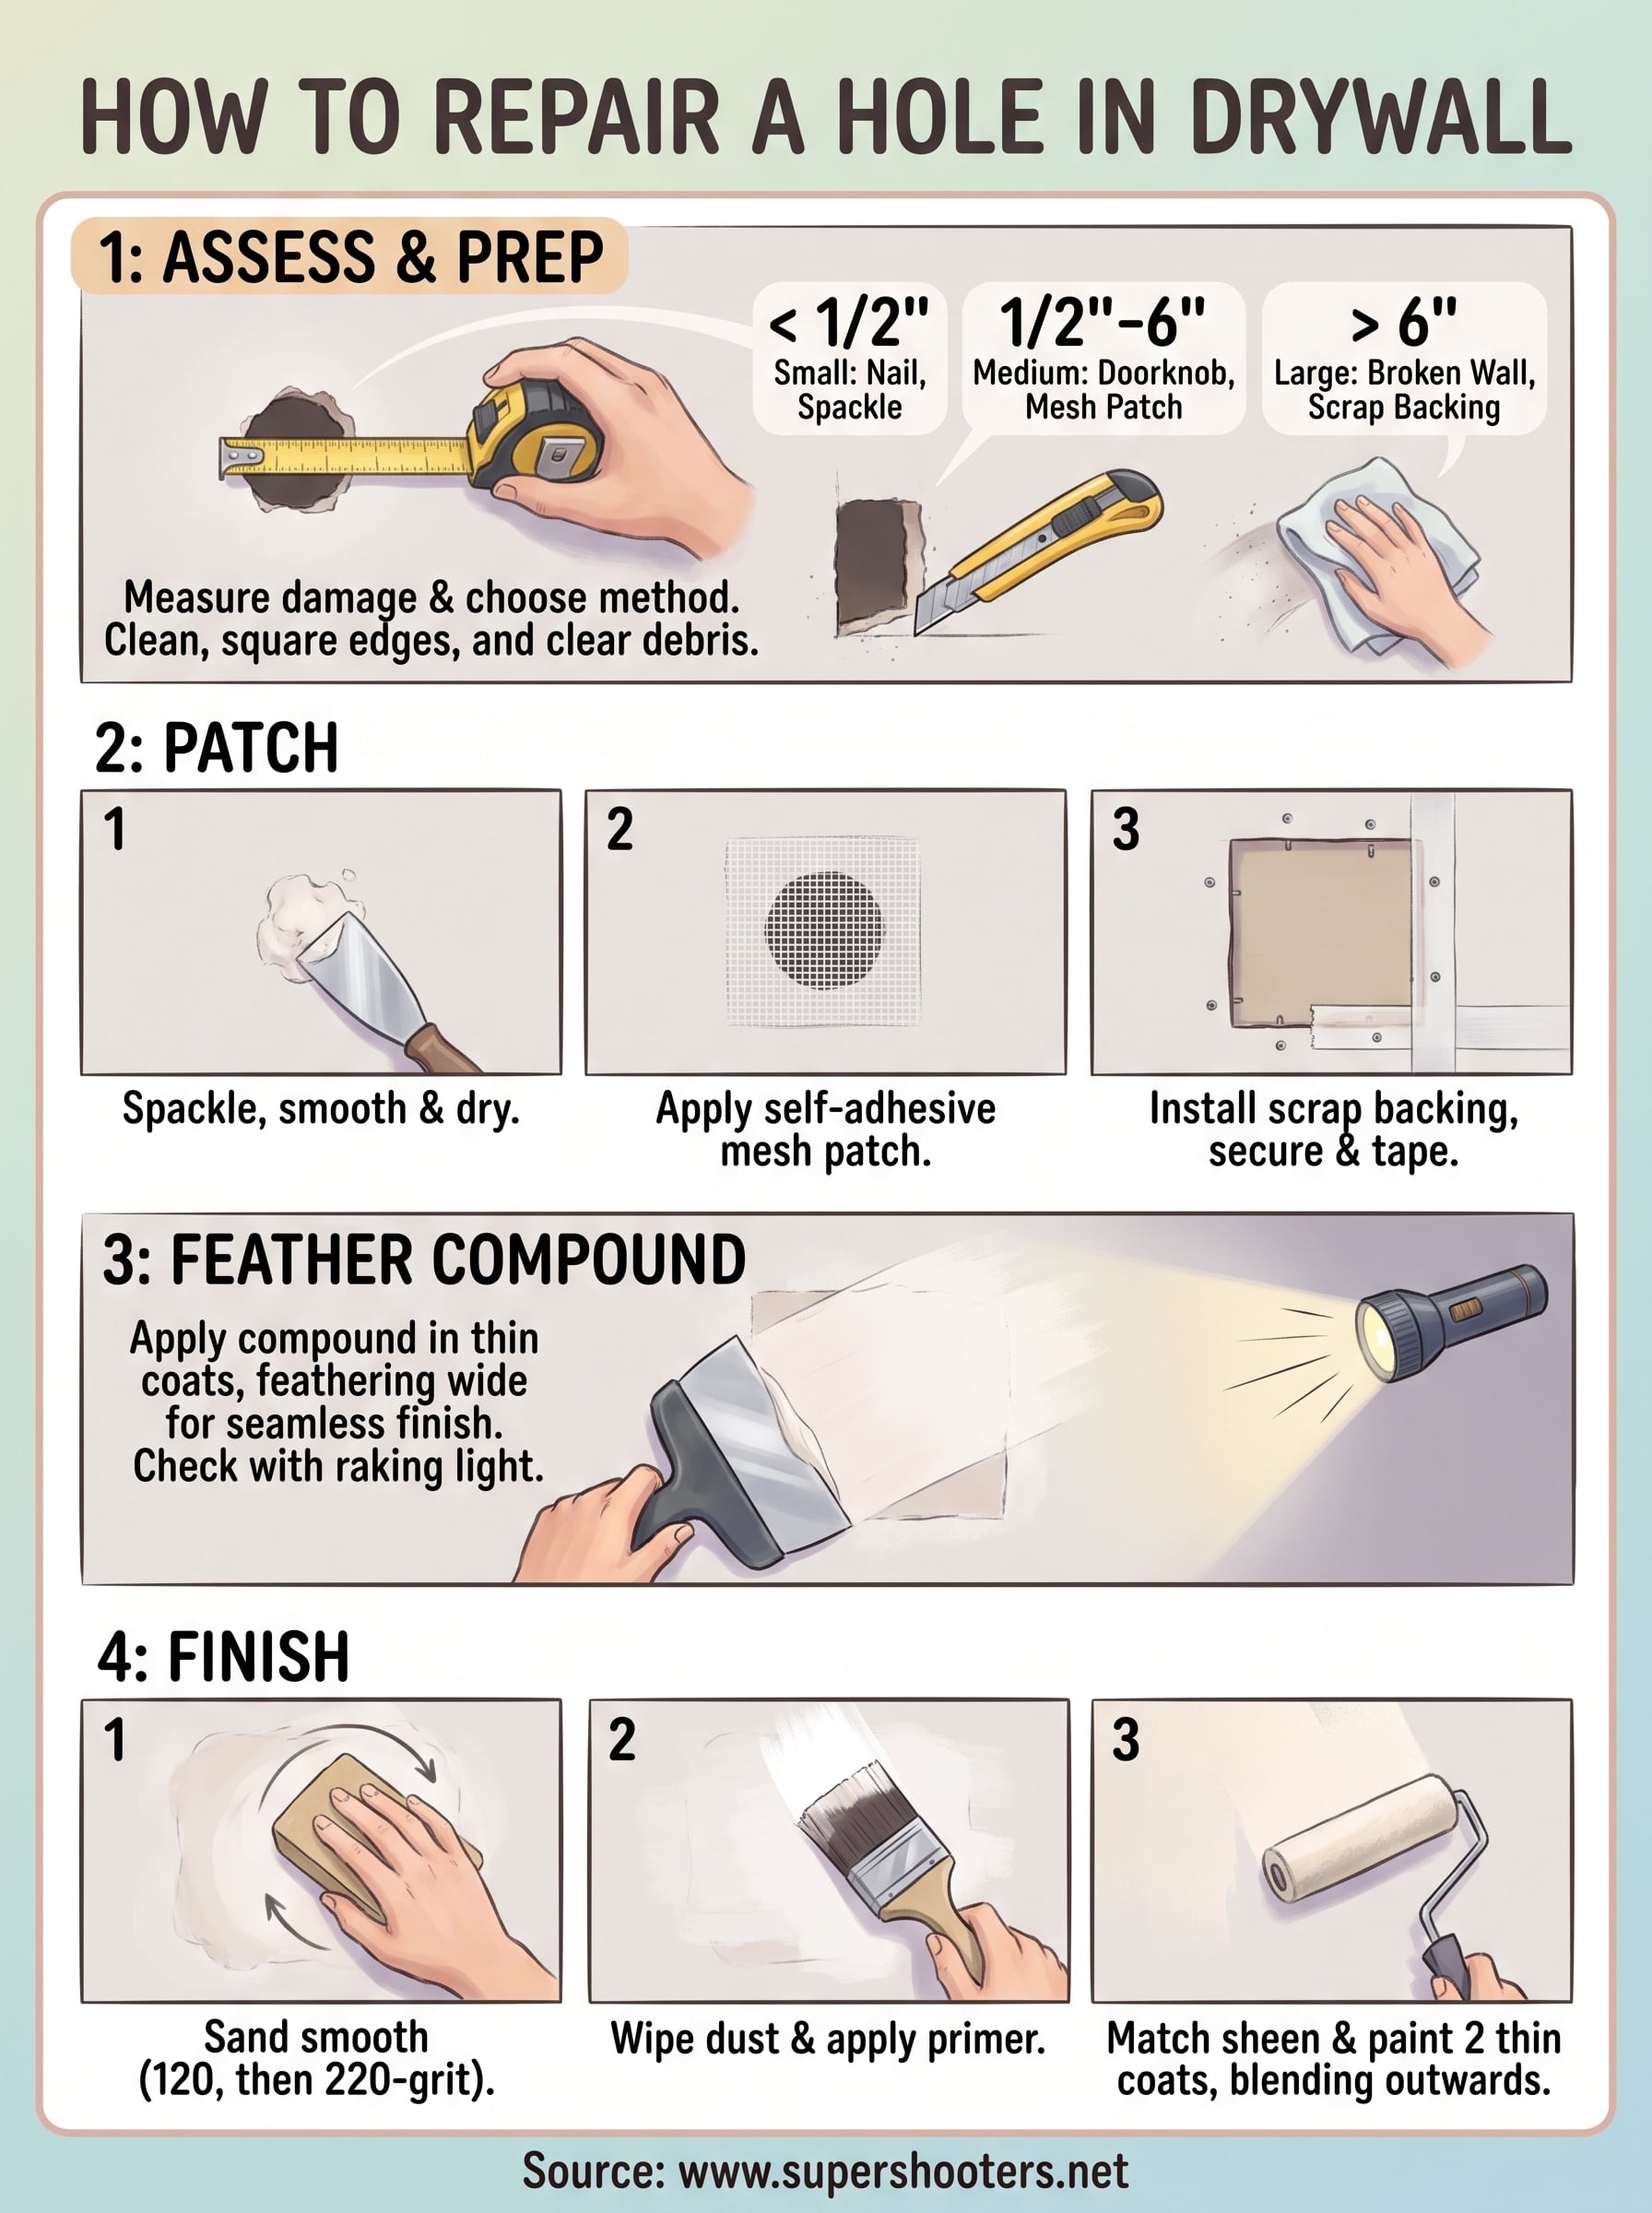
Drywall damage generally falls into three categories, and each one calls for a different approach. Small holes from nails or screws need almost nothing. Medium holes, roughly the size of a doorknob or fist, need a patch of some kind. Anything approaching a 4x4 hole in drywall or larger needs a full scrap-and-mud repair with backing support.

Hole Size Typical Cause Repair Method
Under 1/2 inch Nail holes, screw holes Lightweight spackle only
1/2 inch to 6 inches Doorknob dents, punches Self-adhesive mesh patch
6 inches and larger Accidental impact, removed fixtures Drywall scrap backing + joint tape

Match your patch method to the hole size first, and the rest of the repair almost takes care of itself.

Build your supply list

Once you know your category, gather everything before you start cutting into the wall. Running back and forth mid-project dries out your joint compound and wastes an afternoon. Most homeowners can find everything on this list at a local hardware store for under $30, and if you're starting from scratch, here are the seven tools worth owning for drywall patching.

  • Utility knife or drywall saw
  • 120-grit and 220-grit sanding sponge
  • Self-adhesive mesh patch (for medium holes)
  • Scrap piece of drywall, slightly larger than the hole (for large holes)
  • Joint compound (all-purpose or lightweight)
  • 4-inch and 6-inch putty knives
  • Paper or mesh joint tape
  • Primer and matching paint
  • Drop cloth and painter's tape

Setting up your work area matters too. Lay a drop cloth under the repair zone, since sanding drywall mud creates fine dust that settles everywhere. If the damaged section is near a light fixture or electrical outlet, kill the power at the breaker before you start cutting, just in case a wire runs closer to the surface than you'd expect.

Step 1. Clean and prep the hole

Start by removing any loose or crumbling drywall around the damaged area. Ragged edges won't hold joint compound well, and leaving them in place guarantees a lumpy repair later. Use your utility knife to trim away torn paper facing and knock off any drywall crumbs hanging inside the hole, working until you have a clean opening with solid edges all around.

Square up the edges

For anything bigger than a nail hole, take a few extra minutes to square off the opening with your utility knife or drywall saw. A clean rectangle or square is far easier to patch than an irregular tear, especially if you're moving toward a scrap-and-mud repair. This step matters most when you're working toward a patch a 4x4 hole in drywall situation, since a scrap patch needs straight edges to sit flush against.

A clean, squared-off opening is the single biggest factor in whether your patch looks seamless or sloppy.

Clear away dust and debris

Vacuum the area or wipe it down with a dry cloth before you touch any compound. Dust left behind on the surface keeps joint compound from bonding properly, and that means cracking or peeling down the road. Check behind the hole too, since insulation, wiring, or old anchors sometimes hide just out of sight.

Inspect the surrounding wall while you're in there. Soft or crumbling drywall beyond the visible hole signals water damage, and patching over it without addressing the underlying moisture just delays a bigger repair, so learn how to repair water damaged drywall before you patch. If the drywall feels damp or discolored, dry it out completely before moving forward with any drywall hole repair .

Step 2. Patch the hole with the right method for its size

Now that the opening is clean and squared off, it's time to actually close it up. The patch method you choose depends entirely on the size category you identified earlier, so don't reach for spackle on a hole that really needs mesh and mud.

Small holes: spackle and done

Simply press lightweight spackle into the hole with a putty knife, smoothing it flush with the surrounding wall, which is really all patching a small hole in drywall yourself takes. Let it dry for the time listed on the container, usually two to four hours, then check for shrinkage. A second thin coat often fixes any dip left behind once the first layer cures.

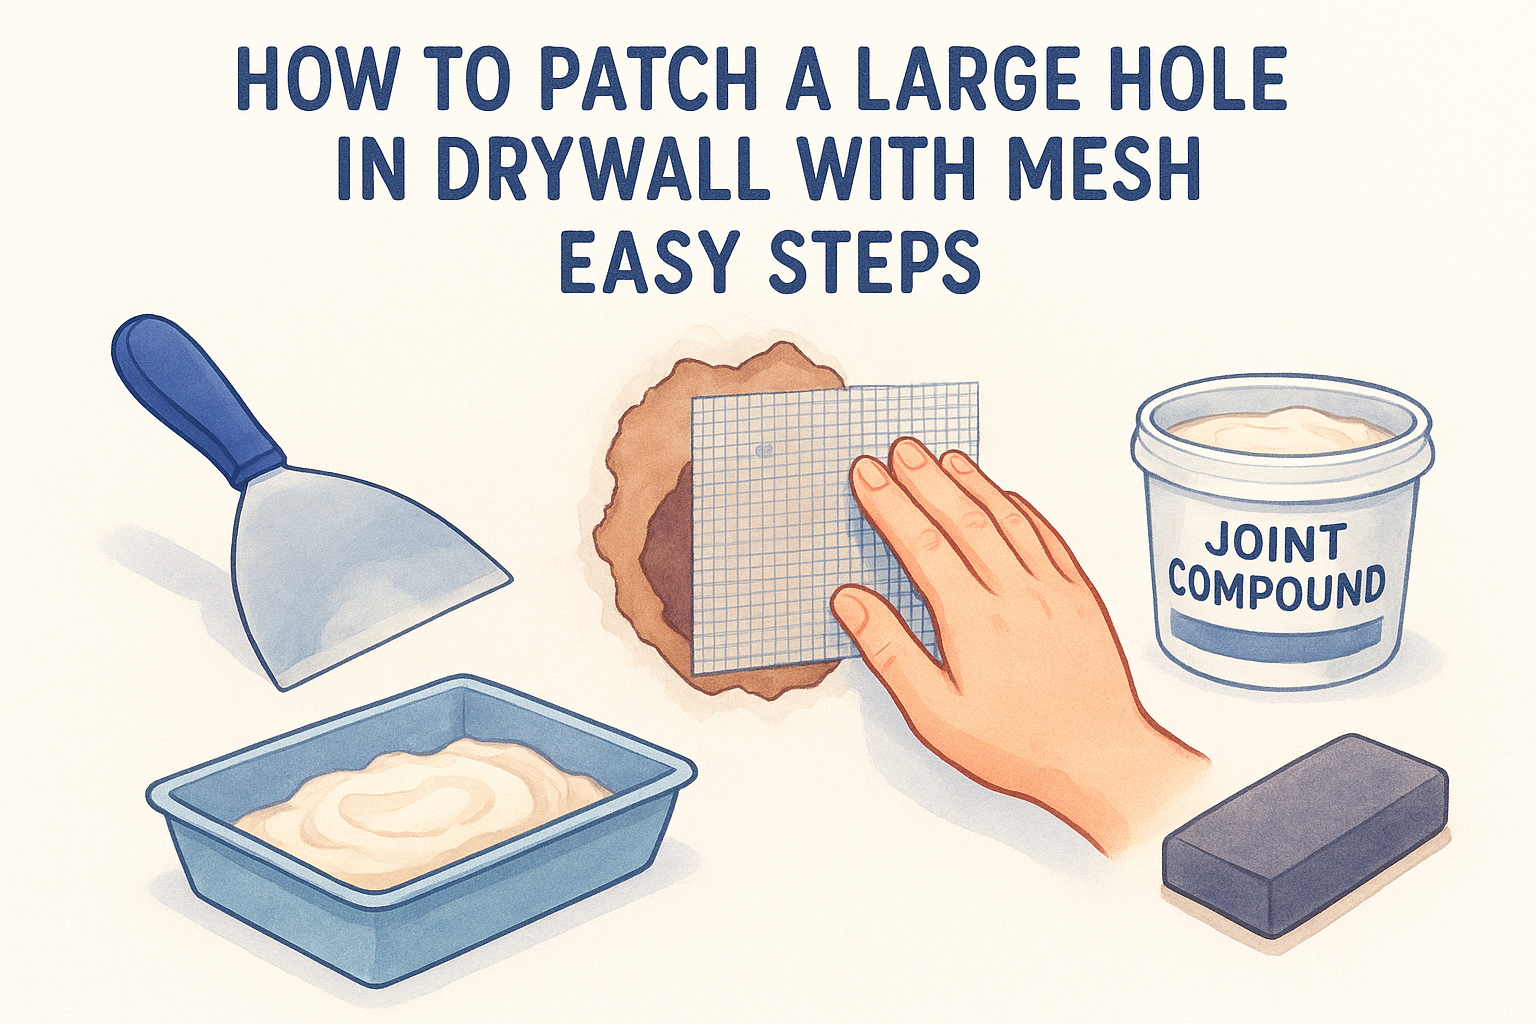
Medium holes: self-adhesive mesh patch

Center the self-adhesive mesh patch directly over the hole and press it firmly so it sticks to the surrounding drywall paper. This is the fastest way to handle a doorknob-sized gap without cutting new drywall, and there are patching kits sized for every hole if you'd rather buy everything in one box.

A mesh patch turns a 20-minute repair into a wall you'd never guess was ever damaged.

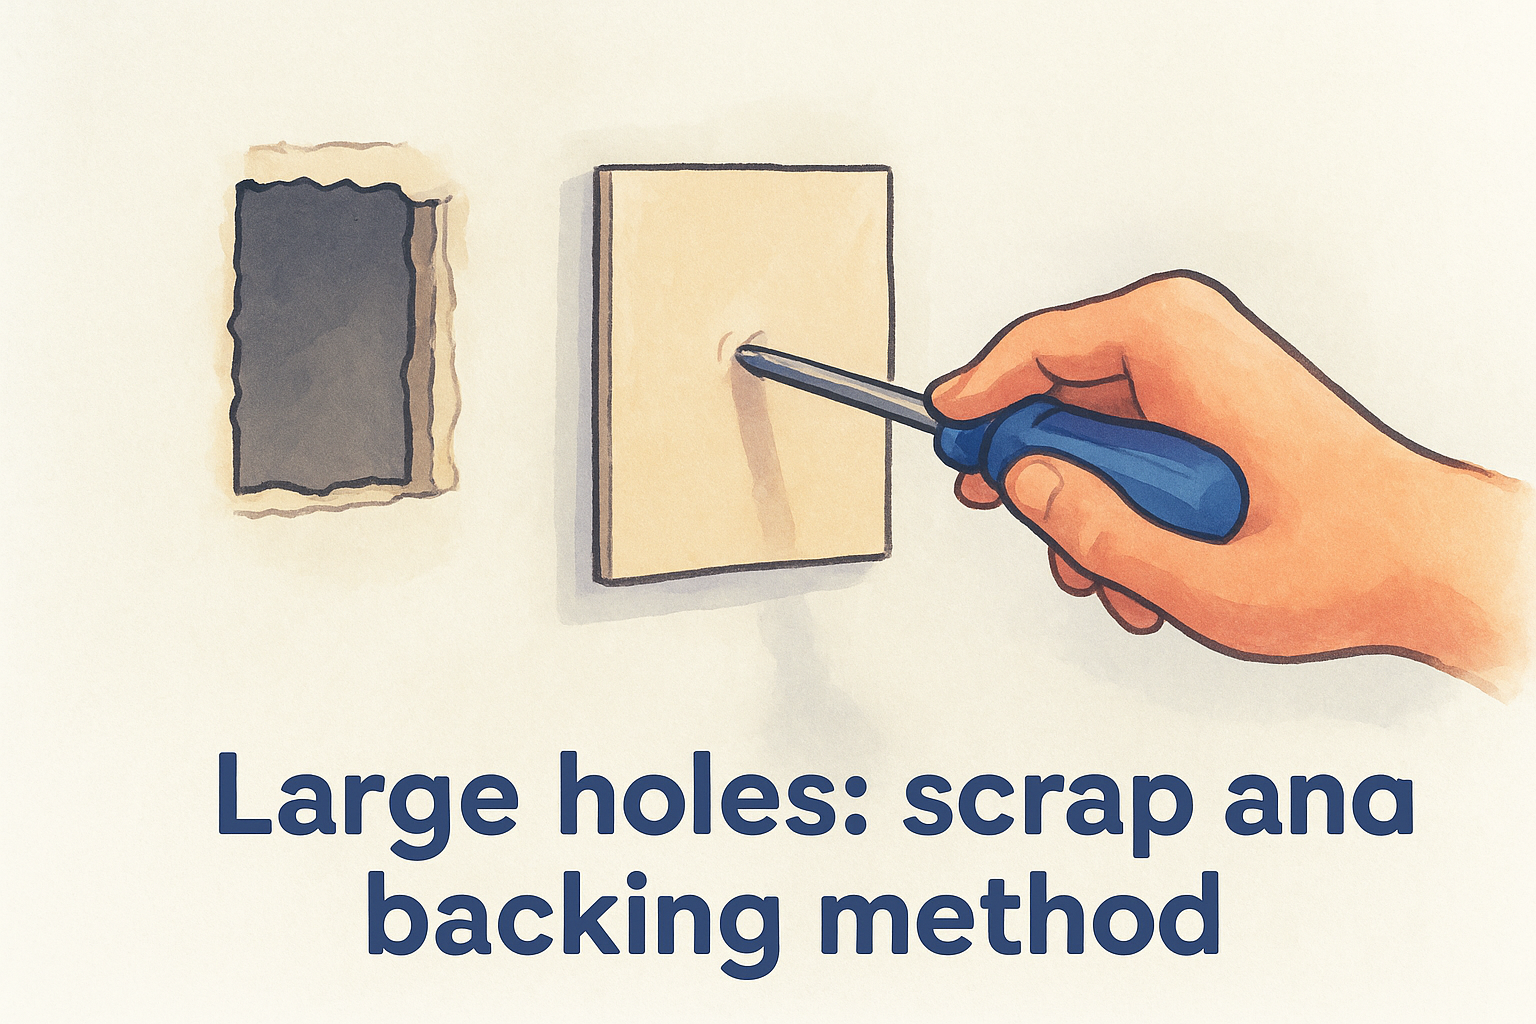
Large holes: scrap and backing method

For anything reaching a 4x4 hole in drywall or bigger, cut a drywall scrap about two inches larger than the opening on each side, the same starting point used for a California patch or cleat repair on a large hole. Slide it partway into the hole, hold it flush against the back of the surrounding wall, and screw through the face into the scrap to anchor it. Cover the seams with paper or mesh joint tape before moving to compound. This backing gives your patch something solid to bond to instead of floating in open space.

Step 3. Apply and feather the joint compound

Once your patch is secured, load a 6-inch putty knife with joint compound and spread a thin layer over the entire repair, working from the center outward. This first coat locks the tape or mesh in place and starts building the flat surface you're after. Don't try to fill the whole depth in one pass, since thick compound cracks as it dries and takes far longer to cure.

Feather the edges wide

The real skill in joint compound application is feathering, meaning you spread the mud thinner and thinner as you move away from the patch until it blends invisibly into the surrounding wall. Drag your putty knife at a low angle, extending each coat about two inches beyond the last one, which is the core of feathering mud for a seamless finish. Skipping this step is the number one reason DIY patches show up as a visible bump under paint.

Feathering the edges wide is what separates a patch you can see from one you can't.

Let each coat dry fully

Apply two to three thin coats total, letting each one dry completely, usually 24 hours, before adding the next, though how many coats of mud you really need depends on the repair. Check the label on your joint compound, since lightweight formulas often dry faster than all-purpose ones. Rushing this stage is the second most common mistake homeowners make, right behind skipping the feathering.

Check your work under raking light

Before you call the mudding phase done, shine a flashlight sideways across the wall at a low angle. This raking light exposes ridges, dips, and uneven spots that look invisible under normal room lighting but show up glaringly once paint goes on. Fix any high or low spots now with a light skim coat rather than discovering them after the final coat of paint dries.

Step 4. Sand, prime, and paint the repair

Once your final coat of joint compound has cured completely, and a patch usually needs a full day before painting, grab a sanding sponge and smooth the patch until it disappears into the wall. Start with 120-grit to knock down ridges, then switch to 220-grit for a finish pass. Sand in gentle circles rather than pressing hard in one spot, since aggressive sanding can gouge the paper facing on the surrounding drywall and create a new problem to fix.

Wipe down before priming

Wipe the sanded area with a damp cloth to pick up dust before you open a can of primer. Skipping primer is one of the most common shortcuts homeowners take, and it's why so many patches show up as a dull, flat spot under paint years later. Joint compound absorbs paint differently than the rest of your wall, so an unprimed patch will "flash" through even a fresh coat of matching color.

Skip the primer and your perfect patch job will haunt you every time the light hits that wall.

Match your paint and blend the edges

Apply one coat of primer directly over the repair, let it dry per the label, usually about an hour, then move on to paint. Use the same paint sheen as the rest of the wall, since a mismatched sheen shows up just as clearly as a mismatched color, even when the hue is dead-on.

  • Feather the paint roller lightly at the edges of the patch
  • Blend outward toward the nearest corner or trim line
  • Apply two thin coats rather than one heavy one
  • Let each coat dry fully before judging the color match

Step back under normal lighting once it's dry. If the patch still stands out, a full wall repaint often blends better than chasing a partial touch-up.

When to call in the professionals

Most holes you'll ever face fall into the small or medium category, and with the steps above, you can knock those out in a weekend without calling anyone. But know your limits before you start cutting into a wall. If the damage spans multiple studs, if you find soft or discolored drywall pointing to hidden water damage, or if your home was built before the 1980s and the ceiling texture looks suspicious, stop and get a professional opinion first. Those situations move beyond a simple patch and into territory where the wrong move costs you more than a bad-looking wall.

Getting a seamless repair on a large hole takes practice most homeowners never build up, and that's fine. We've spent over 30 years matching texture, blending seams, and finishing walls across the Sacramento Valley, so when your patch job gets bigger than a weekend project, ask us about professional drywall hole patching and let our crew handle the rest.

Recent Posts

By cinchweb August 25, 2026
Learn ceiling and drywall repair costs, DIY vs pro tips, and how to vet Sacramento Valley contractors before your next home fix.
By cinchweb August 24, 2026
Learn how do you repair hole in drywall with sizing tips, patching methods, texture matching, and when to call Super Shooters for tricky repairs.
By cinchweb August 21, 2026
Compare 8 top drywall patching kit picks by hole size, price, and dry time, plus when to call a pro instead of DIY.
By cinchweb August 20, 2026
Learn how to paint a popcorn ceiling step by step, asbestos testing, prep, tools, and application tips from Sacramento's Super Shooters experts.
By cinchweb August 20, 2026
Learn how to patch small hole in drywall with mesh, compound, and paint for a seamless fix, plus signs it's time to call a pro.
By cinchweb August 19, 2026
Learn joint compound drywall repair step-by-step: tools, taping, feathering, sanding tips, and when to call Super Shooters for professional help.
By cinchweb August 17, 2026
Discover the 6 essential tools for drywall repair, plus costs and tips—and learn when Sacramento Valley homeowners should call a pro instead.
By cinchweb August 16, 2026
Discover 5 must-have popcorn ceiling removal tools, from bagged scrapers to asbestos test kits, plus when to call Super Shooters instead.
By cinchweb August 15, 2026
Learn how to vet drywall repair contractors, what to expect during repairs, pricing factors, and how licensing and warranties protect your home.
Show More