
August 25, 2026
Ceiling and Drywall Repair: Costs, Process, and Hiring Tips
A cracked ceiling or a water-stained patch of drywall never fixes itself. It sits there, gets worse after the next rainstorm or settling shift, and eventually you're staring at a bigger repair bill than if you'd handled it early. If you're searching for ceiling and drywall repair right now, you're probably trying to figure out two things: what a fair price looks like and who actually does this work well in your area.
This guide answers both. You'll get a realistic breakdown of repair costs for common issues like settlement cracks, water damage, and texture matching, plus a clear picture of what the repair process actually involves from inspection to final finish. We'll also cover what separates a rushed patch job from a repair that holds up for years.
We've spent over 30 years repairing ceilings and walls across Sacramento Valley homes, so this comes from thousands of real jobs, not guesswork. Whether you're dealing with an aging popcorn ceiling, a plaster crack, or storm damage, you'll walk away knowing what to expect and how to hire a contractor you can trust to do it right the first time.
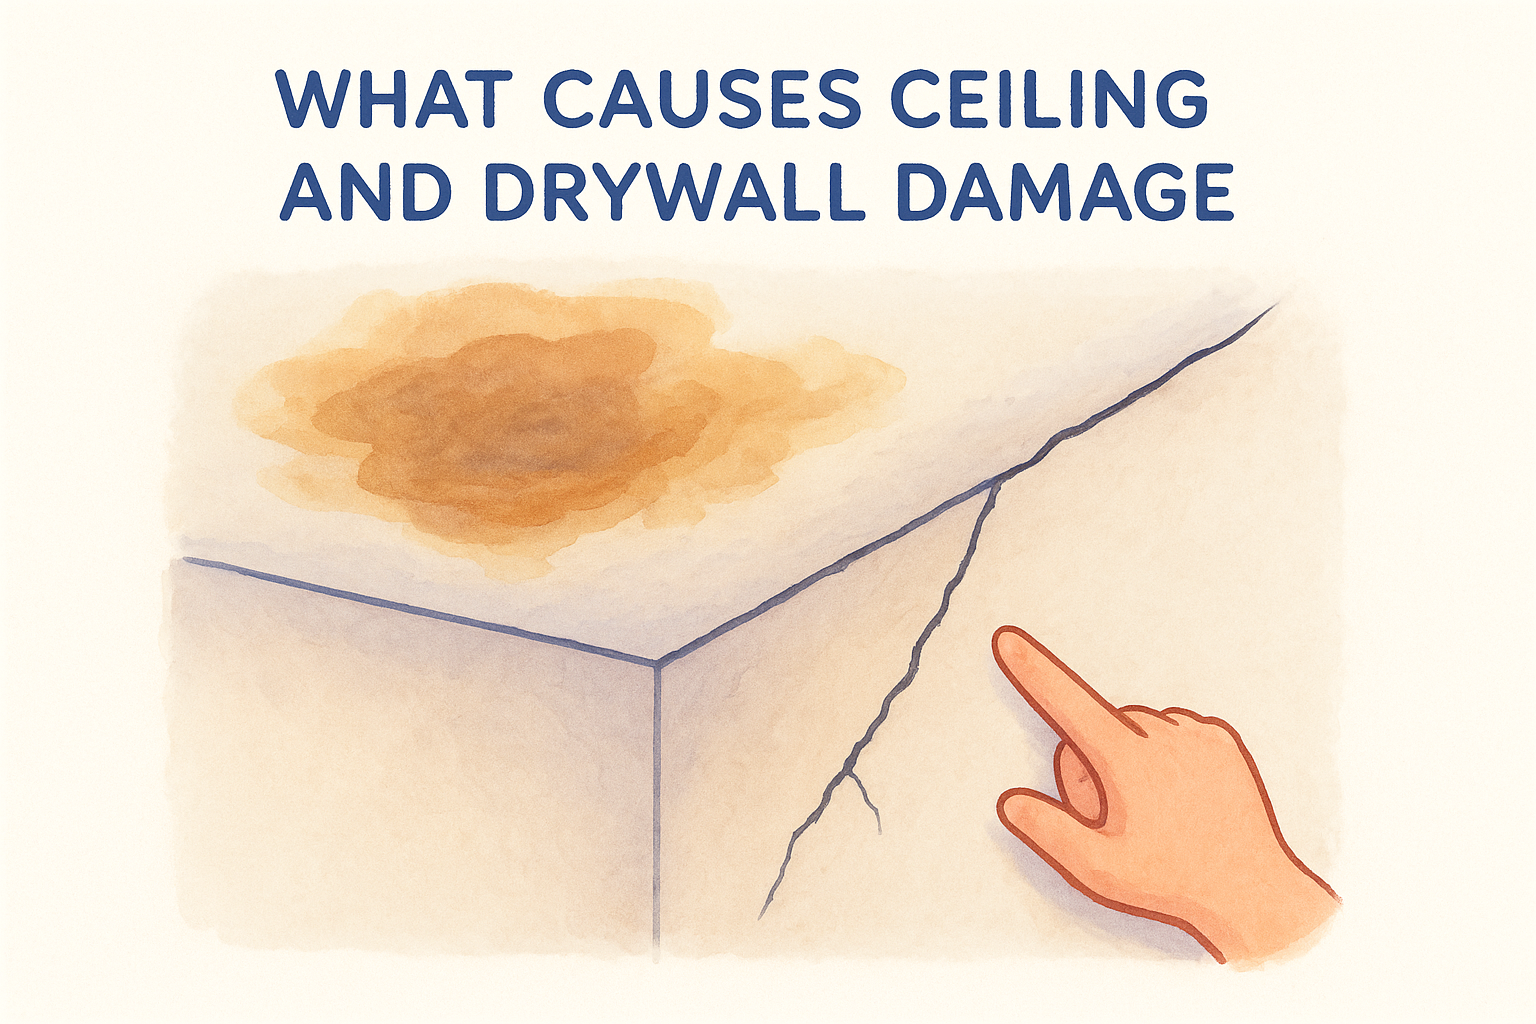
What causes ceiling and drywall damage
Most ceiling and drywall problems trace back to a handful of root causes, and knowing which one you're dealing with changes both the repair method and the price tag. Before you call anyone, it helps to understand what's actually happening behind that crack or stain.
Water, age, and structural movement
Water is the number one culprit behind drywall failure. A slow roof leak, a failed shower pan, or an overflowing gutter can soak drywall for weeks before you notice sagging or discoloration. Water damage weakens the paper facing and gypsum core, and once that happens, patching over it without addressing the moisture source just guarantees a repeat repair, which is why repairing water-damaged walls starts with the leak itself. Foundation settling is the other big driver, especially in older Sacramento Valley homes built on expansive clay soil. As the slab shifts seasonally with moisture changes, you get settlement cracks that often run diagonally from door and window corners and usually call for crack repair for homes that are settling.
A crack that keeps reappearing after painting almost always means the underlying movement or moisture hasn't been fixed, only the surface.
Other common causes include:
- Nail pops and seam failure from natural drywall aging or poor original installation
- Impact damage from furniture moves, doorknobs, or accidental holes
- Humidity and condensation in bathrooms and garages that break down texture and paint
- Poor ventilation in attics, which accelerates ceiling sagging over time
When damage points to something bigger
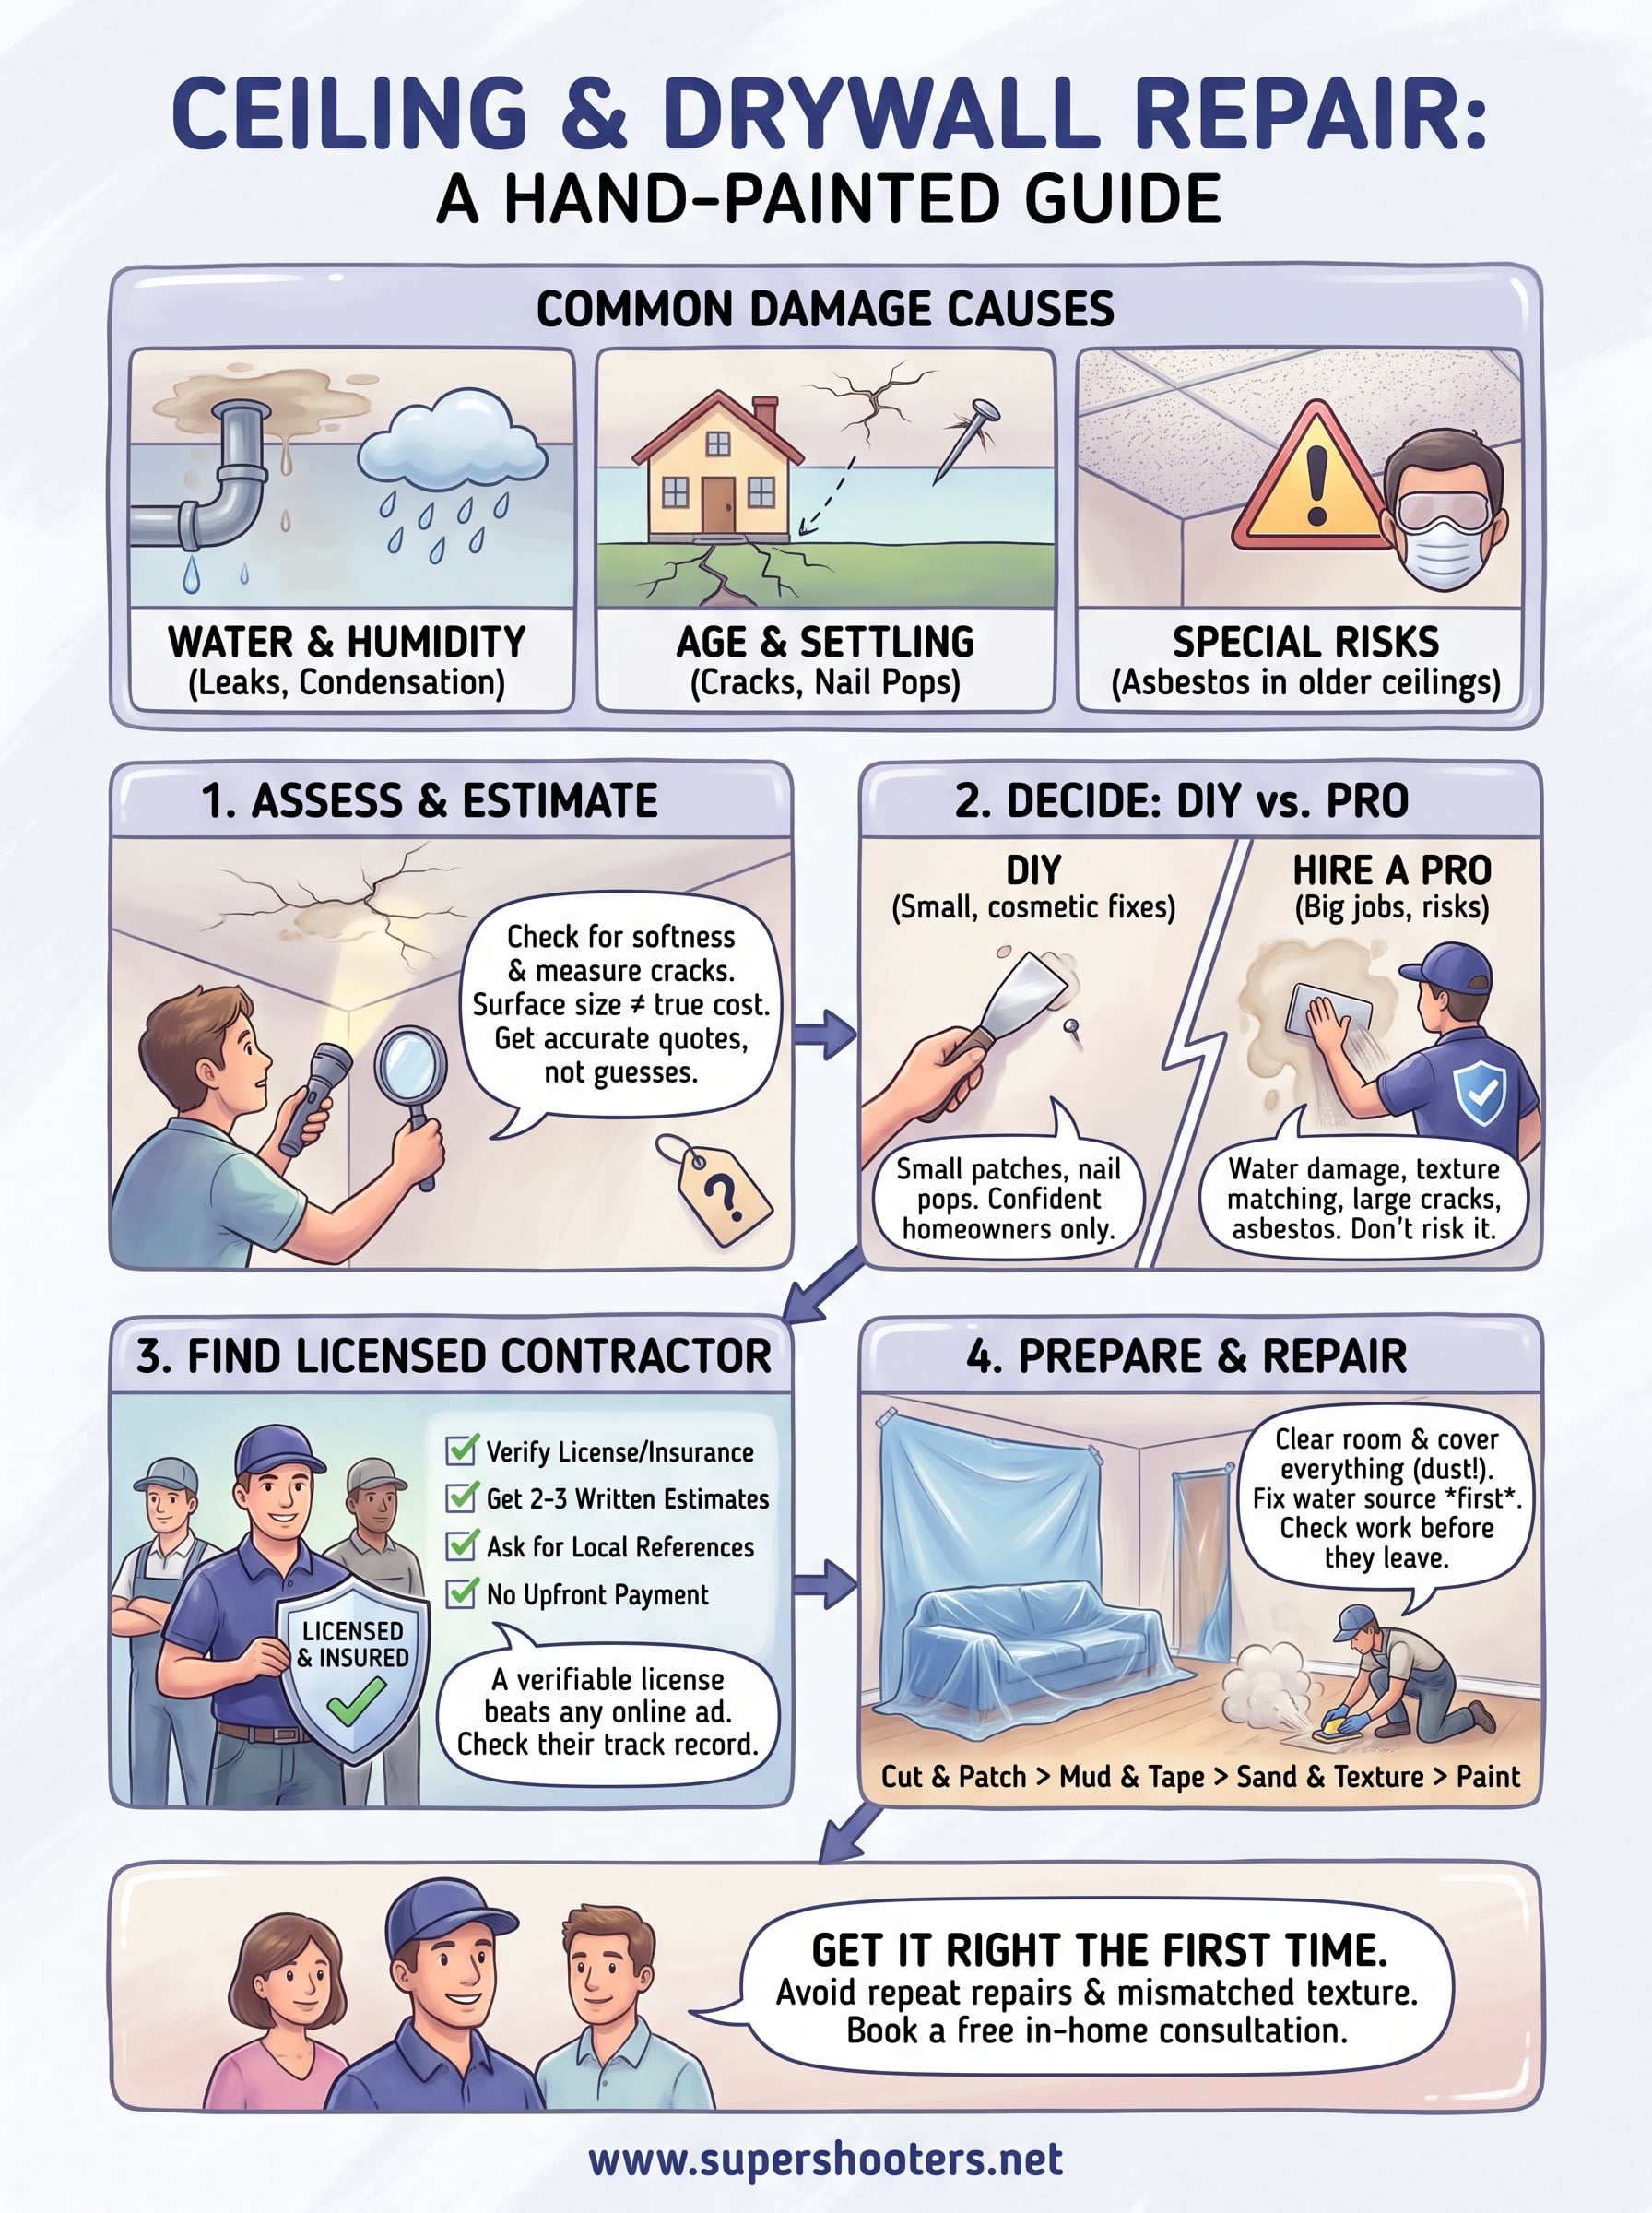
If your home was built before the early 1980s and has a textured or popcorn ceiling, damage or deterioration can expose more than a cosmetic problem. Many older acoustic ceilings contain asbestos, and disturbing them with a DIY patch or sanding job can release fibers into the air. If you notice crumbling texture, water staining, or you're planning any renovation that involves removing an older ceiling, it's worth having it tested before touching it. Our team handles asbestos removal and abatement as part of standard ceiling work, so if you're unsure what you're dealing with, get a professional assessment first rather than guessing your way into a bigger problem.
Step 1. Assess the damage and estimate repair costs
Before you pick up the phone, walk through your home with a flashlight and note every crack, stain, or soft spot you find. Ceiling and drywall repair costs swing wildly depending on size, cause, and whether texture matching is involved, so a clear inventory helps you get accurate quotes instead of guesses.
What to check during your walkthrough
Press gently on stained or bubbled areas to check for softness, which signals active moisture. Measure crack length and note whether it's a hairline surface crack or one wide enough to fit a coin, since that difference often separates a $150 patch from a $600 repair. Photograph everything before you touch it; contractors use these photos to give faster phone estimates.
The size of the visible damage rarely tells the whole story, so never estimate cost from the surface crack alone.
Typical repair cost ranges
Here's a general breakdown based on the jobs we see most often across Sacramento Valley homes, and a fuller 2026 drywall repair price list by repair type if you want more detail:
| Repair Type | Typical Cost Range |
|---|---|
| Small crack or nail pop patch | $150 - $350 |
| Water-damaged ceiling section | $400 - $1,200 |
| Full popcorn ceiling removal | $1,500 - $3,500 |
| Texture matching and blending | $200 - $600 |
| Asbestos testing and abatement | $1,500 - $4,500+ |
Actual pricing depends on square footage, ceiling height, and access, and ceiling texture jobs are usually quoted by the price per square foot to remove popcorn ceilings. Most reputable contractors, including our crews, offer free in-home consultations so you get a written number instead of a phone guess.
Step 2. Decide between a DIY fix and hiring a pro
Small, cosmetic fixes are fair game for a confident homeowner with a putty knife and a weekend. Anything involving structural cracks, water source damage, or texture matching on a visible ceiling usually turns into a bigger job than expected once you start.
When DIY makes sense
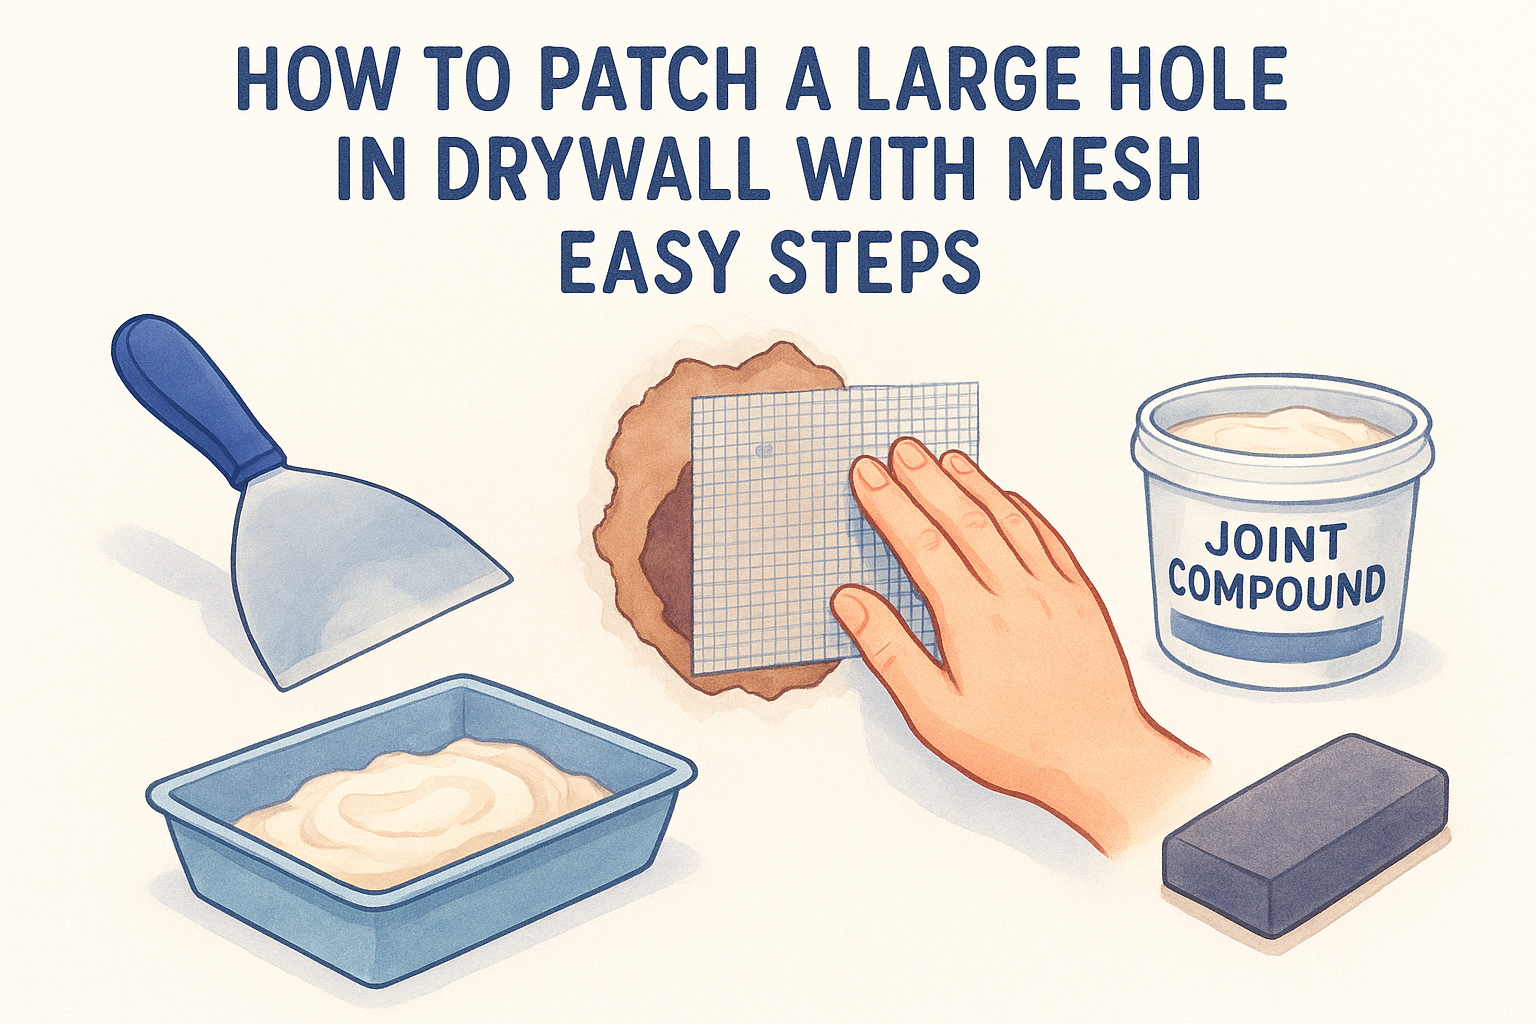
Generally, a DIY drywall repair works for nail pops, small holes under 6 inches, and hairline settlement cracks that aren't actively growing, and our step-by-step drywall and ceiling repair guide walks through each stage. You'll need joint compound, mesh tape, a putty knife, and sandpaper, plus patience for multiple drying coats. Skip DIY entirely if you suspect asbestos, since sanding old texture without testing first can release fibers into your home's air.
When to call a professional
Call a pro when you're dealing with any of the following:
- Water stains larger than a dinner plate, which often signal hidden rot behind the drywall
- Ceiling texture that needs to blend seamlessly with surrounding areas
- Cracks wider than a quarter inch or ones that reappear after patching
- Pre-1980s popcorn ceilings that haven't been tested for asbestos
- Any repair on a vaulted or high ceiling where scaffolding is required
If matching texture or hiding a repair seam matters to you, hire a pro; blending is the hardest part of any drywall job to get right.
Ultimately, the deciding factor isn't cost, it's risk. A botched ceiling repair on a load-bearing area or an asbestos-containing surface costs far more to correct later than paying a licensed contractor to do it once.
Step 3. Find and vet a licensed local contractor
Once you know the scope of your repair, the next job is finding someone qualified to do it. A licensed local contractor with a real track record beats a stranger from an online ad every time, especially for anything touching structural or asbestos concerns.
What to verify before you hire
Start by confirming the contractor's license number through your state's contractor licensing board, and check that it covers drywall and ceiling work specifically, since choosing the right drywall repair contractor comes down to what you can verify. Ask how long they've operated in your area, since a company with 30 years of history in Sacramento Valley has weathered enough seasonal cracking and storm damage to know what actually works long-term versus what just looks fixed for a year.
A license number you can verify online tells you more about a contractor than any five-star review ever will.
Run through this checklist before signing anything:
- Confirm active licensing and insurance coverage
- Ask for references from local ceiling repair jobs, not just general remodeling
- Request a written estimate, not a verbal quote
- Ask whether the estimate includes texture matching and paint
- Confirm no upfront payment is required until work is finished
- Ask about warranty coverage on the finished repair
Getting a fair, comparable quote
Get at least two or three free estimates so you can compare scope, not just price, since a cheaper bid that skips texture blending or moisture testing often costs more later. Our team offers free in-home consultations and backs every job with the Super Shield warranty, so you're not gambling on whether the repair holds up after the first rainy season.
Step 4. Prepare your home and complete the repair
Once you've hired a contractor, a little prep on your end speeds up the job and protects the rest of your home from dust and debris. Drywall repair work, especially anything involving texture matching or ceiling removal, kicks up more dust than most homeowners expect.
Before the crew arrives
Clear the work area of furniture, rugs, and wall decor, and move anything fragile out of the room entirely if possible. Cover remaining furniture with plastic sheeting and remove artwork from adjacent walls, since vibration from sanding can loosen hanging hardware. If the repair involves popcorn ceiling removal work or a suspected asbestos area, ask your contractor whether you and any pets need to stay out of the home during containment setup.
Good prep isn't about tidiness, it's about keeping dust and debris from spreading into rooms that were never part of the job.
What happens during the repair
A typical job runs through cutting out damaged drywall, replacing or patching the section, taping and mudding seams, sanding smooth, then blending texture and priming before paint. Water-damaged areas usually need the moisture source fixed first, or the new patch fails within a season. Most ceiling and drywall repair jobs finish in one to three days depending on drying time between coats, though asbestos abatement or full ceiling replacement can stretch longer.
After the work is done
Walk the finished area with your contractor before they leave, checking the texture blend under different lighting and confirming paint coverage matches the surrounding wall. Ask for documentation on any warranty coverage, like our Super Shield warranty , so you have it on file if issues surface later.
Getting your walls and ceilings back to normal
Cracked ceilings and damaged drywall never improve on their own, but now you know exactly how to size up the problem and what a fair repair should cost. Start with an honest assessment of the damage, decide whether it's a weekend DIY fix or a job for a licensed pro, and vet any contractor before they touch your walls. Skipping the vetting step is where most homeowners get burned, so don't rush it just to save a few days.
Getting this right the first time saves you from repeat repairs, mismatched texture, and the headache of hidden moisture or asbestos issues resurfacing later. Sacramento Valley homes have their own quirks, from clay soil settlement to older popcorn ceilings, and a contractor who's handled thousands of local jobs knows how to spot what a first-timer misses. If you're ready for a straight answer on your repair, book professional ceiling and drywall repair with a free in-home consultation and get a written estimate before you decide anything.