


Share this article

October 1, 2026

How to Patch a Nail Hole in Drywall

You took down a picture, moved a shelf, or swapped out a mirror, and now you're staring at a small hole in your wall wondering if this is a job worth calling someone for. It isn't. Learning how to patch a nail hole in drywall takes about ten minutes and a couple of cheap tools you probably already own, and the results look just as clean as anything a professional would leave behind on a small repair like this.

This guide walks you through the exact steps: what materials to grab, how to apply spackle or joint compound correctly, and how to sand and blend the patch so it disappears into the wall instead of standing out as a visible bump or dent. We'll also cover the small details that separate a sloppy patch from an invisible one, like drying time and matching your wall's texture.

We've spent over 30 years repairing drywall across Sacramento Valley homes, and small nail holes are the most common request we get after picture-hanging season and move-outs. Patching drywall nail holes yourself is one of the easiest home repairs there is. But if you've got a wall full of holes, cracked plaster, or damage beyond a quick fix, we're always here for a free estimate.

What you'll need before you start

Gathering everything upfront saves you from tracking primer across your carpet halfway through the job. For a single nail hole in drywall , you don't need a full renovation toolkit, just a handful of items you can find at any hardware store for under $15 total. Most homeowners already have half of this list sitting in a junk drawer or garage shelf.

Tools and materials checklist

Keep the list short and the tools basic. You're not building anything structural here, just filling a small void and blending it into the surrounding surface.

  • Lightweight spackle or premixed joint compound
  • A putty knife (1-inch and 3-inch sizes cover most jobs)
  • Fine-grit sandpaper (150 to 220 grit) or a sanding sponge
  • A damp microfiber cloth
  • Primer (a small sample-size can works fine)
  • Matching wall paint
  • A drop cloth or old towel for the floor

Spackle vs. joint compound: which one to grab

For a hole this small, spackle is usually your best bet. It dries faster than joint compound, shrinks less, and doesn't require a second coat for most nail holes under a quarter-inch wide. Joint compound works too, but it's better suited for larger patches or when you're already blending texture across a bigger repair, and it helps to see spackle and joint compound compared side by side.

A single nail hole almost never needs more than one thin layer of spackle and one round of sanding.

Material Dry time Best for Shrinkage
Lightweight spackle 15-30 min Nail holes, small dings Minimal
Joint compound 24 hrs Larger patches, texture blending Moderate

Once you've got these items laid out on a towel near the wall, you're ready to start the actual repair.

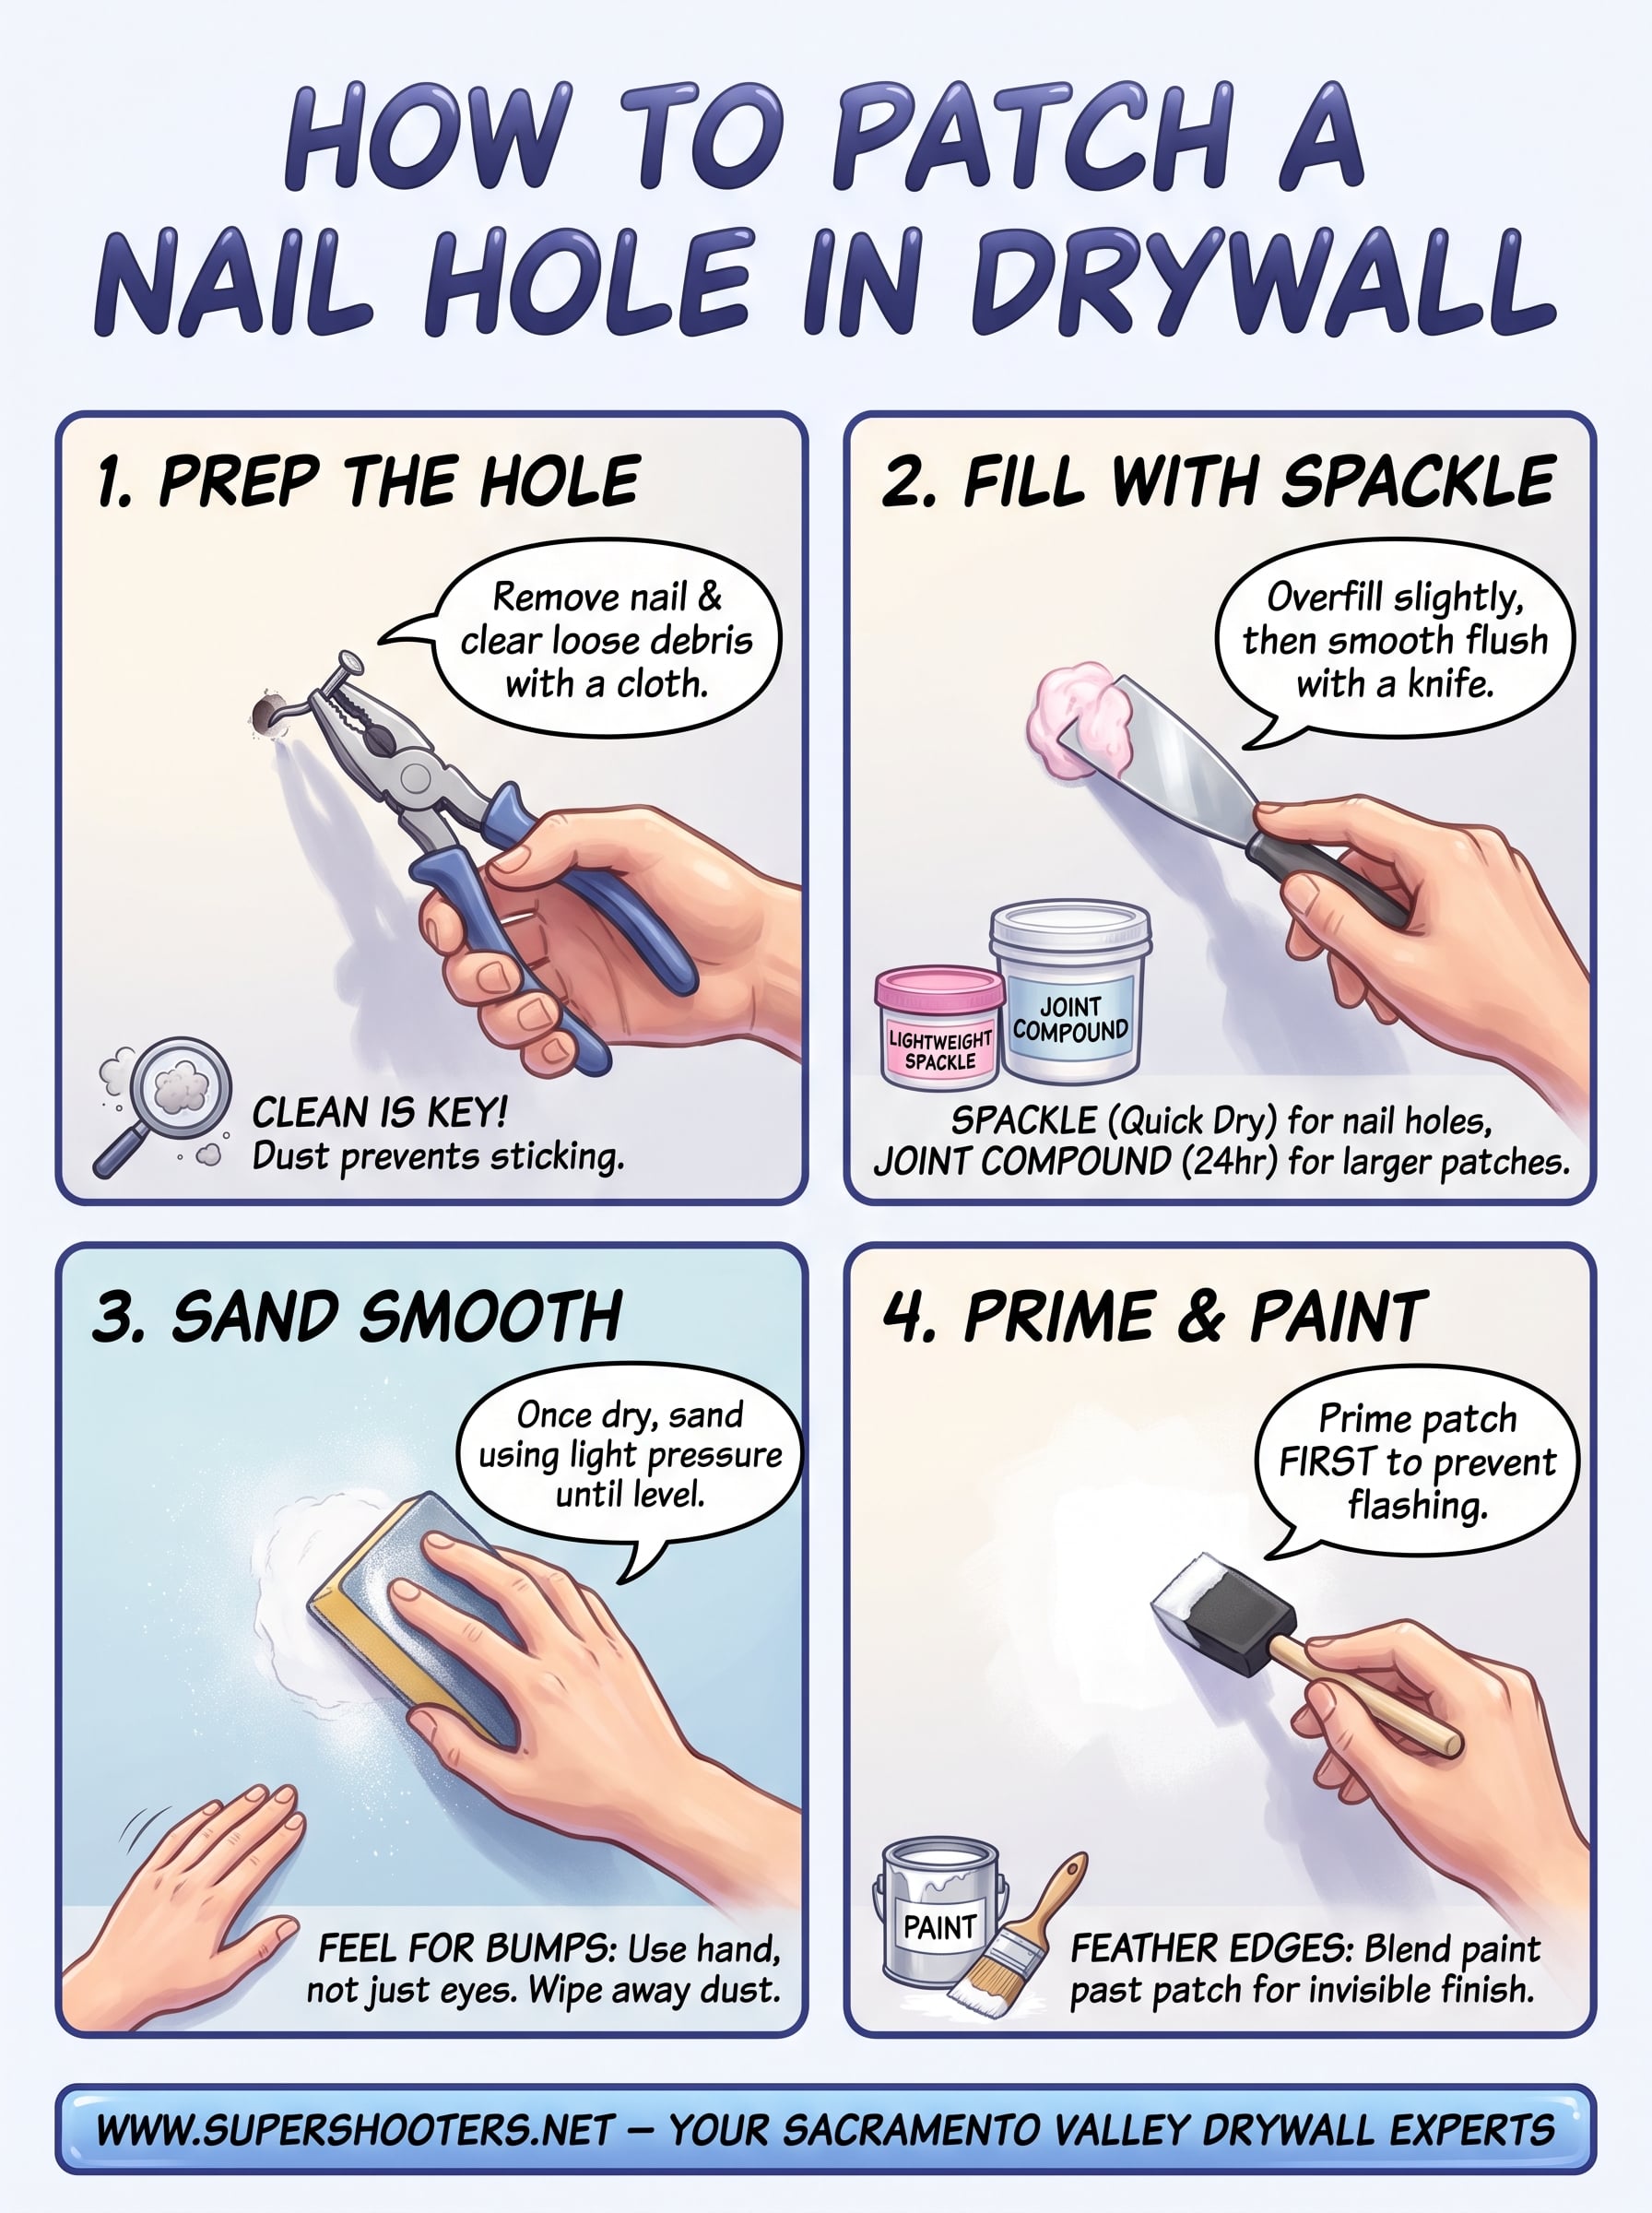
Step 1. Remove the nail and prep the hole

Start by pulling the nail or screw straight out with a claw hammer or pliers, since screw hole repair follows nearly the same process. Wiggling it side to side first loosens it without tearing extra paper off the drywall's surface, which keeps your hole prep clean and simple. If the nail bent on the way out, don't force it. Back it out slowly at the angle it's sitting.

Next, check the edges of the hole for loose paper or crumbling gypsum. Press gently around the opening with your fingertip. Anything that flakes off should come off now, not after you've already applied spackle over it. A patch built on loose material will crack or pop out within weeks.

Spackle only sticks well to a clean, dust-free hole, so skipping the prep step is the number one reason patches fail.

Wipe the area with your damp microfiber cloth to clear away drywall dust and debris. Let it dry for a minute or two before moving on. This small step makes a real difference in how well your fill hole in wall work holds up over time.

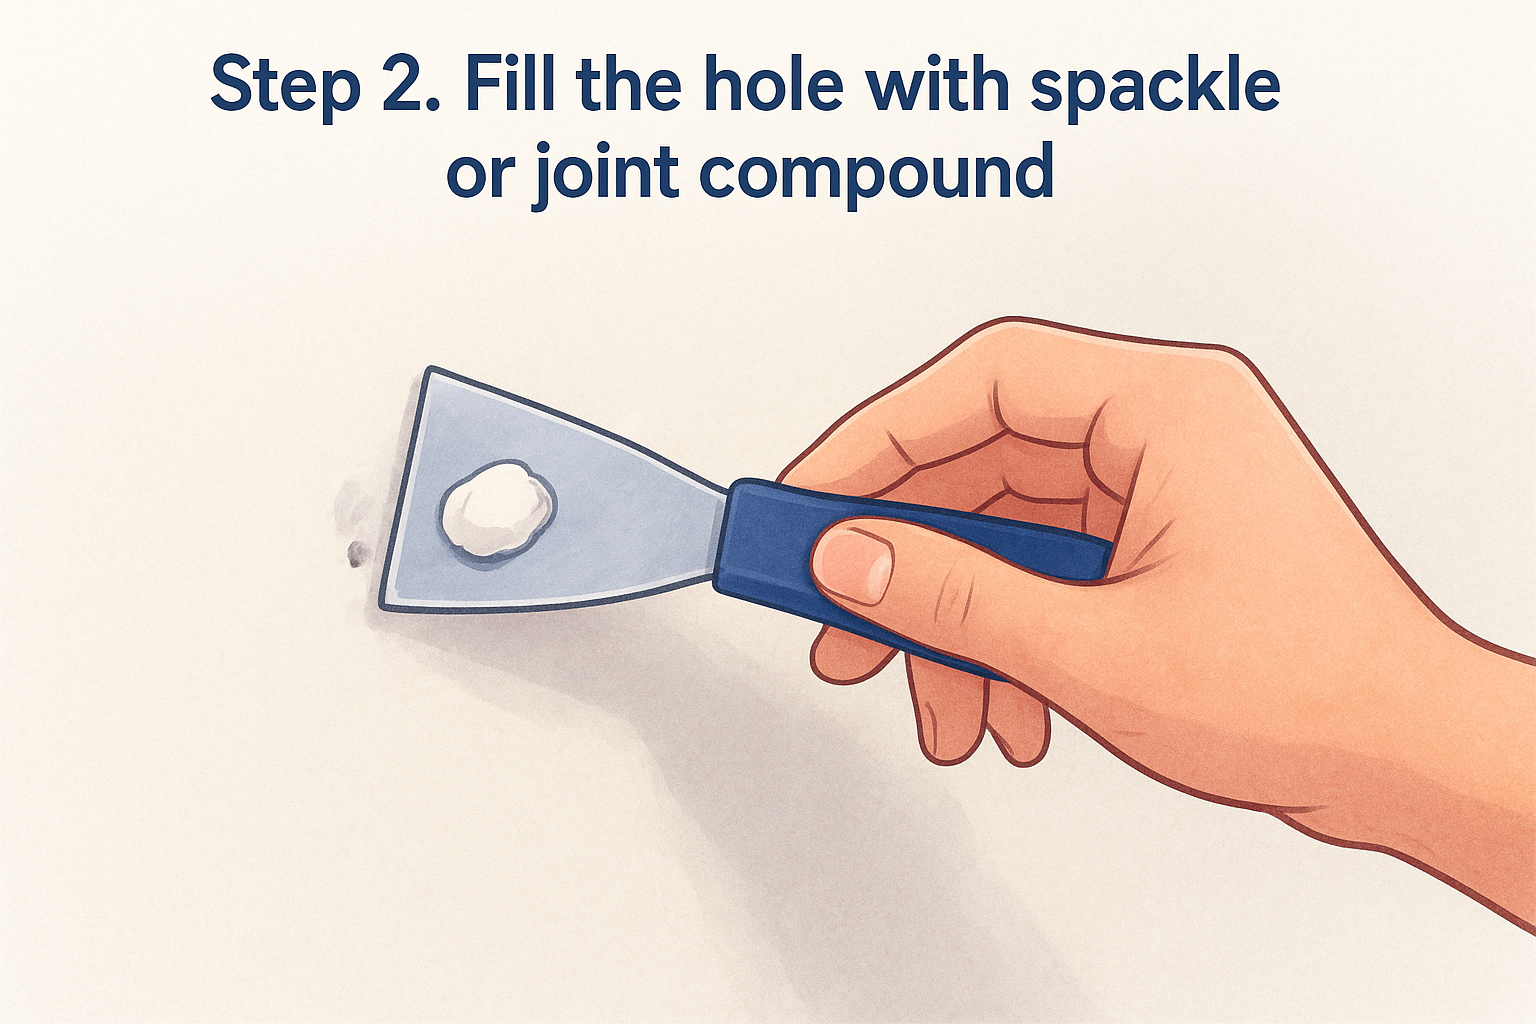
Step 2. Fill the hole with spackle or joint compound

Load a small amount of spackle onto your 1-inch putty knife, about the size of a pea for a typical nail hole, following the same basics as applying spackling for drywall repair anywhere else on the wall. Press the knife against the wall at a slight angle and drag it across the hole, forcing the material into the opening rather than just smearing it on top. Overfilling slightly is fine since you'll sand it flush later, but a thin patch that doesn't reach the back edges of the hole will crack once it dries.

Scrape off the excess with a clean pass of the knife held nearly flat against the wall. This keeps the patch level with the surrounding drywall instead of leaving a raised mound that catches light and shadows once painted.

A flush patch on the first pass saves you an entire round of sanding later.

Check the label on your spackle for dry time , most lightweight formulas set in 15 to 30 minutes, though deeper patches follow how long spackle needs to dry before painting. If the hole is deeper than an eighth of an inch, apply a thin first coat, let it dry completely, then add a second thin layer rather than packing it in all at once.

Step 3. Sand the patch smooth

Once your spackle has fully dried, wrap a piece of fine-grit sandpaper around a small sanding block or use a sanding sponge, then move in light circular motions directly over the patch. Press just hard enough to knock down the high spots. You're not trying to remove material, just smoothing the surface until it's level with the wall around it. Rushing this step with heavy pressure is how you end up with a shallow dip that shows through paint later, so it's worth knowing the basics of sanding drywall for a smooth, paint-ready finish.

Run your hand flat across the patch every few passes to feel for ridges or bumps instead of relying on your eyes alone. Your fingertips catch imperfections that lighting can hide.

A patch that feels perfectly flat under your palm will almost always look invisible once it's painted.

Wipe away the dust with your damp microfiber cloth before moving forward. Leftover dust interferes with primer adhesion and can leave a gritty texture under your topcoat. If you're patching drywall nail holes in a spot with direct sunlight, step back and check the wall at an angle. Raking light exposes flaws a straight-on glance will miss every time.

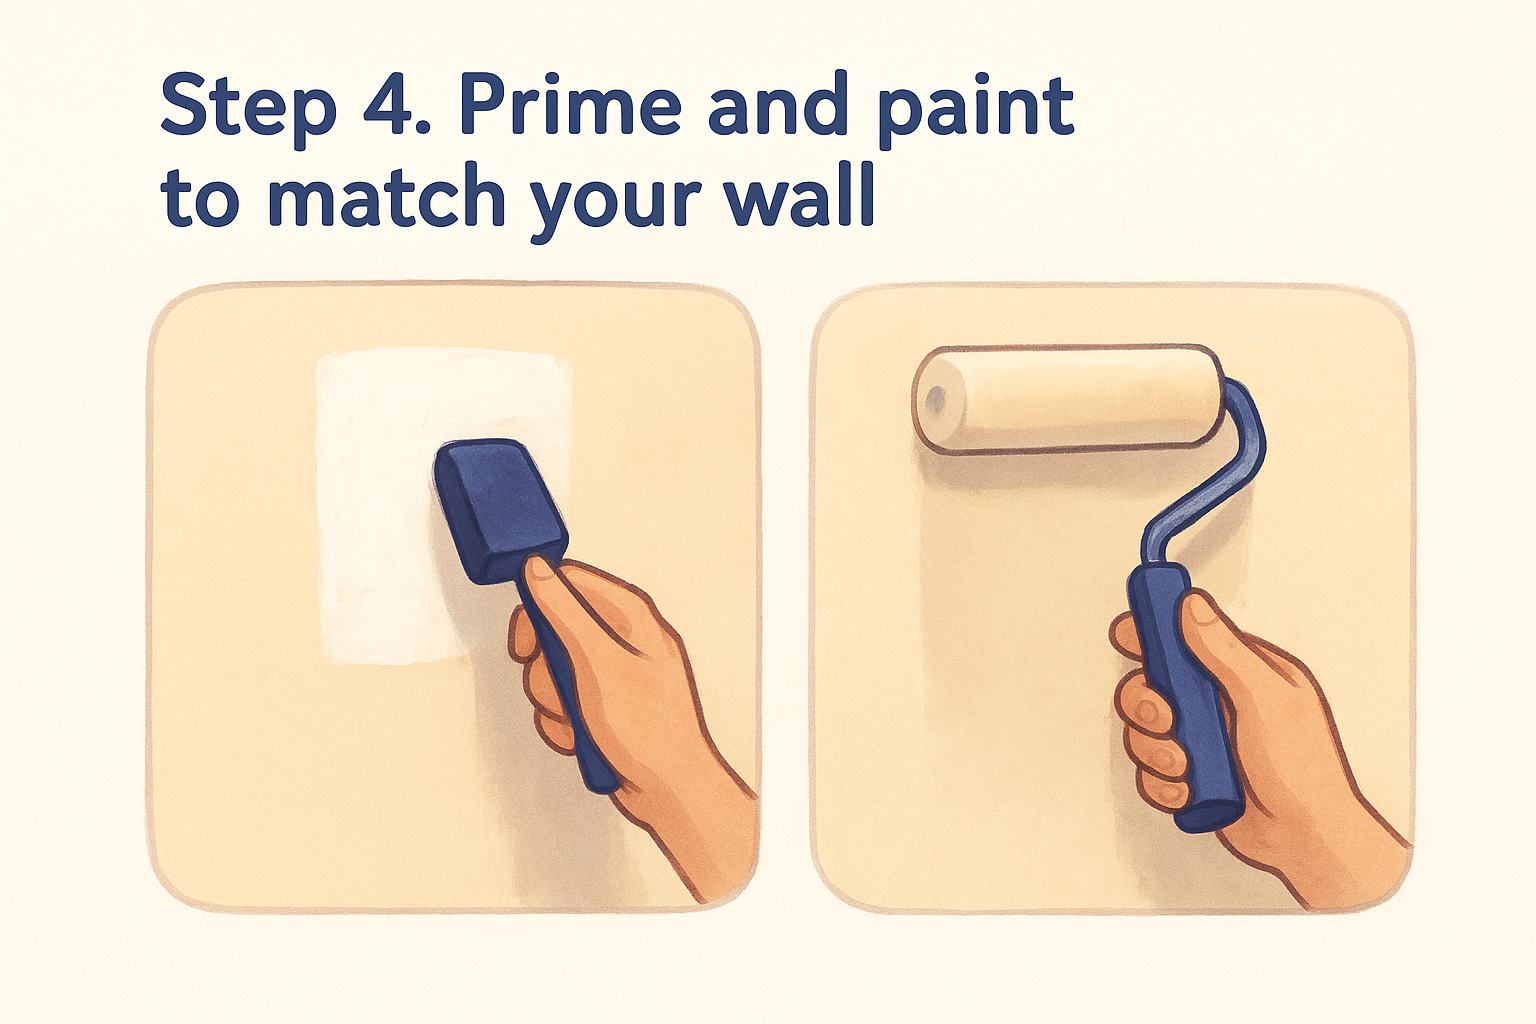
Step 4. Prime and paint to match your wall

Grab a small primer sample and dab it directly over the dried, sanded patch with a foam brush or your fingertip on a rag. Skipping primer is the most common reason a patch shows up as a dull or shiny spot once the topcoat goes on, since spackle absorbs paint differently than the surrounding drywall. Let the primer dry for about 30 minutes before moving forward.

Once it's dry, apply your matching wall paint in thin, even coats using a small brush or a mini foam roller for a smoother finish. Feather the edges outward past the patch itself so the new paint blends into the old rather than sitting as a visible square or circle.

Skipping primer is the single biggest reason a perfectly smooth patch still shows up as a flat spot on the wall.

Check the color match under both daylight and a lamp before calling it done, since some paints shift slightly under different lighting. If your wall paint has aged or faded, a second thin coat over the whole section, not just the patch, usually blends things better than trying to spot-match a single tiny circle.

When it's time to call in a pro

A single nail hole is a ten-minute fix, but not every wall problem stops there. Settlement cracks that keep reopening, water stains that bubble your paint, or a wall pocked with dozens of holes from an old gallery setup are signs the damage goes deeper than spackle can handle. If you're patching the same spot every few months, something structural or moisture-related is likely at play underneath.

Once you know how to patch a nail hole in drywall , you can handle almost anything picture hooks and shelf brackets throw at your walls. Save the phone call for bigger jobs: water damage, popcorn ceiling removal, or rooms that need a full drywall overhaul. We've handled these repairs across Sacramento Valley homes for over 30 years, and a small hole never scares us off from bigger ones either. When your walls need more than a putty knife can fix, get a free estimate on drywall repair and patching and we'll take it from there.

Recent Posts

By cinchweb • September 30, 2026
See real cost ranges, timelines, and what's included in drywall installation services, plus contractor red flags Sacramento Valley homeowners should avoid.
By cinchweb • September 30, 2026
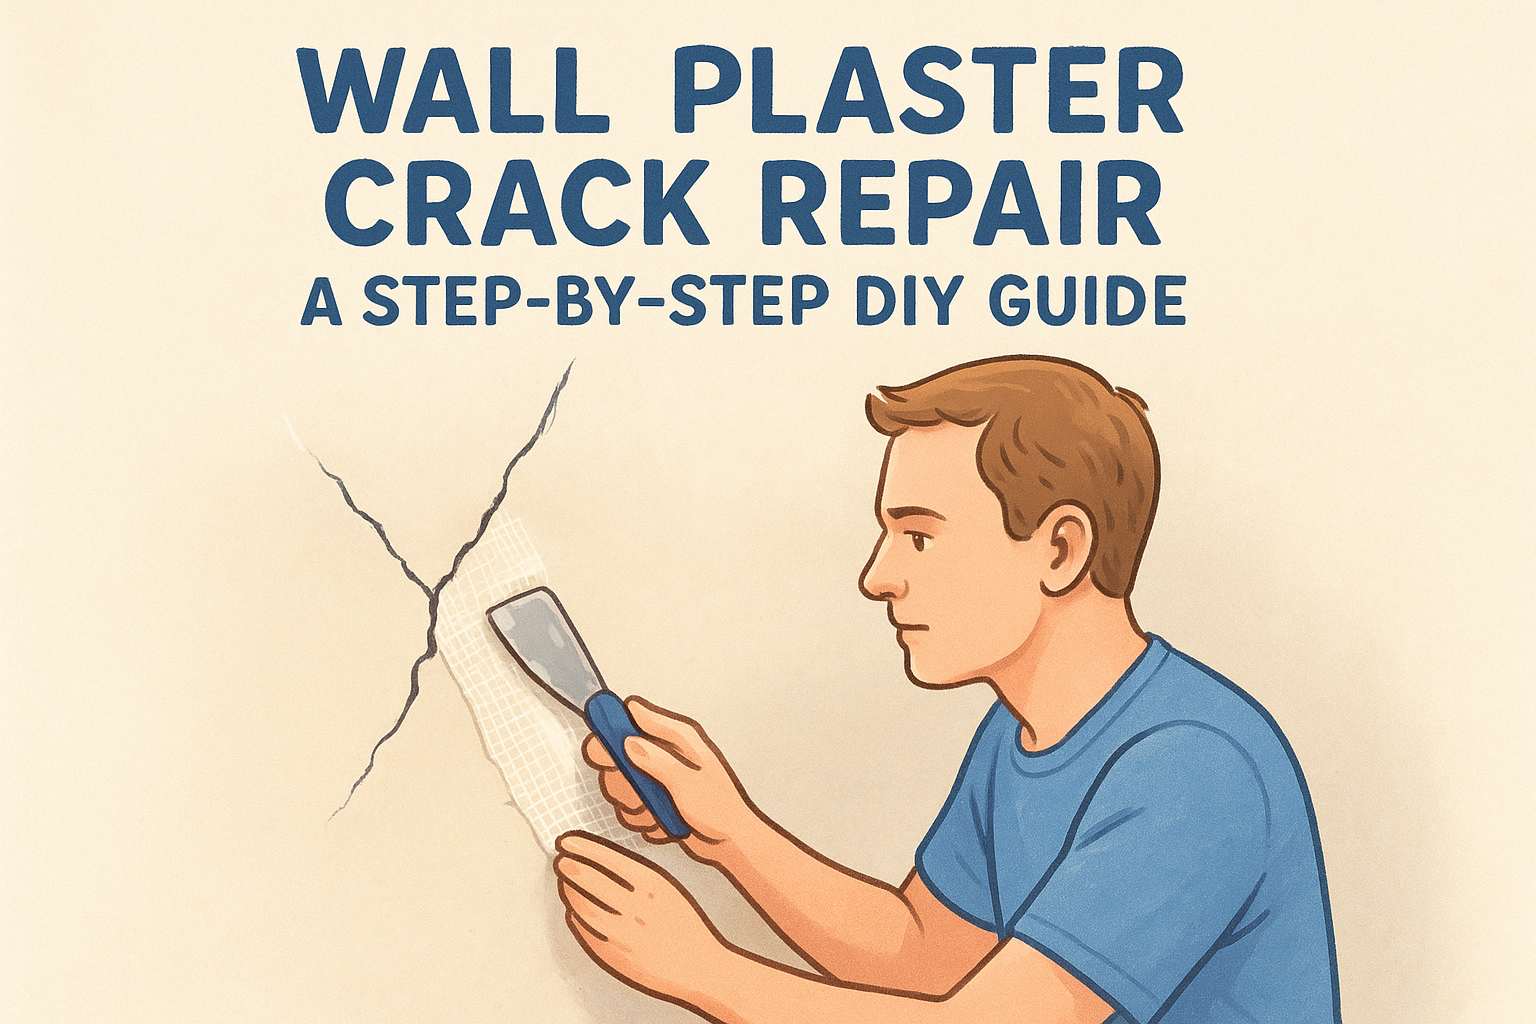
Learn DIY wall plaster crack repair: identify crack types, prep, mesh tape, texture matching, and when to call Super Shooters for a free estimate.
By cinchweb • September 28, 2026
Learn how to repair the wall crack for good, V-groove prep, setting compound, tape reinforcement, and texture matching so it never comes back.

By cinchweb • September 26, 2026
Learn how to tell if popcorn ceiling has asbestos with build-date checks, inspection tips, and safe sampling steps before calling Super Shooters.

By cinchweb • September 25, 2026
Use this drywall installation cost calculator guide to measure square footage, estimate materials and labor, and price removal or asbestos costs.

By cinchweb • September 24, 2026
Compare 5 popcorn ceiling removal services near Sacramento Valley, from franchises to asbestos specialists, plus why Super Shooters' 30-year expertise stands out.

By cinchweb • September 24, 2026
Learn how asbestos abatement works, from certified testing to clearance air testing, plus warning signs and pricing factors before you remodel.
By cinchweb • September 22, 2026
Learn how to repair a huge hole in drywall step-by-step, from cutting and backing to texturing, plus when to call Sacramento Valley pros.
By cinchweb • September 21, 2026
Wondering can you paint a popcorn ceiling without damage? Learn testing, prep, and painting steps, plus when removal beats painting instead.

Show More
